Friday 28 January 2011

Aoshima 1/48 Airwolf


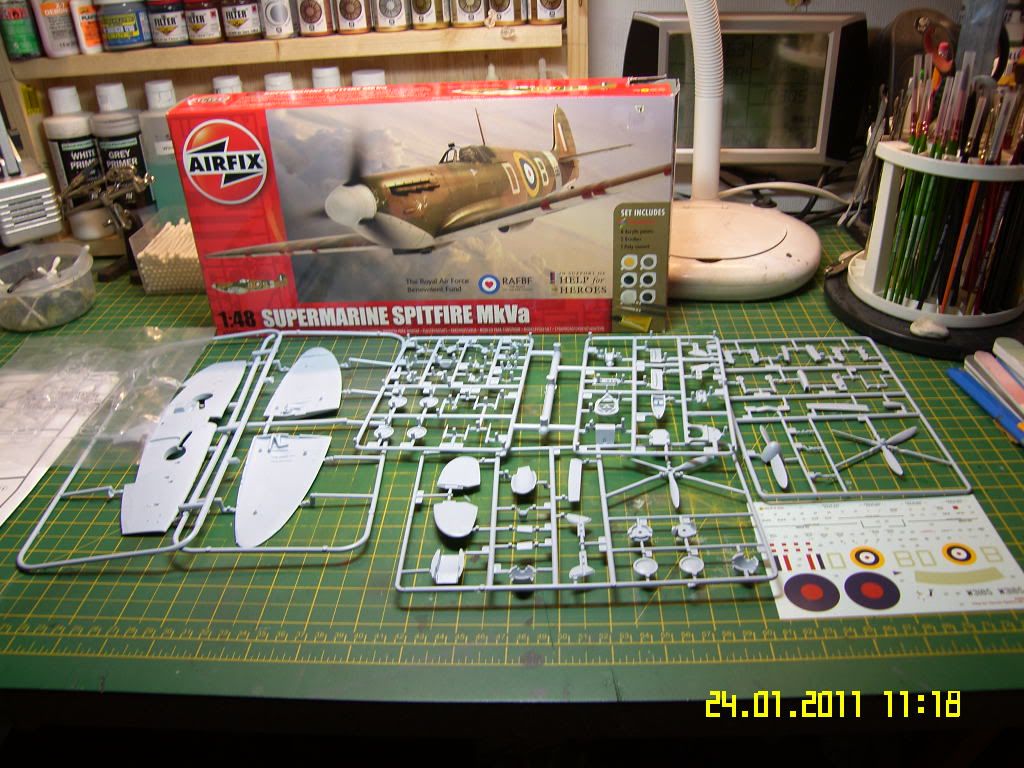
After watching phils (Promodeller) start on this kit in the old news shows and being a fan of the tv show when i was a kid i had to get one if these models.


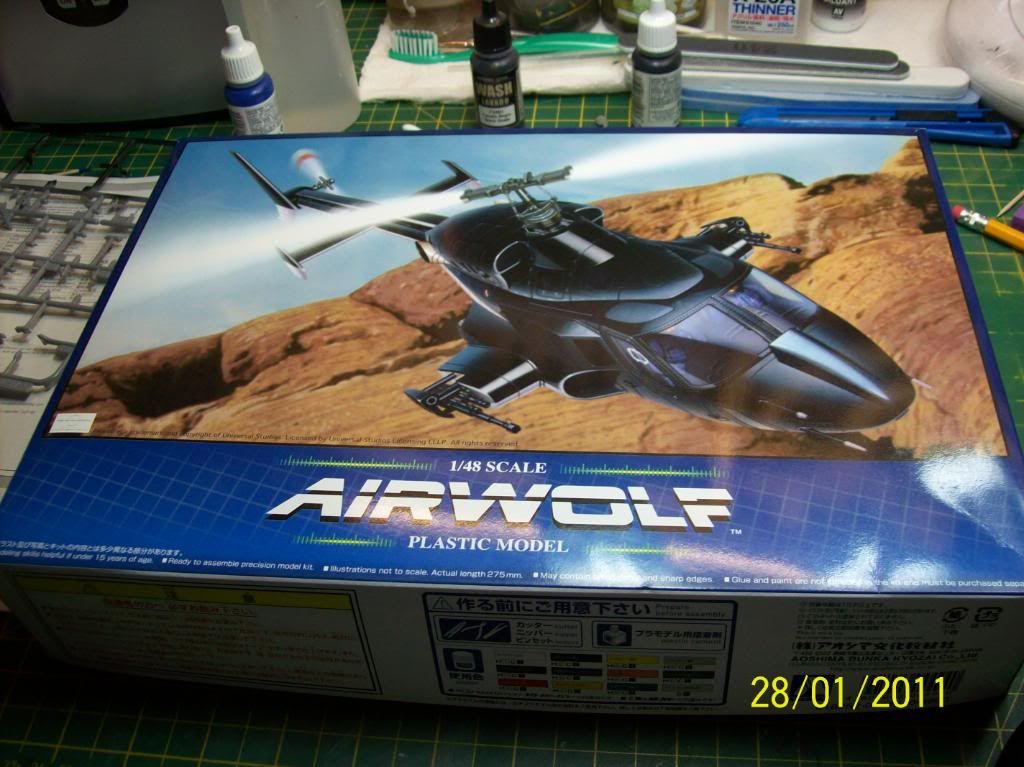
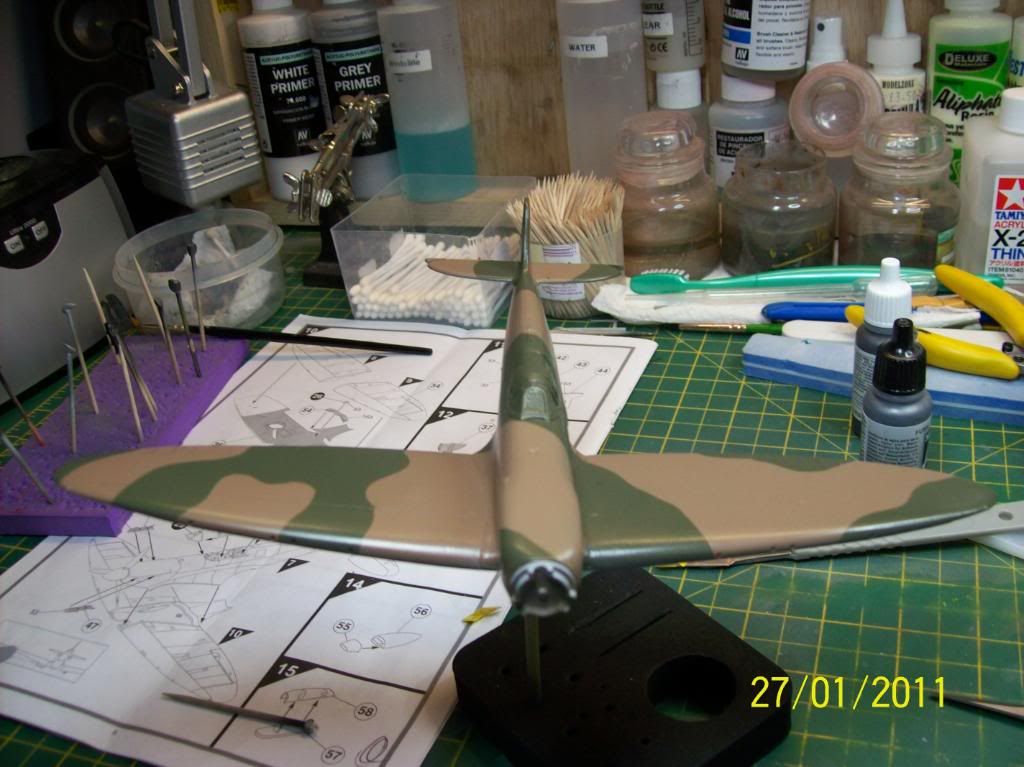
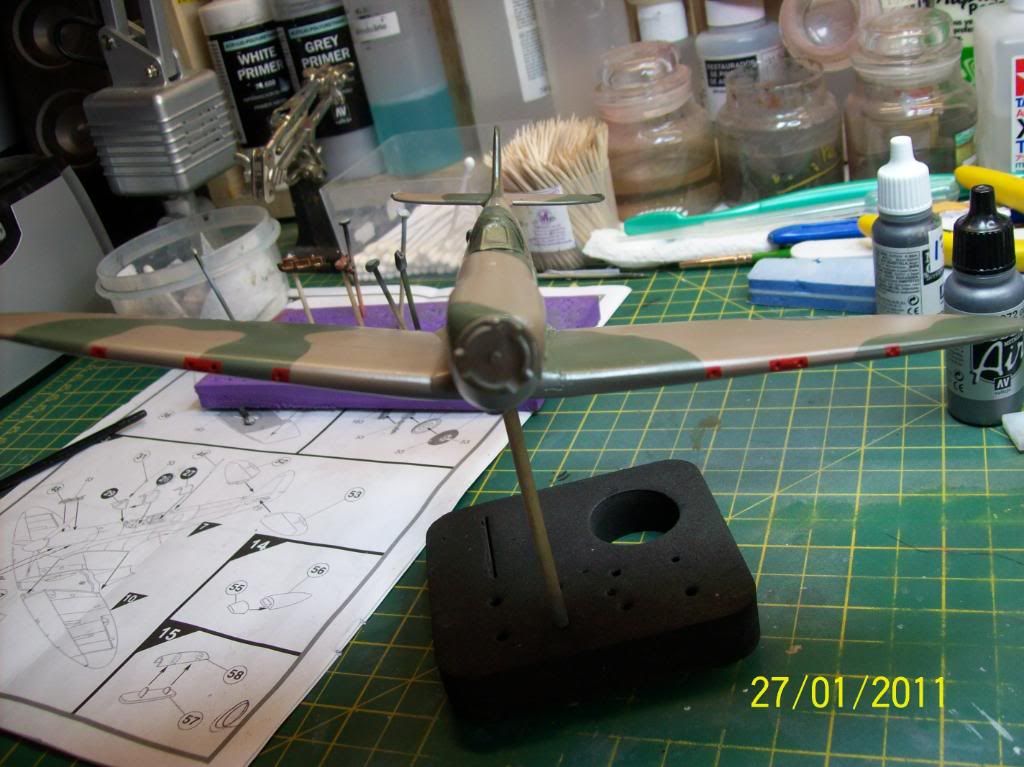
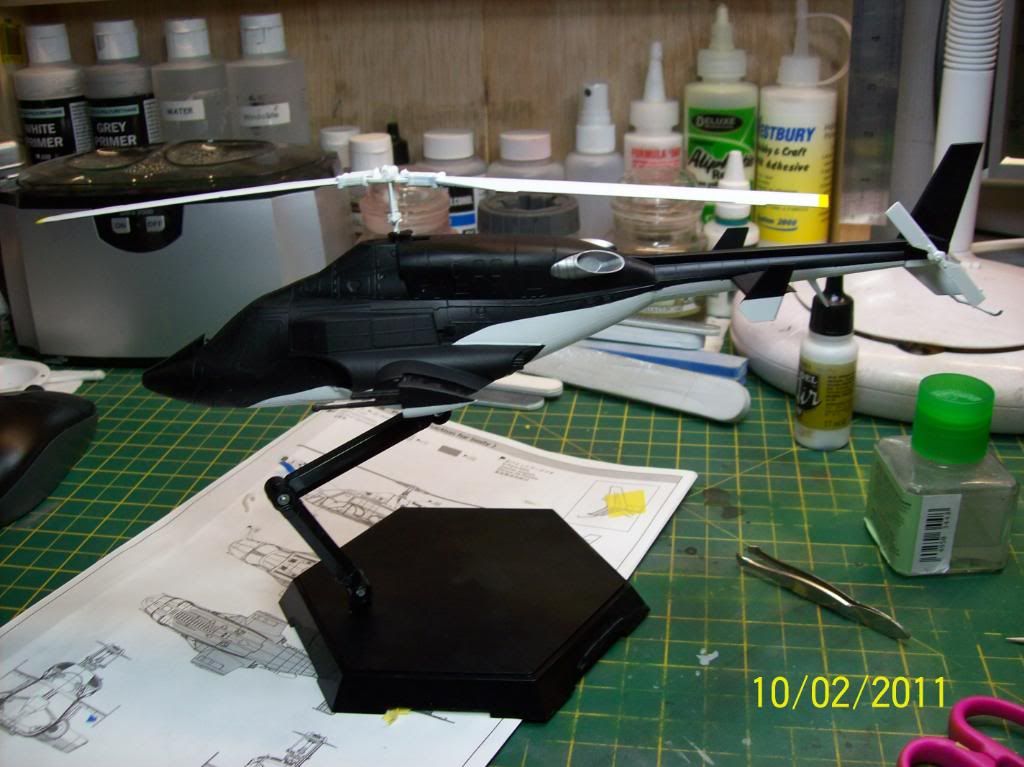
Nice to get a display stand as i want to display this in flight as i always thought it looked cool with retractable undercarriage.

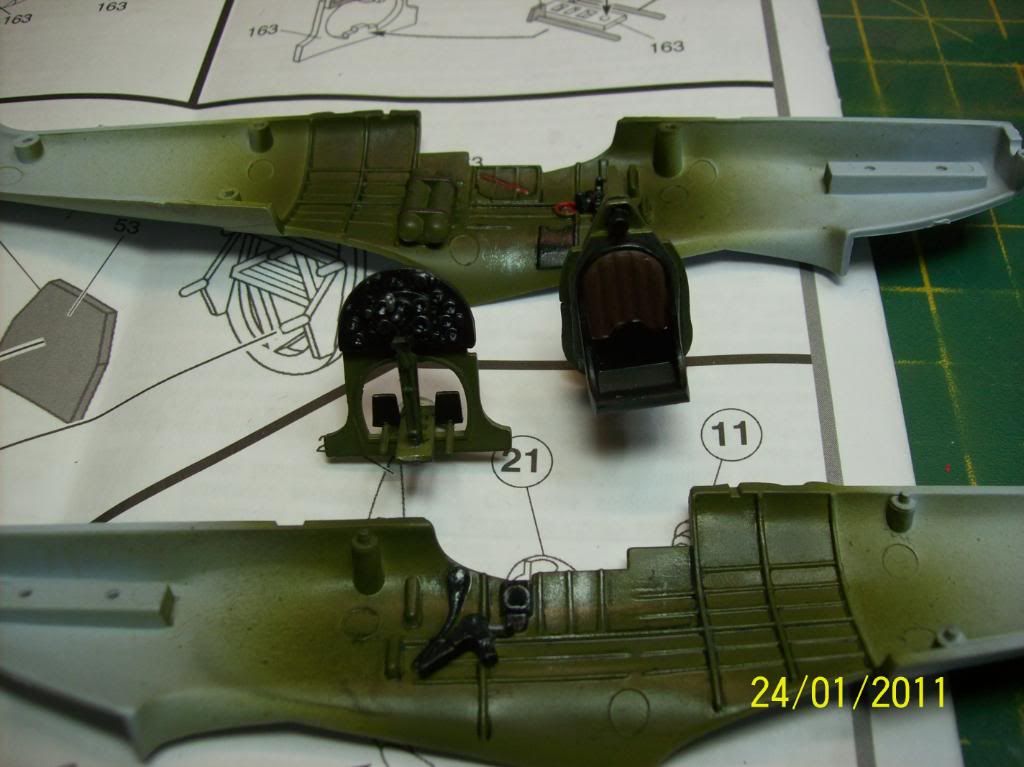
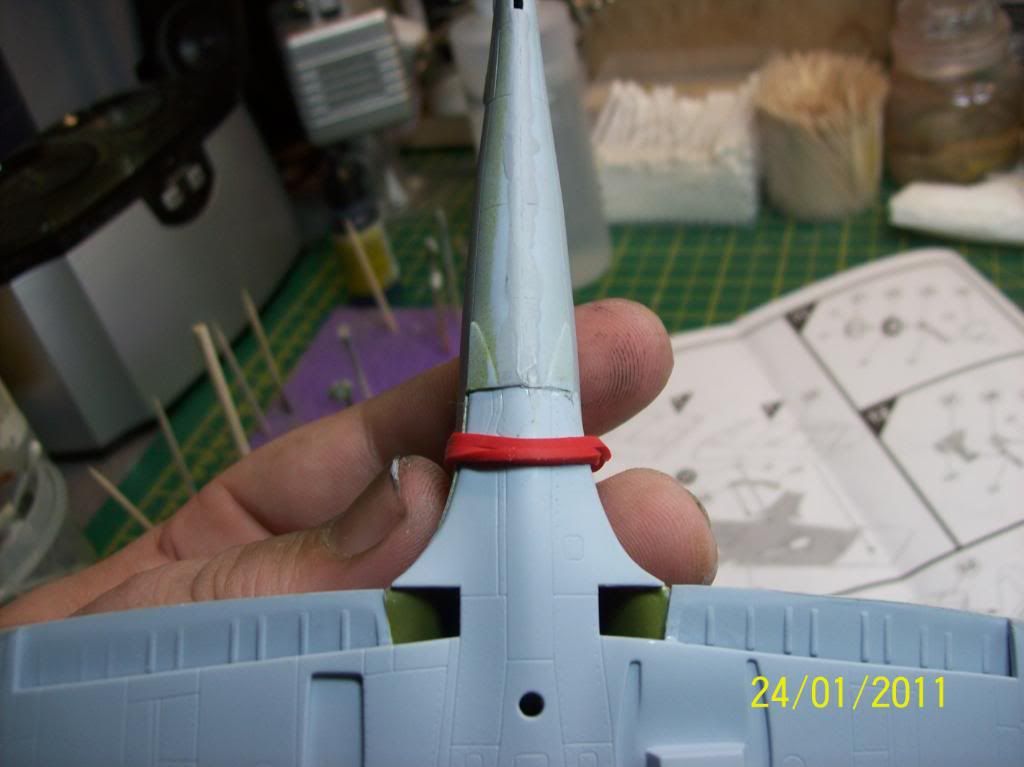
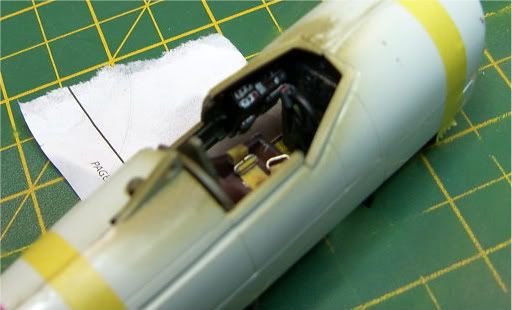
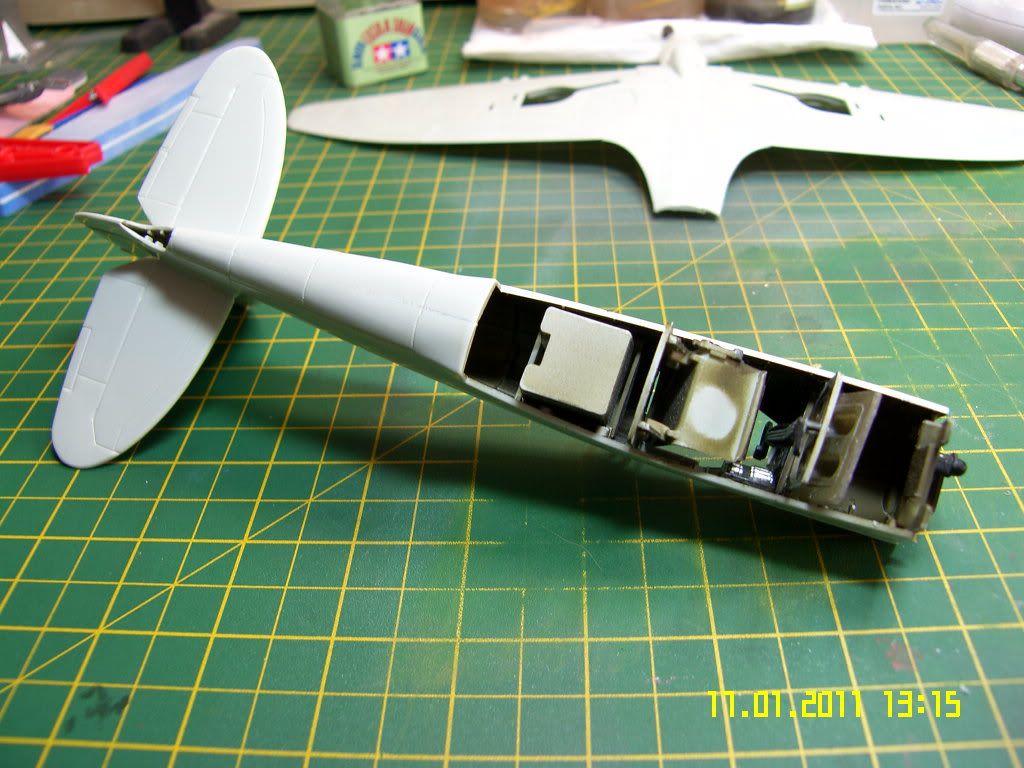
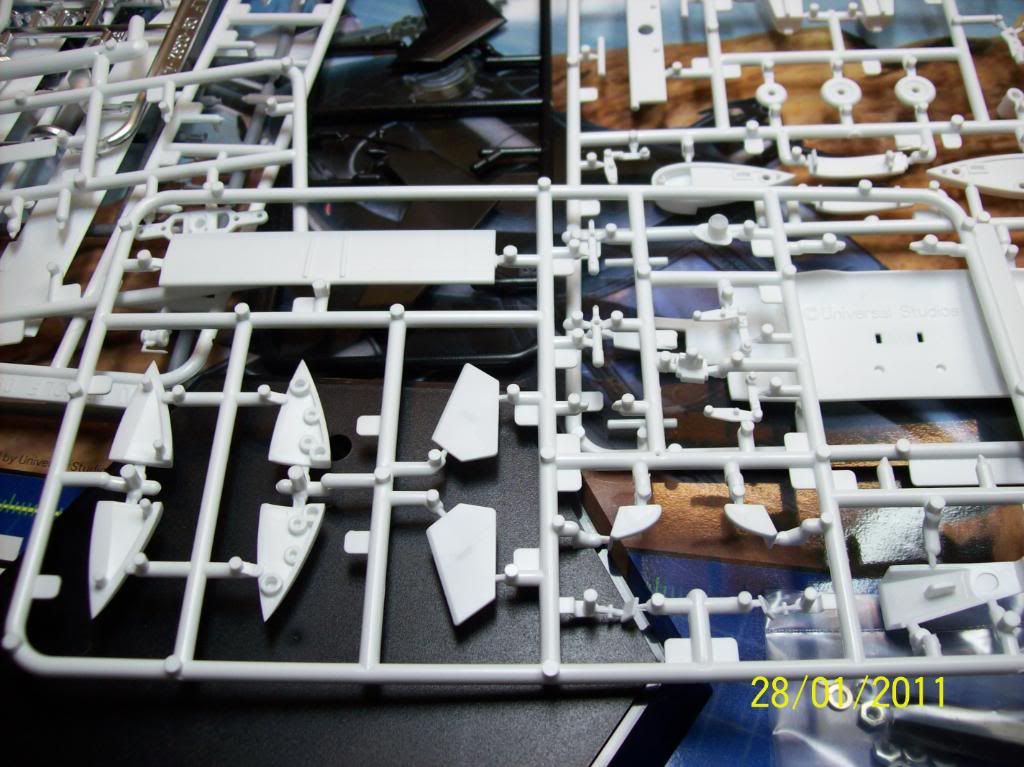
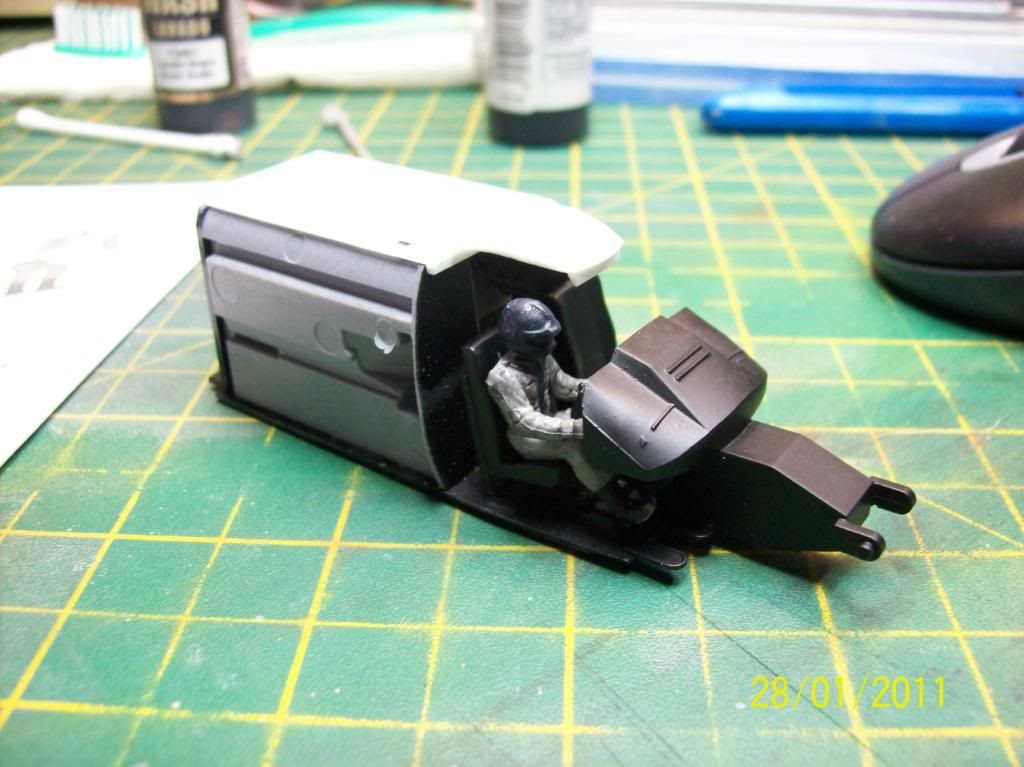
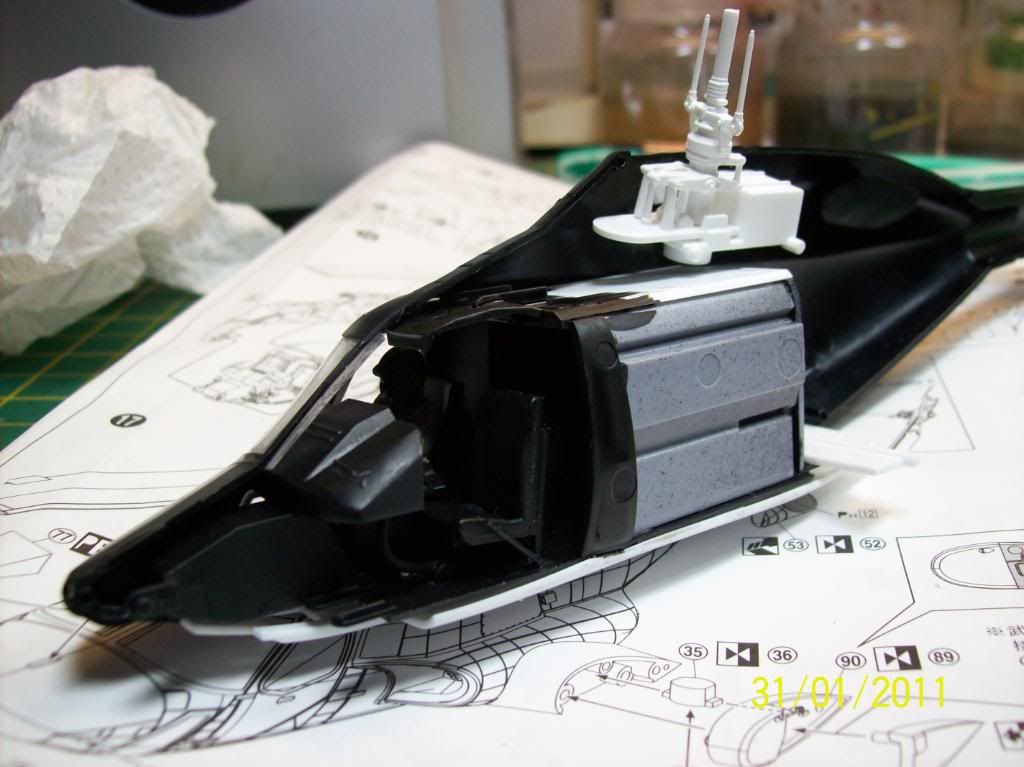
I didnt waste too much time on the cockpit as its almost all hidden when the body in on.


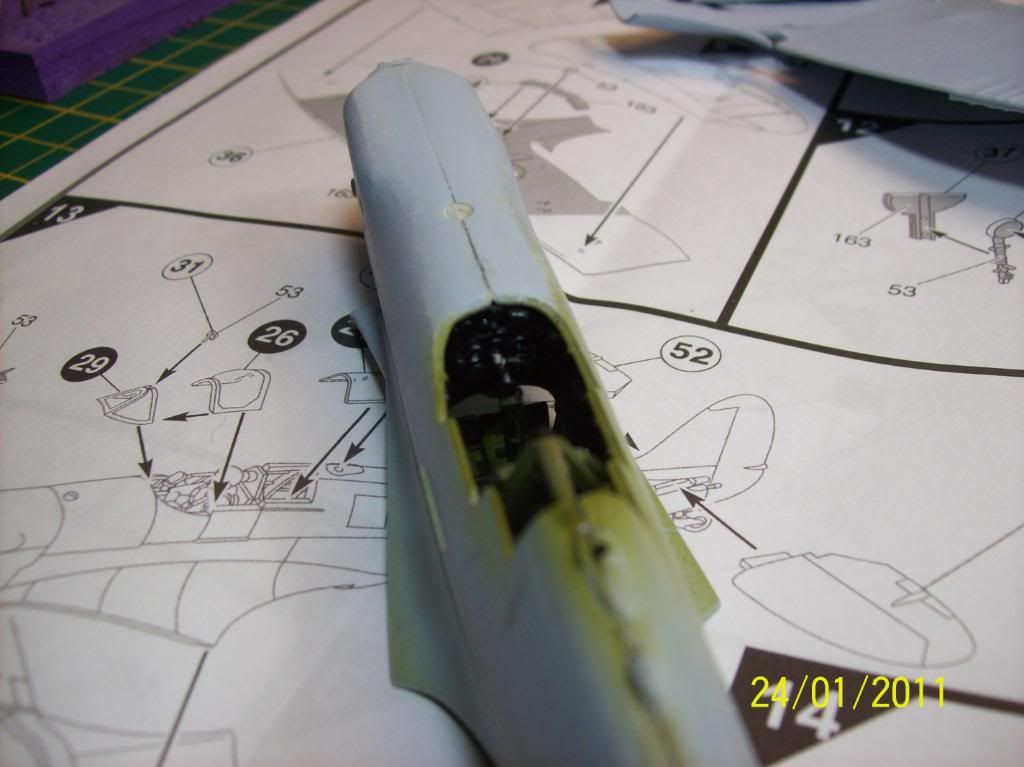
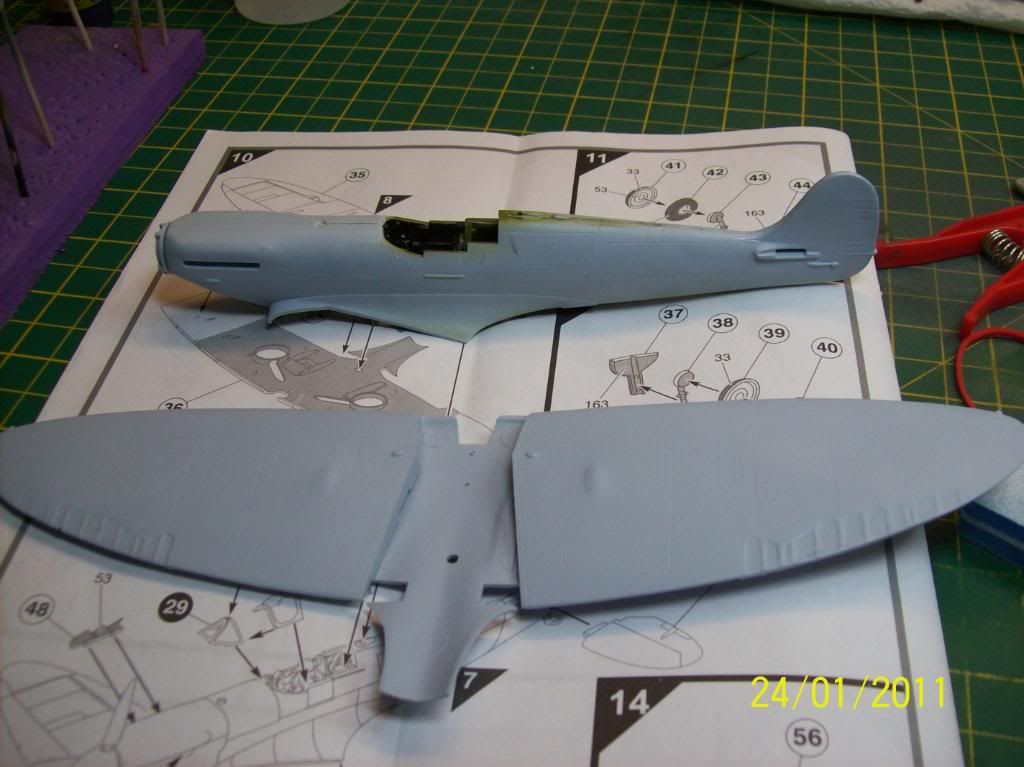
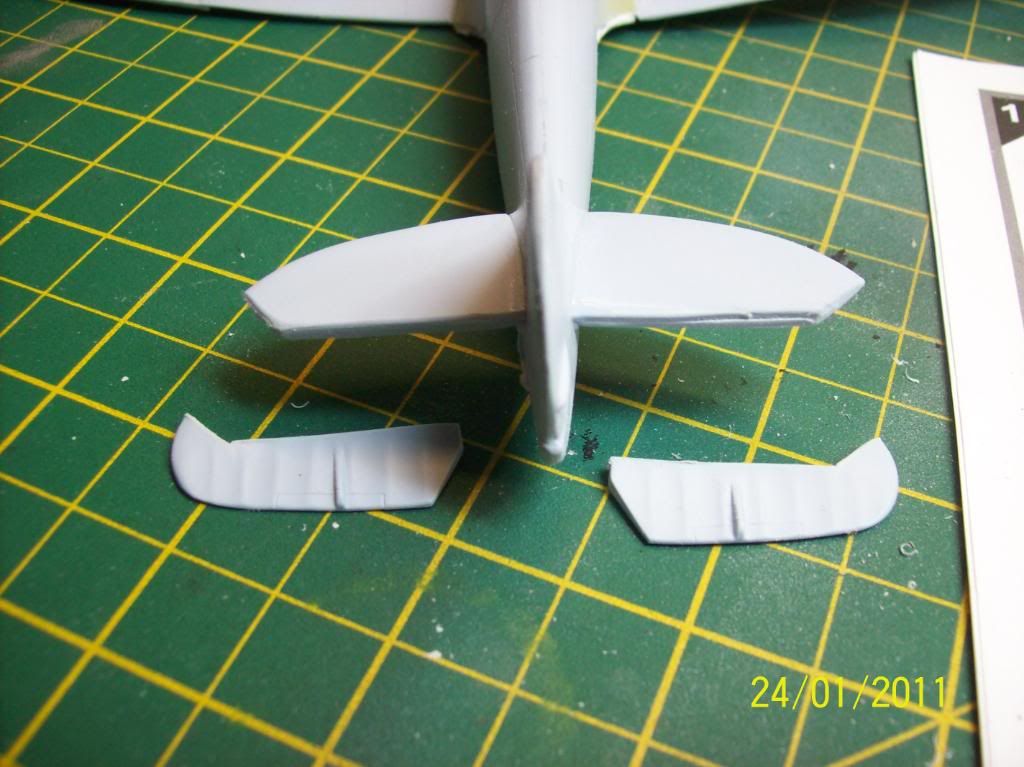
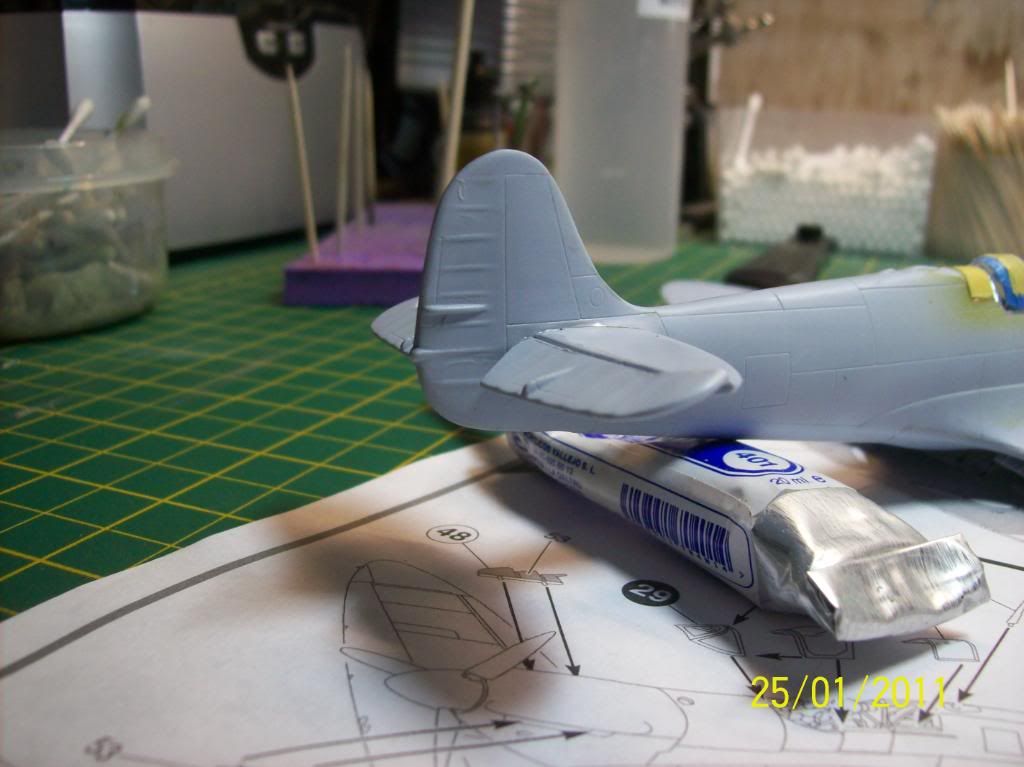
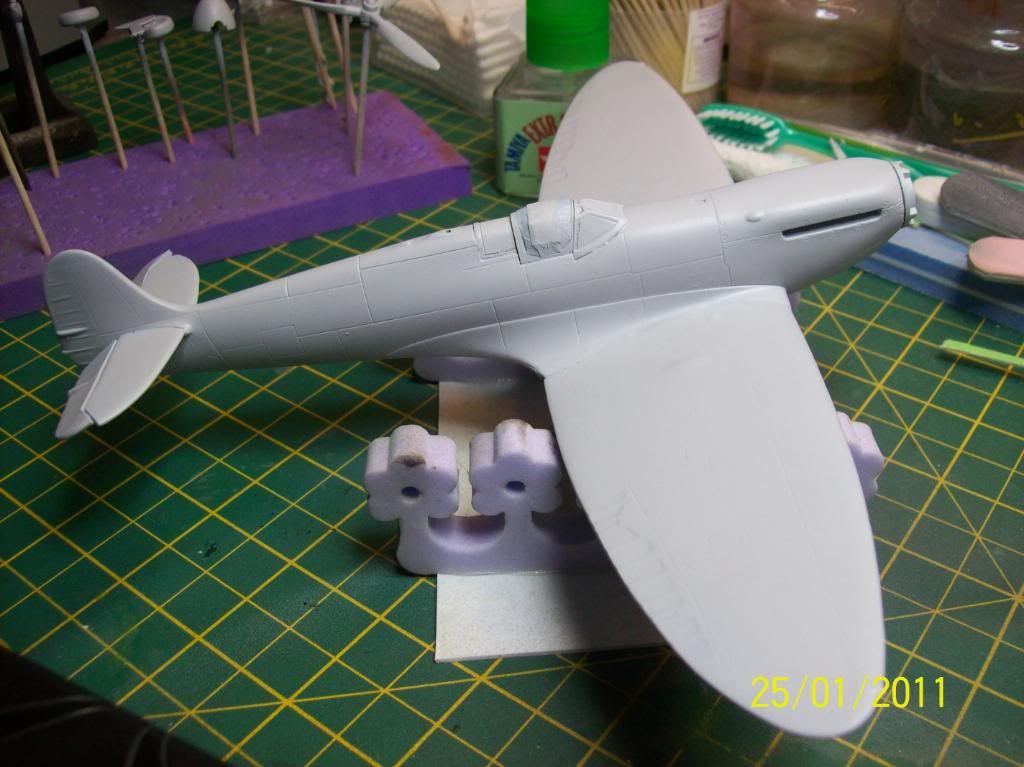
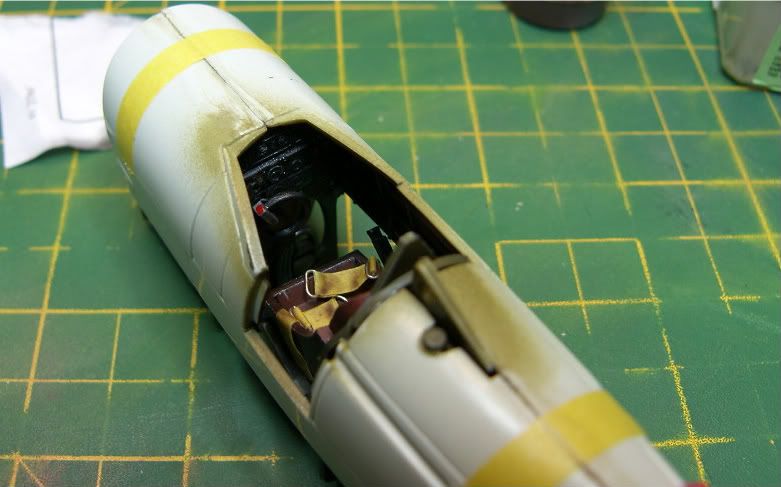
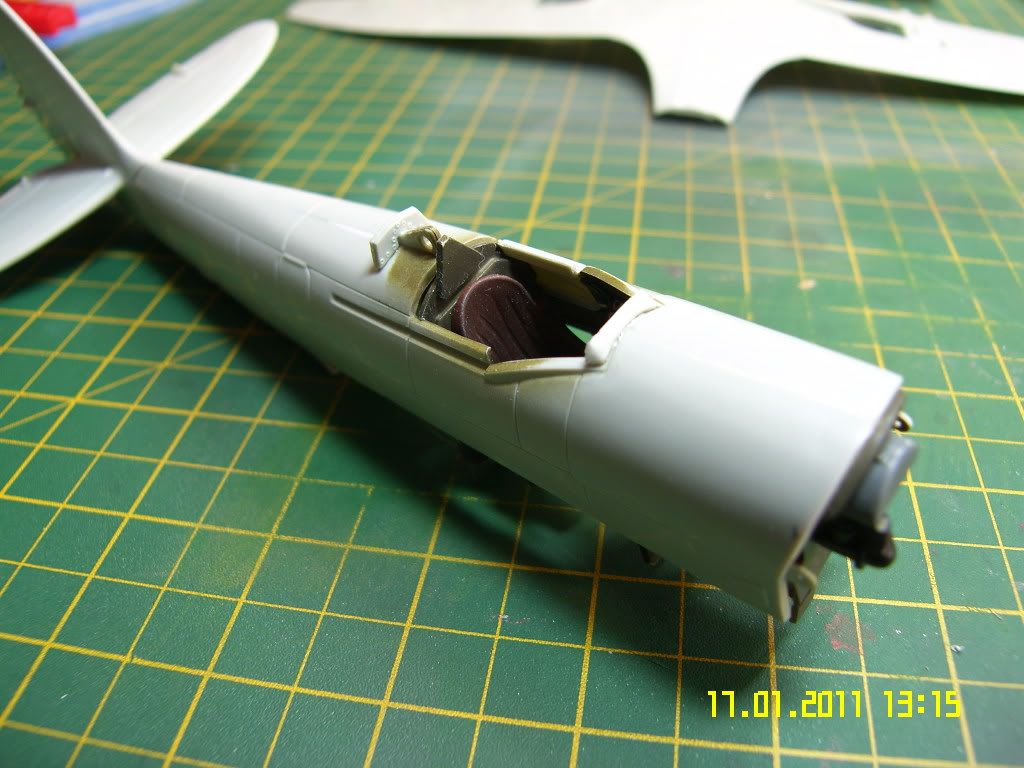
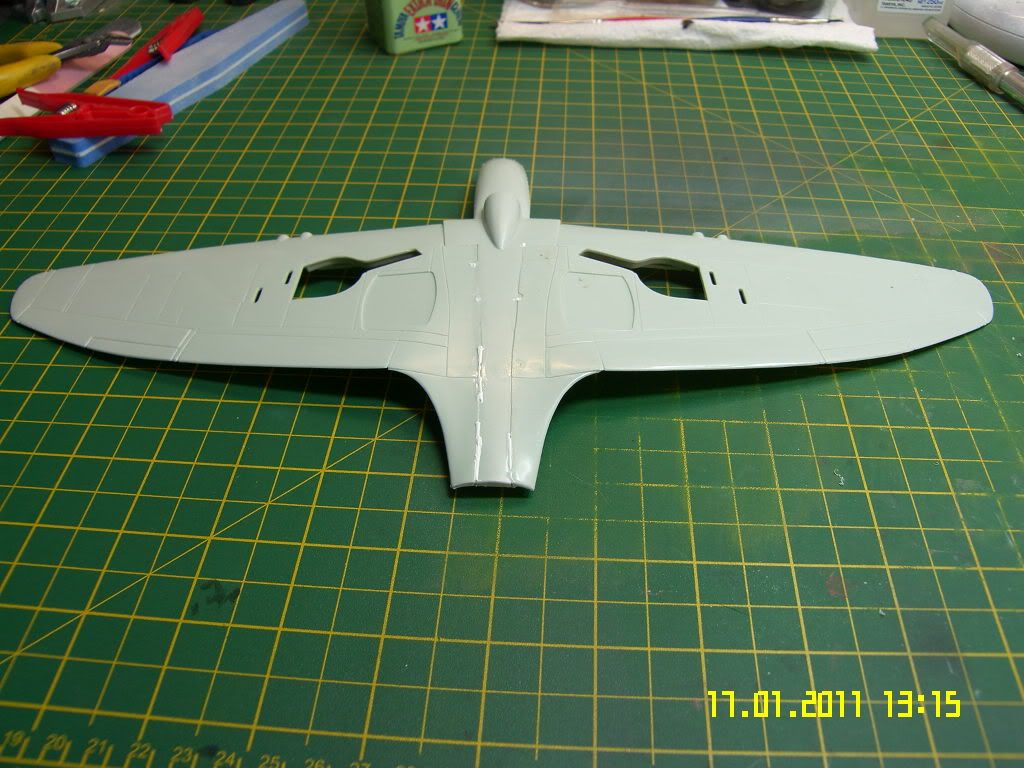
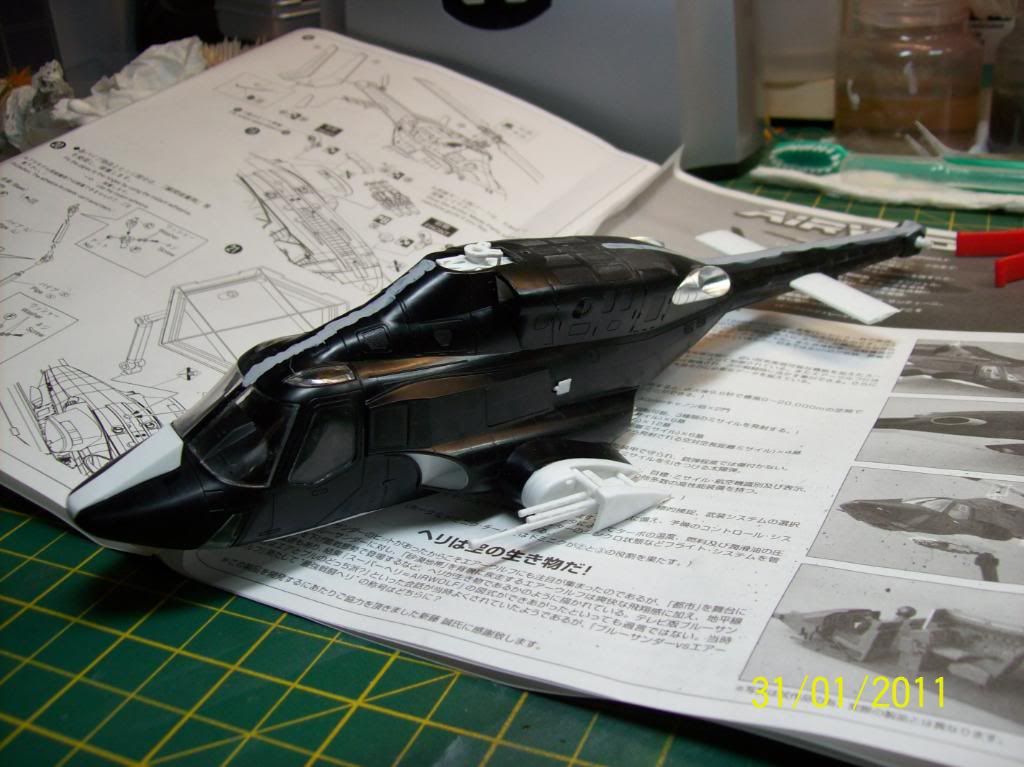
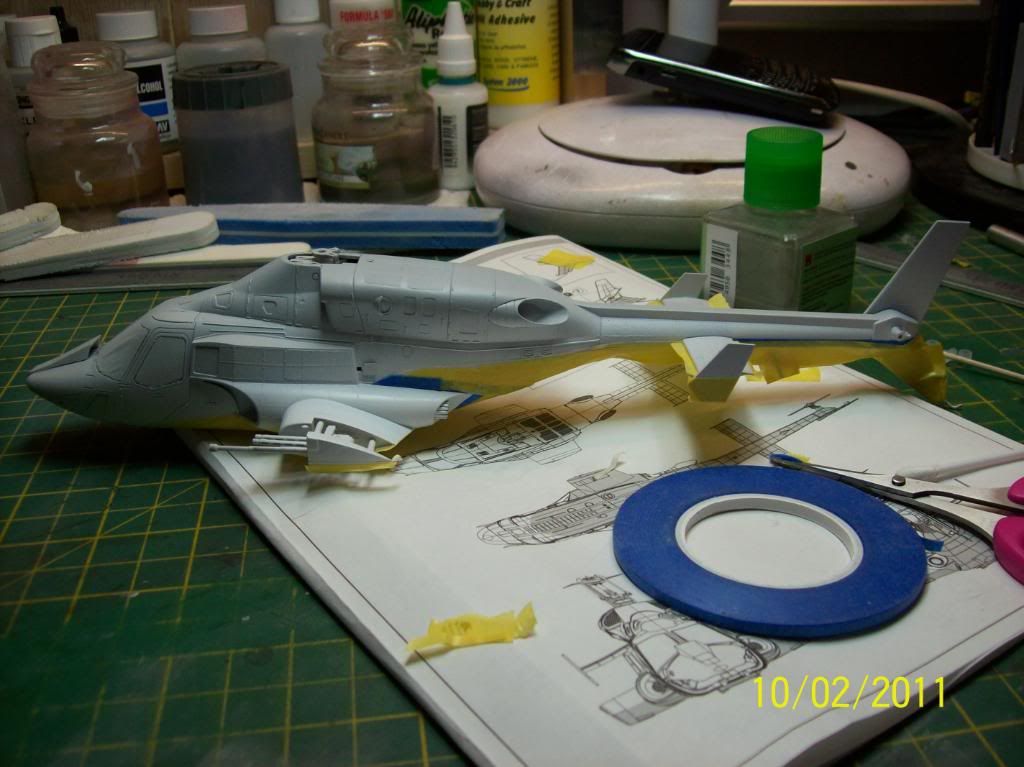
Ok some progress, got the fusalge together and a bit of mr surfacer sorted any seam lines. Need to mask off the windows next then a coat of primer.


10/2/11 update

Ok back at this now.

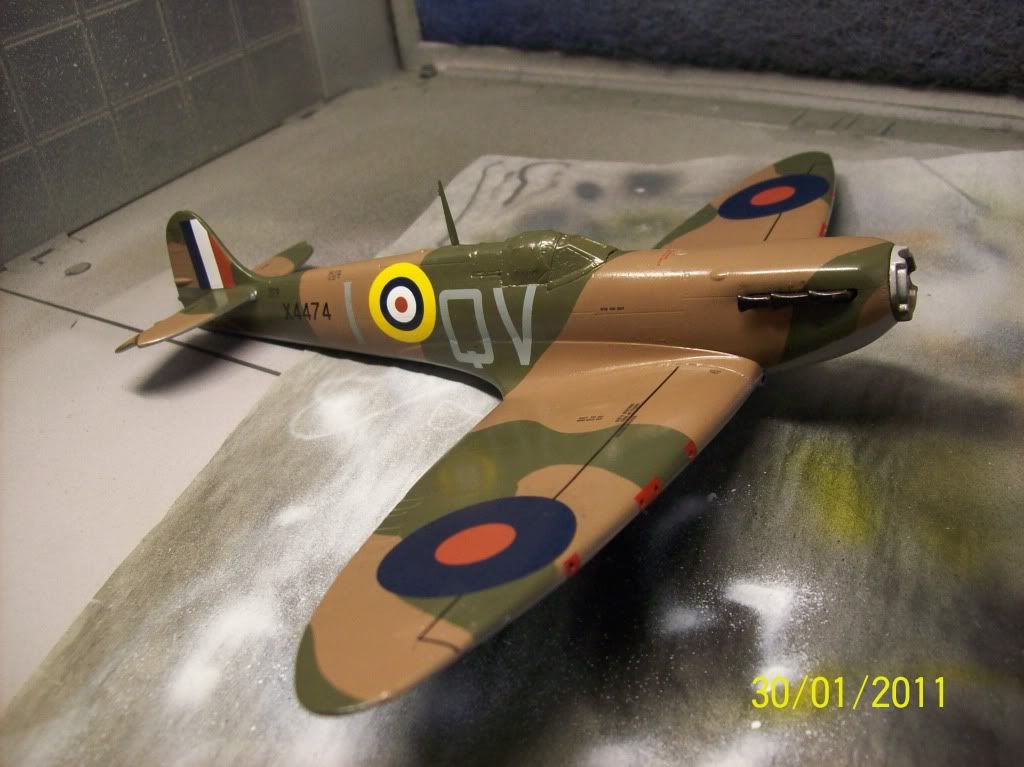
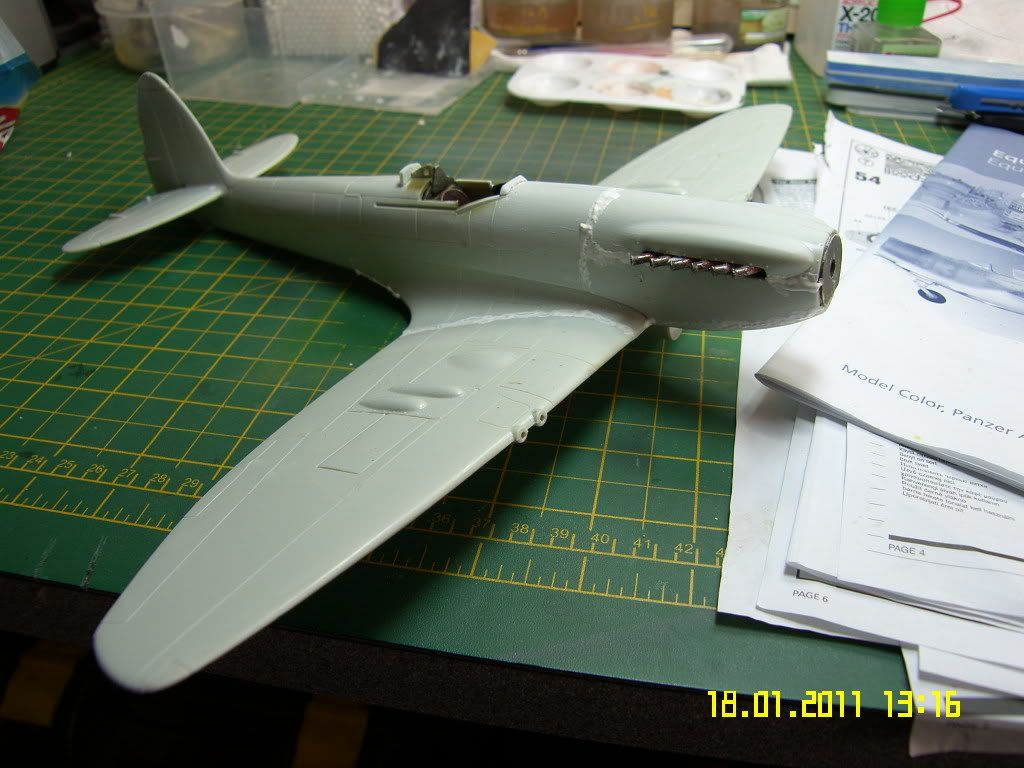
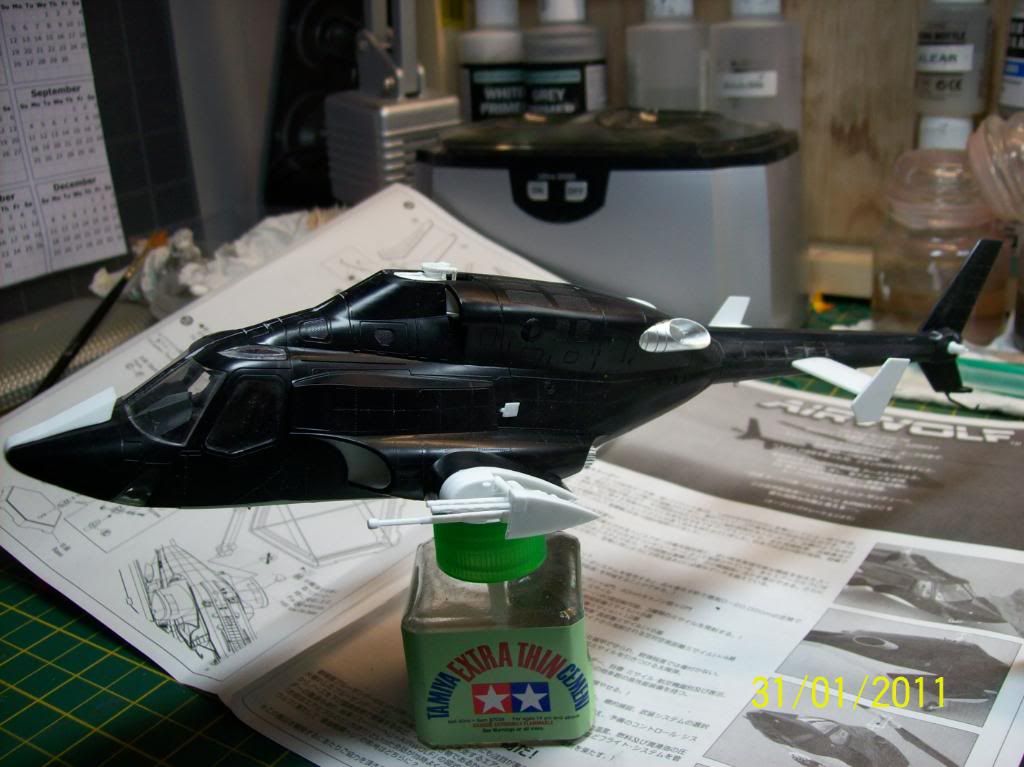
Primed in grey and the bottom half sprayed white then masked off ready for the black top coat. From what i can read online airwolf is actually a greeny grey black, but mine is black.


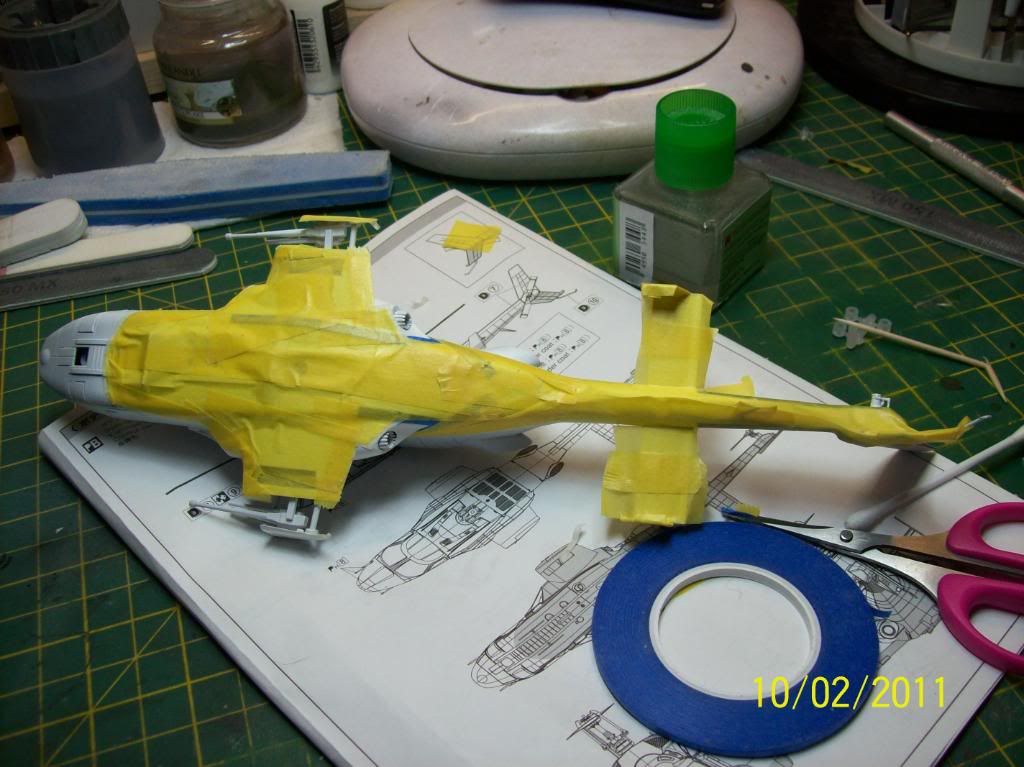
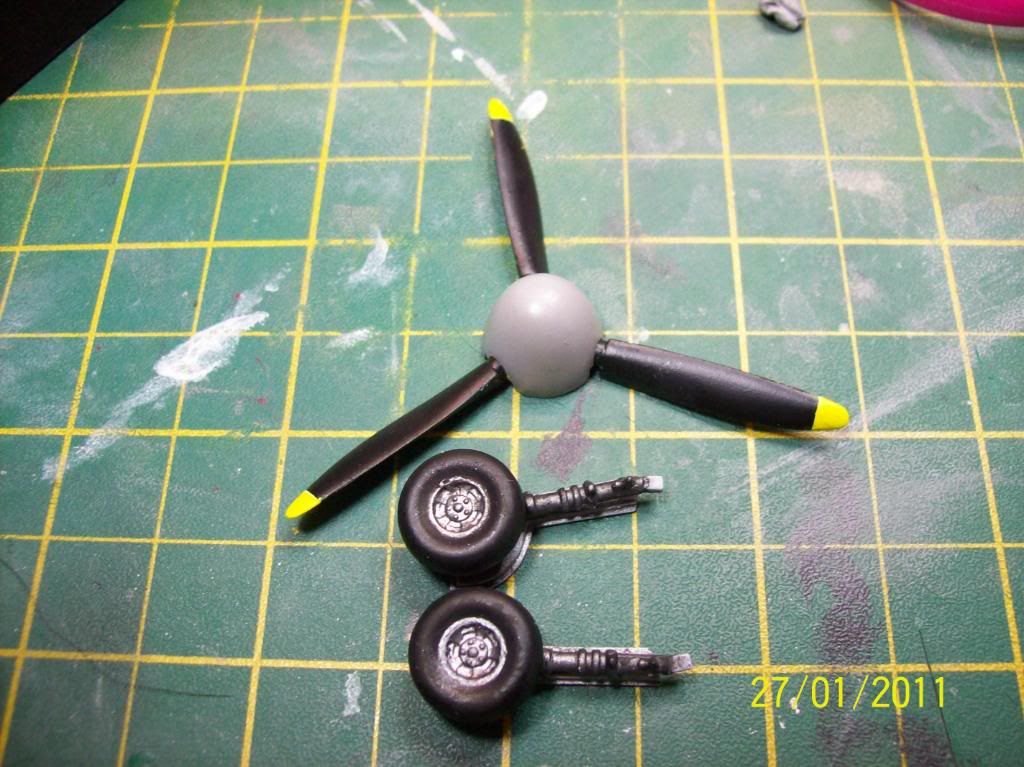
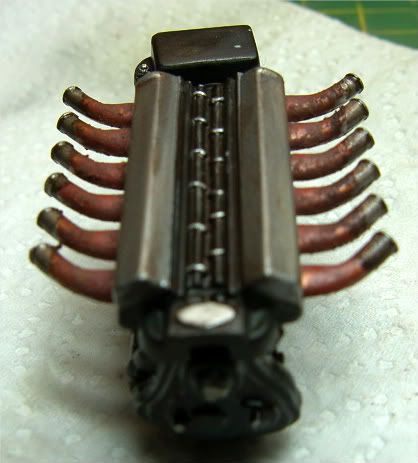
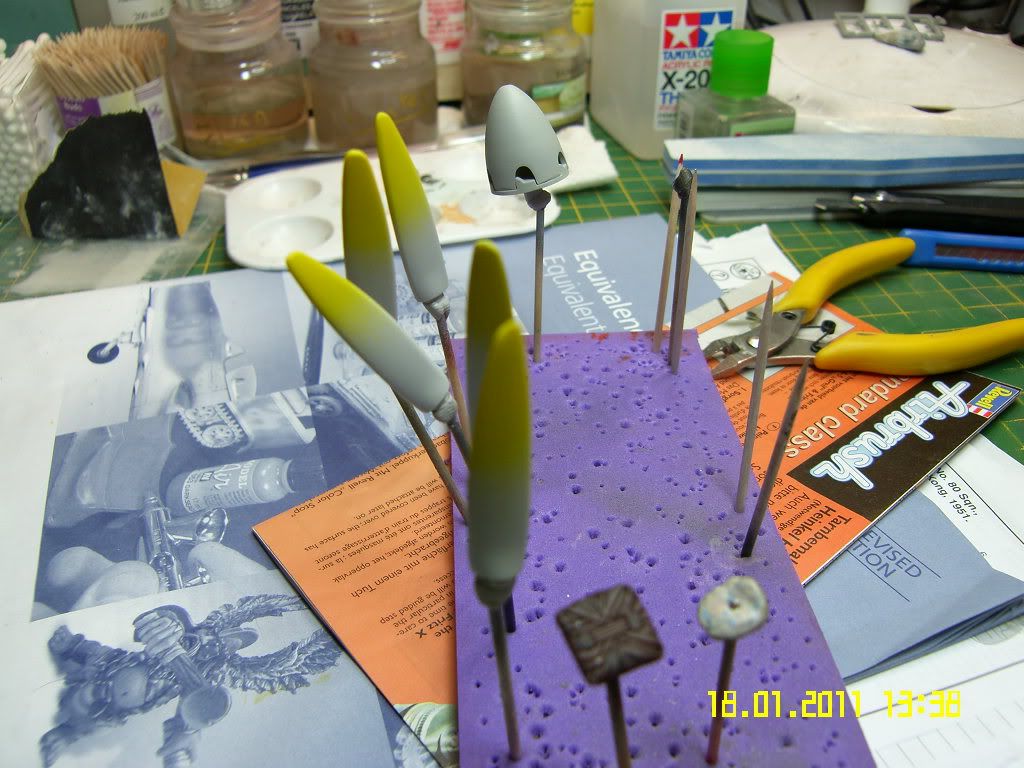
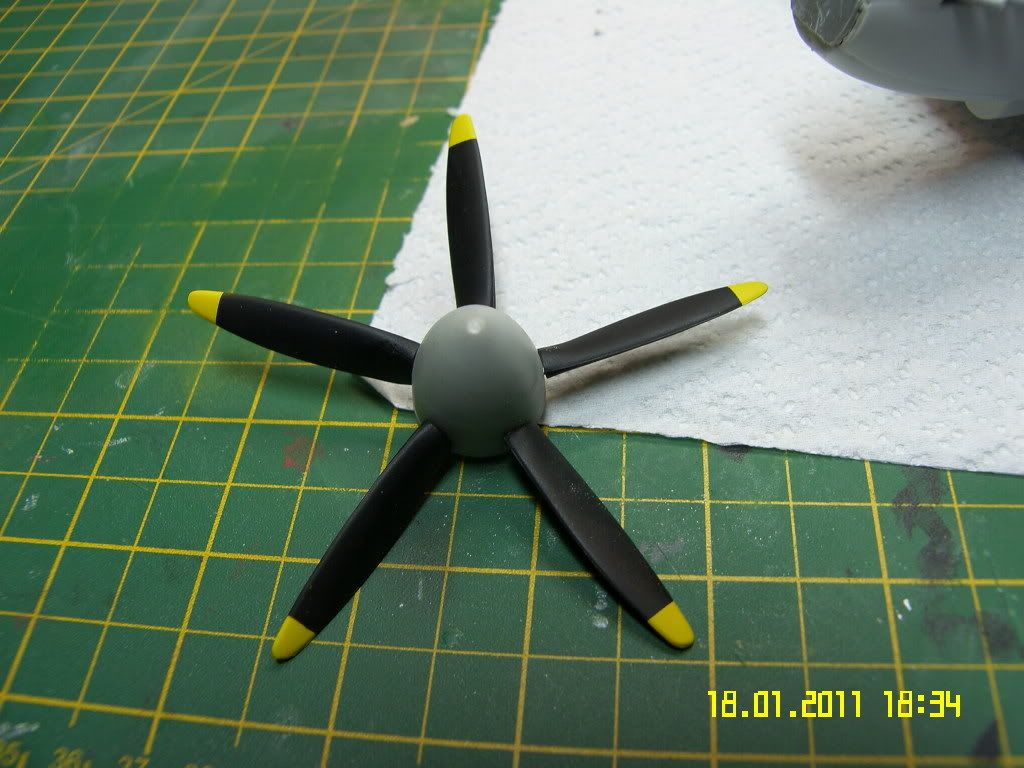
Black top coat, exhaust sprayed citadel chainmail, and blades sprayed black underneath, white on top and given yellow tips. Oh and i built the stand too.


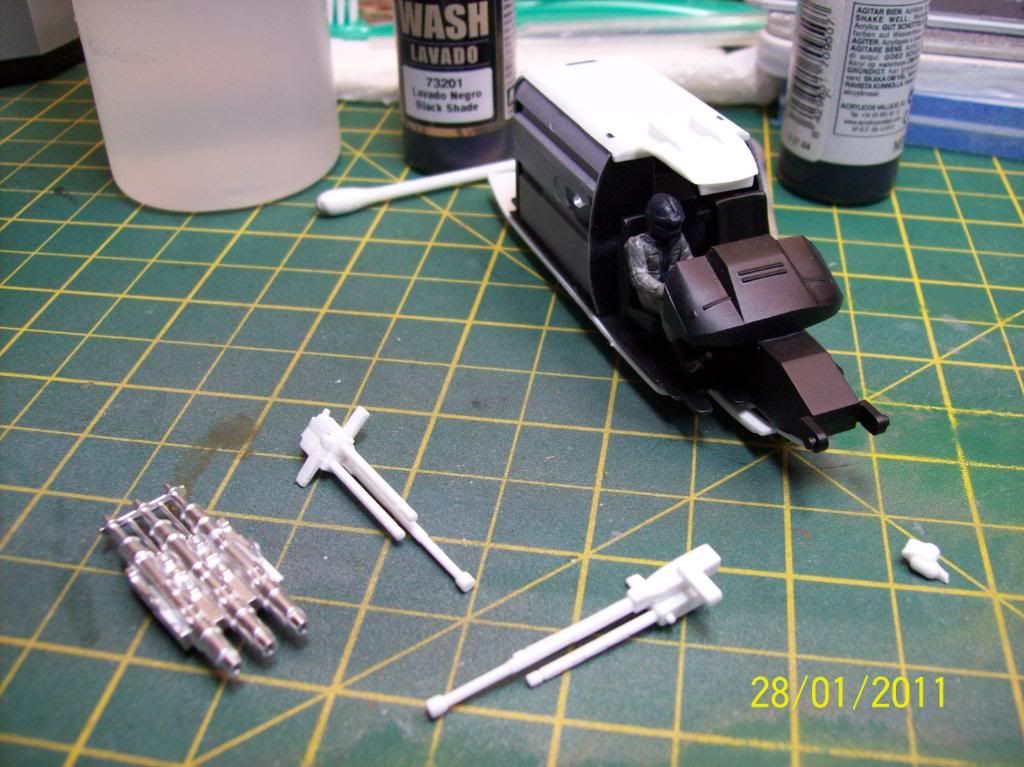
Just a few more things to do, paint the guns attched the rocket tubes underneath and a few othe rbits need sorting then its a coat of satin varnish.


Thursday 27 January 2011

Airfix 1;48 Spitfire mk1

I got the Douglas badar kit, but it contains everything needed to make either a mkv or mk1 spitfire so im going to build as a mk1 as my 2nd entry to the BOB build.

I need to get some suitable decals for it to put it at the BOB.

Box shot

Not a new tool kit but an old kit mixed with newer sprues.

I cant see much flash on the sprues and the fit although isnt great shouldnt pose much of  problem.

Cockpit components sprayed weathered and given a wash.


Fuselage together

Wings together


A bit of filler needed in places but nothing major


Bit more progress after major screw up by myself.

Decided to make the elevators posable so i cut them of with a knife and glued them in the down position


Cannopy masked and gluued in position.


Primed

Camo pattern sorted and sky grey painted underneath.


Fabric red gun covers sprayed on


Prop and landing gear sorted


 Ok all the decals are on a mixture of xtradecals and the airfix ones, the xtradecals look superb really good quality.

A coat of klear is on and drying next step is a promodel wash of dark dirt.

Ok finished but im not happy with it.

Im not sure just how dirty these would have got during the height of the Battle of Britain, but i expect they would have done a sortie then landed and probably would have refuelled and armed and went straight back out or certainly not sat on the ground for long anyway. So with that i wanted to do a really dirty stained plane, but i think ive gone overboard on the gun and exhaust staining.

Ill get some better pics tomorrow


Wednesday 19 January 2011

Revell 1:32 Mk22 spitfire

I got this cheap from hobbycraft and after building the me109 i thought why the hell not do this.

I believe its a reboxed old matchbox kit from quite some time ago and alot of people who have made it have fit issues so it might be a fun build, great thing for a cheap kit it has the option to remove pannels to show the engine and one of the wing guns.

My first experience of airbrushing with tamiya acrylics so also a tester for me too. After starting this yesterday i come to realise that i need a spraybooth extractor as i was high as a kite last night as i didnt have my face mask on properly so ive ordered a booth.

So step one the engine, ive painted it up as i see fit and will add more detail tomorrow as well as weather/wear it up. I also drilled the exhausts so they had a more realstic appearence


Engine weathered up a bit and most of the cockpit interior sprayed in tamiya xf81 raf dark green 2.


Right cockpit all together sprayed and weathered, i even had a go at scratch making some seatbelts.

Glued the fuselage together what a dream this kit is, sorry i mean nightmare, i can see alot of filling and sanding needed.


Some pics of slow progress filled the fusealge without any major issues, wing roots and enginee covers are just a nightmare.


  Well its sanded as good as i can do, nowhere near perfect but who cares lol.

Coat of primer on it and got the props done too, got a bit more drive to get this done now this awful thing is together.


Got some camo on it today next step a coat of klear then the decals.


Ok decals on, exhaust painted and weathered again and coat of klear. Only thing is i seem to have lost my front landing gear, i have a feeling its in a bin bag of rubbish still attached to the sprue, so im gonna hve to pop out in a bit and have a look.

A wash next then a satin coat and then the canopies and its done, thank god.


Thank god its finished and i found my landing gear too.

Got some quick pics will get some better ones tomorrow. It aint no masterpeice but its ok for what how awful the kit was.