Tuesday 26 November 2013

1/48 Great wall Hobby Mig 29 "Fulcrum C" 9-13


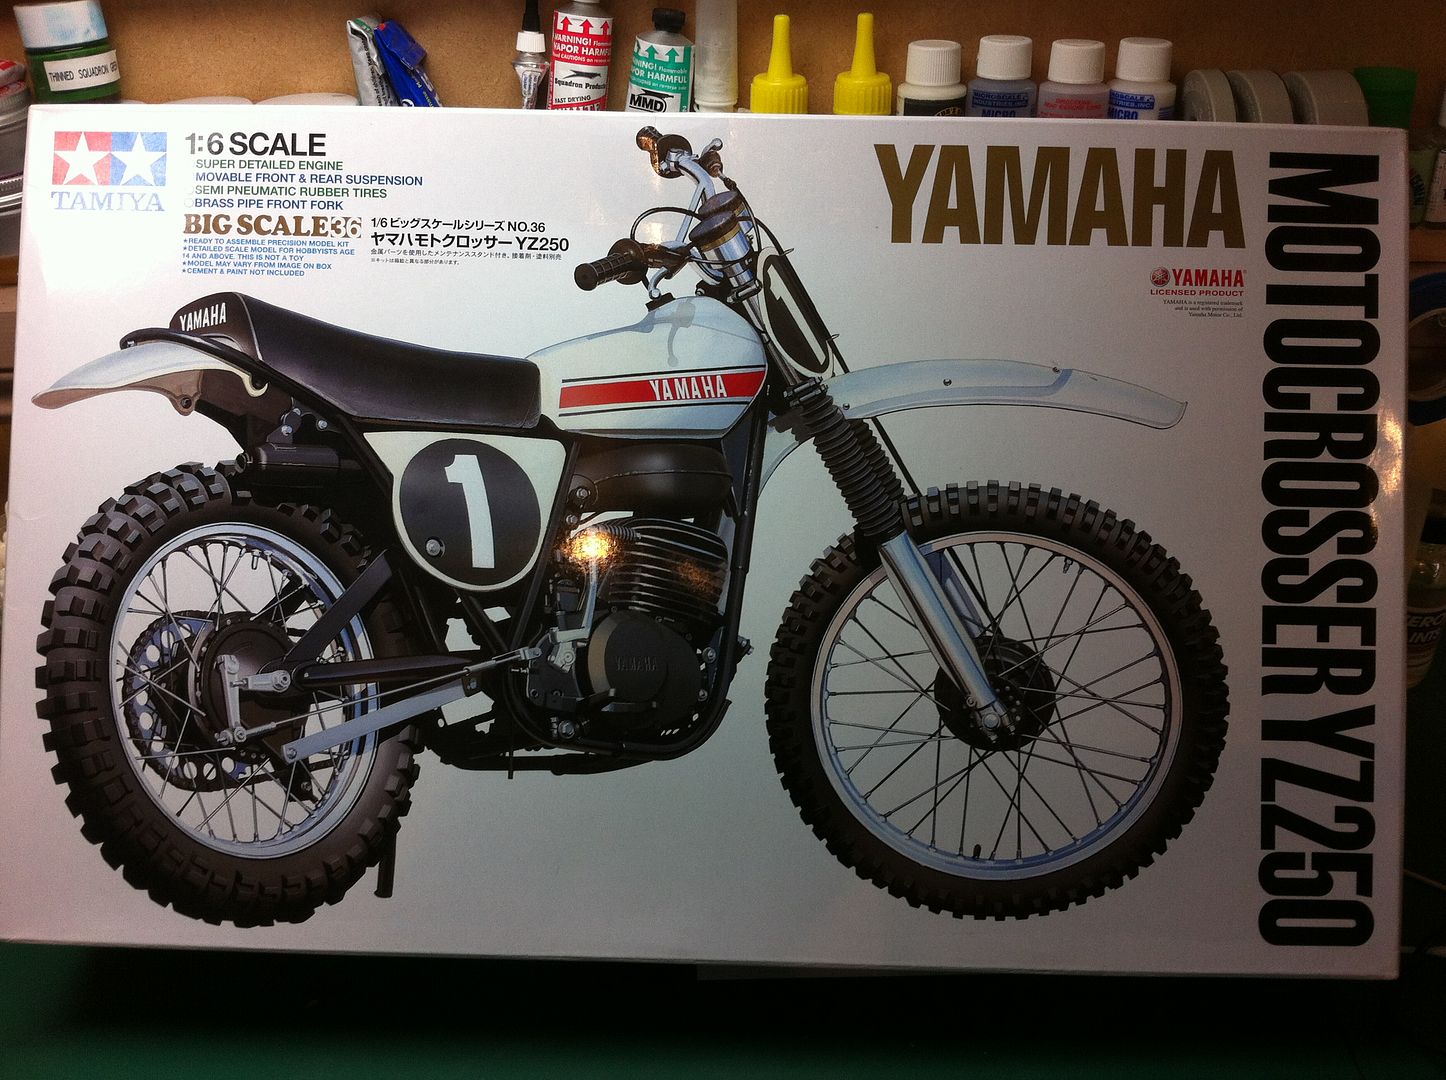
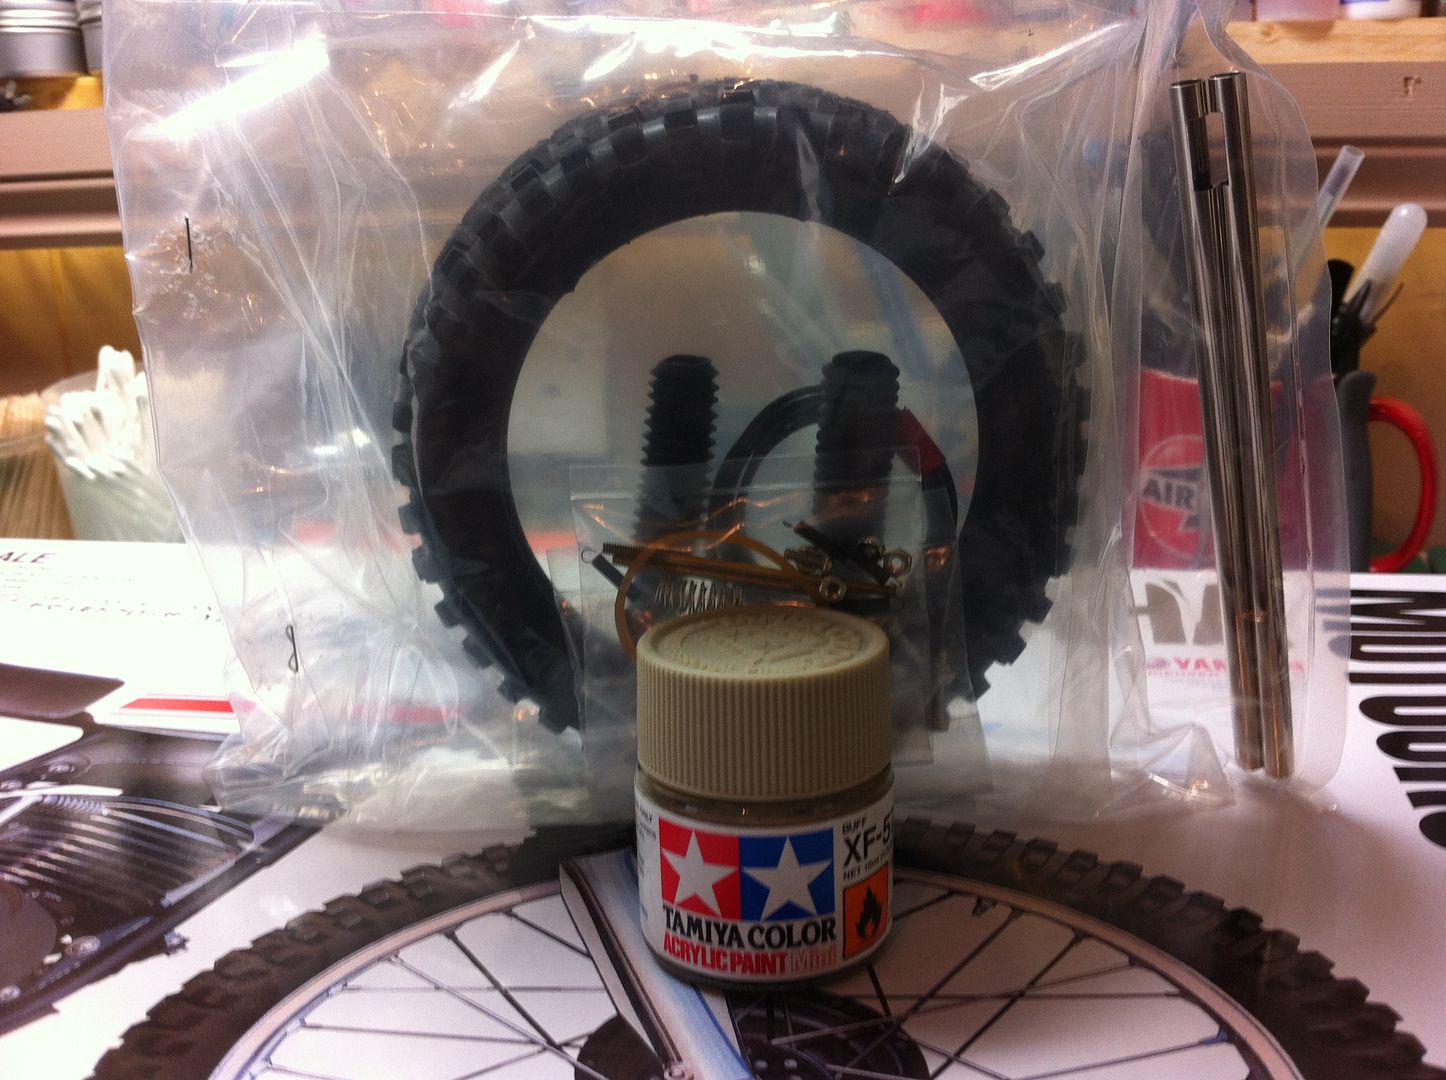
So my kit, inbox review and my sprue shots


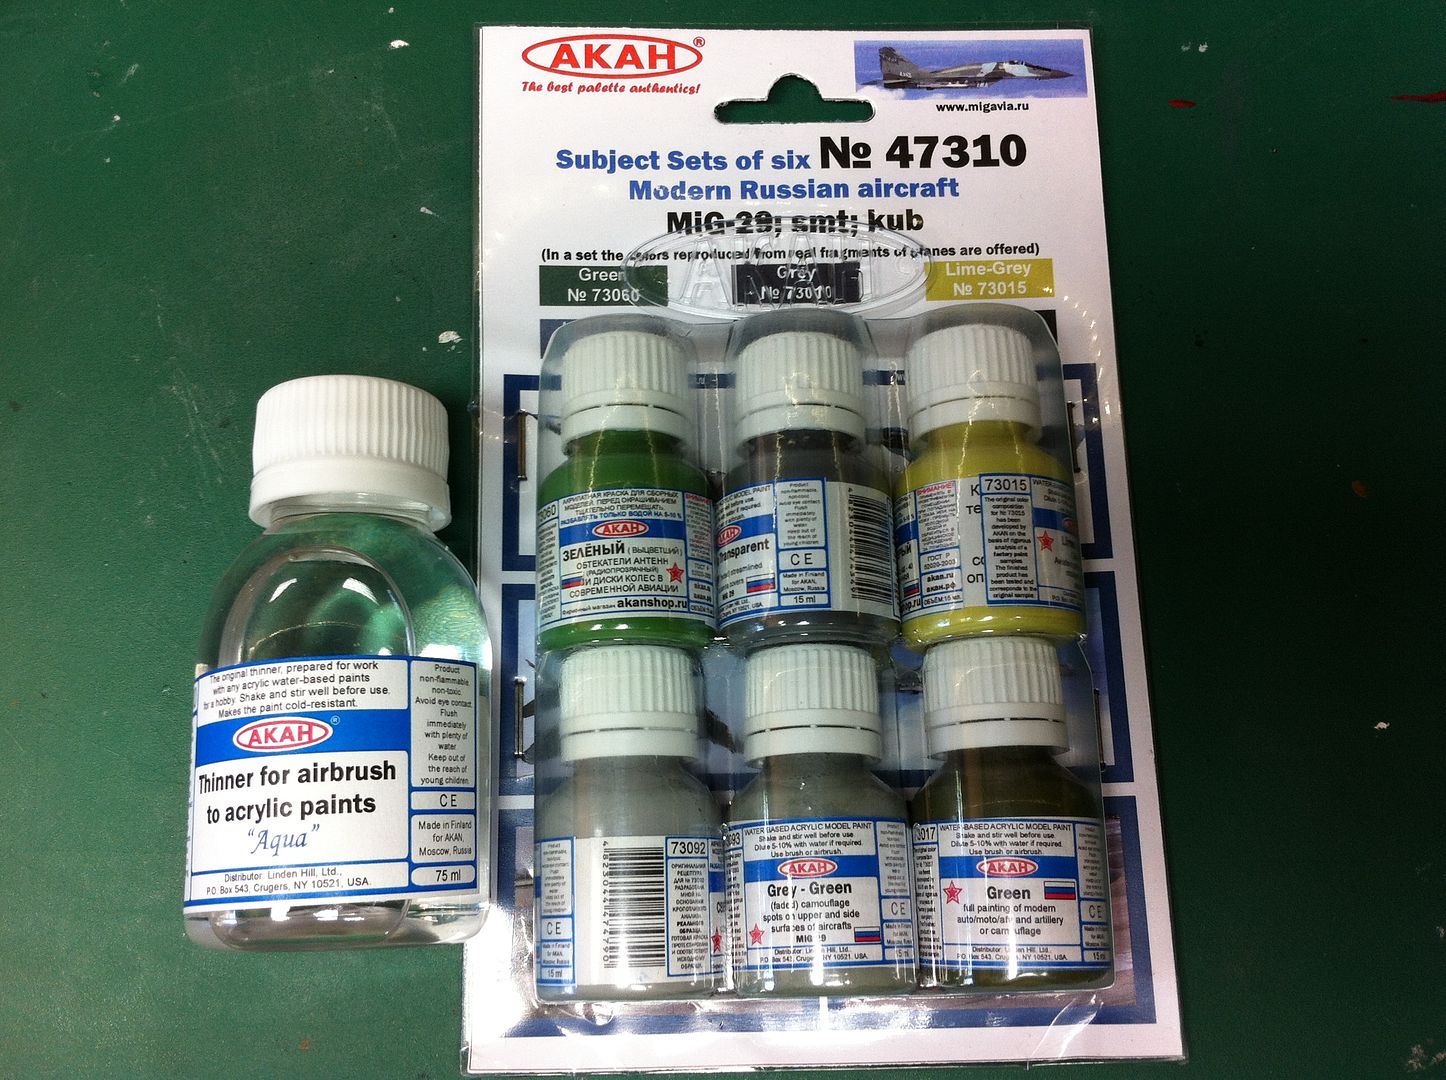
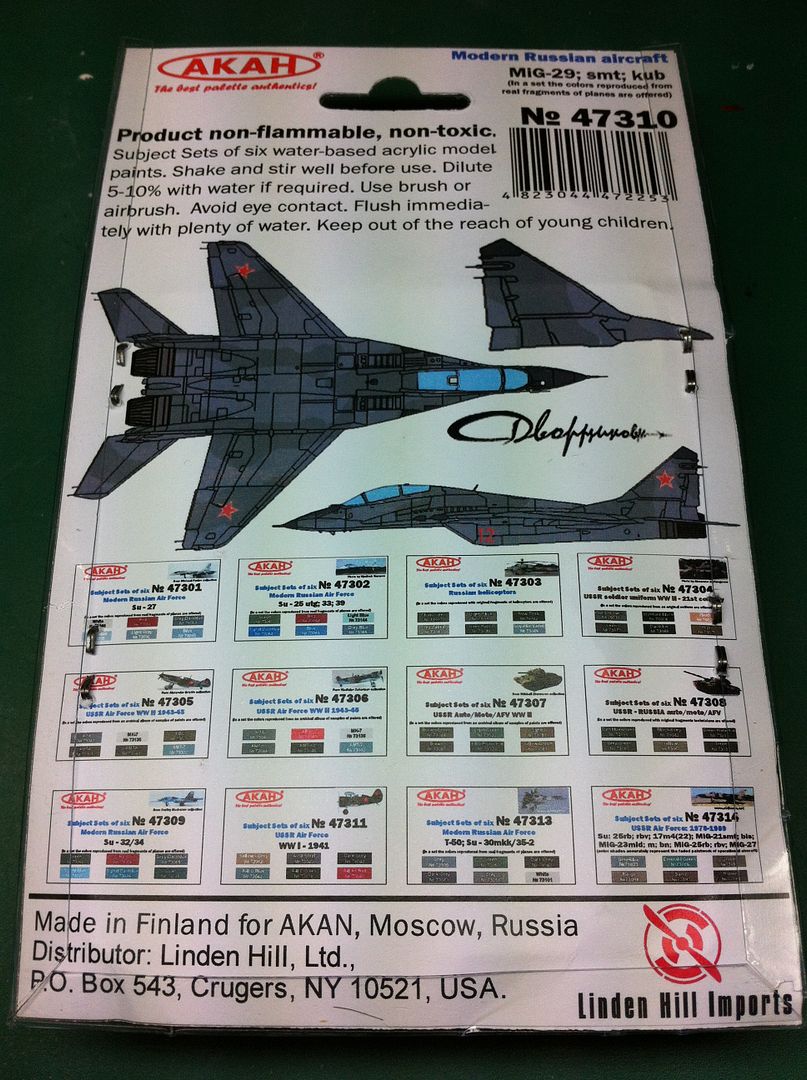
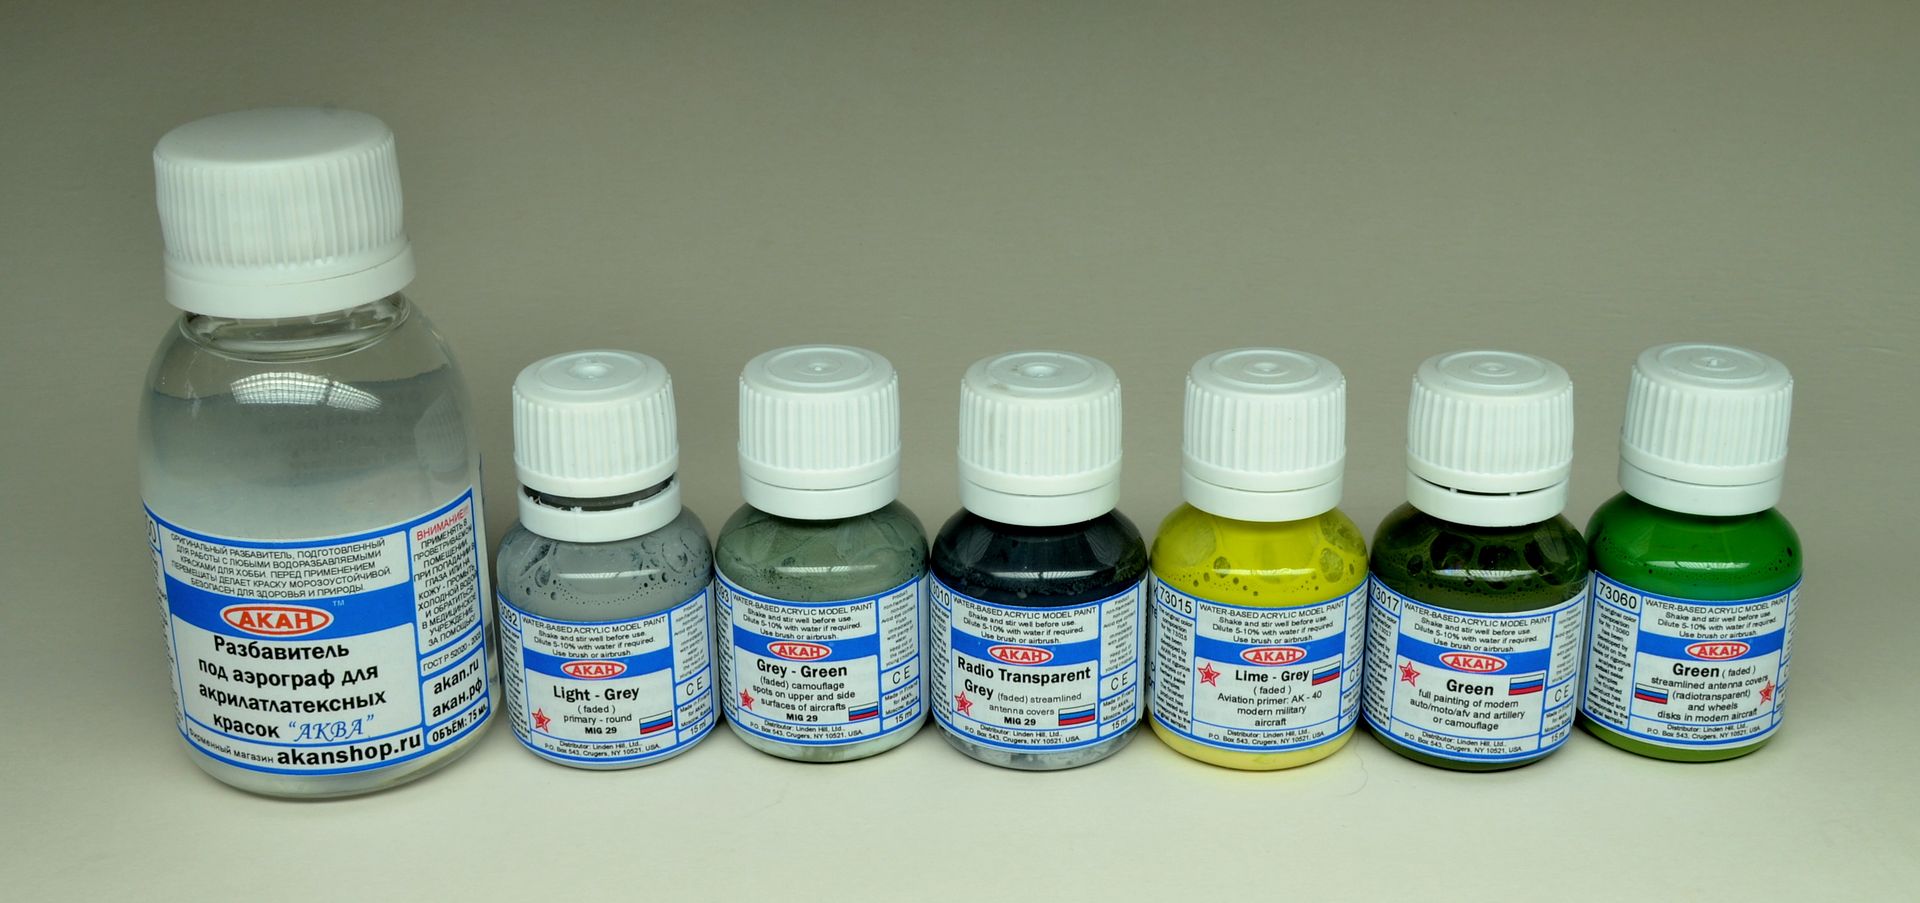
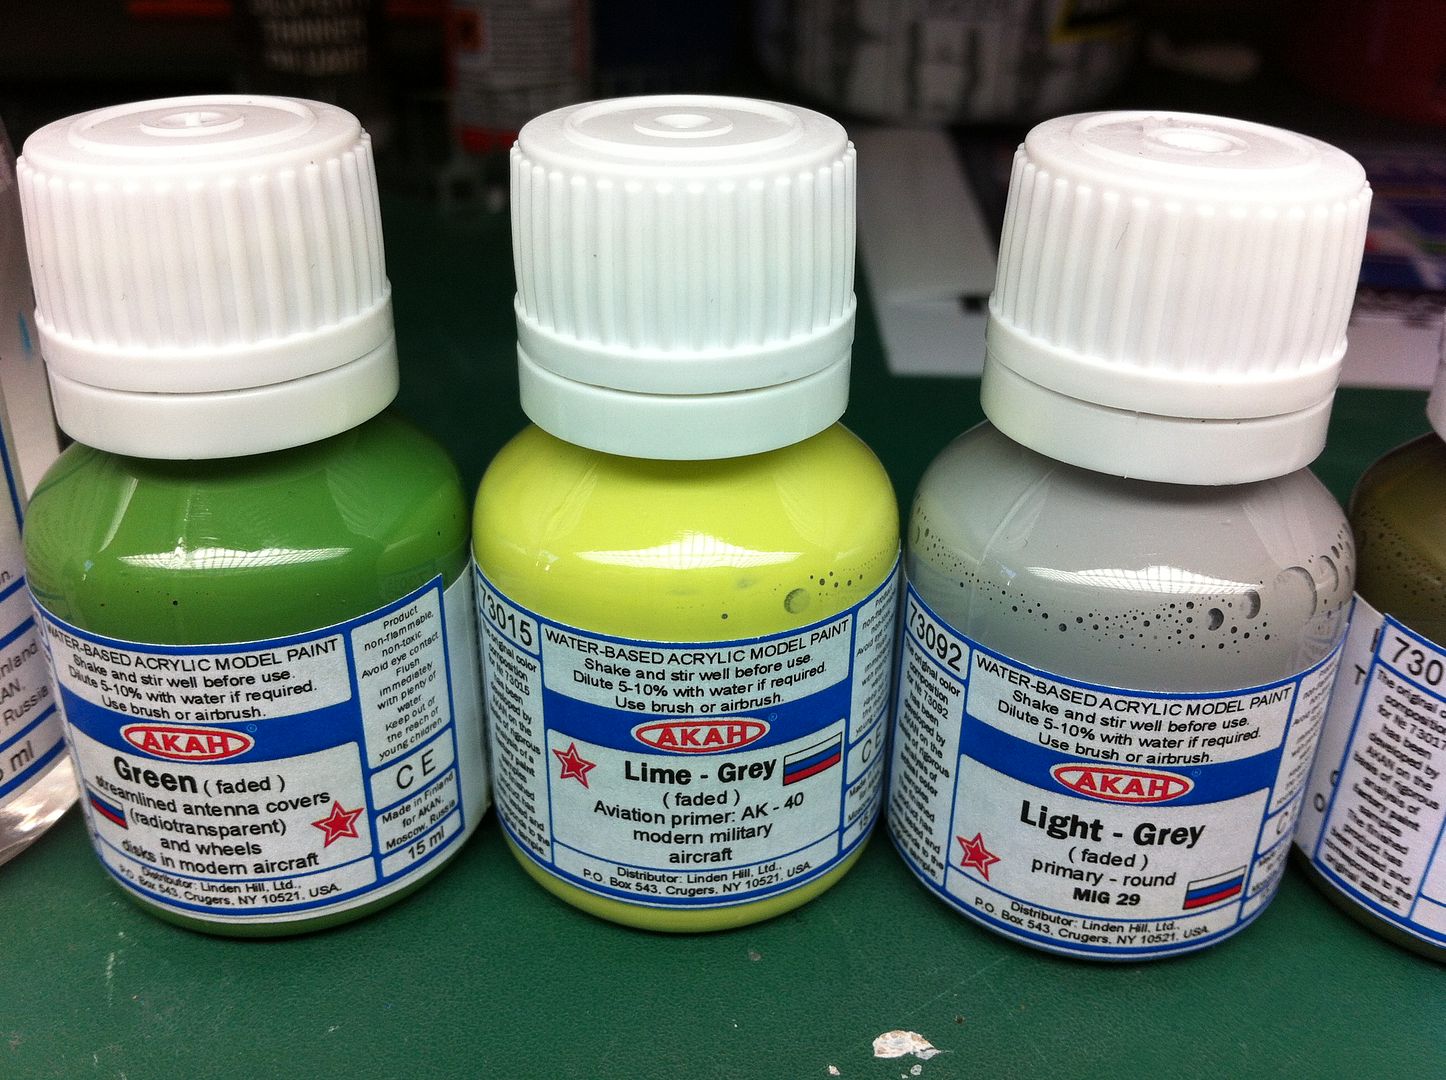
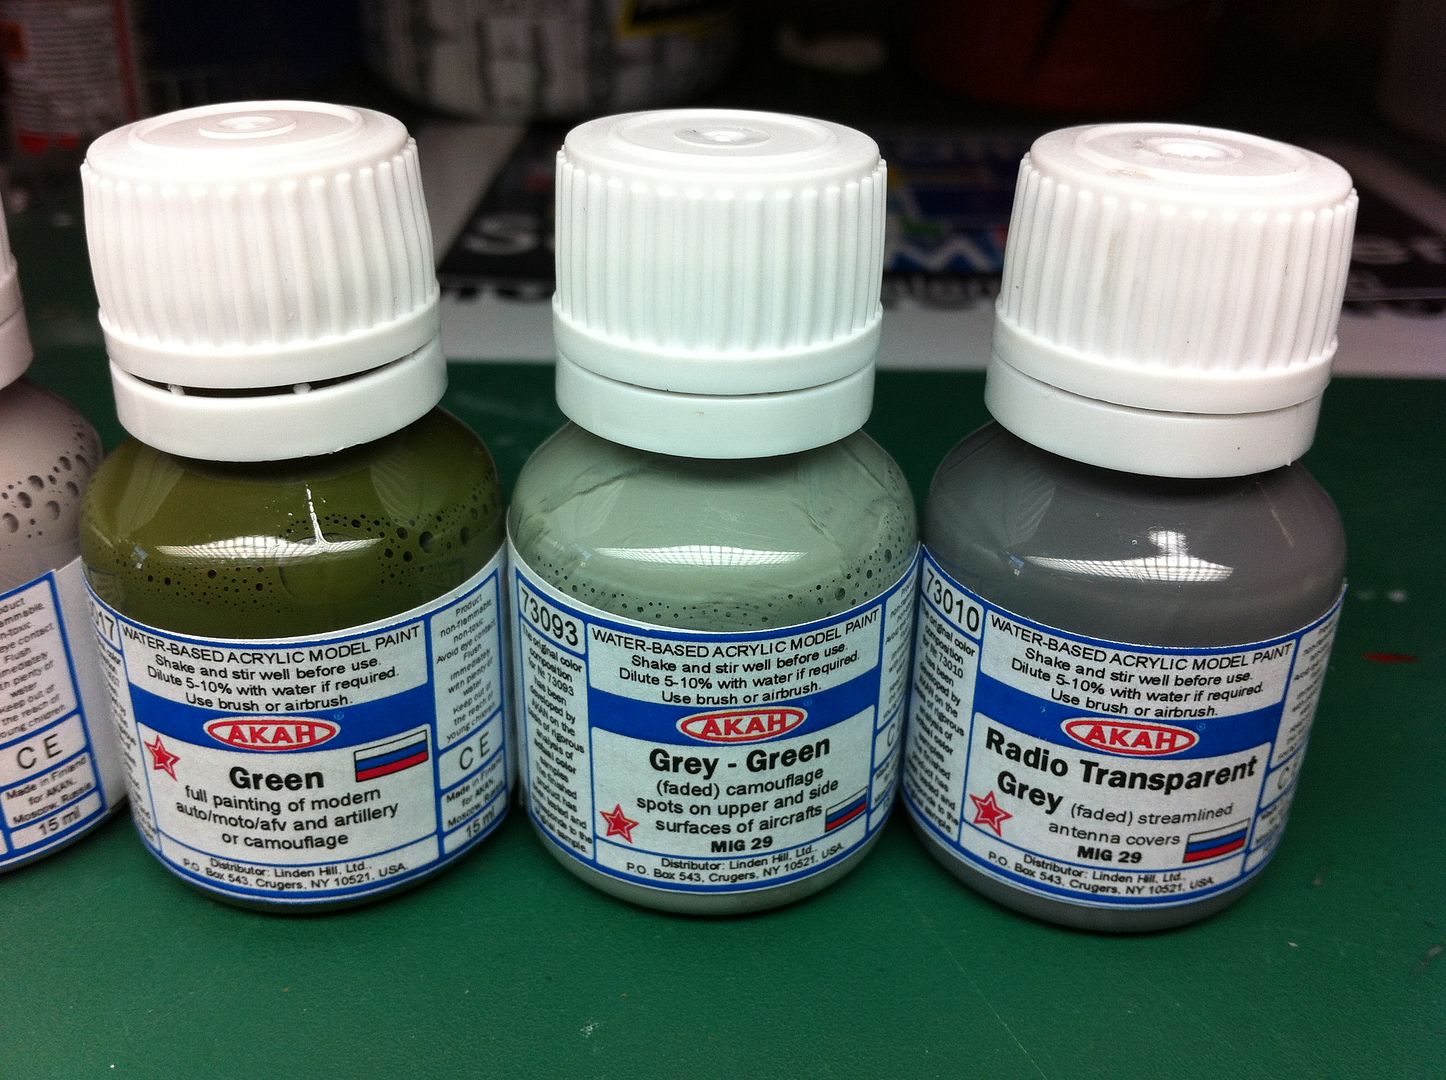
The Akan/Akah Paint set ill be using

Image

Image
ImageImageImage

The full build thread can be found here. http://intscalemodeller.com/viewtopic.php?f=133&t=2352

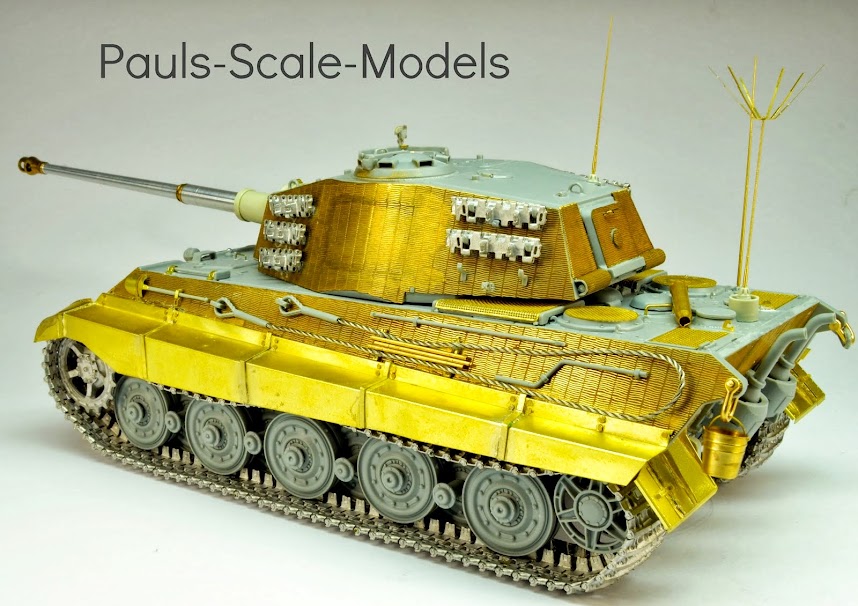
So finally finished it, fantastic kit, one of the best ive built.

Akan paints are just awesome, the nicest acrylic to airbrush by far, and the faded look to the paint work is brilliant, well happy with how that turned out.
The ultimate dark dirt wash worked wonders on the panel lines and landing gear.
Decals :bash: i counted them, over 325 altogether :ooops: it was along slog but worth it.
The "runway" base was a last minute decision yesterday, glad i did it now as it makes a more interesting photo
Lots of photos a mixture of canopy up and down
Lastly the ordanance on this kit is superb, really makes the kit just that little bit better


Image
ImageImageImageImageImageImageImageImageImageImageImage
Image


Friday 6 September 2013

2013 Blog Update

Hi everyone i just thought i would update my blog.

Ive added a bit more information to the page about myself, I've also changed the look of the blog to what i think is a cleaner look than before.

Ive updated a few builds and added a few new ones.

The eModels.co.uk Tamiya 1/6 YZ250 build is complete with links to all 7 parts of the video build and pictures of the finished bike.

Ive added some pics of one of the biggest builds ive ever taken on a 1/35 Dragon King Tiger with Full photo etch options, if it could be added it has been. It weighs a ton and cost a fortune in aftermarket parts. Its also now my title picture in its bear plastic/photo etch form.

My latest build for eModels.co.uk is the fantastic new tamiya 1/32 F4U corsair kit, im really enjoying building this kit, and ill update it as i go along.

Dont forget to check out International Scale Modeller, a forum i co-own and run with Lee, its a very friendly forum, with lots of very interesting members from all over the world and covering a variety of modelling subjects. www.intscalemodeller.com please have a look and come join our friendly community. We have regular group builds, and competitions with some fantastic prizes so join us and come say hello.

Also check out ISM's You tube channel, myself and lee regularly post video kit/tool reviews and how too guides as well as a monthly news show. http://www.youtube.com/channel/UCERZRnW_I0acIiDsORviL-Q


Thanks Paul

eModels.co.uk Tamiya 1/32 Vought F4U-1 Corsair Birdcage Video Build

Ill post the video parts in order below

Tamiya 1/32 F4U Corsair Inbox review video "Click here'

Video Build Part 1 "Click here"

Video Build Part 2 "Click here"
Anyway the in box review has been done and can be found above and I'll add the video parts as they are uploaded as well as pictures through the build.


Anyway the kit, i haven't taken pics of the sprues as the video shows it all, but the level of detail is superb especialy the riveting.
Image

I made a start tonight on part 1, the cockpit.

The instructions are very clear and concise.
Image

The main cockpit parts cut of the sprues and tidied up, sorry about the iPhone pics my dslr battery had died

Image

And all glued in position, the kit is a joy to build, fit is superb with alot of parts holding themselves together without any glue.

Image

Image

Image
Image

Next stage, priming in alclad gloss black base, can anyone see where this is going ;)

Cheers fellas.

Part 2 is underway today, I've just stopped to let paint dry before adding chipping fluid.

For anyone interested this is my camera set up now, it's in my spray booth at the moment but its similar when over my workbench.

Wide shot to the left close up on my lamp held on by a gorilla tripod

Image

I can look at the screen directly in front of me as a reference too

Image

So I assembled the seat and rear bulkhead with the PE bullet proof plates.

These were then primed in alclad gloss black base

Image

I was planning to use dull aluminium but it was actually too dull so I used alclad aluminium In the end.

Image

Next,up chipping and then the interior green :thumb2:


Ok so the chipping solution was applied and left to dry, two coats in total then the mr hobby interior green airsbruhed on. Once dry it was wetted and brushed hard removing some of the green paint work showing the aluminium paint underneath. i think it looks good. Next up ill be hand painting the cockpit details after chipping the front section. Just 2 hours of footage on two cameras to edit.
Image
ImageImageImage


So i spent the afternoon detaailing up the cockpit, i painted the side panels vallejo semi gloss black, as well as the two instrument panels in preparation of the glass/decal (these have been left of the cockpit for now. Ive been around the switch gear picking out buttons, the instruction and reference book helping immensely. Ive also painted and attached the headrest, as well as the rear tank too. Ive chipped away the footcontrol pedals, foot rest and behind the seat top in the same way i did it yesterday and thats about it. i havent filmed any of this as its too fiddly and boring watching me hand paint everything. Filming of part 3 starts on thursday.
Image
Image

Im gonna add a little more green to the footrest as too much has come off
Image
Image

Cockpit dry brushing, gloss coat, panel wash, matt coat and PE seatbelts in part 3, which will see the cockpit complete.


Right so again ive been working on this, the cockpit is complete, i filmed part three today which get us to where we are in the pics below. Gonna put it to one side for a few weeks now as there's still part 2 to be uploaded to u tube and this one. Really enjoying the build, but i cant build it in a couple of weeks sadly lol. The kit is brilliant anyone considering buying just get it :th: If you already have it build it now lol :cheers2:


So today i decalled the two instrument panels, which was a complete nightmare, i lost one dial as they are a pig to do and such a fiddly small part.
I then Drybrushed the cockpit (with tamiya chrome silver) which brought out more of the cockpit detail, and then assembled the PE seat belts, they needed annealing to conform to the seat. Little tip, if using a chipping fluid, CA glue kicker takes the paint right off, i nearly ruined the paintwork on the seat.
The seatbelts were then painted in vallejo model colour Stone grey and chocolate brown and the metal work picked out with tamiya chrome silver.


The entire cockpit was given a wash using highly thinned tamiya xf1 and once dry, i dry brushed again returning any lost detail.


The instrument panels and seat where glued in position and then the front binnacle cover and gun sight were masked and sprayed Mr Hobby flat black.


Ive got at least 10 hours of my time in this cockpit, im happy with how it looks, looking forward to cracking on :banana:
Ok so ive touched up those areas i wasnt happy with as well as added a touch more chipping in places.

ImageImageImageImageImageImageImageImage


Tuesday 20 August 2013