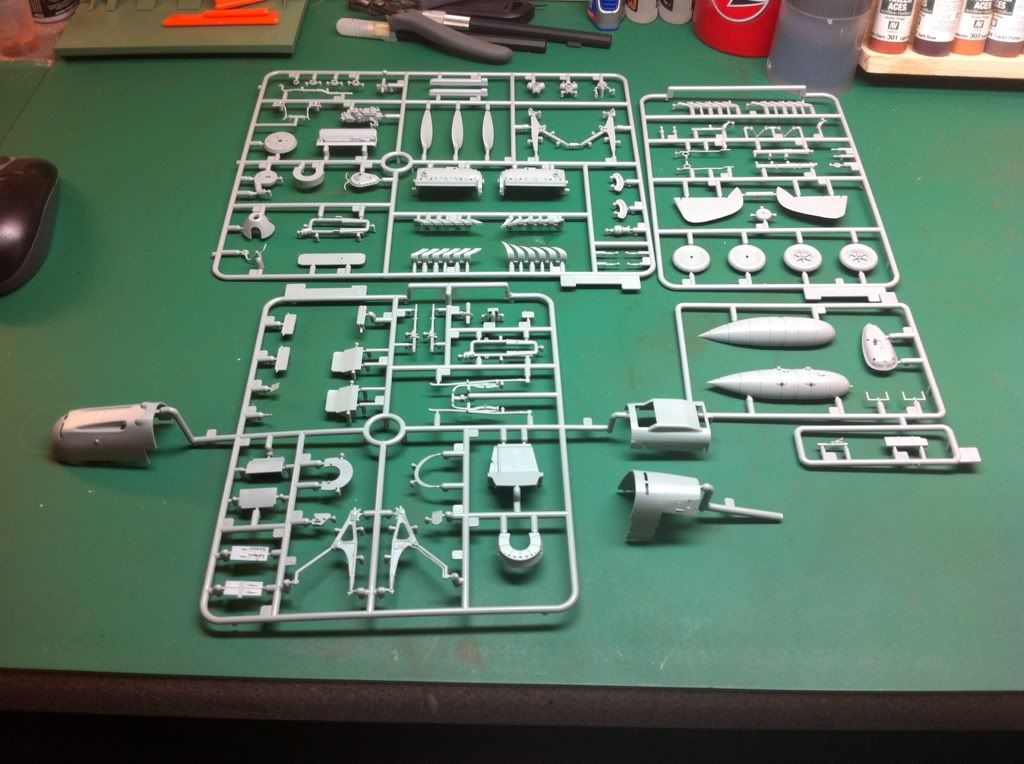
Wanted to do this for a while, actually built it in 2012 but never added to my blog so here it is.
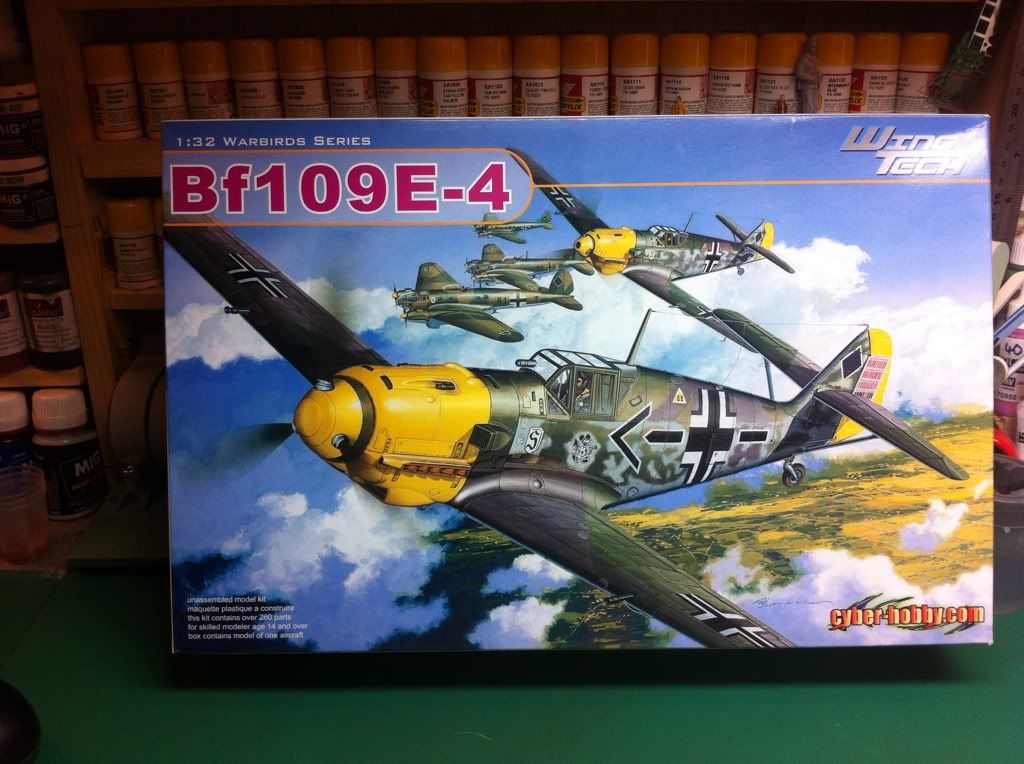
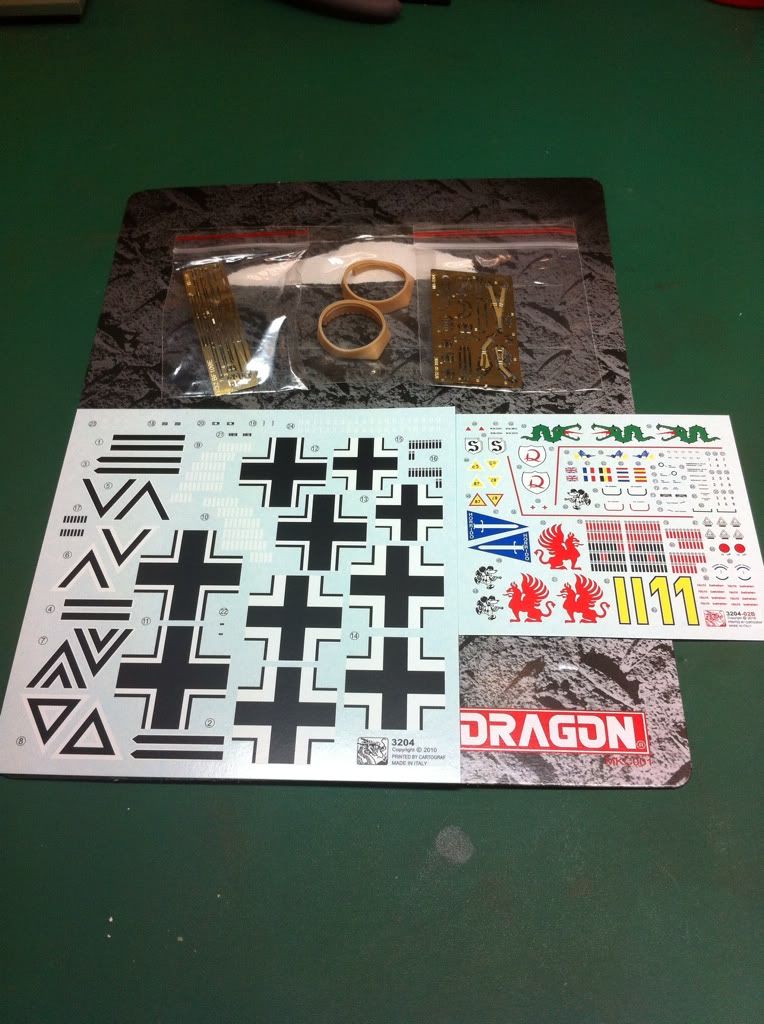
I think I'll be going for the Adolf galland scheme, bottom row middle.

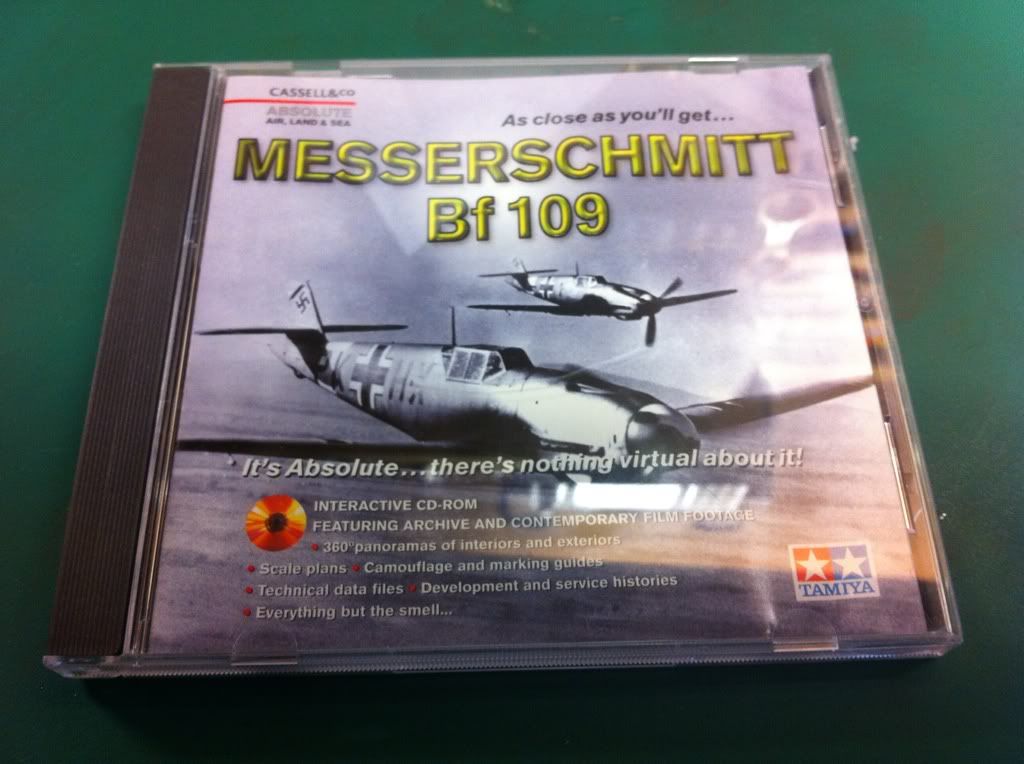
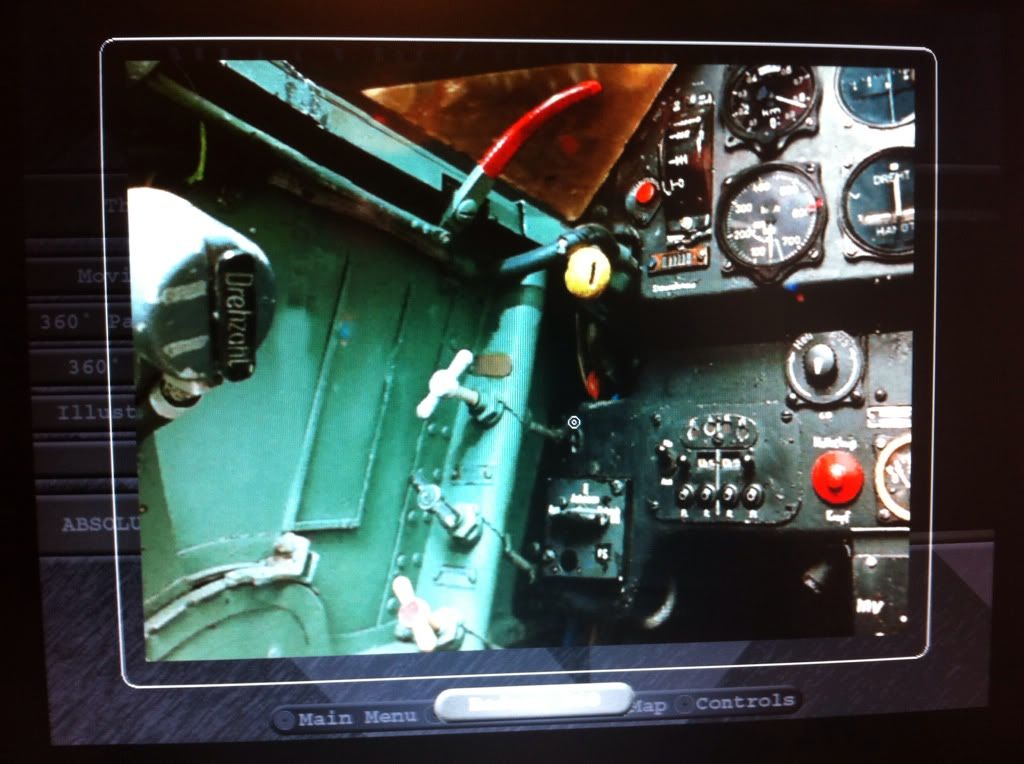
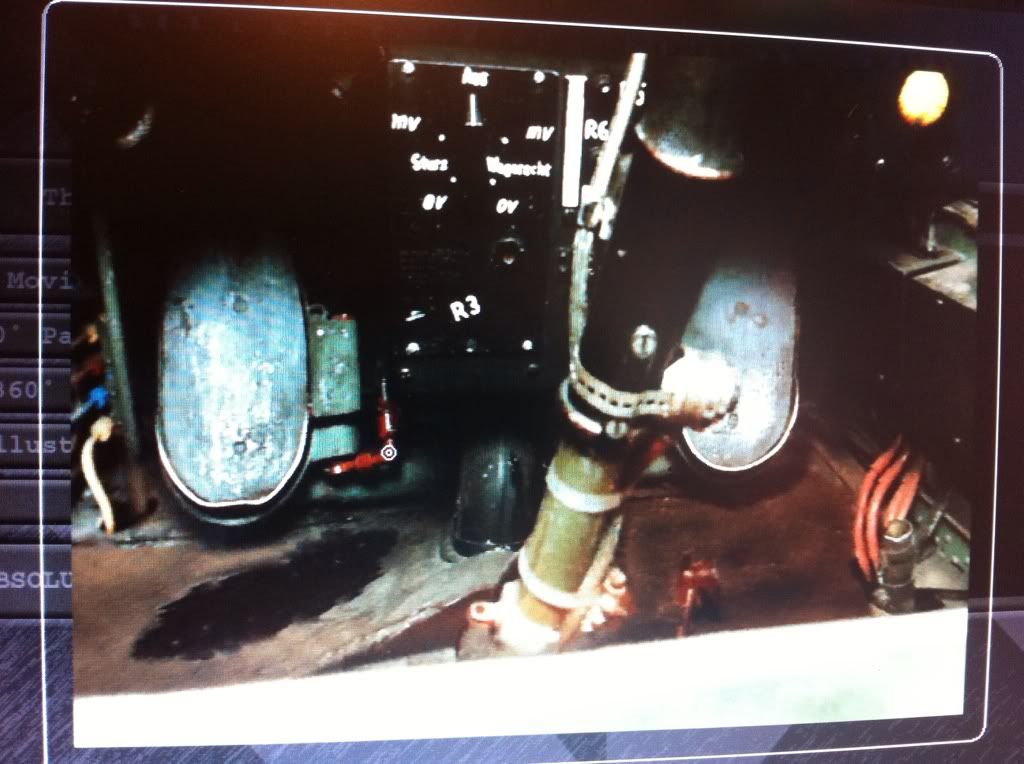
For reference I'll be using this tamiya cd rom I got last year in a modelling haul bargain on eBay. They are superb references, with 360 views of the cockpit etc, loads of video footage, history, development, plans etc etc. I was lucky enough to get the full set of six and they have proved very useful.
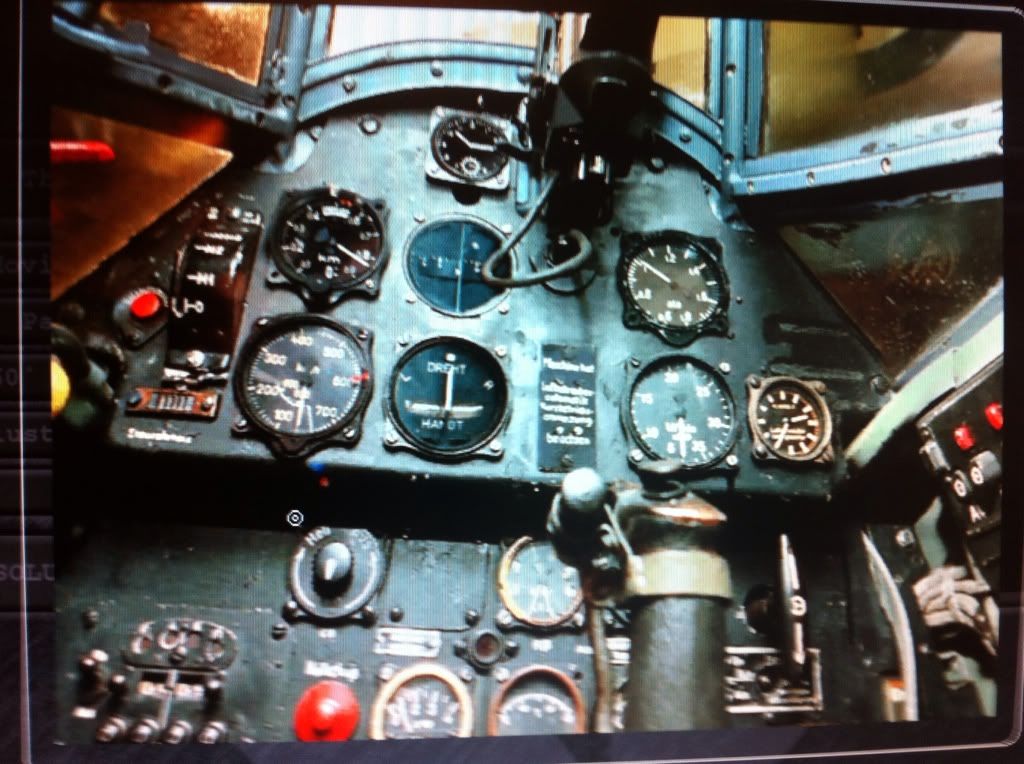
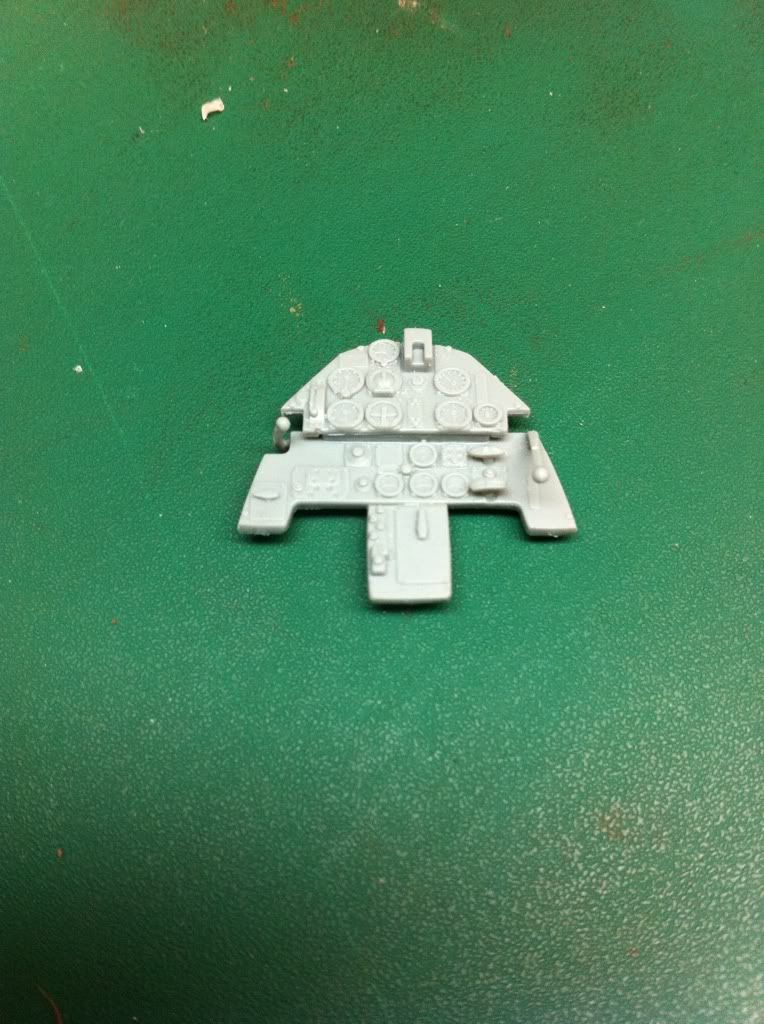
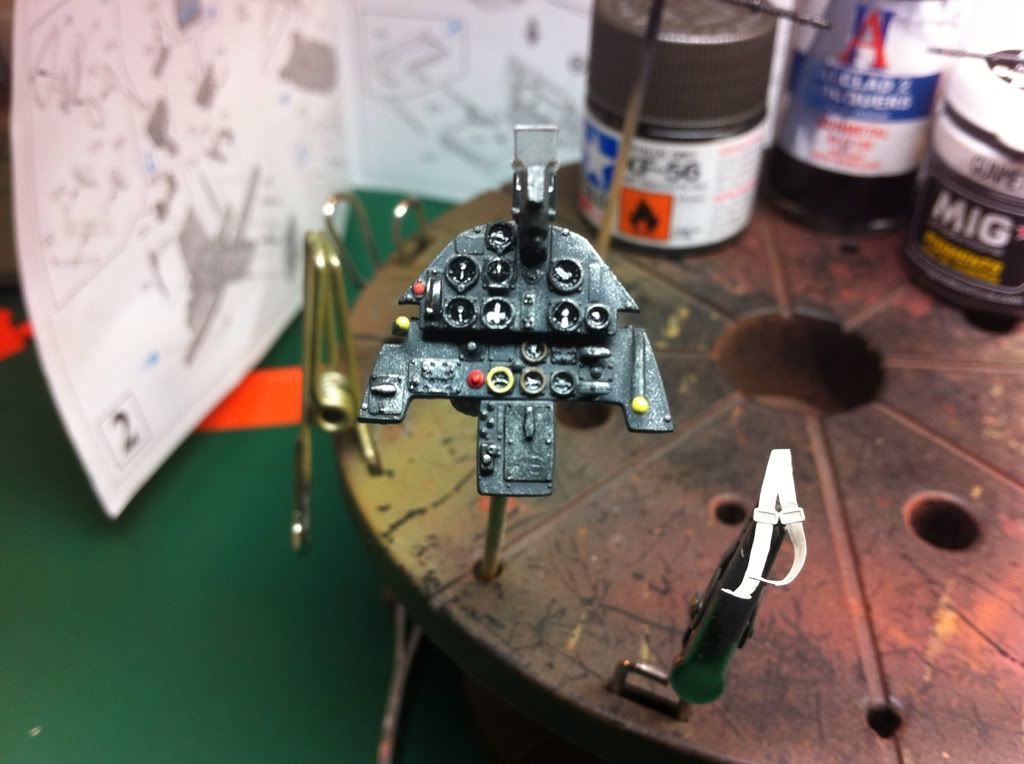
I made a start on the instrument panel, primed it in Vallejo grey primer, and then sprayed it in xtracrylix rlm 66 schwarzgrau.
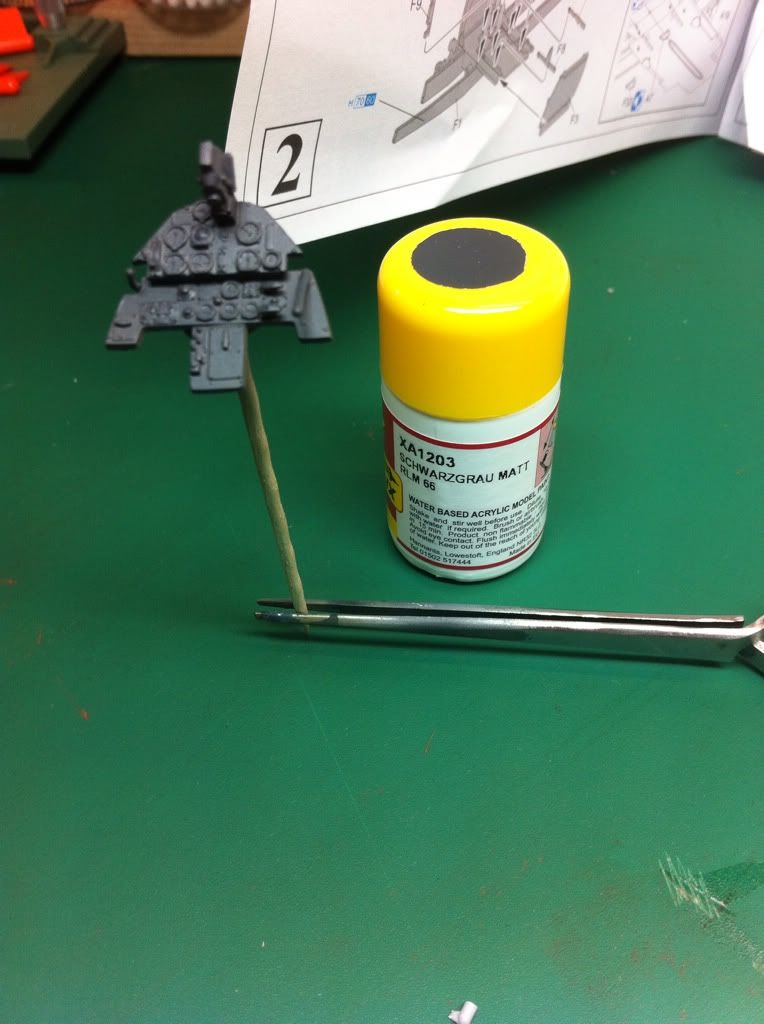
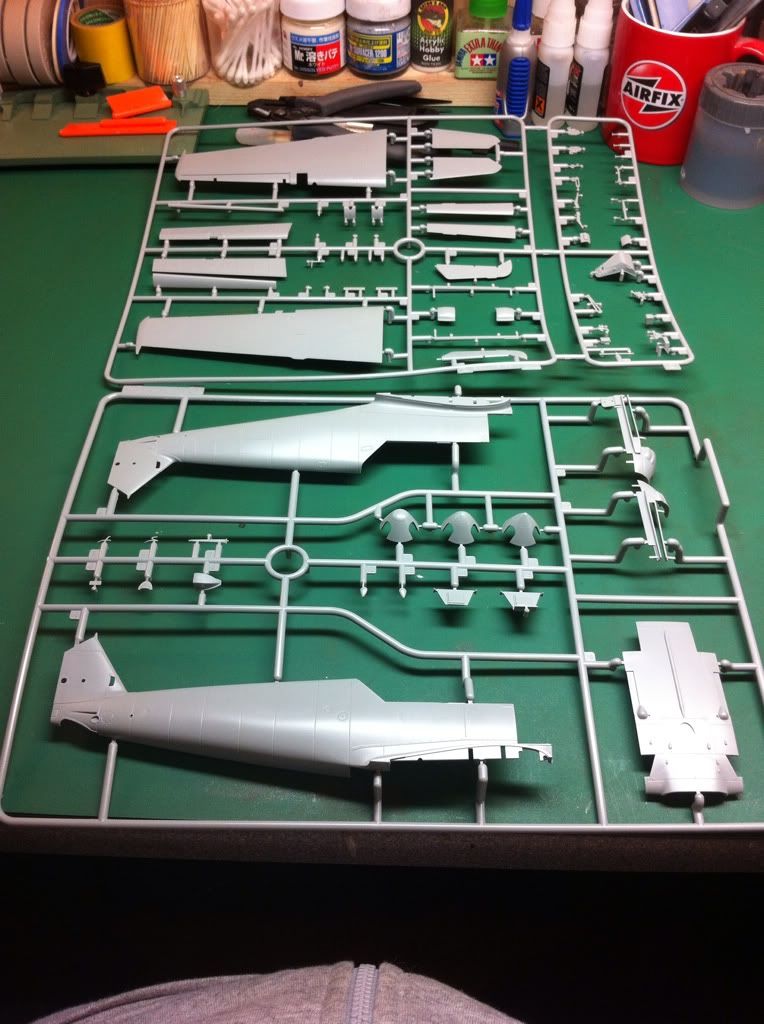
Right my first real progress post.
This is the most time I've spent on a cockpit as I usually rush the to get to the parts I enjoy most ie painting.
But I spent a few hours each day on the cockpit and I'm happy with the result. I've gone,by the pics on my cd,rom, I'm not sure how accurate they are but it'll do for me..
Sadly I seem to have lost a few of my progress pics, which is a right pita.
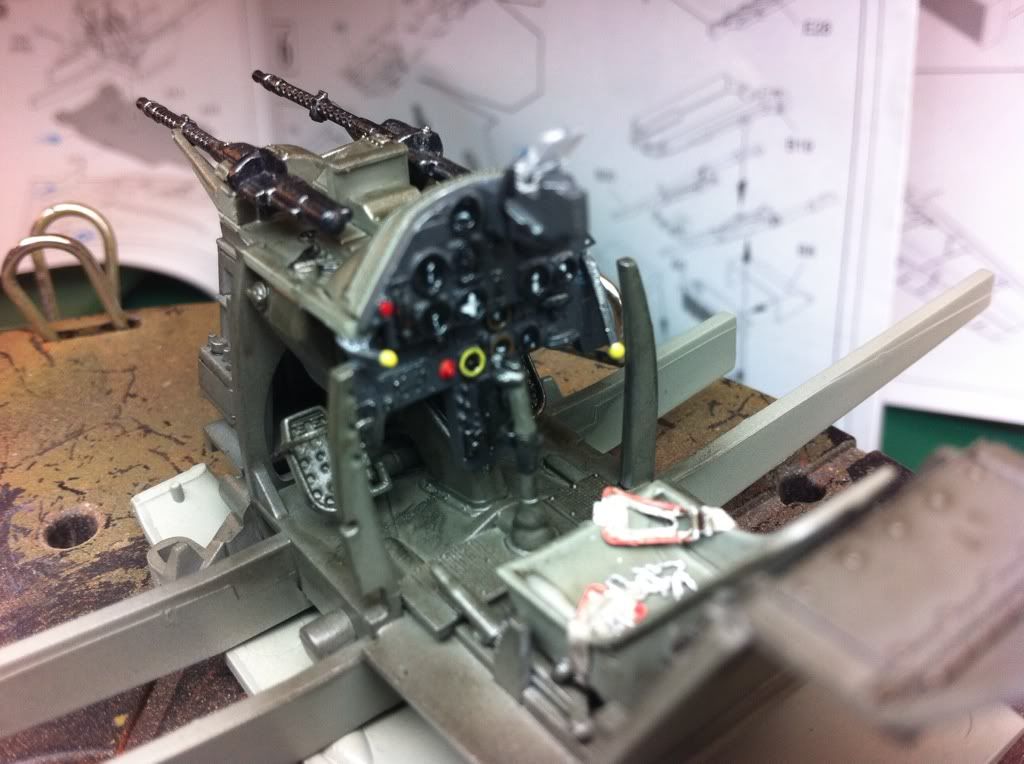
The cockpit build up
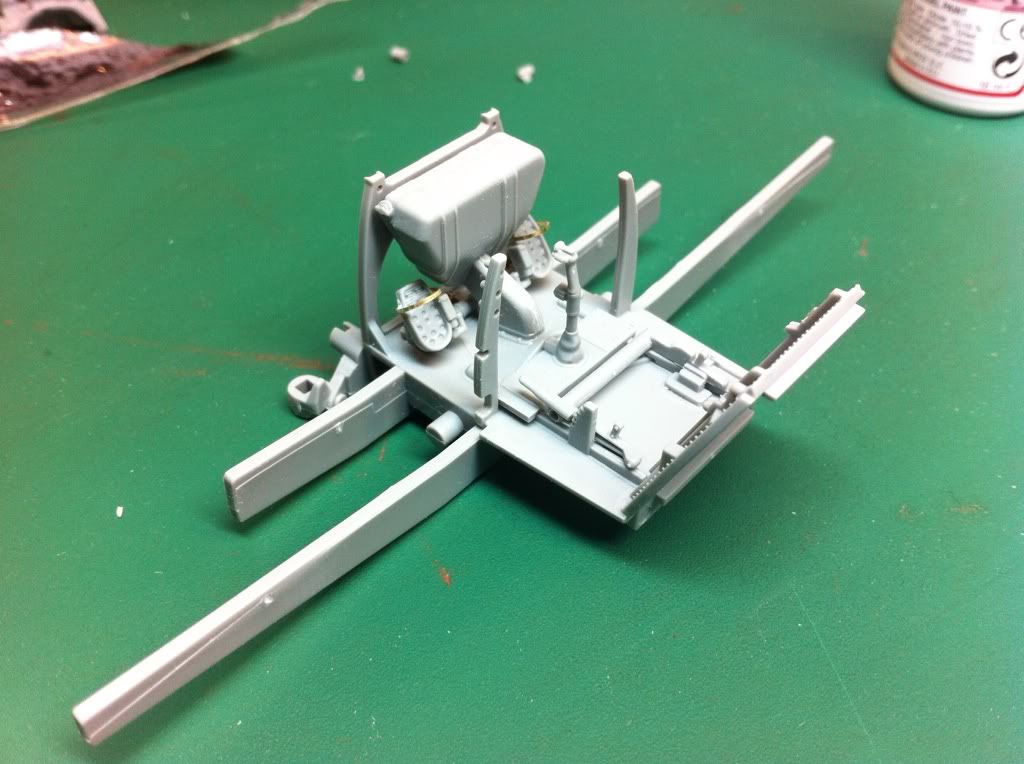
The seat, gun mount and pe seatbelts.
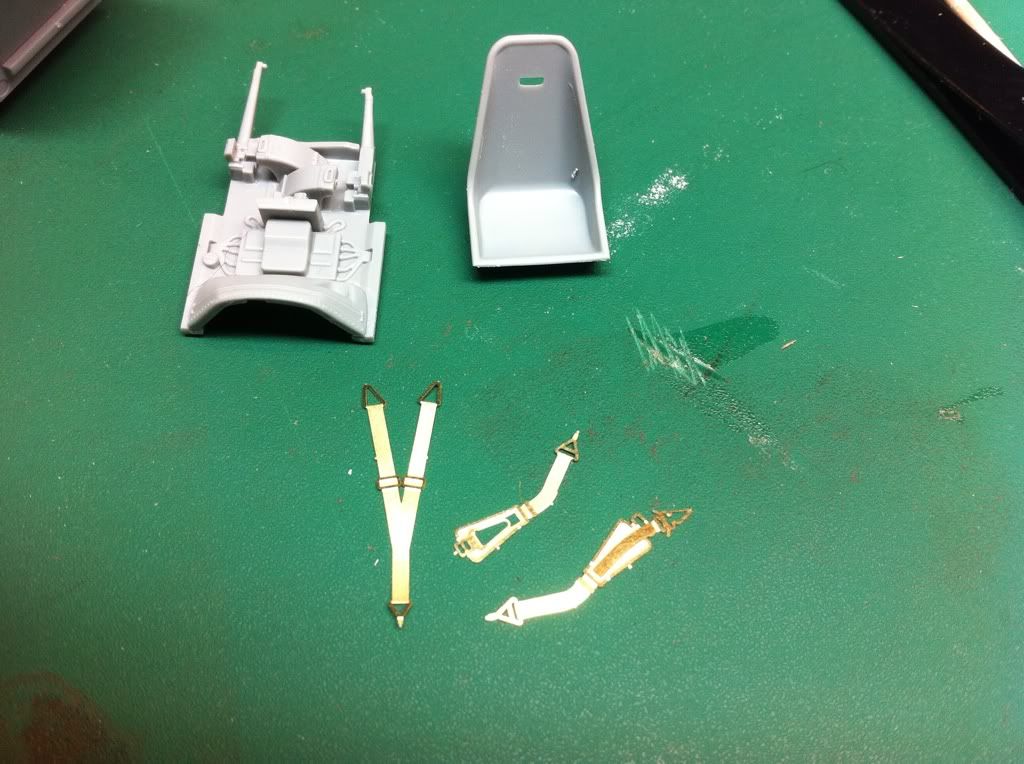
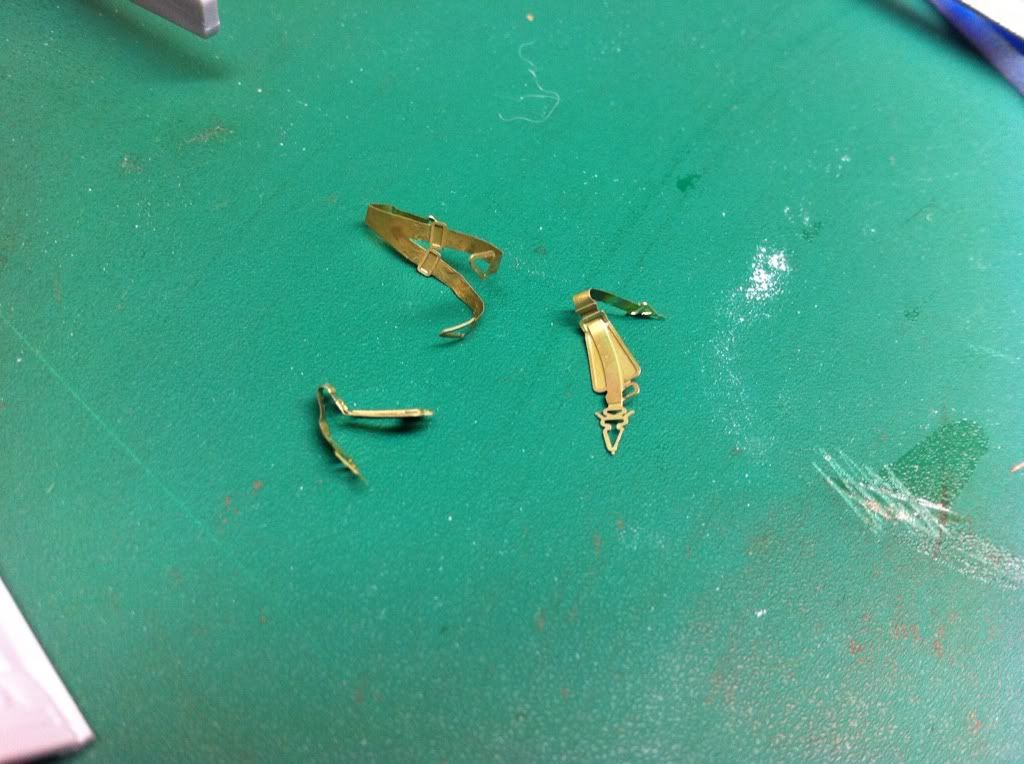
I annealed the seat belts using a jet flame lighter, first time doing this and it makes it a lot easier to work into the position required.
 r
r
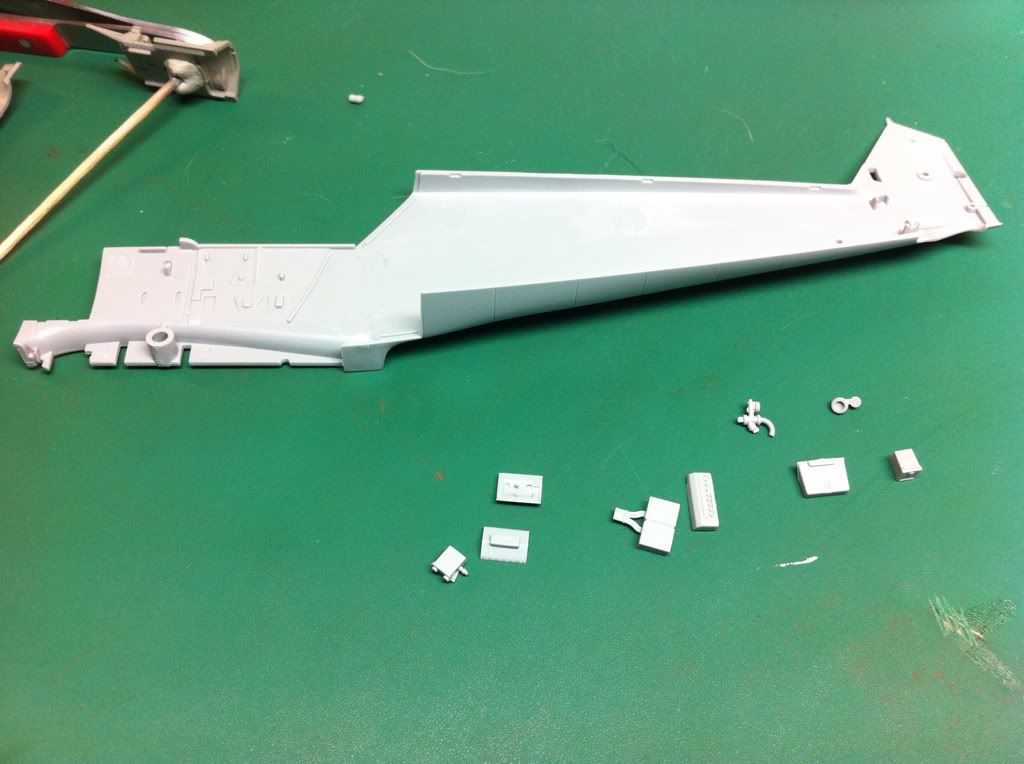
The right hand side othe fuselage and it's bits ready for glueing, I've lost the pics of them attached and sprayed.
This is we're I'm missing pics I primed the cockpit parts with alclad grey primer, I normally use Vallejo but for speed y can't beat the drying time of alclad. I then sprayed the instrument panel in rlm 66 and the cockpit in rlm 02 (both xtracrylix)
I painted all the fuselage panels and boxes in Vallejo black and then the knobs and switches again in Vallejo model colour.
I then dry brushed the cockpit in tamiya metallic grey amd then spayed the entire cockpit in heavily thinned tamiya smoke.
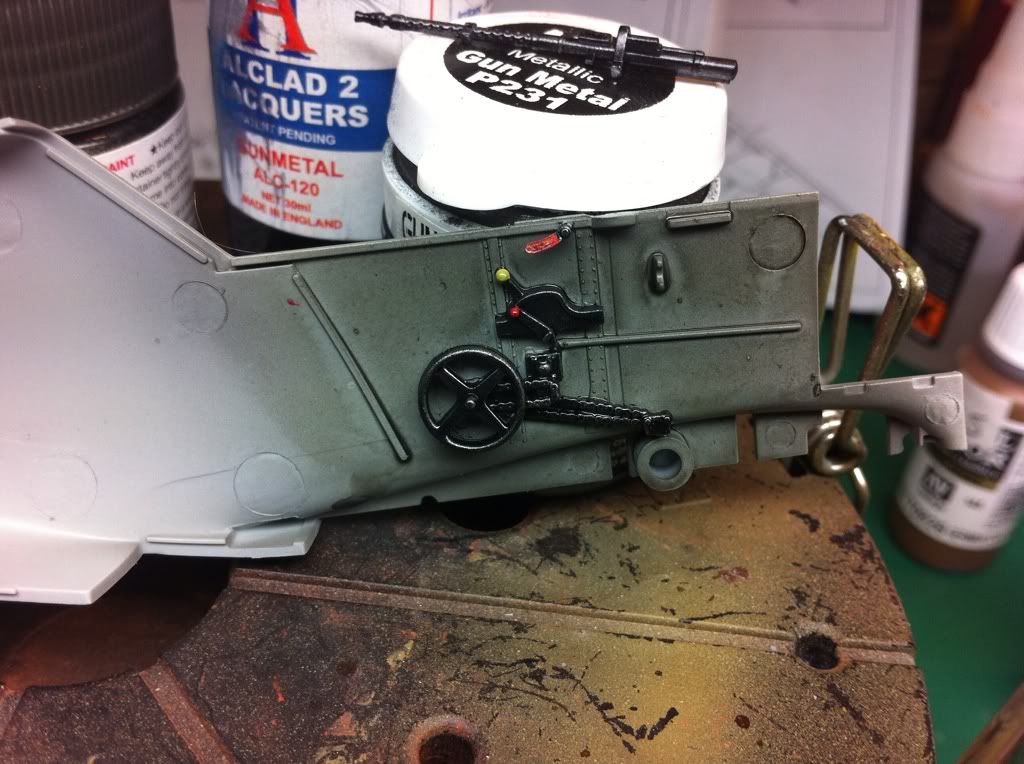
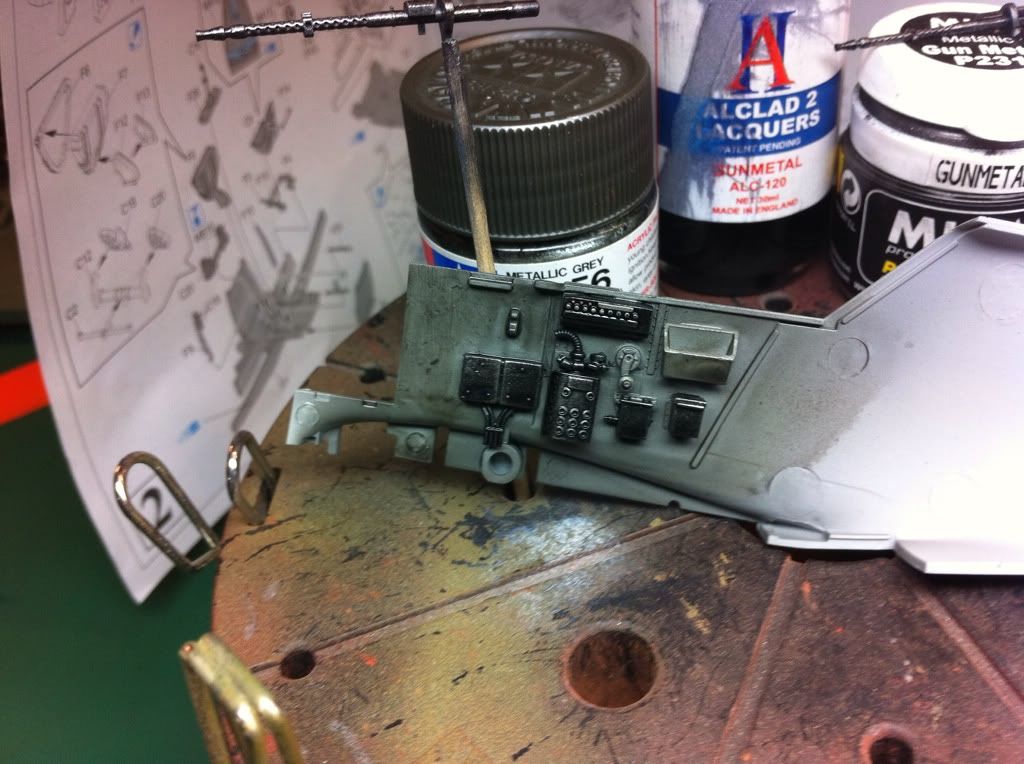
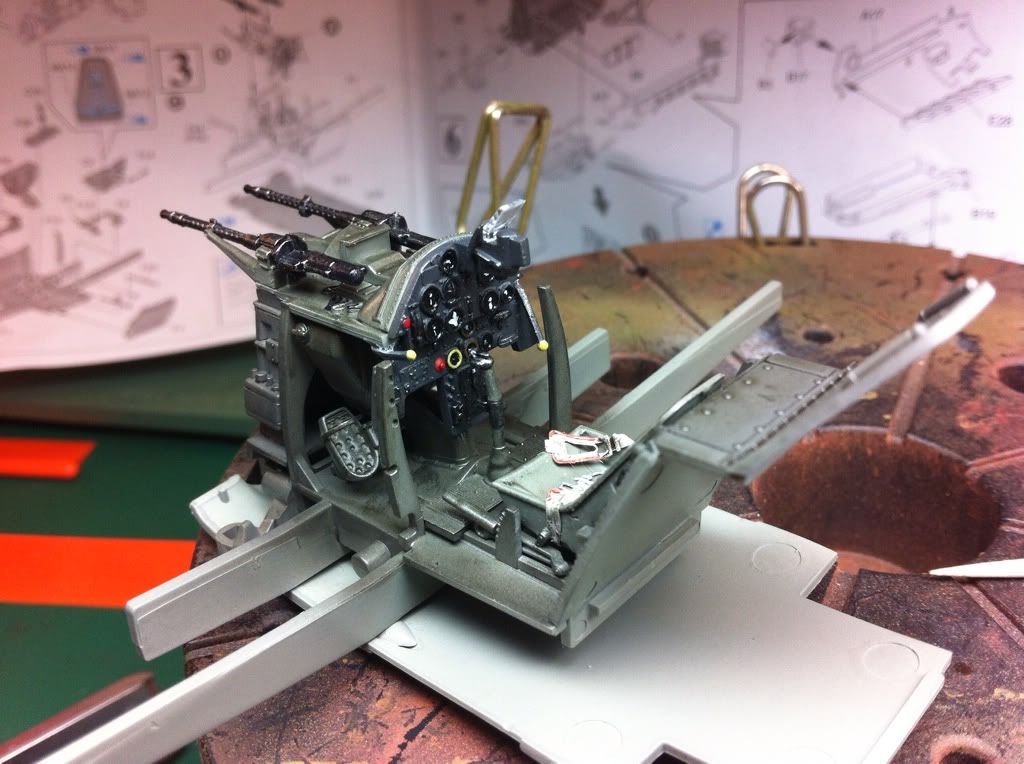
The instrument panel bezels were painted in Vallejo black and the needles In white, I then dropped some klear in to simulate glass. The rest of the switches, knobs dials etc were then painted,in various model,colour paints.
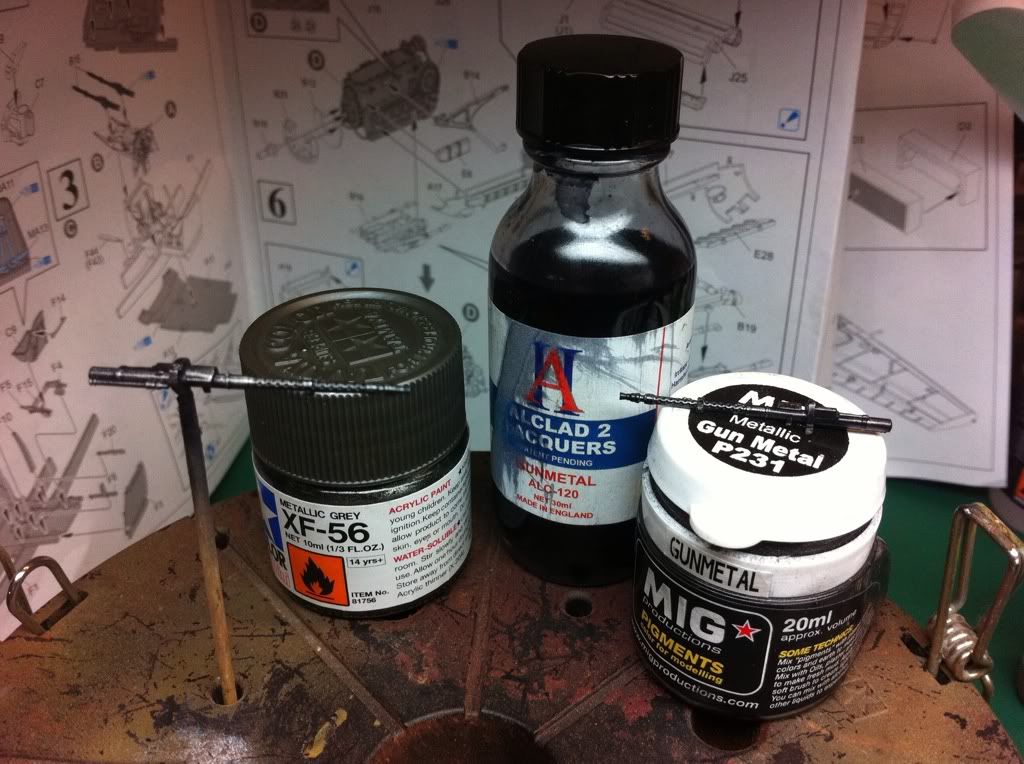
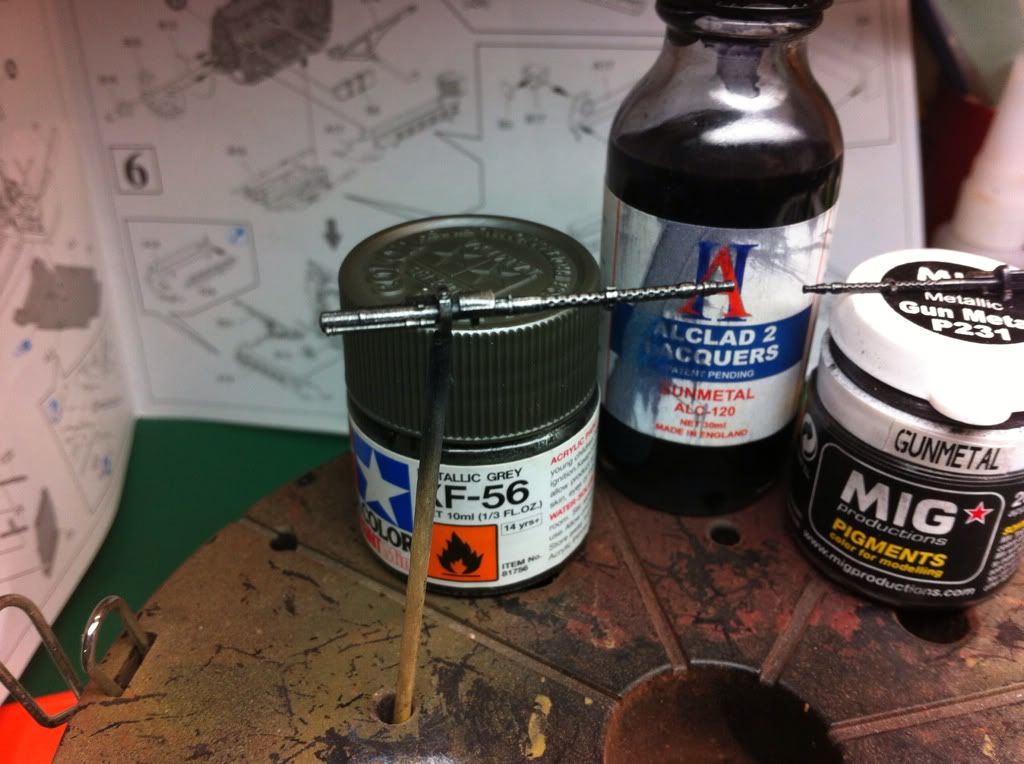
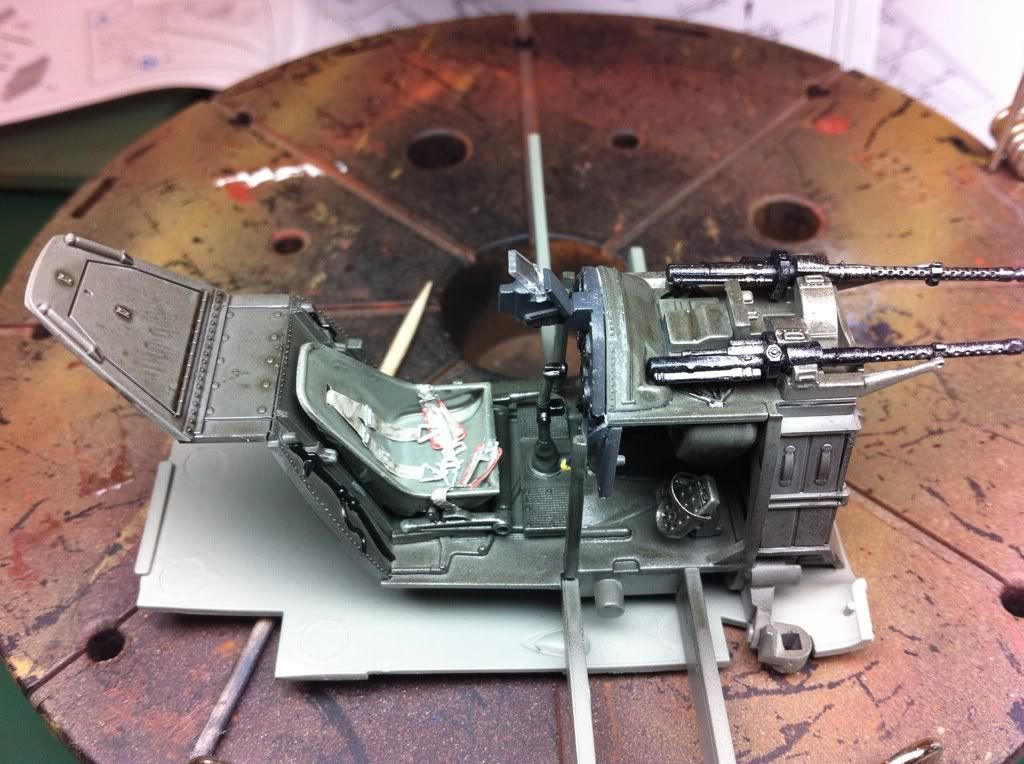
Next up I got the guns sorted, I sprayed them in alclad gunmetal then dry brushed it in tamiya metallic grey and then using mig gunmetal pigments gave them that we'll worn look.
The seatbelts were first primed in alclad primer and then painted in a mix of Vallejo colour off white and canvas. I painted the seatbelt pad surrounds in a salmon red model colour. The buckles were painted in silver and I weathered them using tamiya smoke again.
I got all the cockpit together.
A nice out of focus shot
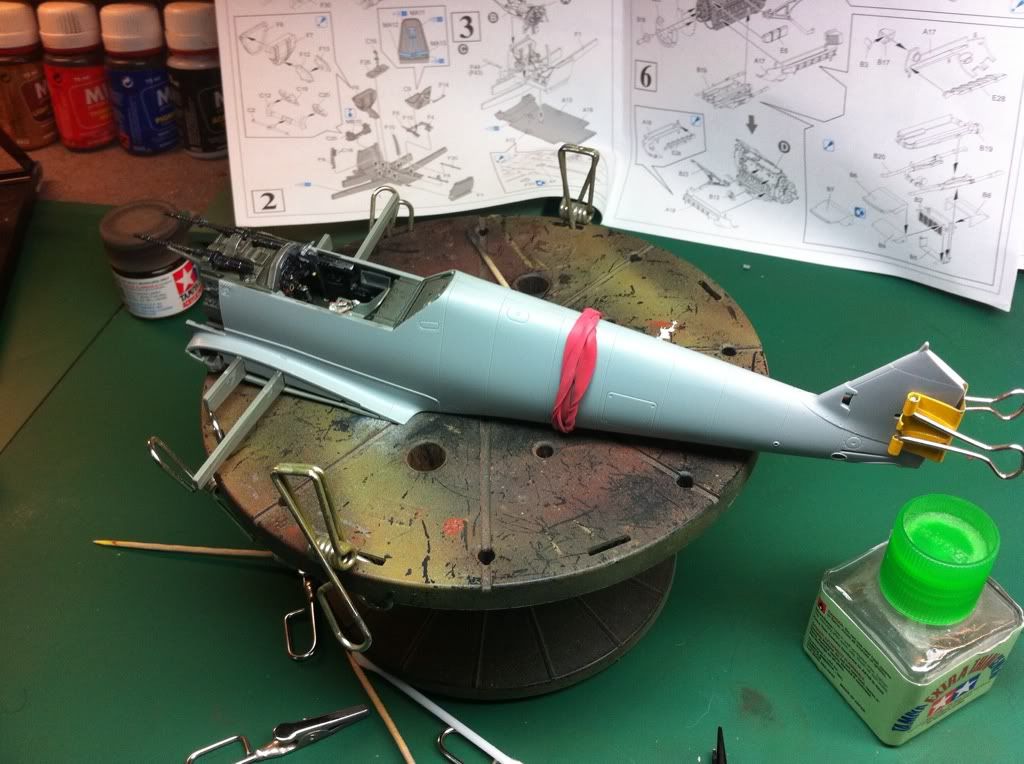
One side off the fuselage on

Both sides on and glued
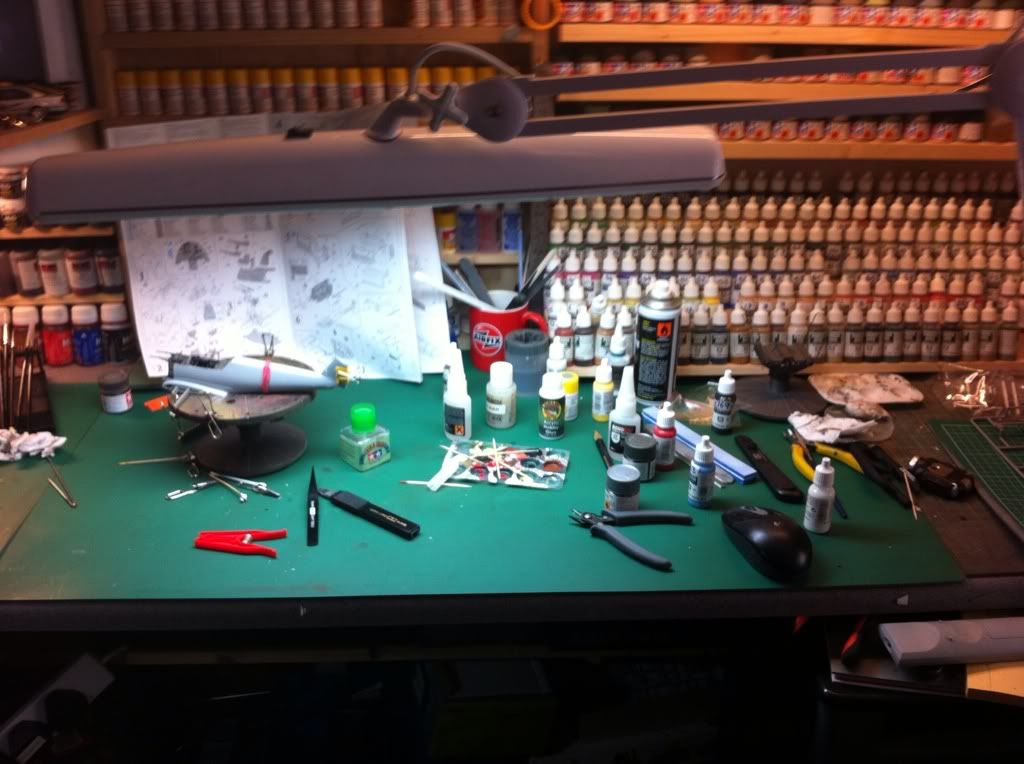
And my workebsnch in about as big a mess as it gets before it gets tidyied up
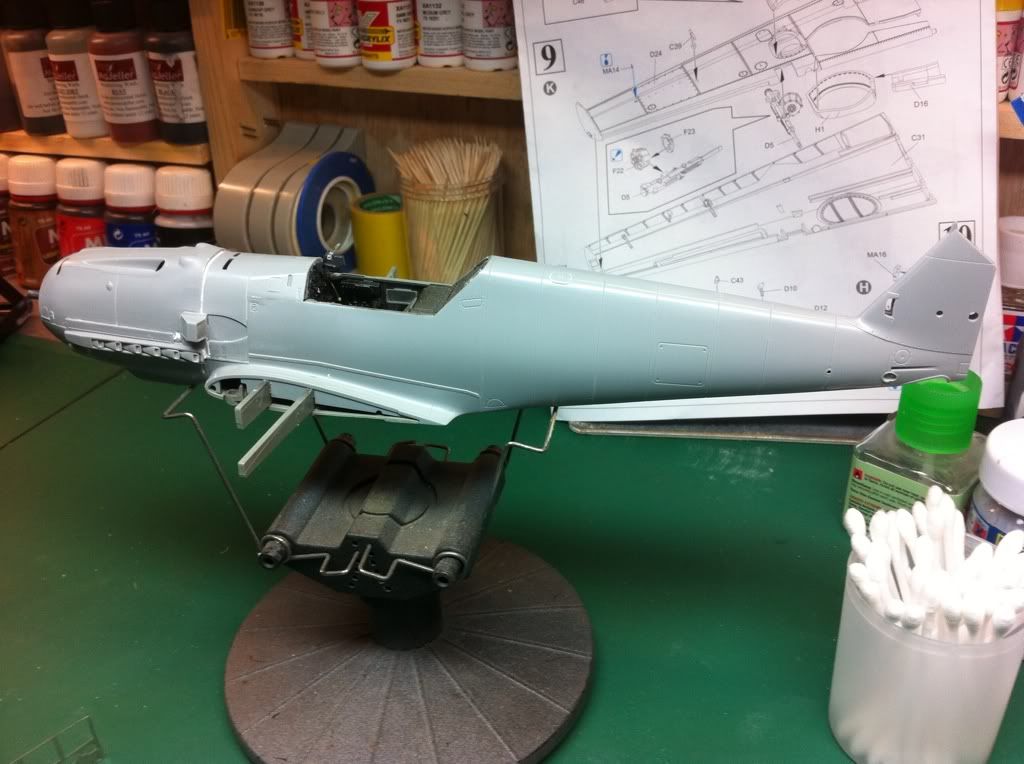
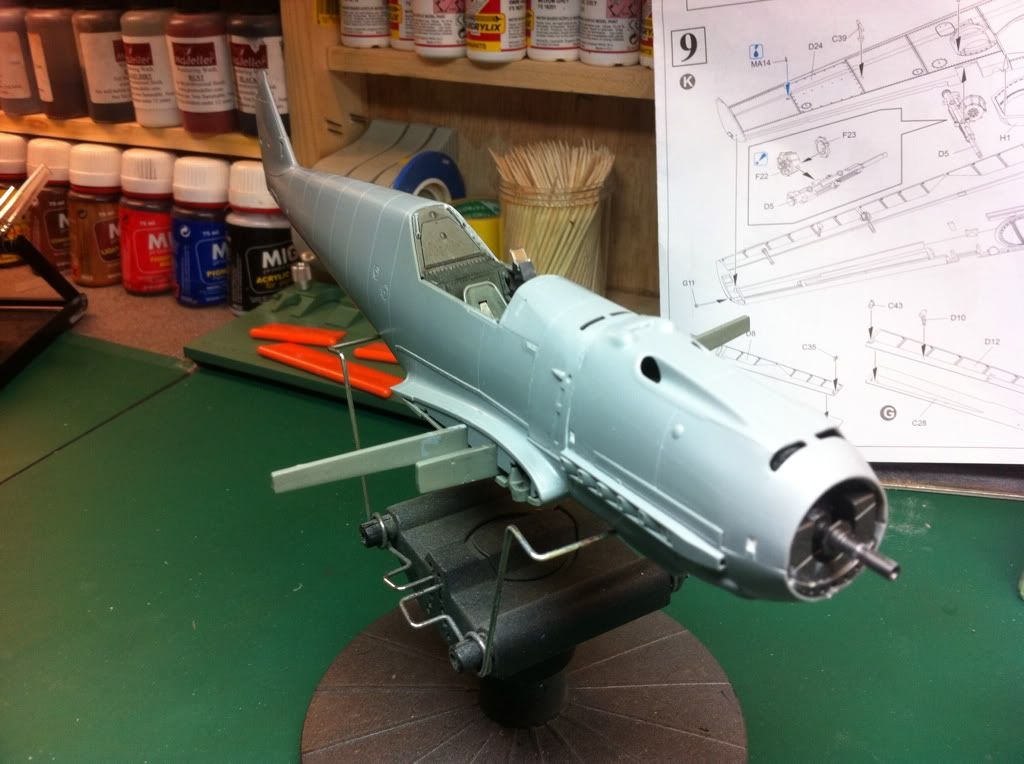
Well since the last update, I build and weathered the engine plus the supports etc, sadly when it came time to fit all the cowlings they wouldn't fit. I had read online that if everything was not 100% the kit can suffer from fit problems. I couldn't get the engine and gun cowlings to fit at all they were miles out. I was gutted as I wanted to be able to display the engine and guns,must had to remove the engine mounts and gun mounts to get them to fit.ni don't have any pics of the engine as I somehow lost them of my phone .
I had to glue the cowlings on and fill the gaps using Vallejo filler.
This is we're it's up to now. To say I'm pissed off is an understatement, but I'll make the best of it as I can. There's a Loverly step between the gun and engine cowling, that I can't do anything with really.
Ok an update, as I said above I've been busy this past week it was nice to get some paint on this at last.
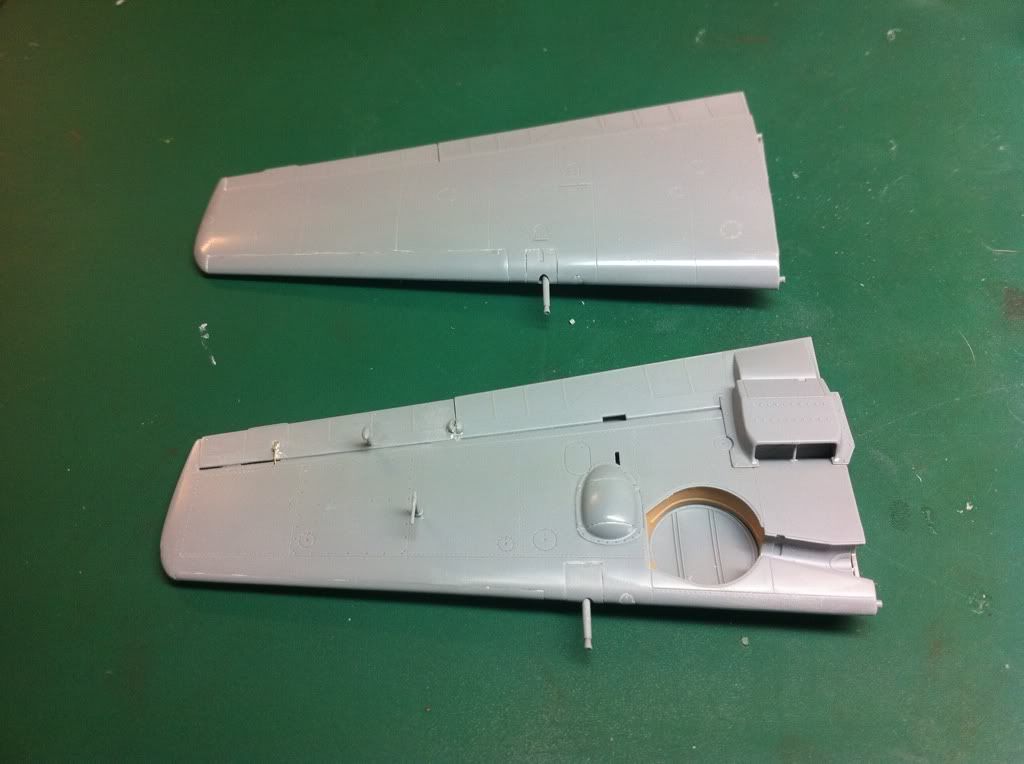
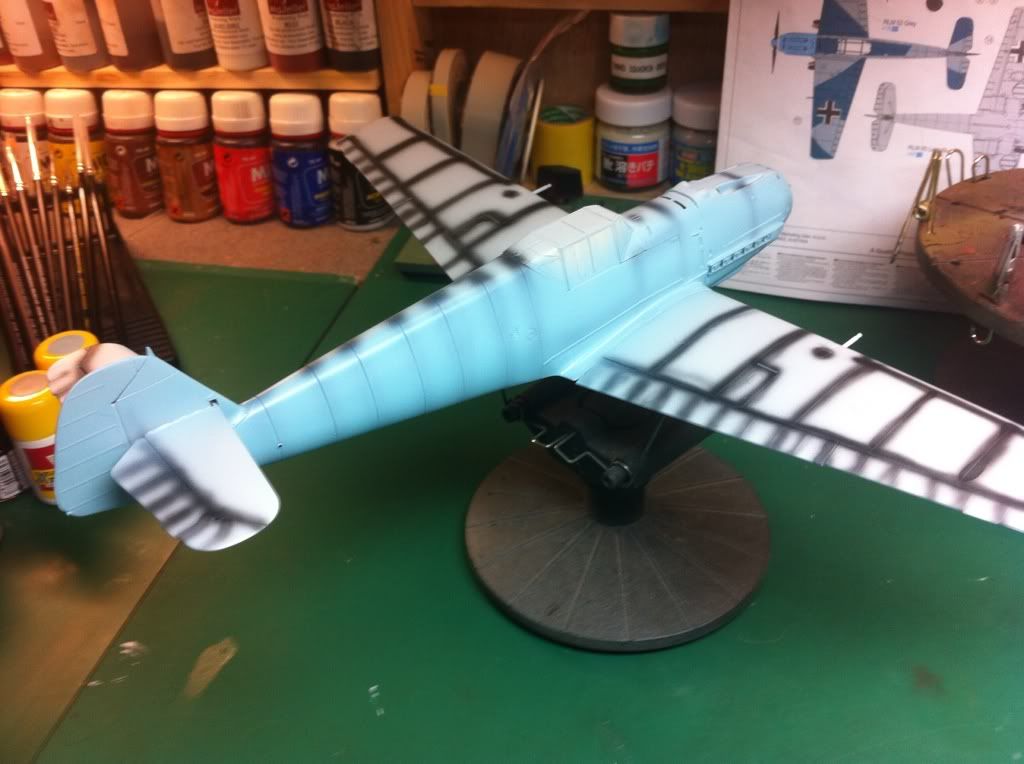
The wings made up
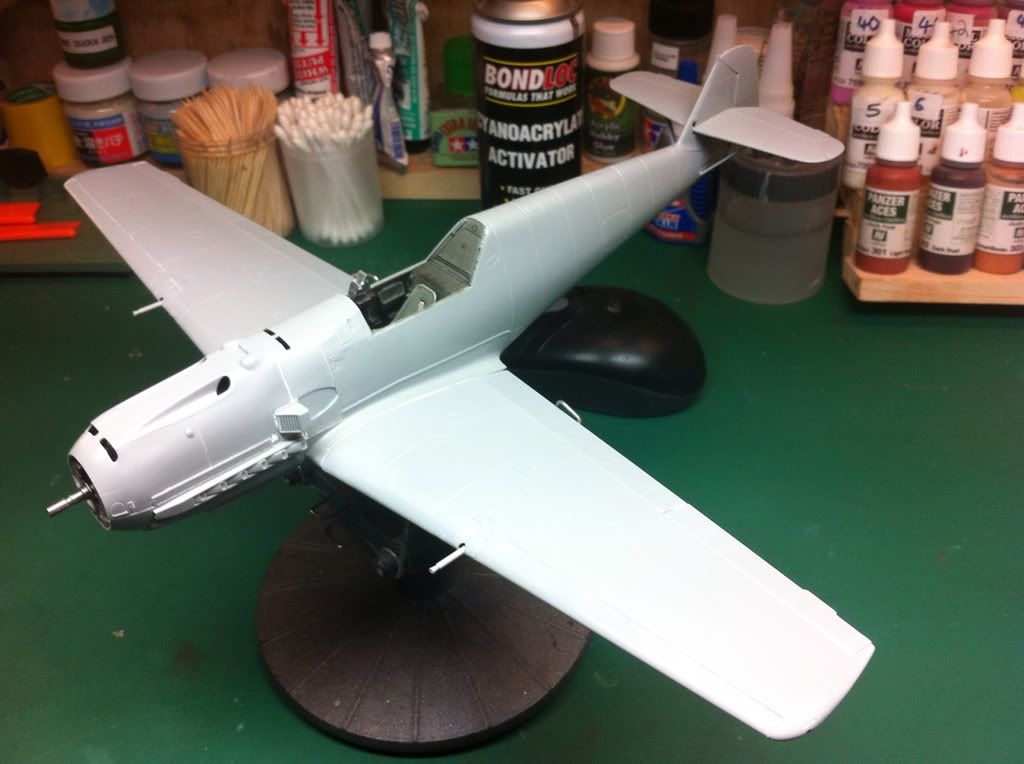
And then attached.
Canopies on and masked.
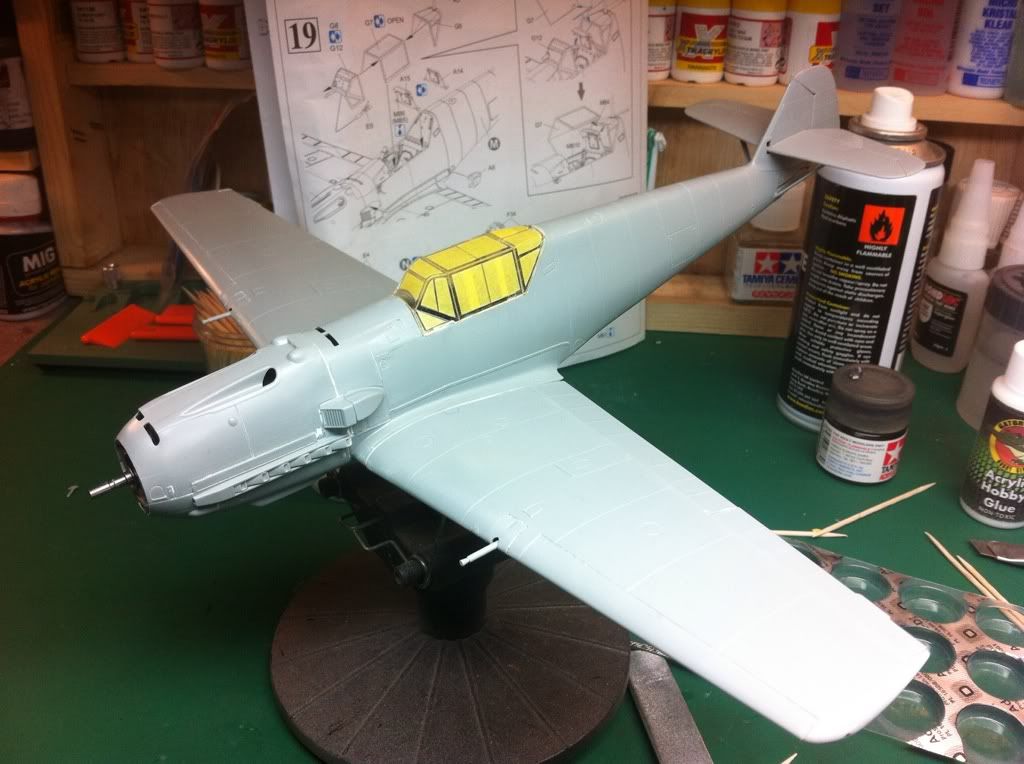
Primed and then badly preshaded, I really need to get the knack of doing preshading.
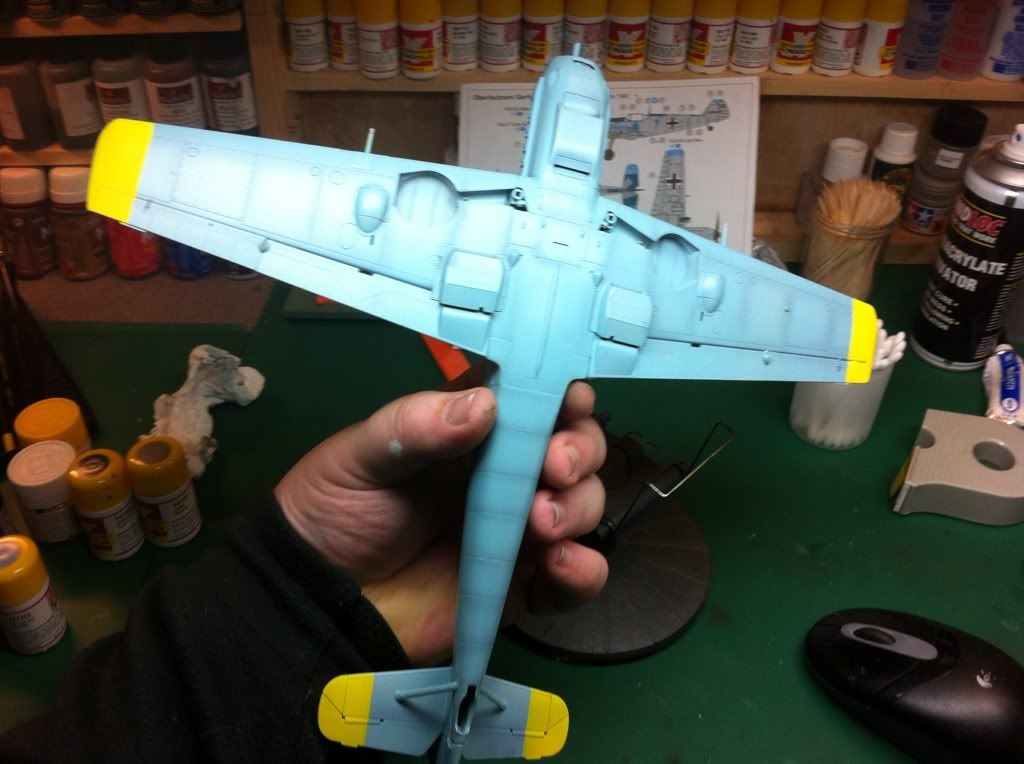
And then the first coat of xtracrylix rlm 65, only the top of the fuselage needs another coat.
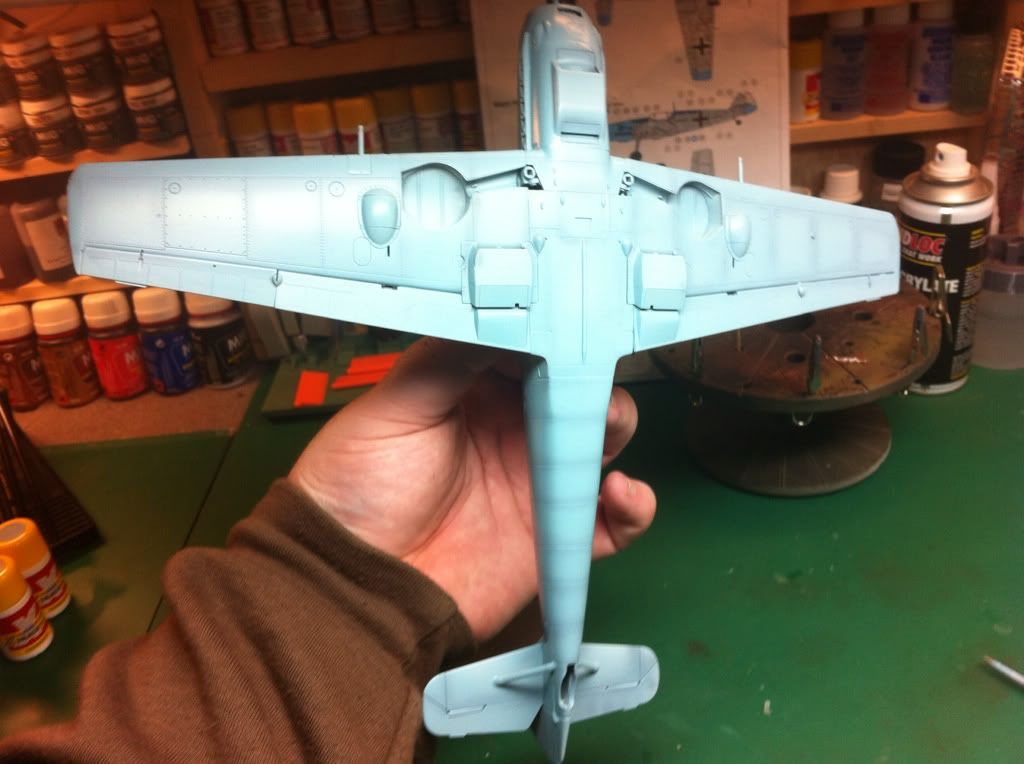
Can't wait to get the splinter Camo on :thumb:
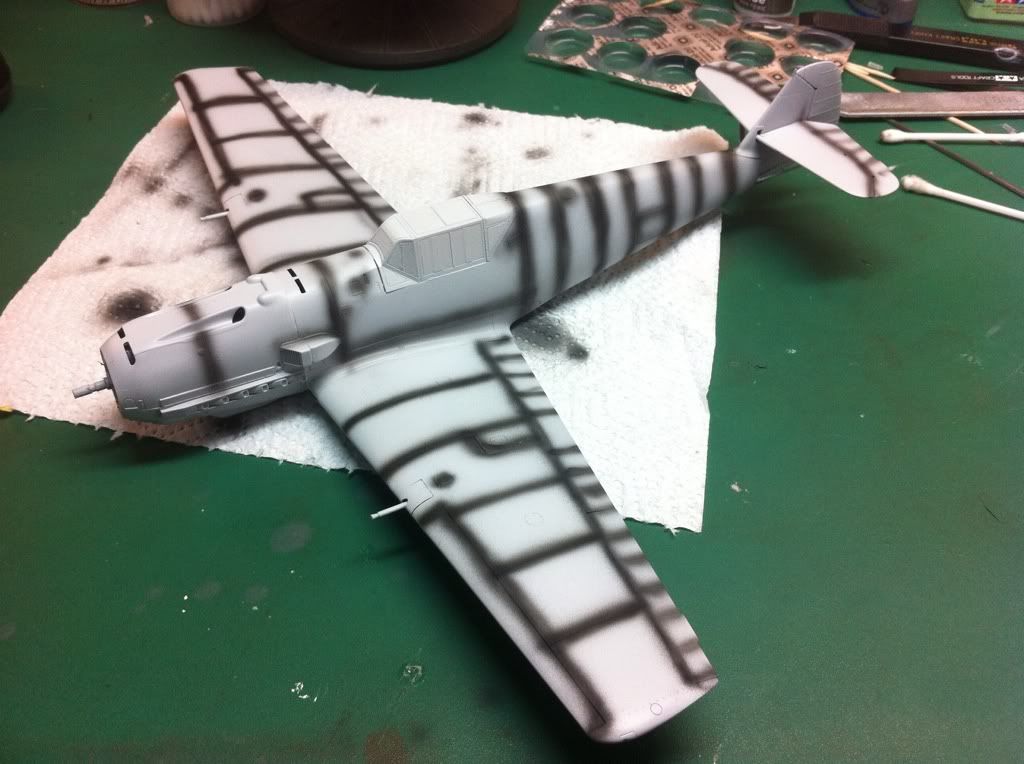
Ok on with the paintwork.
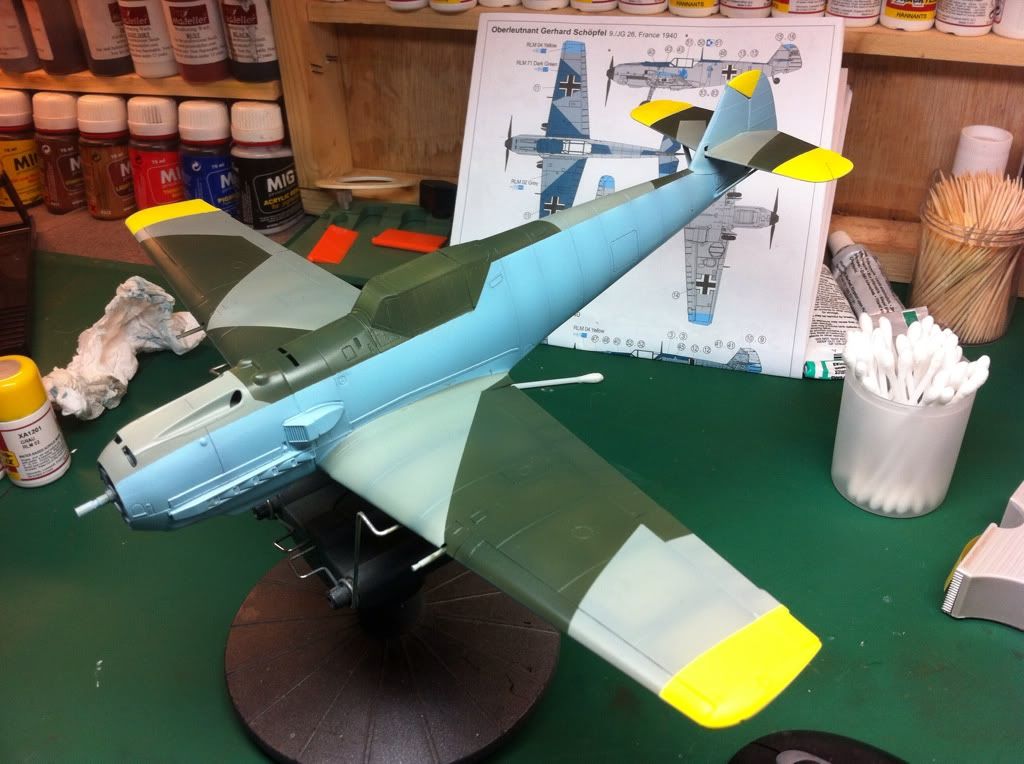
I masked up the fuselage and tail and sprayed on the rlm 02.
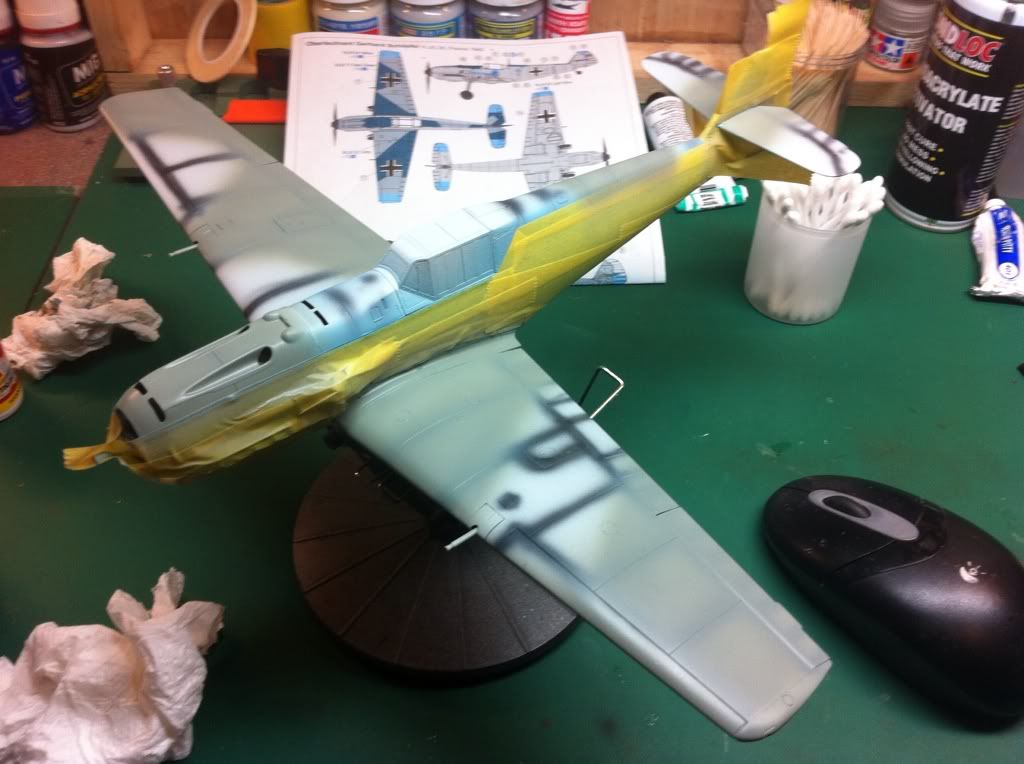
I then masked it up ready for the rlm 71
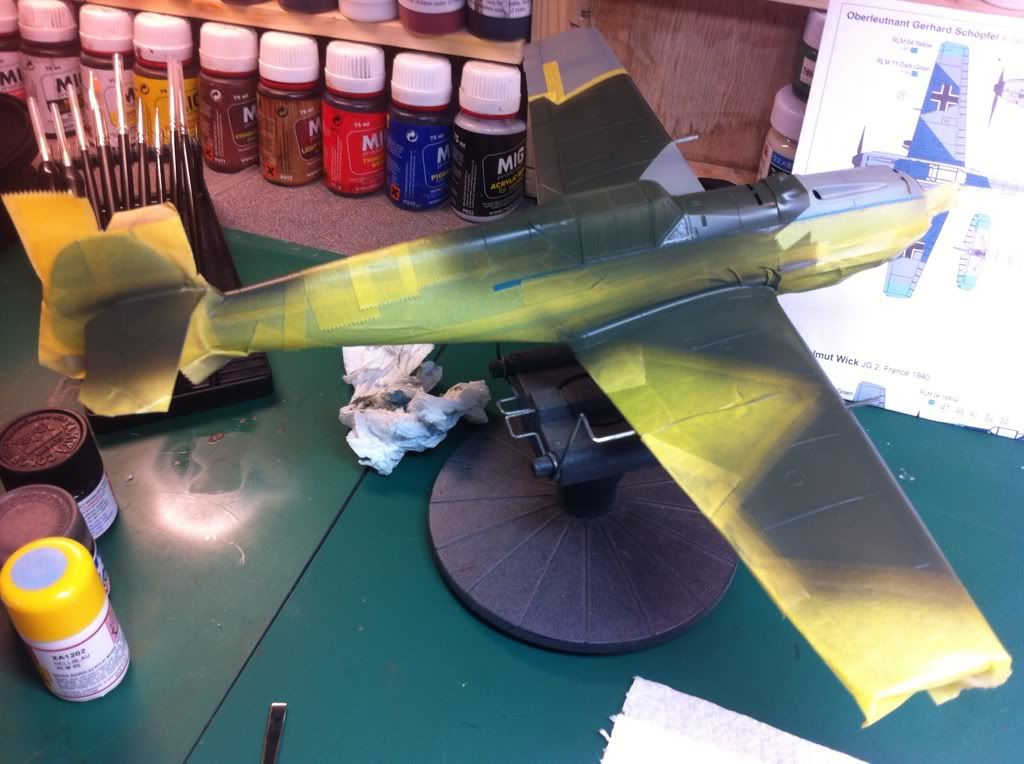
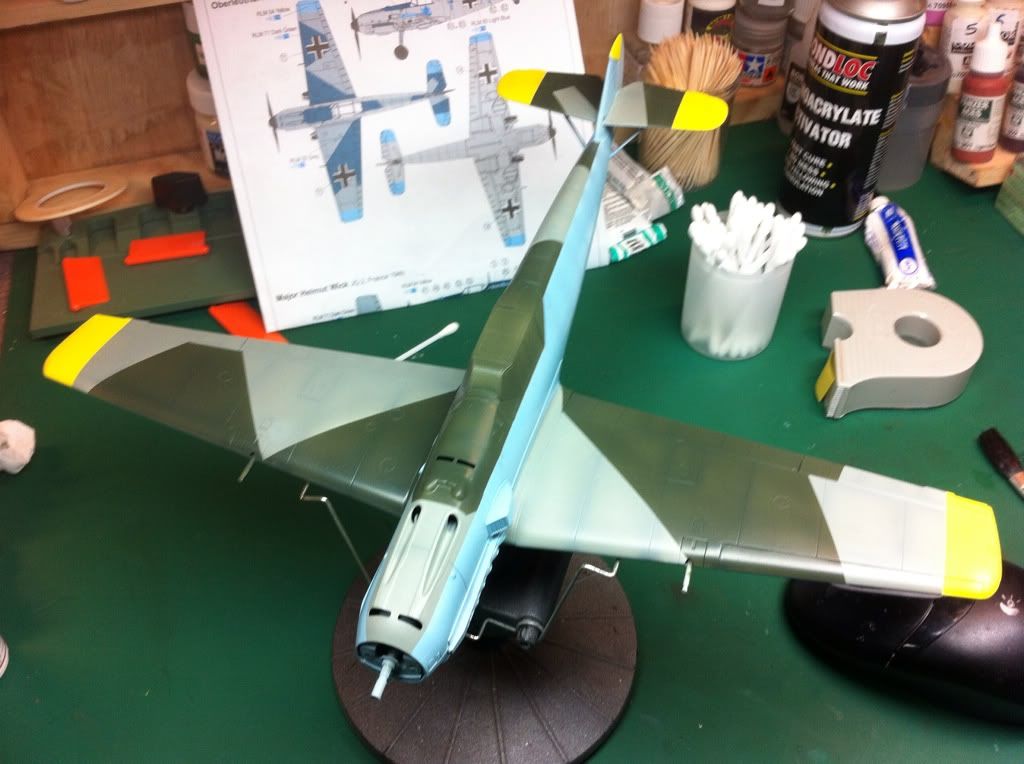
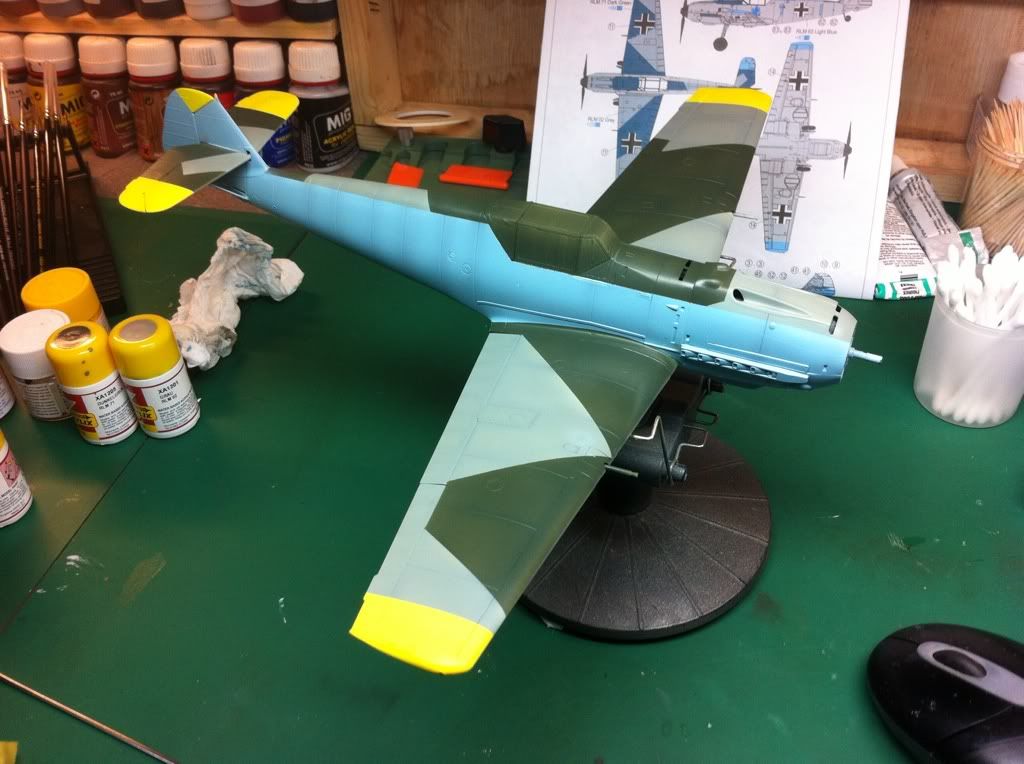
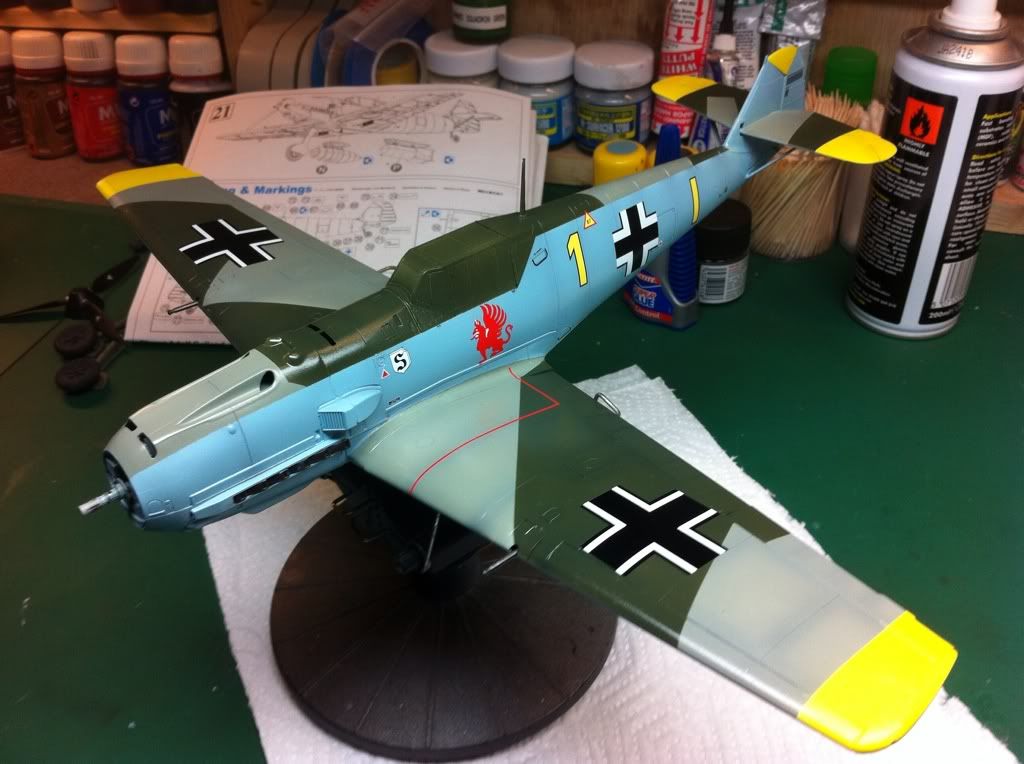
With the masking removed ready or thevyellowbtips

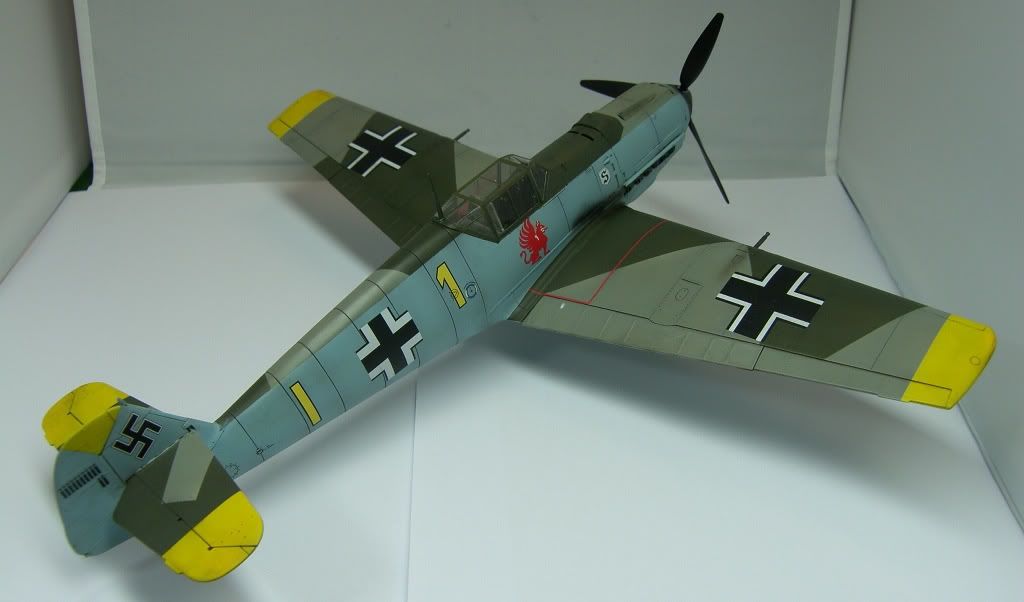
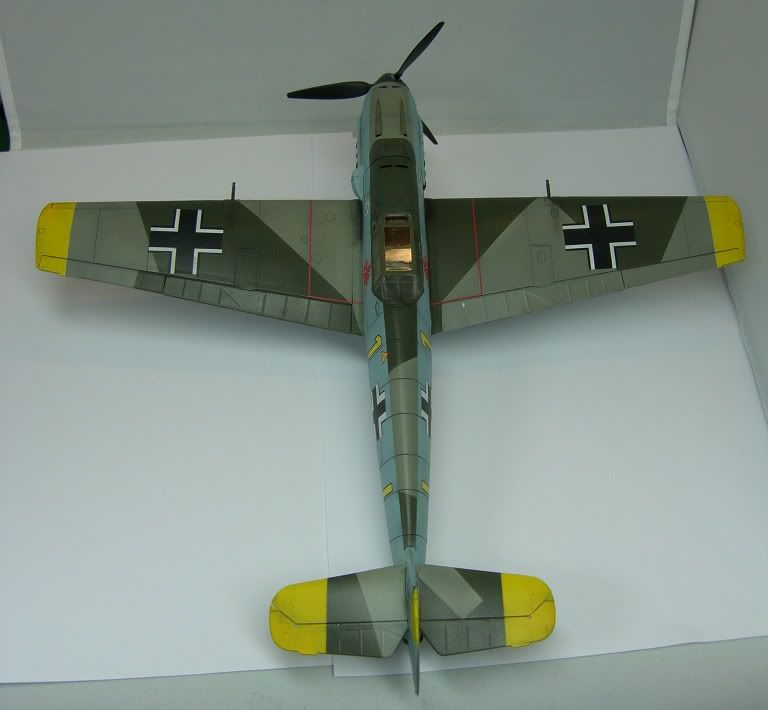
Here's we're it's to for now, I love splinter patterns andam loving xtracylix more each time I use he,.
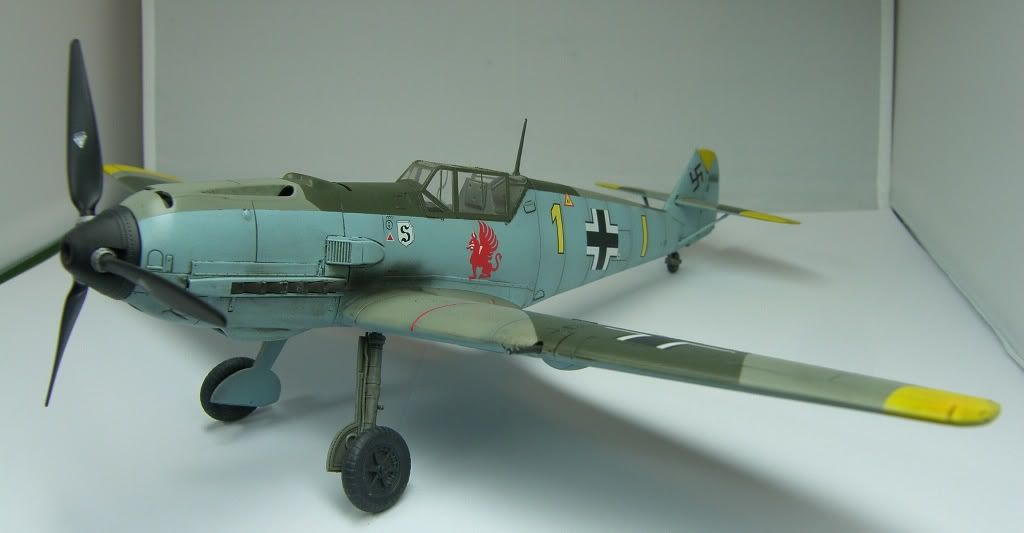
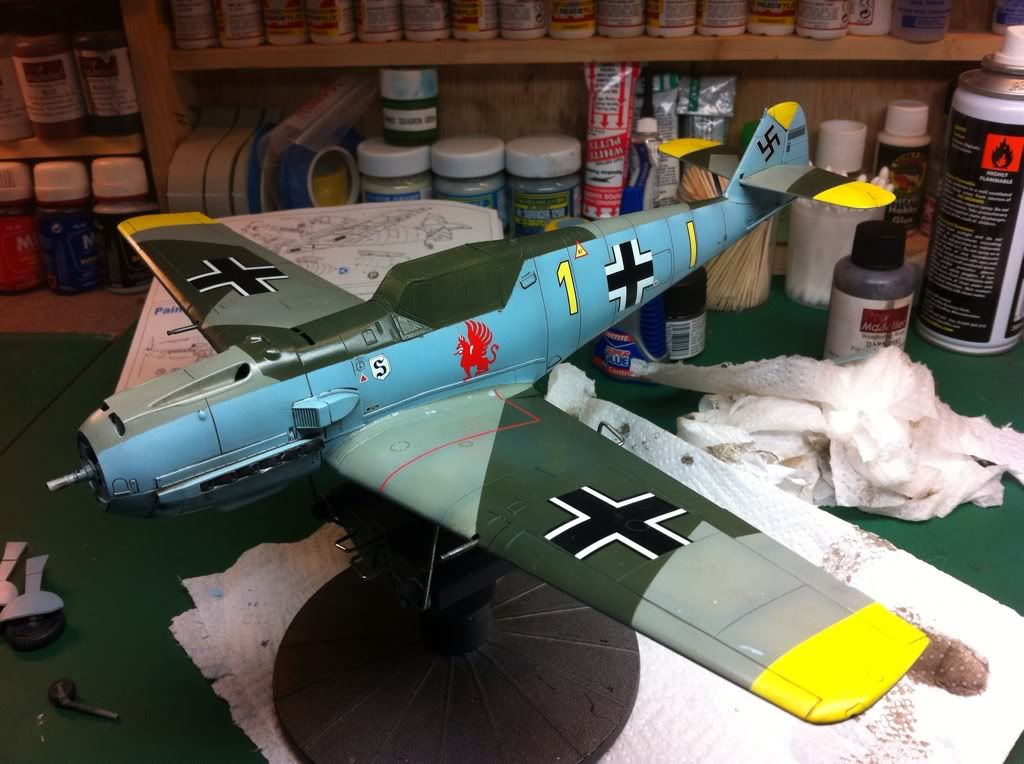
Ok the last update before the reveal.
Having sprayed it with alclad klear, I then applied the decals which were very nice, great quality.
After another coat of klear I then gave it a wash of dark dirt flory wash.
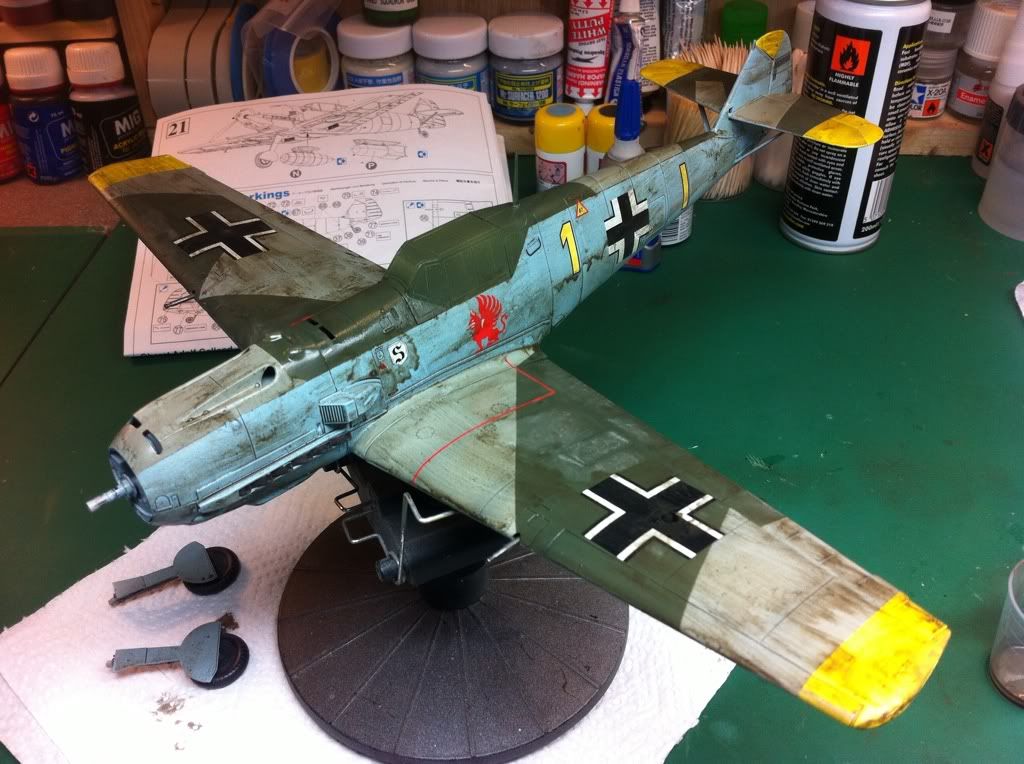
This was then removed and a coat of Vallejo matt varnish sprayed on
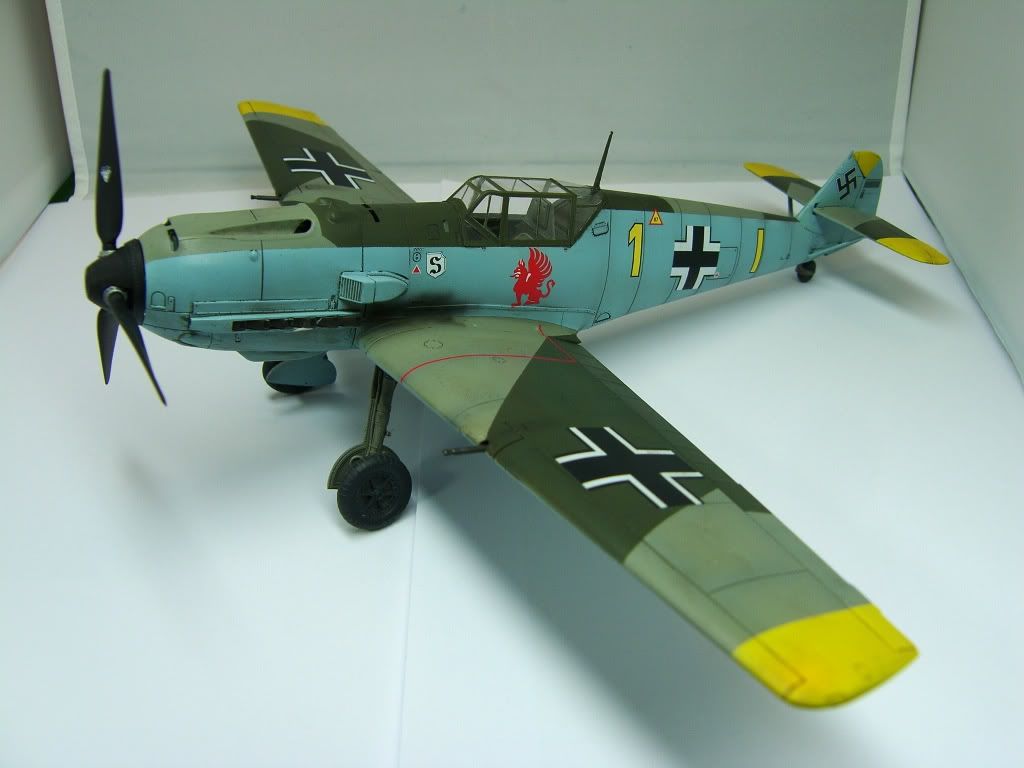
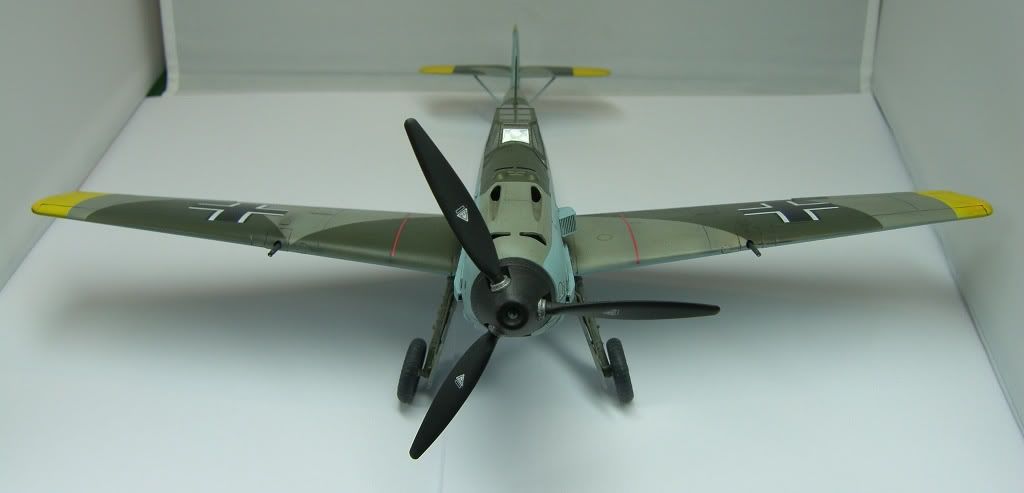
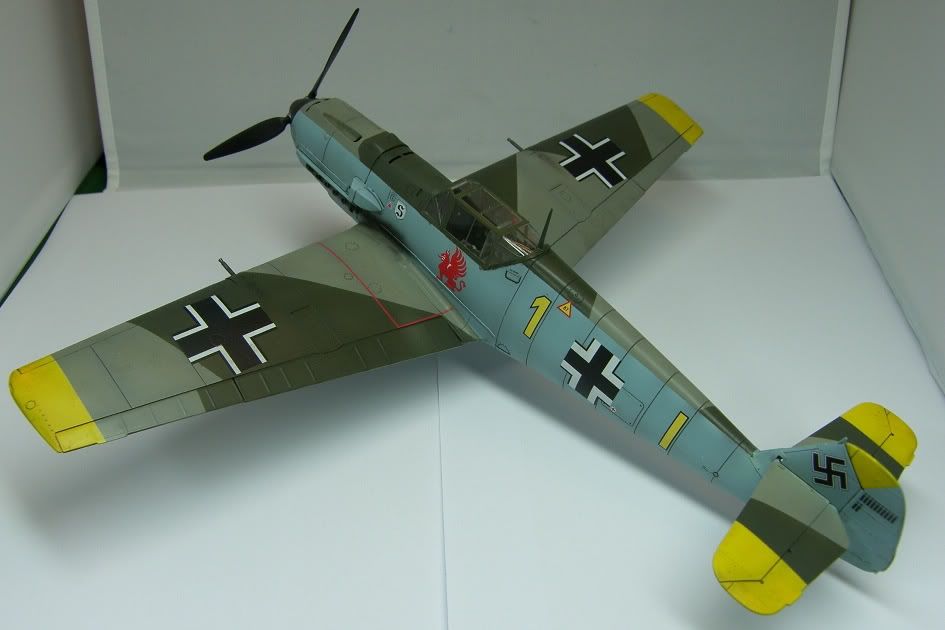
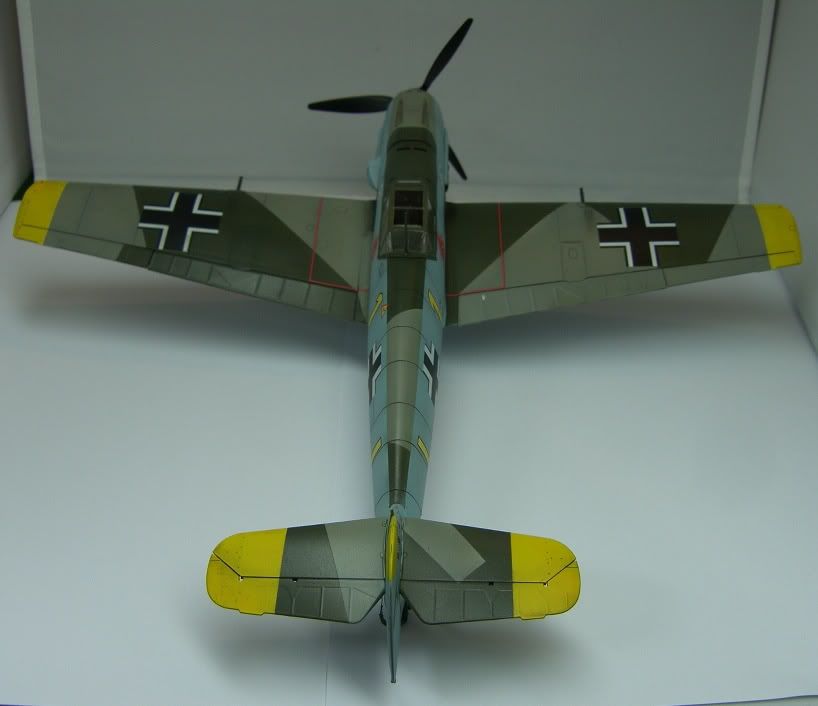
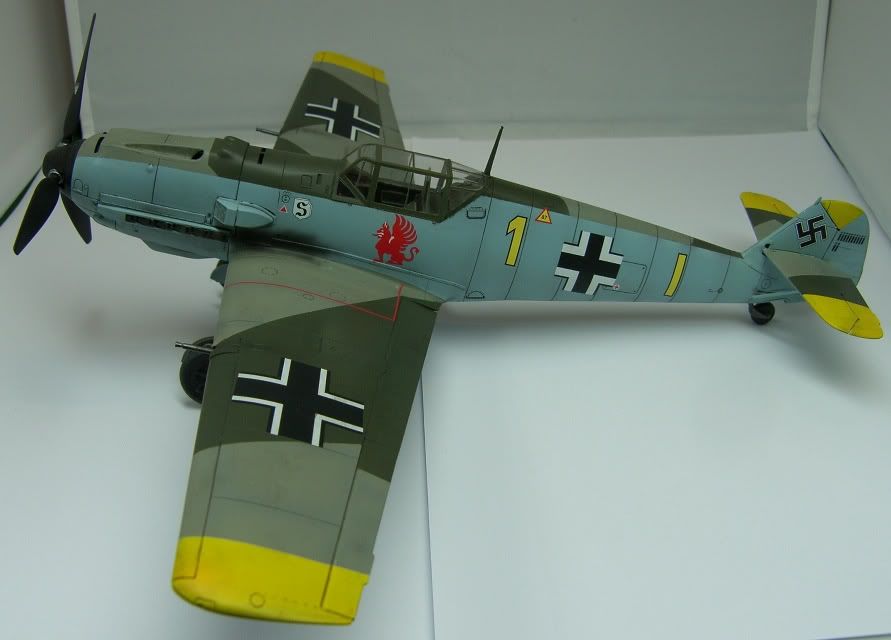
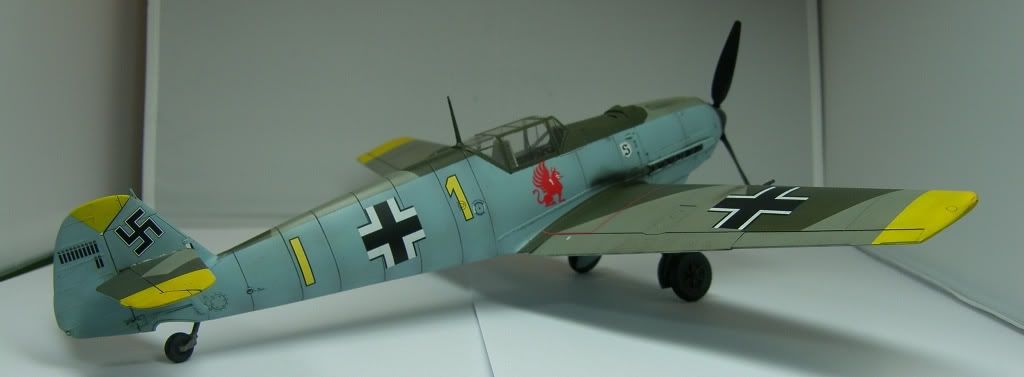
I then attached the prop and landing gear. I also added some smoke from the exhaust and staining to the wing guns
An excellent kit, does have some fit issues though, but still good.
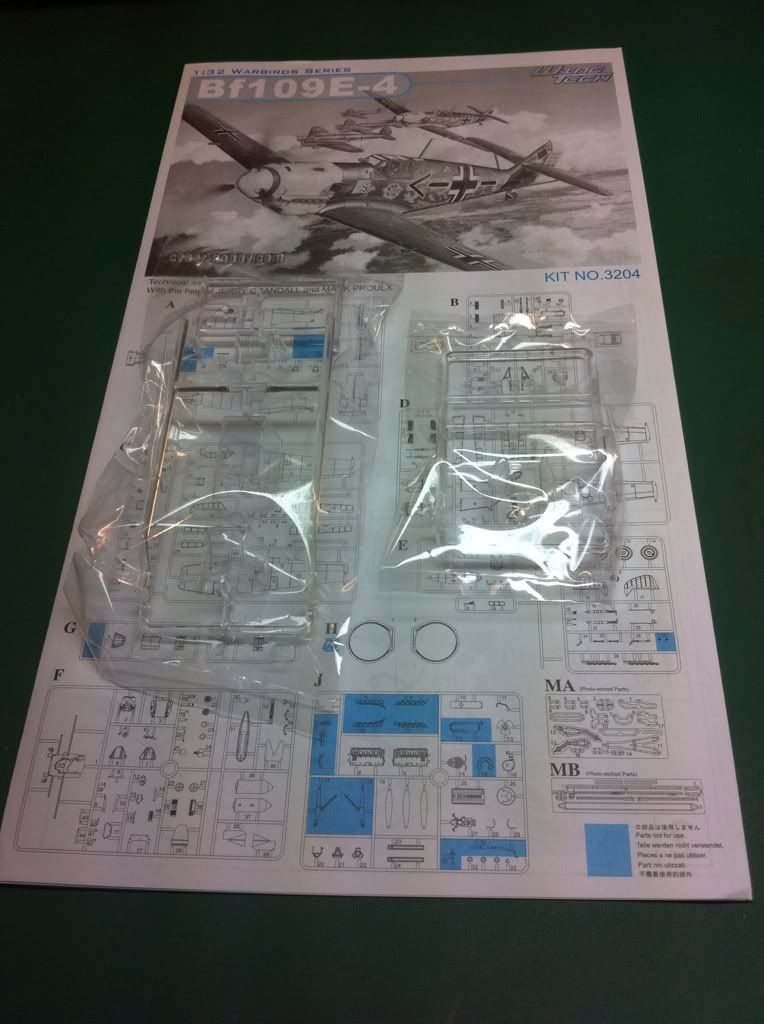
kit: cyberhobby (dragon)
Scale : 1/32
Paints: xtracylix, tamiya, Vallejo
Washes. Flory models.
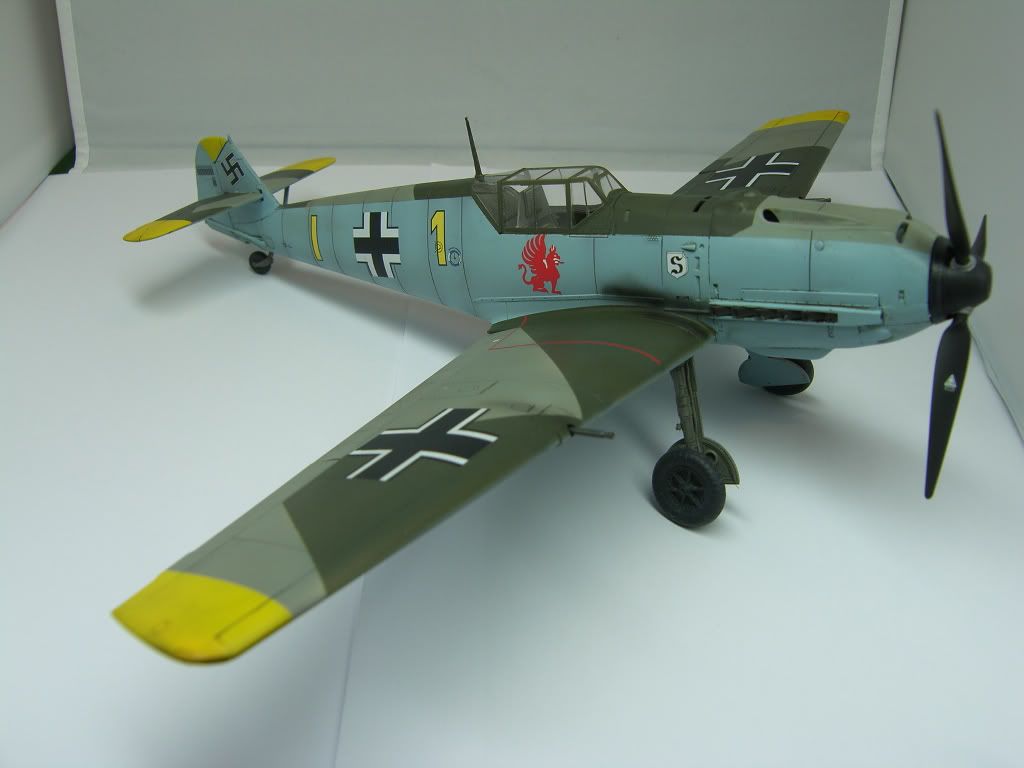
Final pics