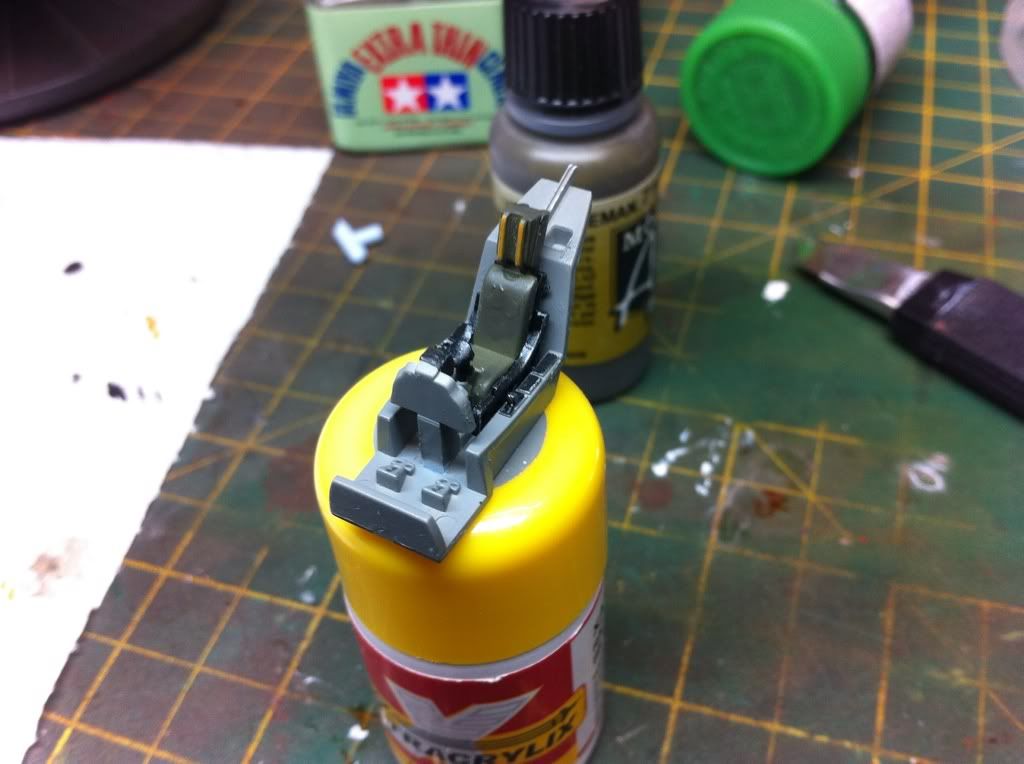
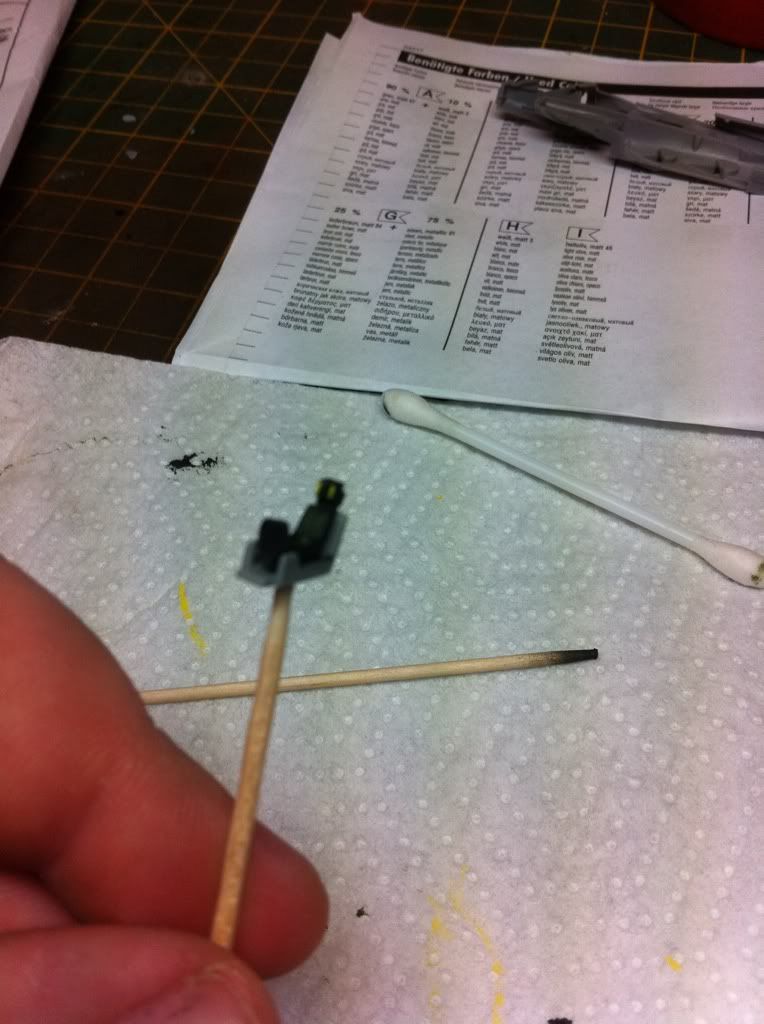
And i made a start on the cockpit too.
Sorry about the blurry shot
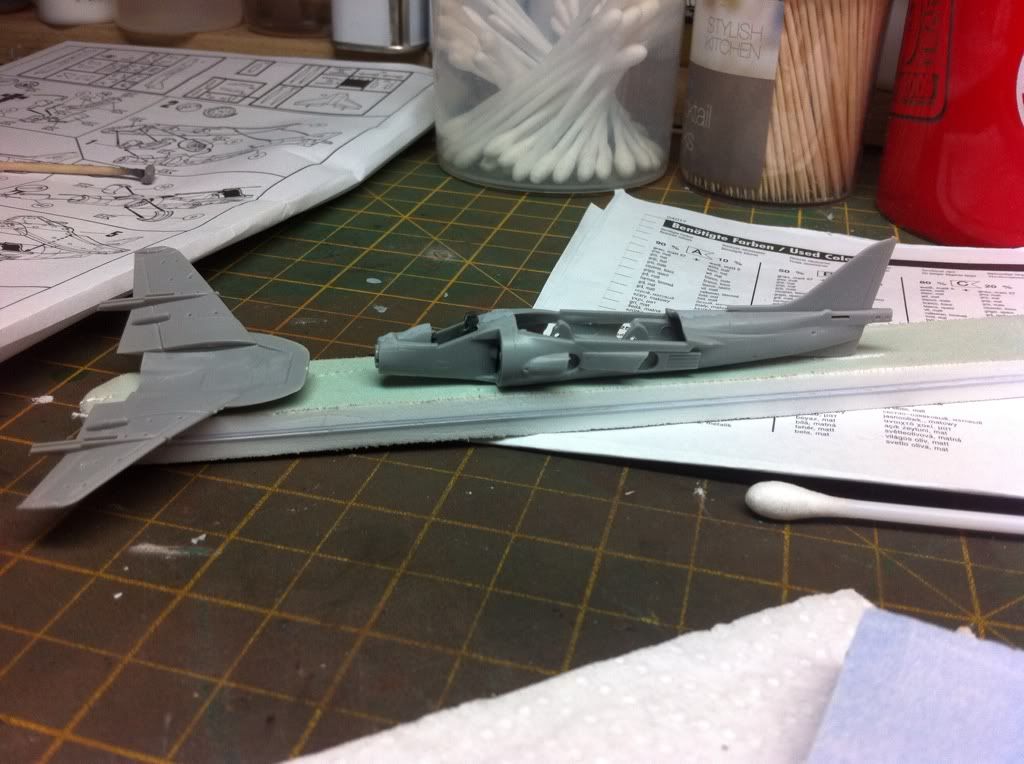
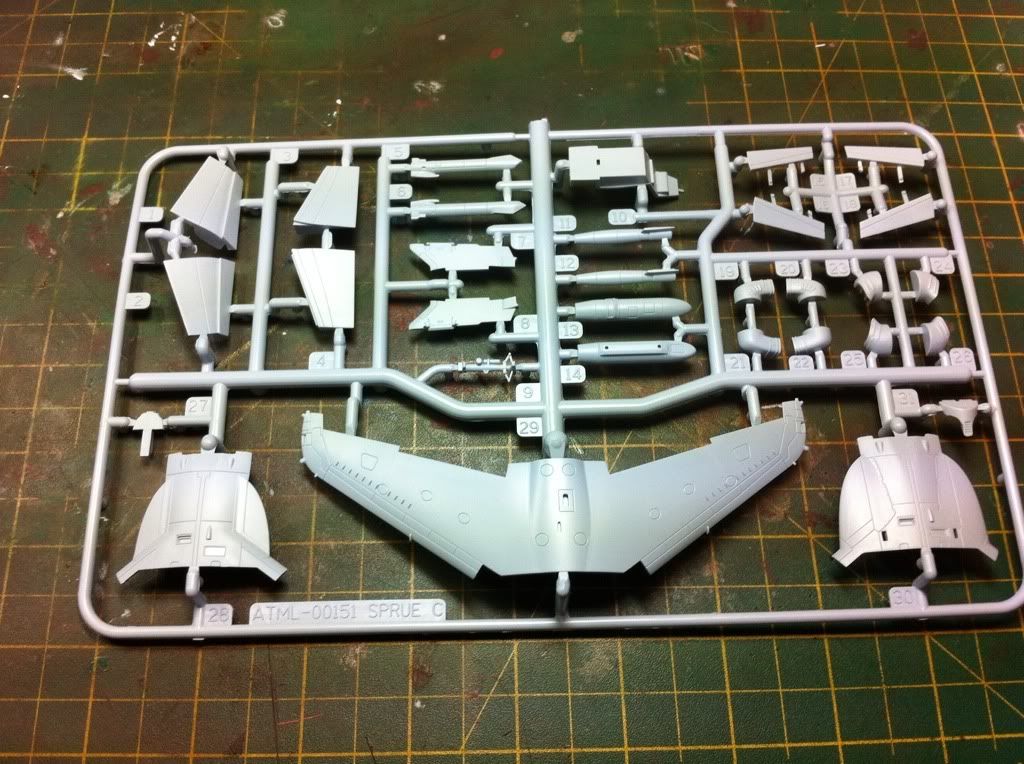
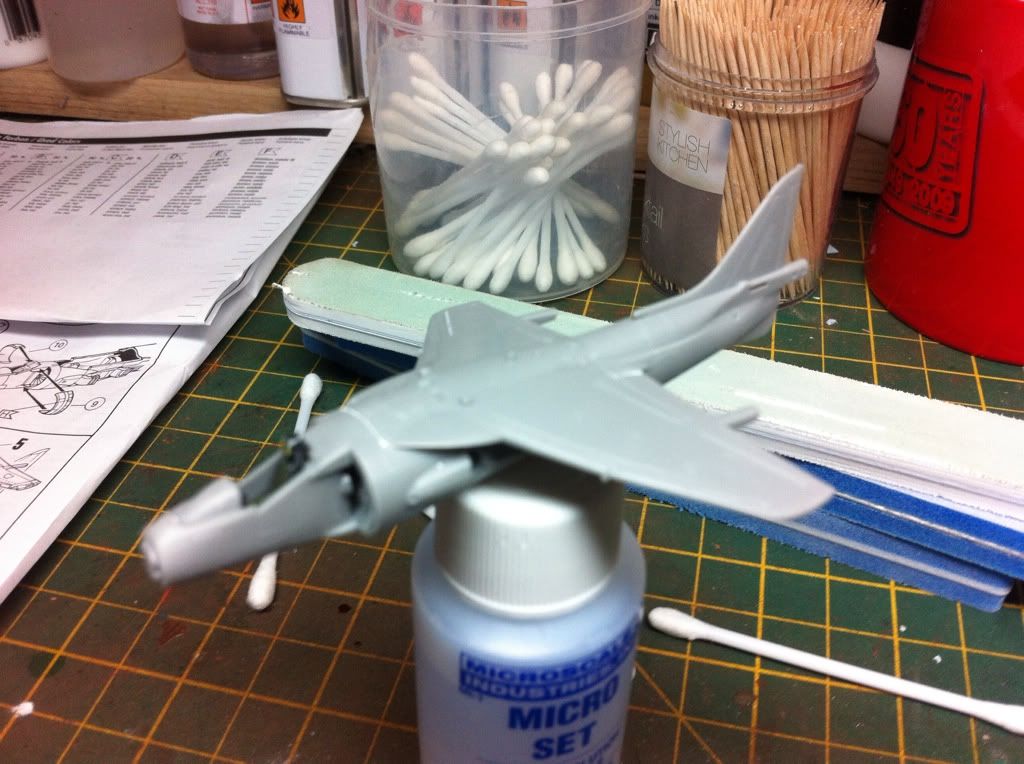
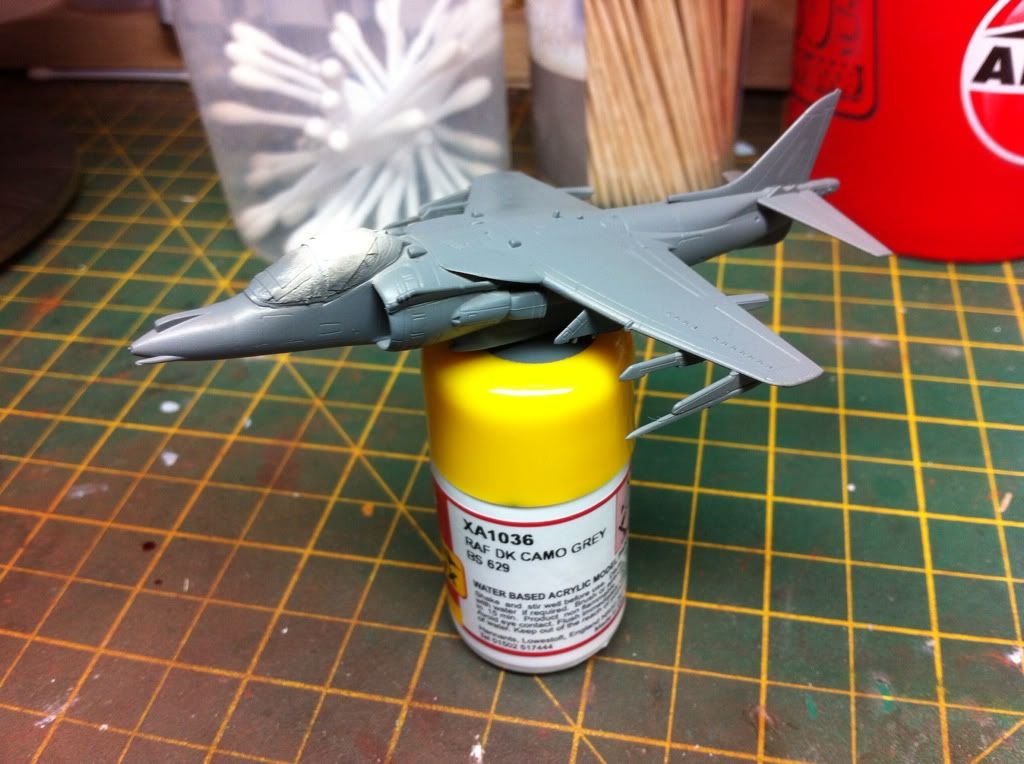
Then i got the wings attached and fusalage filled, sanded and polished.
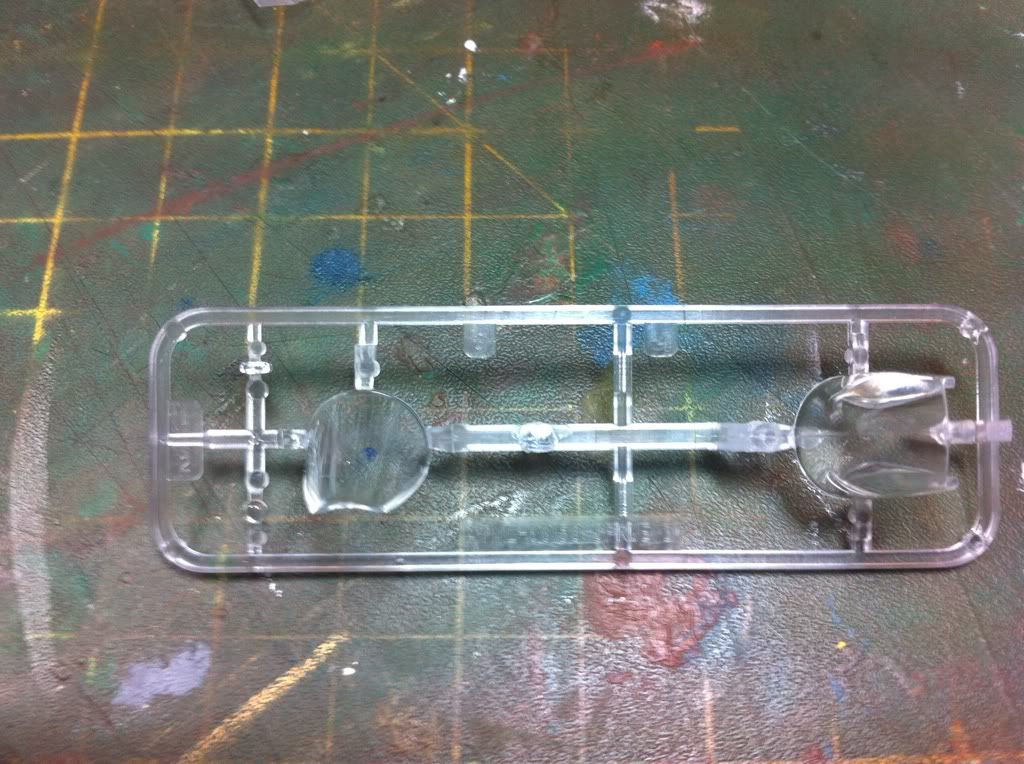
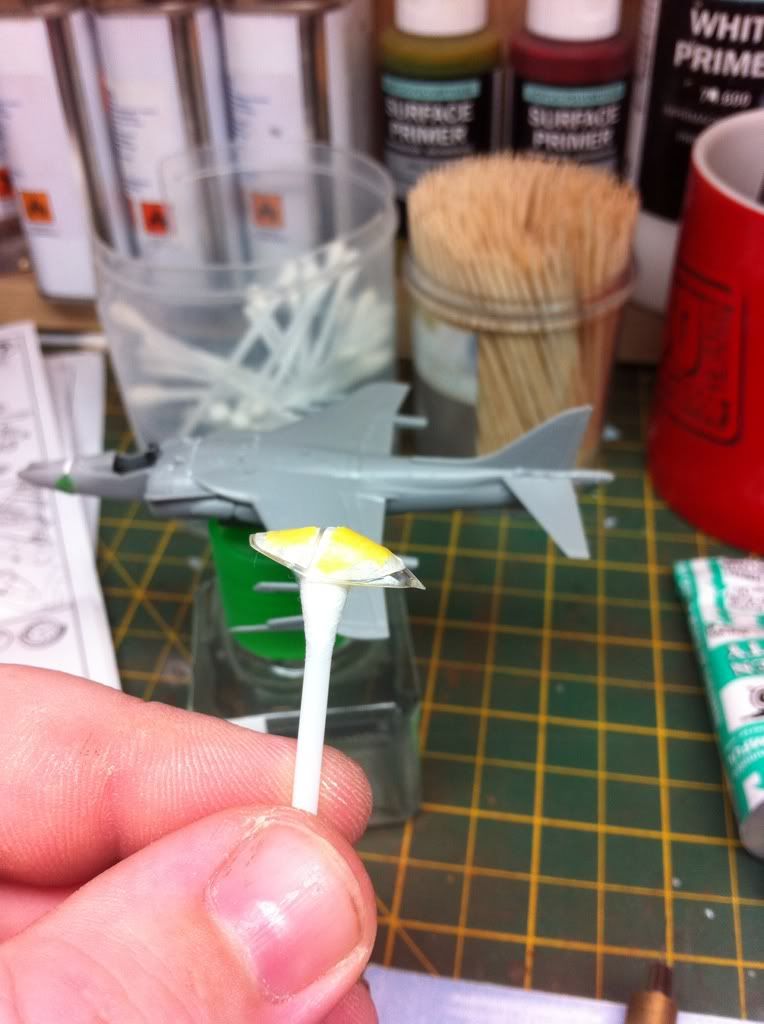
One hell of a fiddly canopy to mask
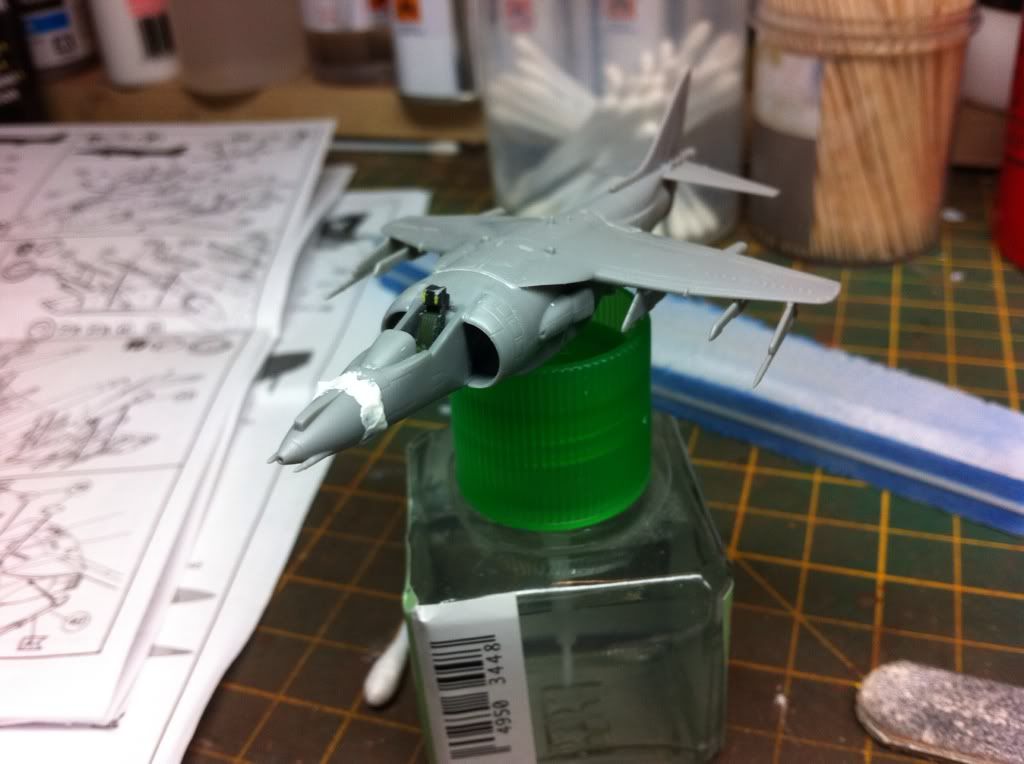
All ready for a coat of Vallejo white primer
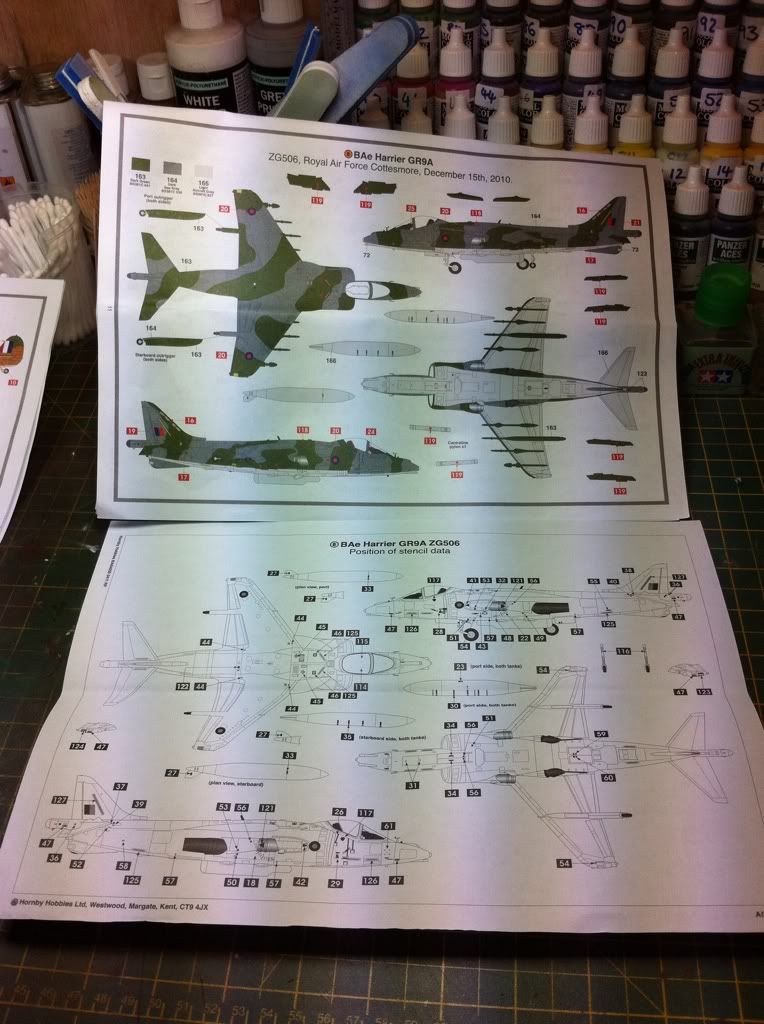
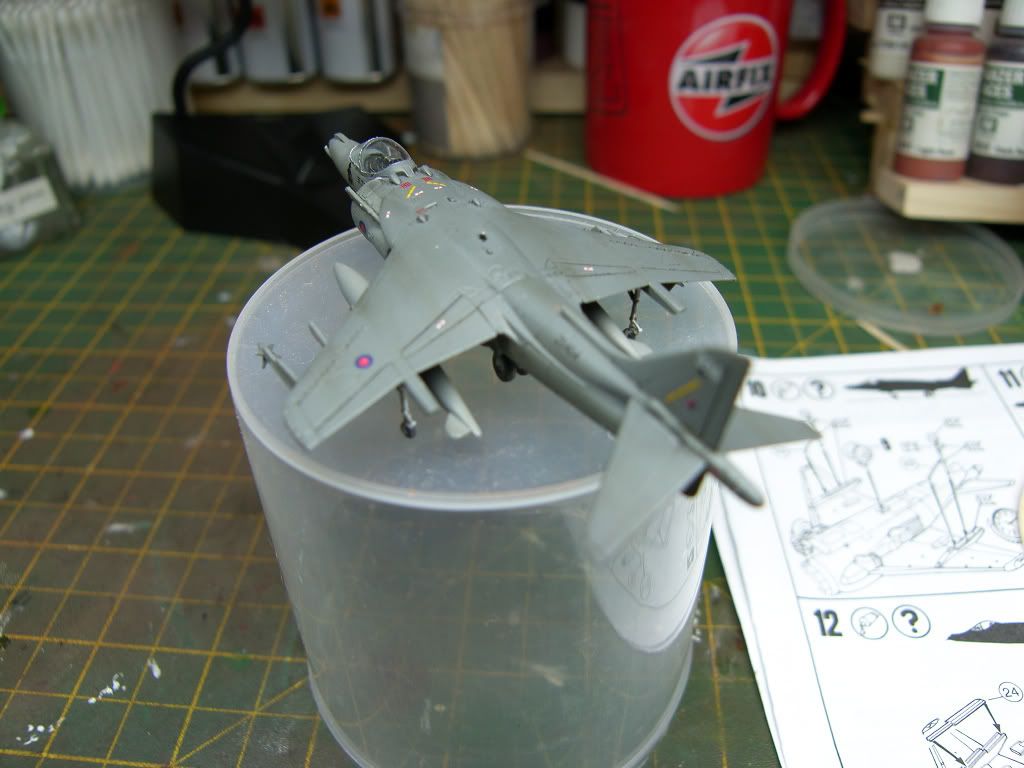
Then a coat of xtracrylics Dark camo grey was sprayed on.

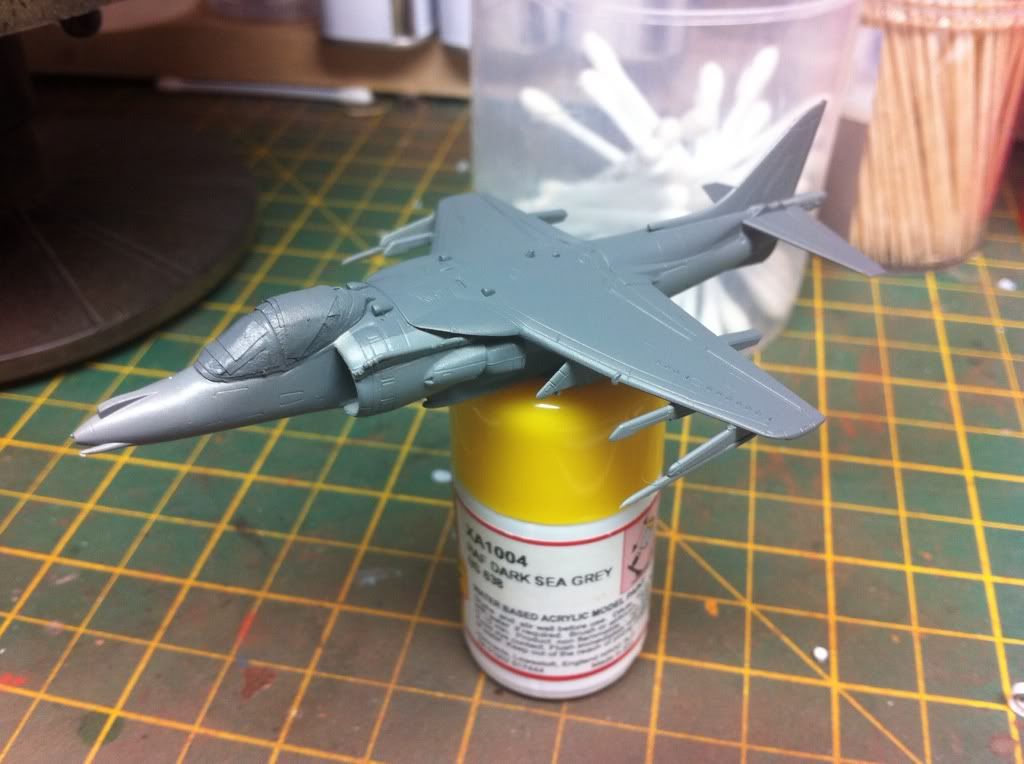
Right i masked of the lower half just below and around the canopy and above the intakes of the plane as well as the tail and sprayed it xtracrylics dark sea grey, what a bugger it was to mask but worth it.
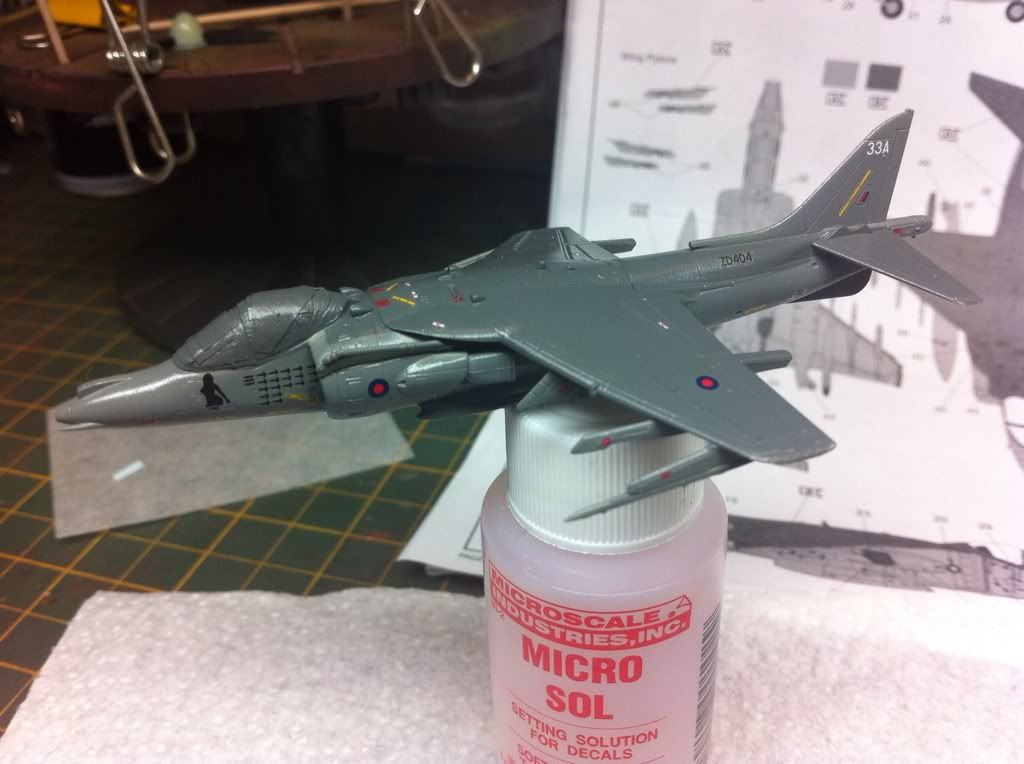
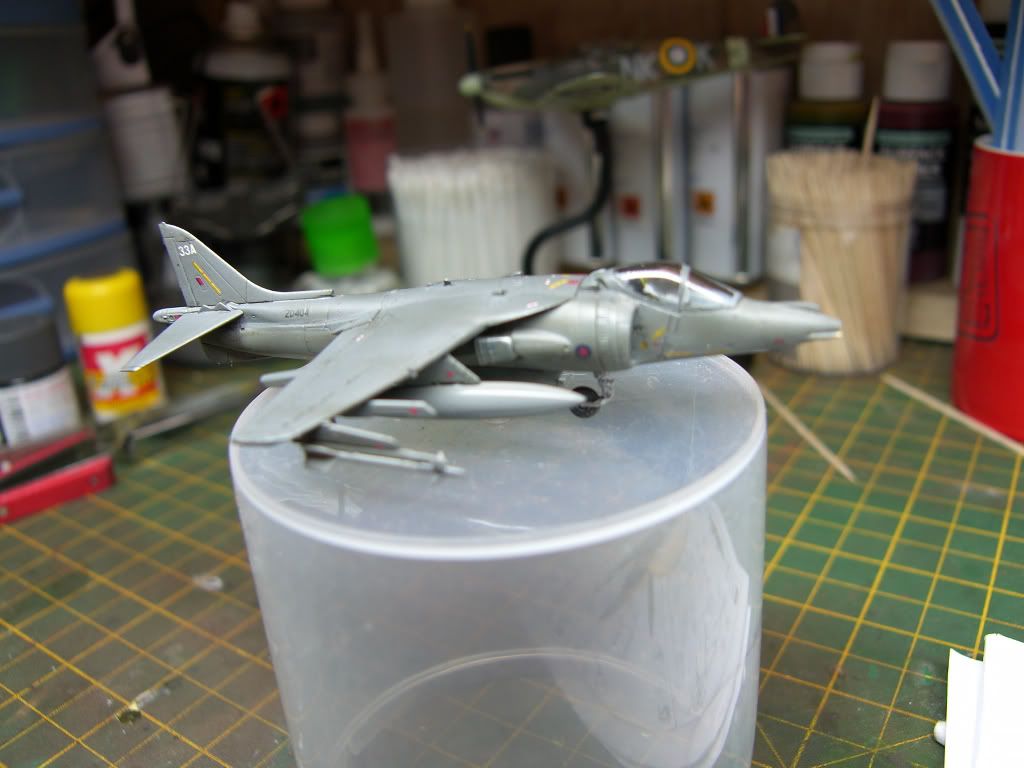
Well i gave it a coat of klear late last night so i could crack on with decalling today.
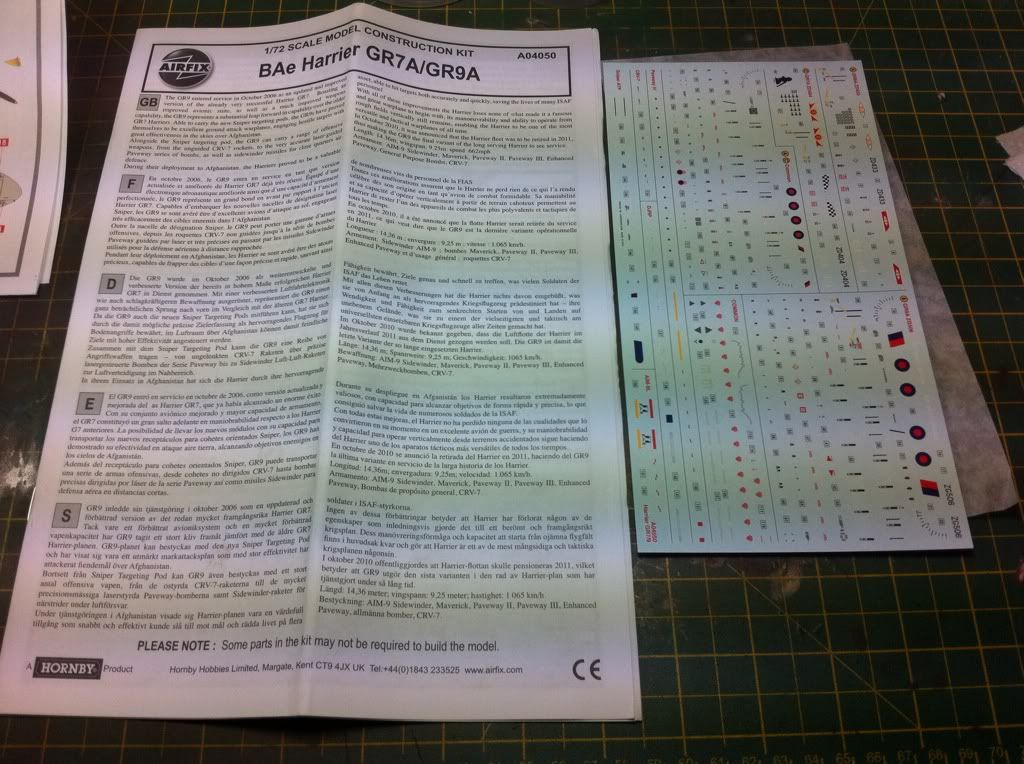
The decals are way out of scale annd very thick too, but with a couple of coats of microsol they settled down ok.
Right now ive got the landing gear sprayed white, just need to paint the tyres.
Anyway some progress pics
The decals are way out of scale annd very thick too, but with a couple of coats of microsol they settled down ok.
Right now ive got the landing gear sprayed white, just need to paint the tyres.
Anyway some progress pics
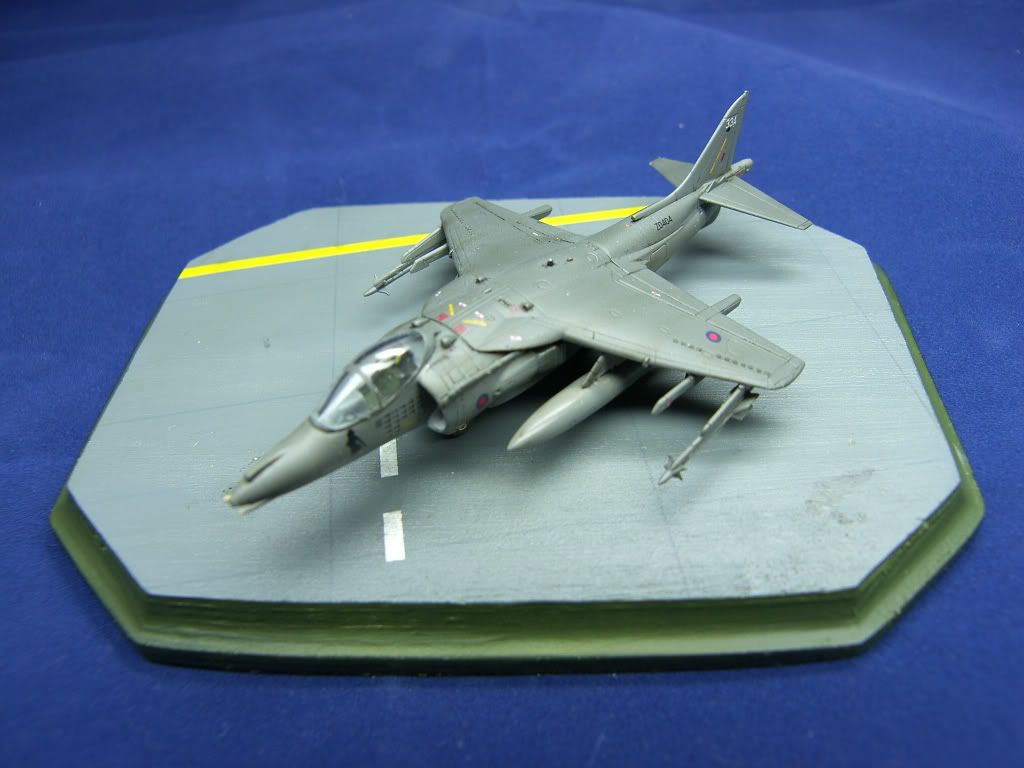
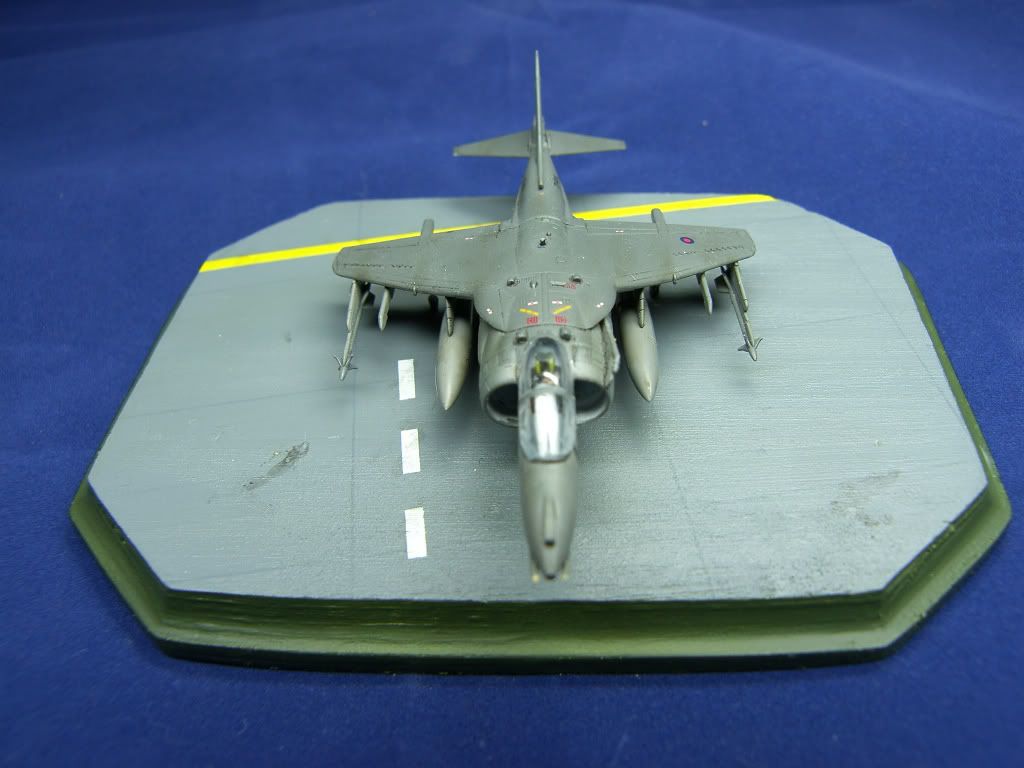
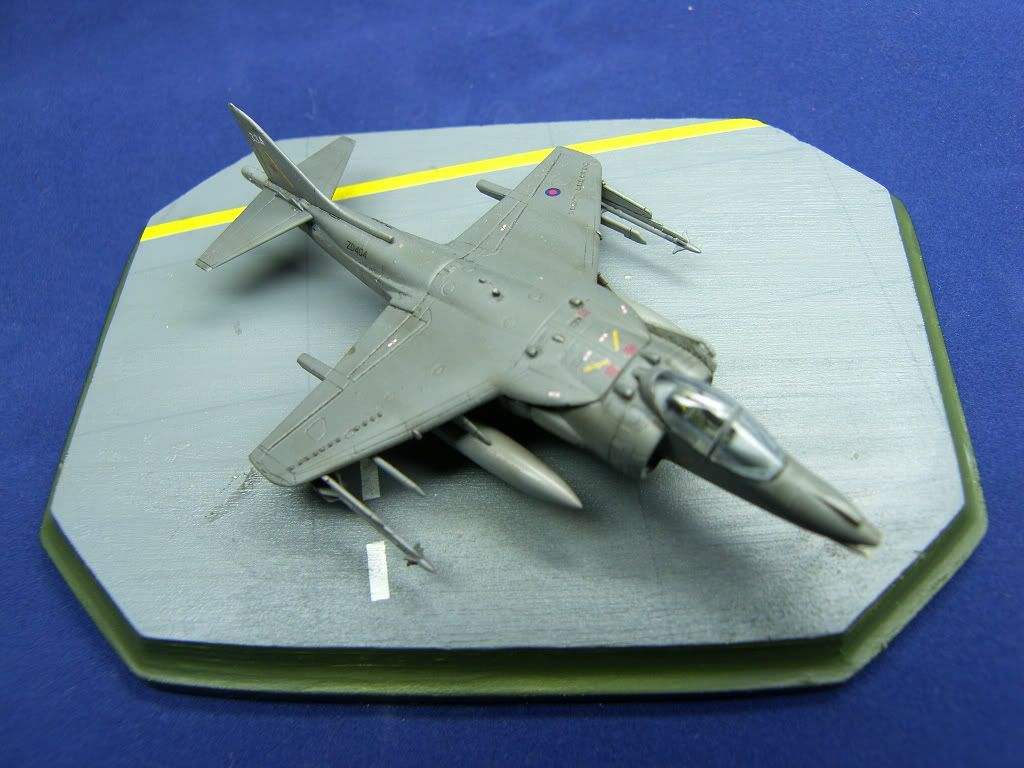
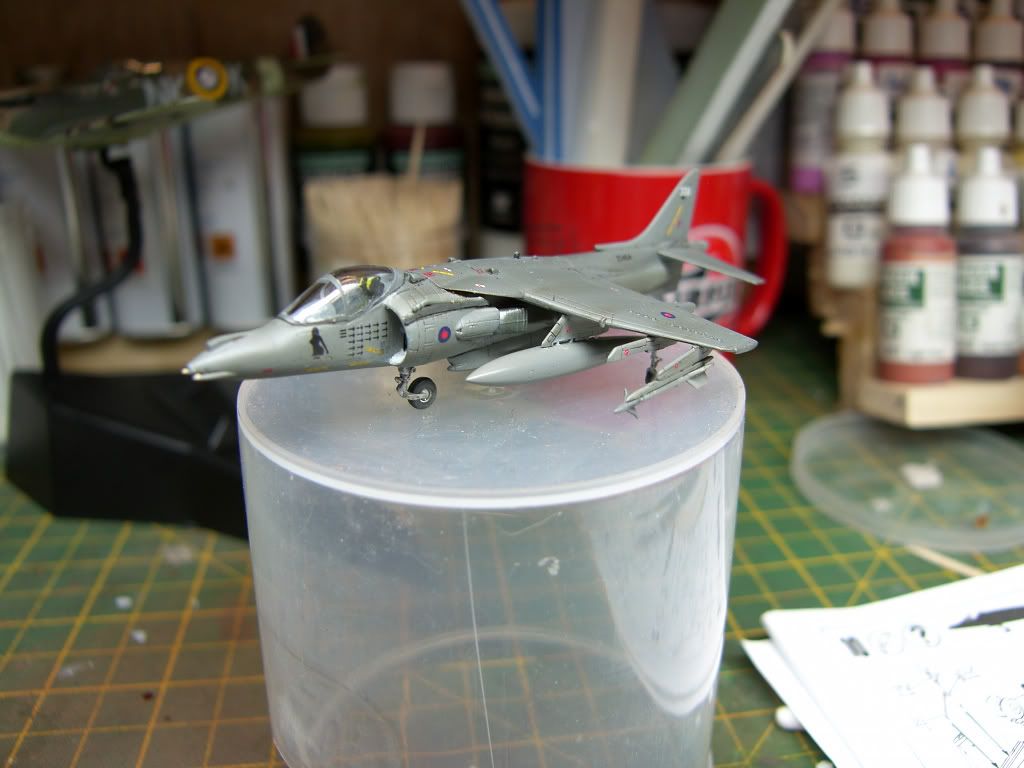
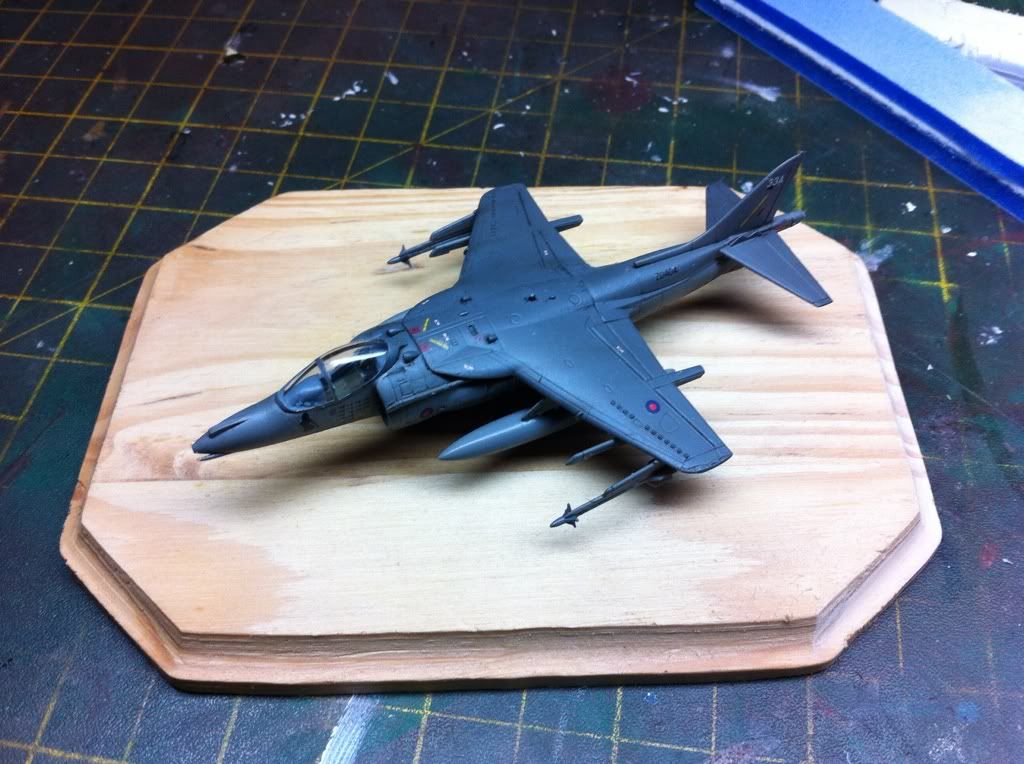
Right this little guy is about 99% finished it just needs a bit more weathering in places but that'll depend on what base I set it on.
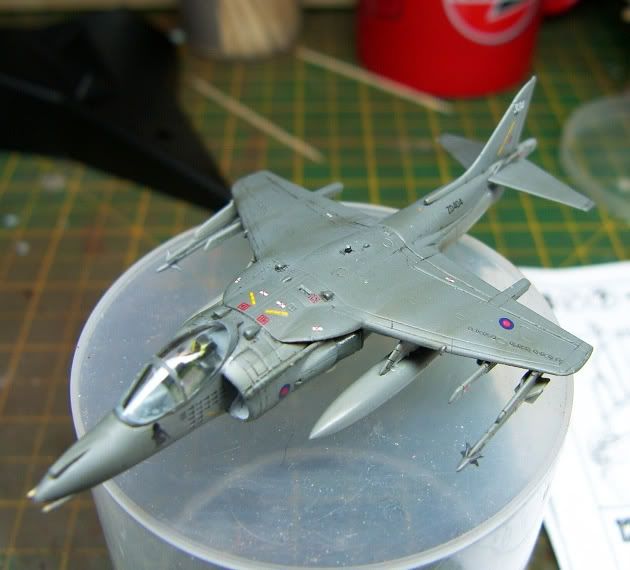
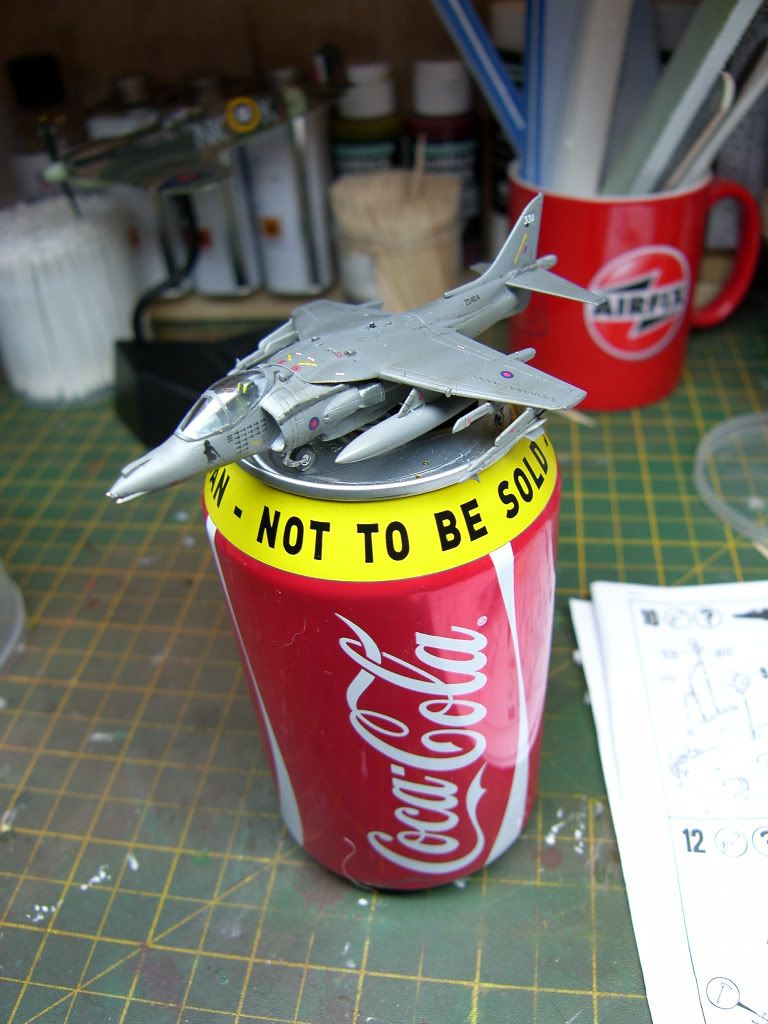
And one to show the scale properly
I'll be back when start the base for this :thumb:
Ok i got on with finishing this today, well the base for it anyway.
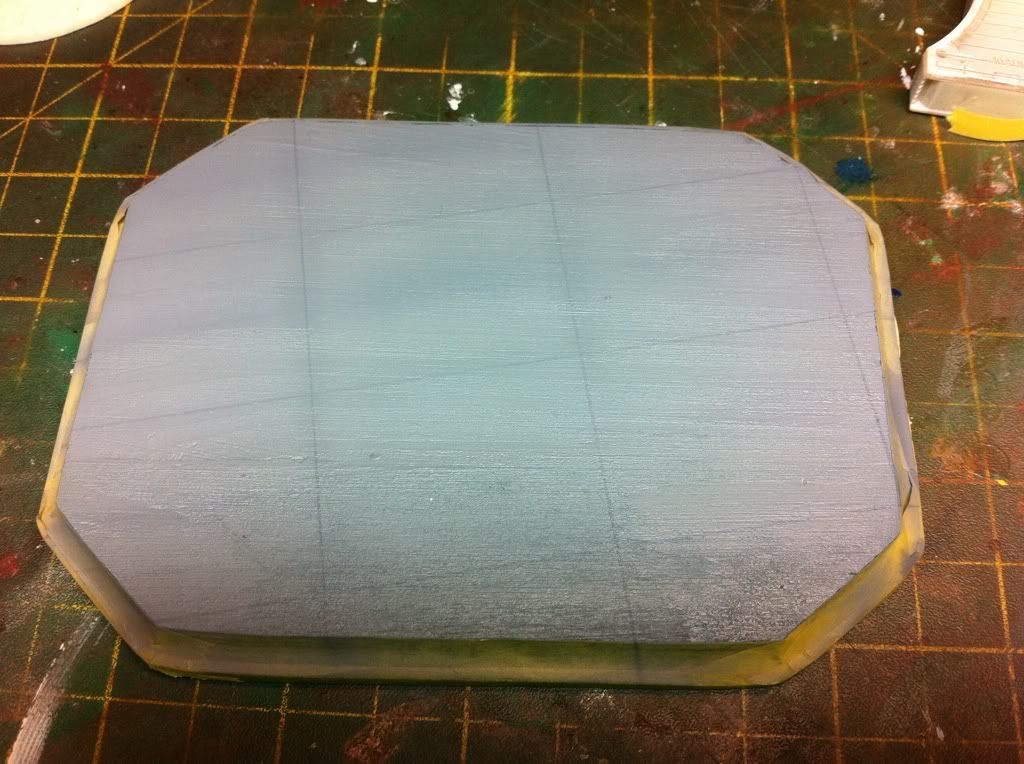
I used a wooden base I got for 50p in a craft shop some years ago.
I sanded the beveled edge as good as I could and then primed it and sprayed it russian green.
This was then masked of and the top section given a coat of tamiya light grey. I then masked of the lines to give the impression of concrete sections this was then sprayed tamiya dark grey and then the lines the other way were masked and sprayed in the same way.

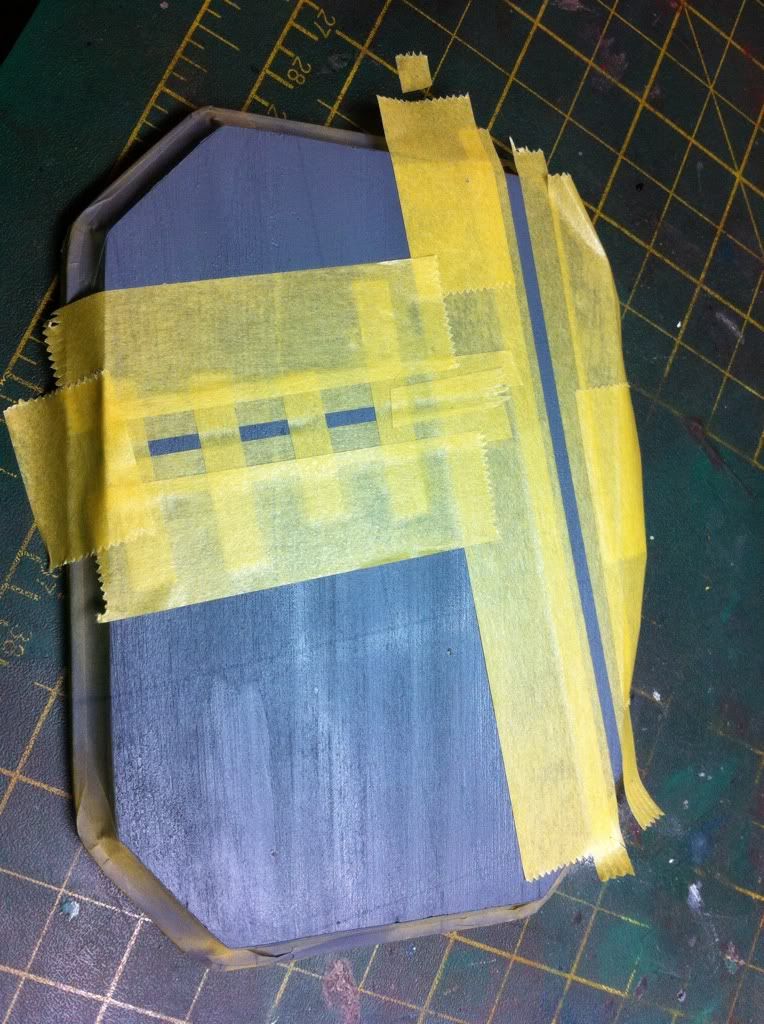
These lines were then lightly dusted with the light grey to fade them a little.
I then masked of the yellow strip and white lines and again using tamiya paints gave it a few coats
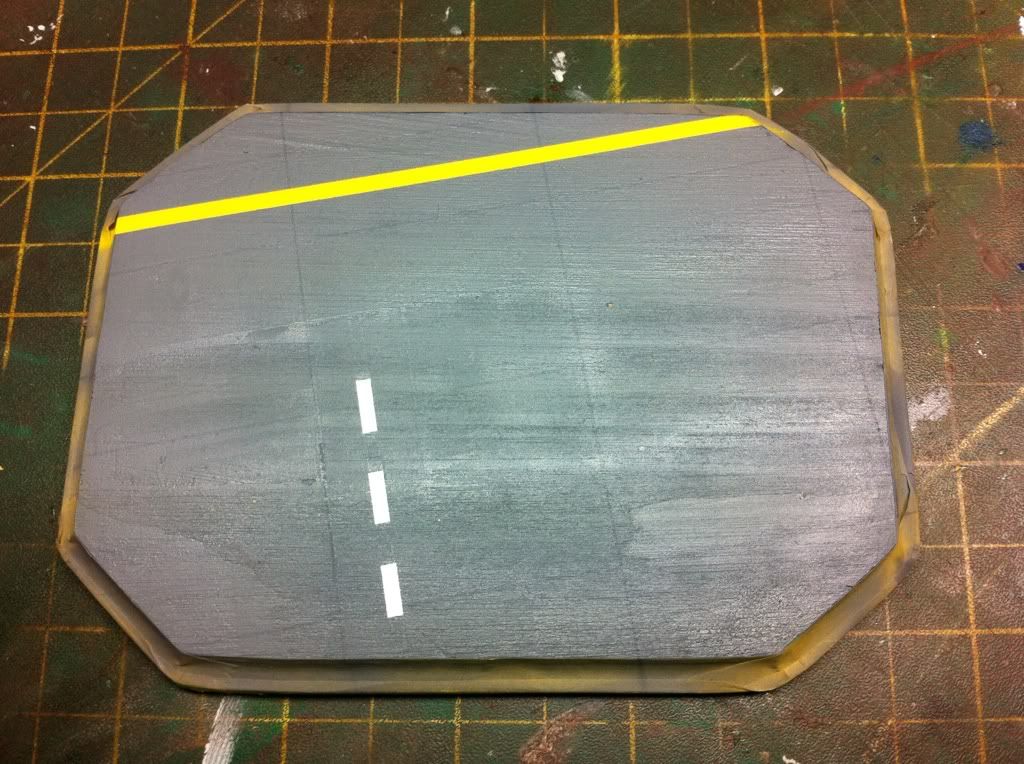
Using mig concrete pigment to add some fading to the "concrete" and tamiya smoke to add some oil stains added some interest to the base, I then gave it a coat of alclad matt cote to finish it off.
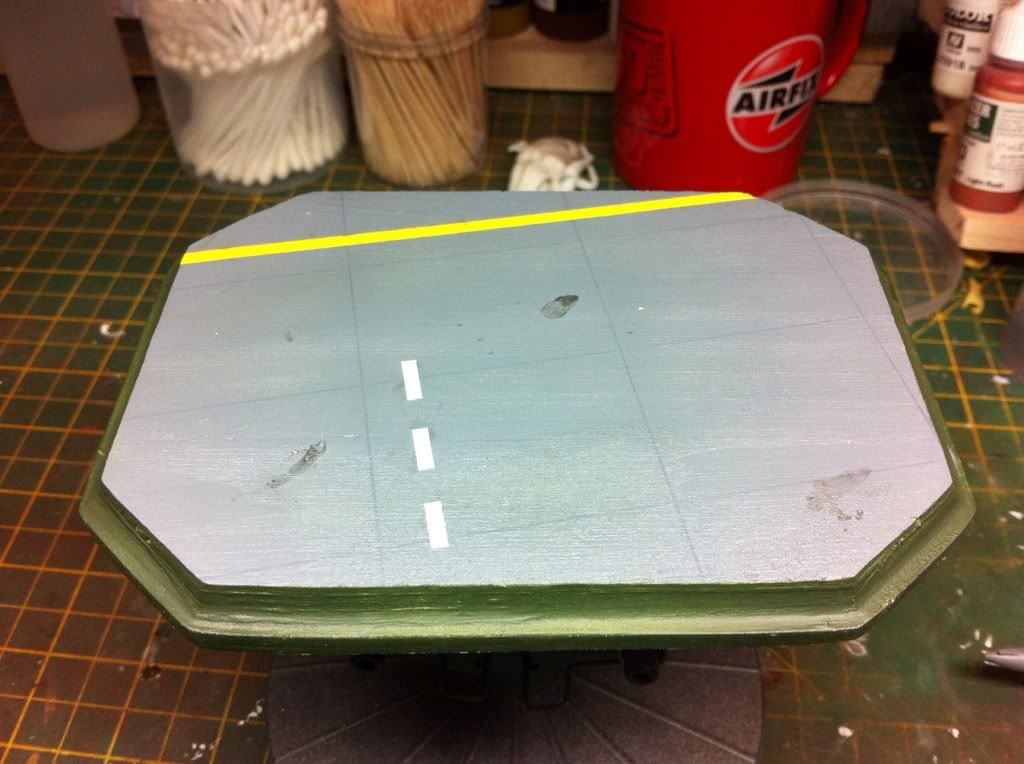
Not the best base for a model but I'm happy with it and it only took a couple of hours
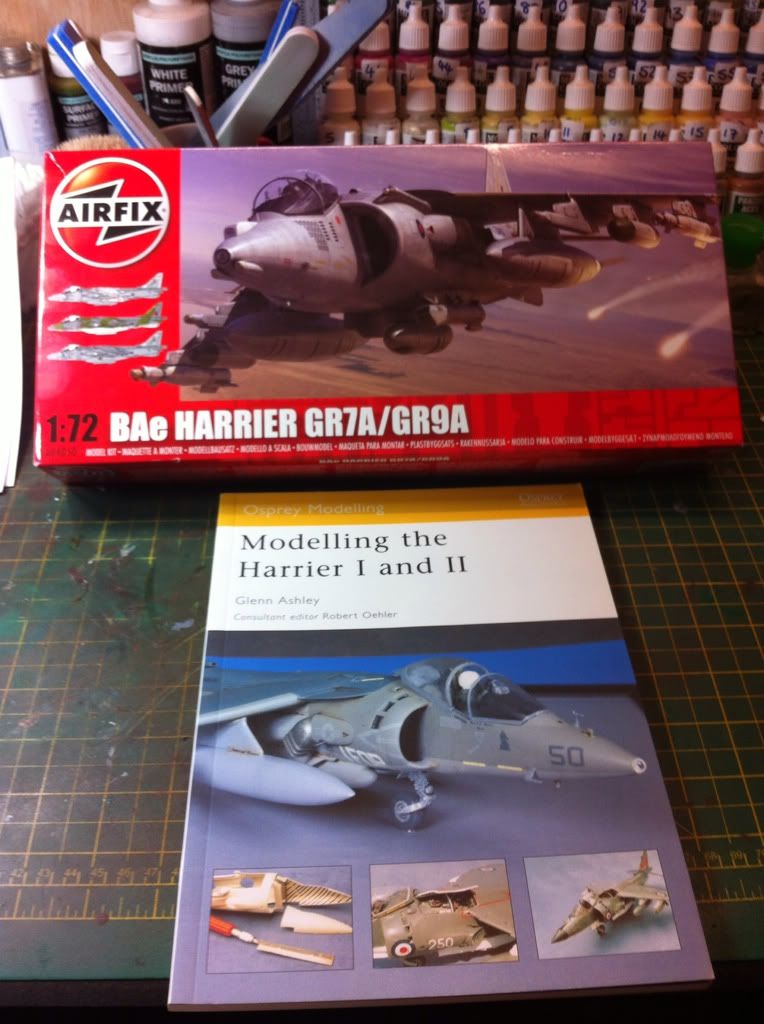
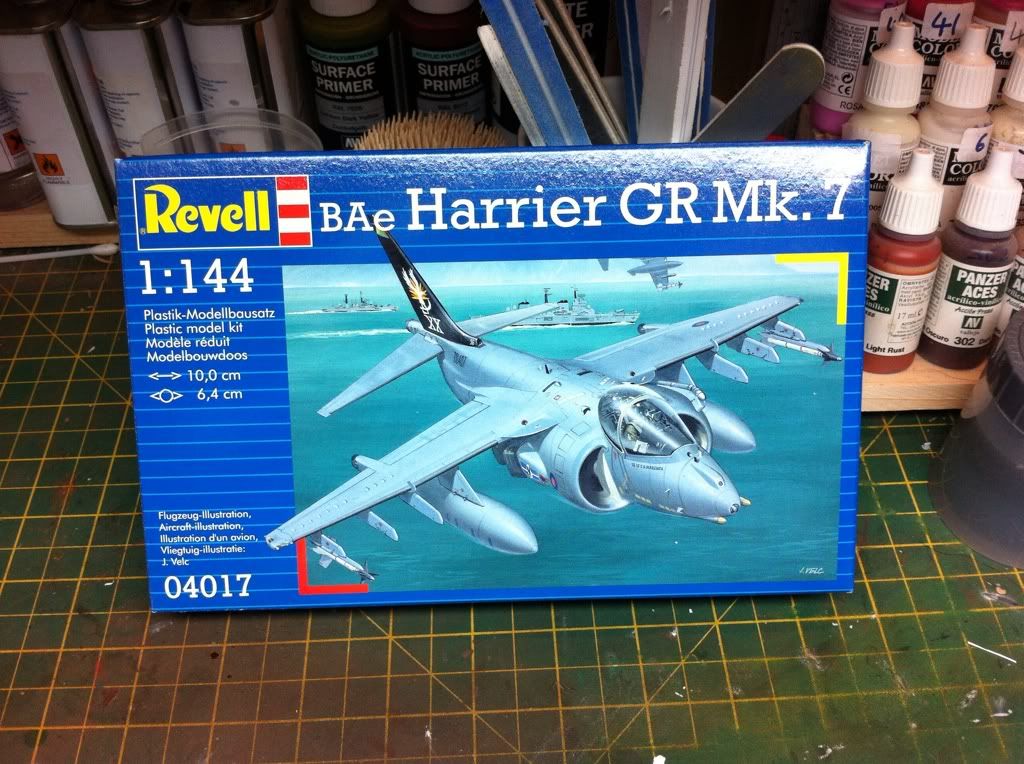
Kit: revell
Paints used: xtracrylics, tamiya and Vallejo.
Weathering: flory models wash and mig pigments
Extras: homemade base