
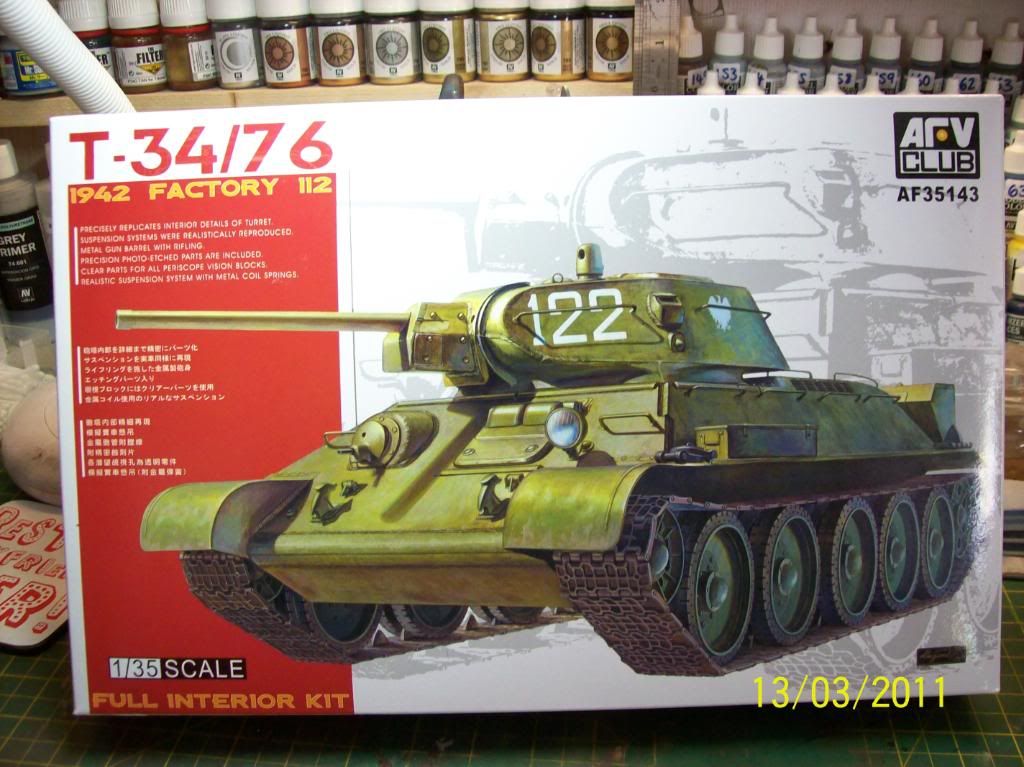
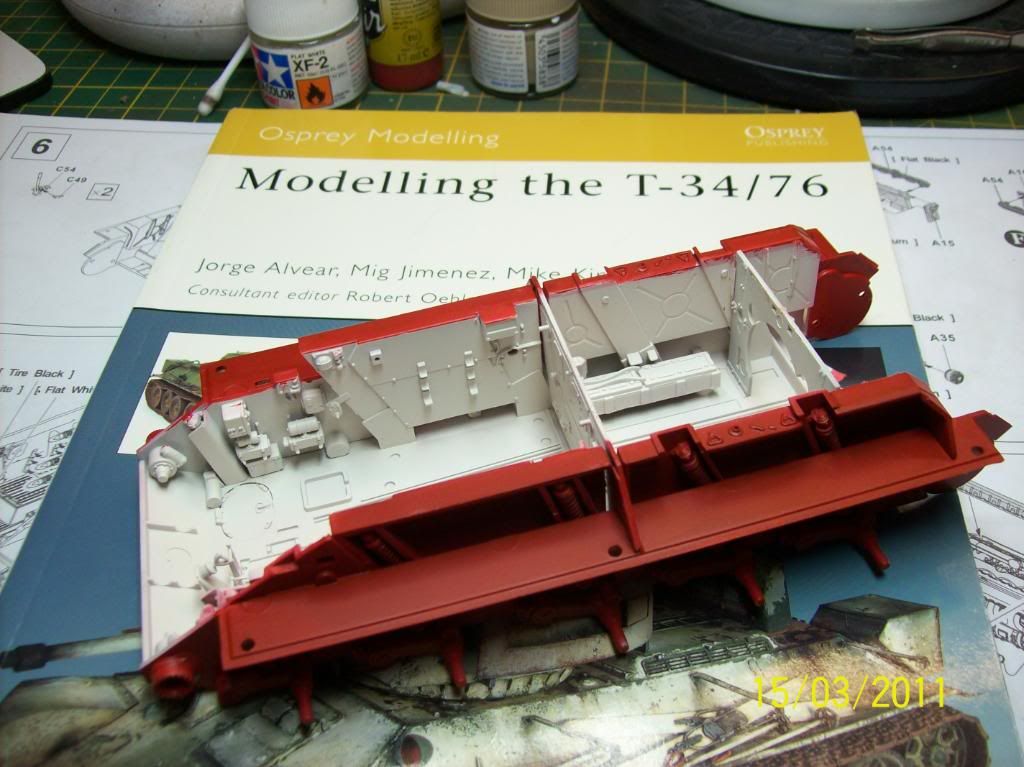
Ever since i first saw this kit ive wanted it, ive wanted to do a t34 for a while and with the full interior this is the kit i wanted.
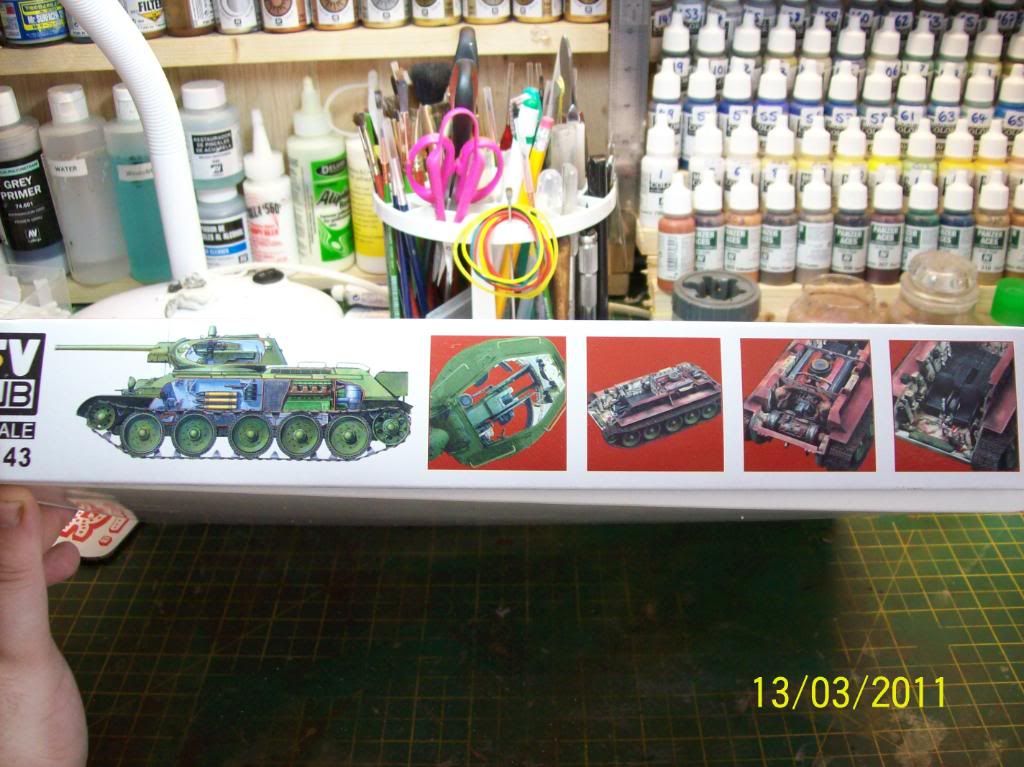
Looks to be decent kit sadly with some flash evident, but nothing major. Good instructions as well as an good size colour drawing of a t34 are included, photoetch parts, plus a metal barrel and springs for the working suspension make this a well speced kit.
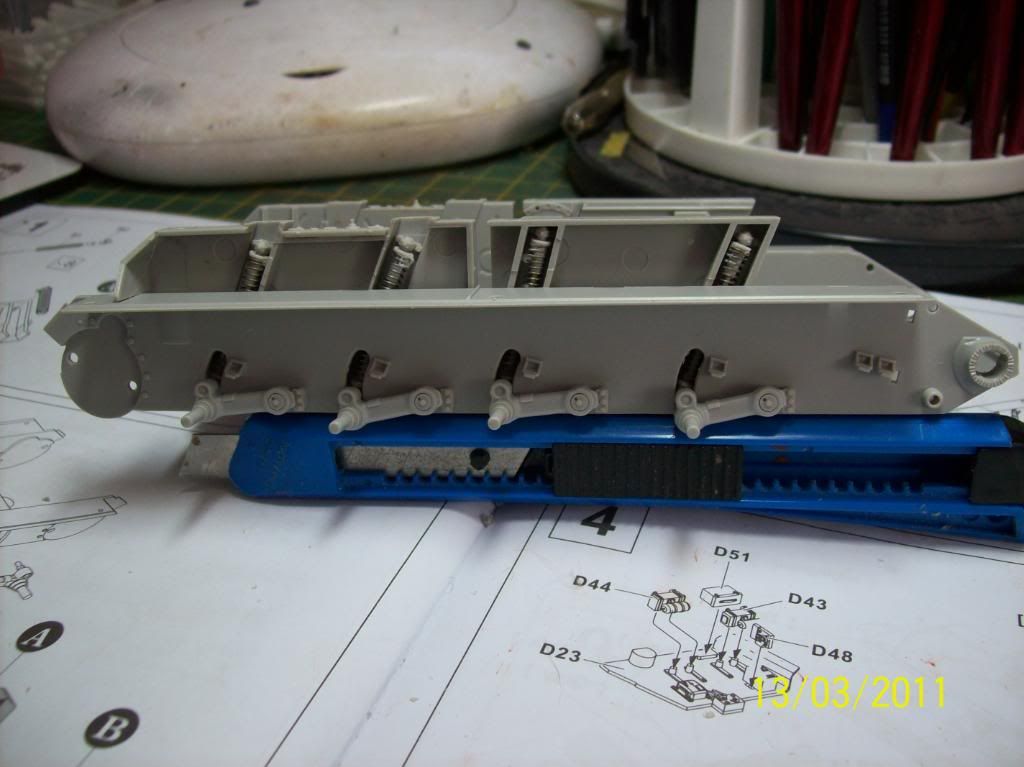
The working suspension can be seen here
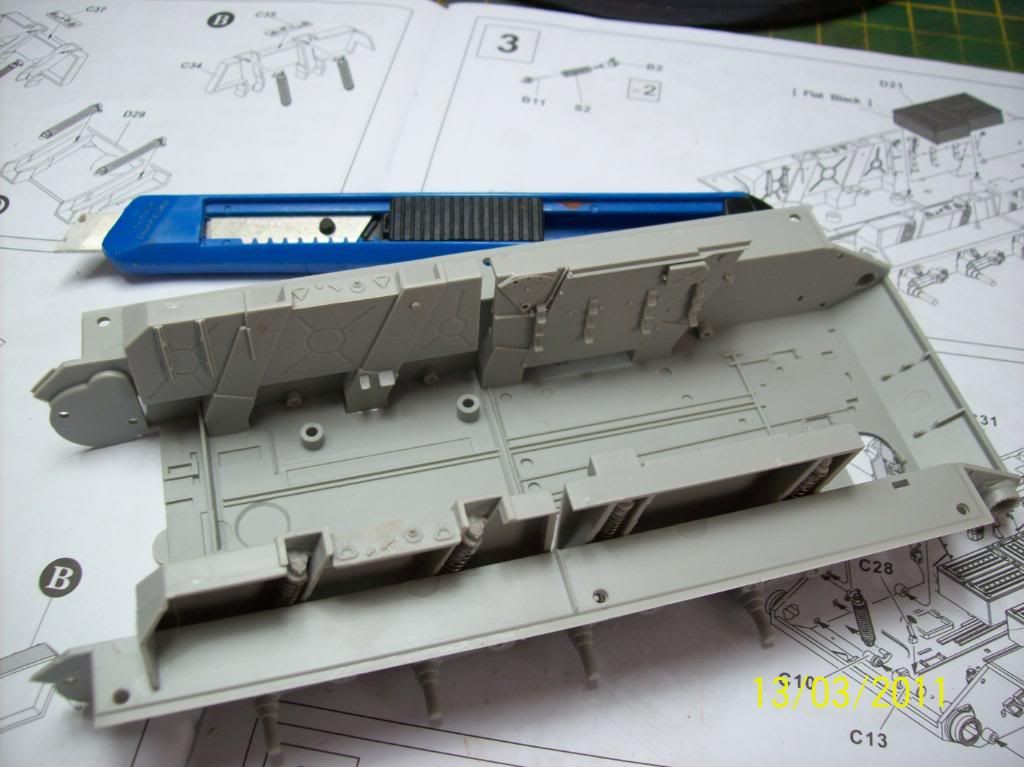
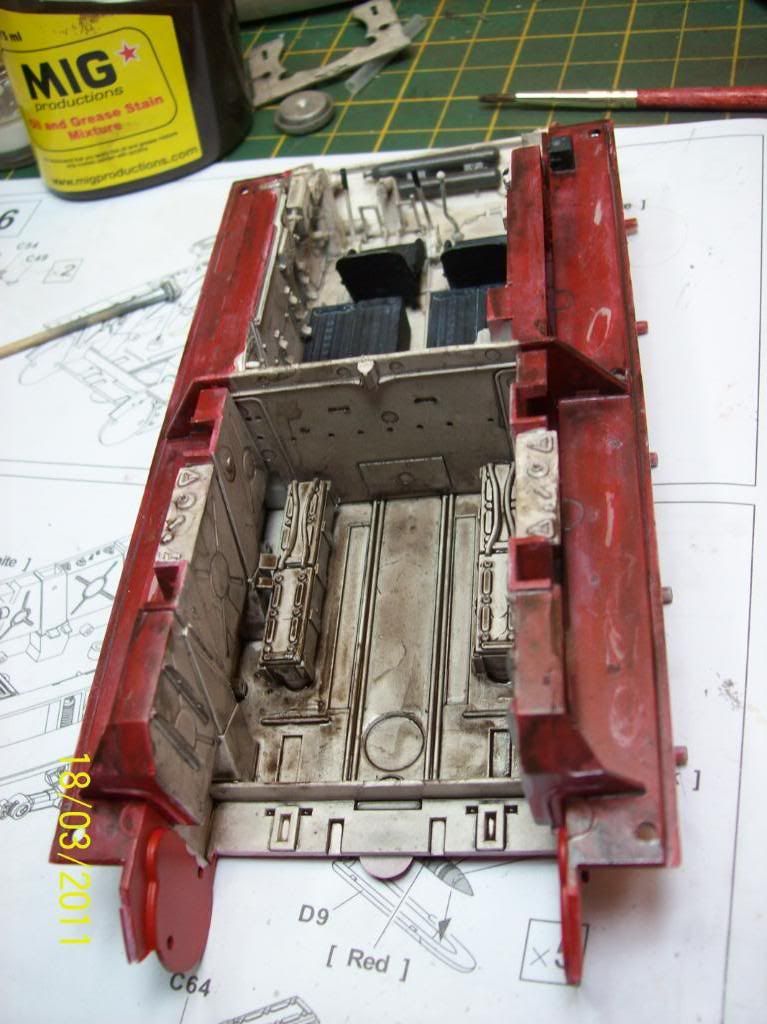
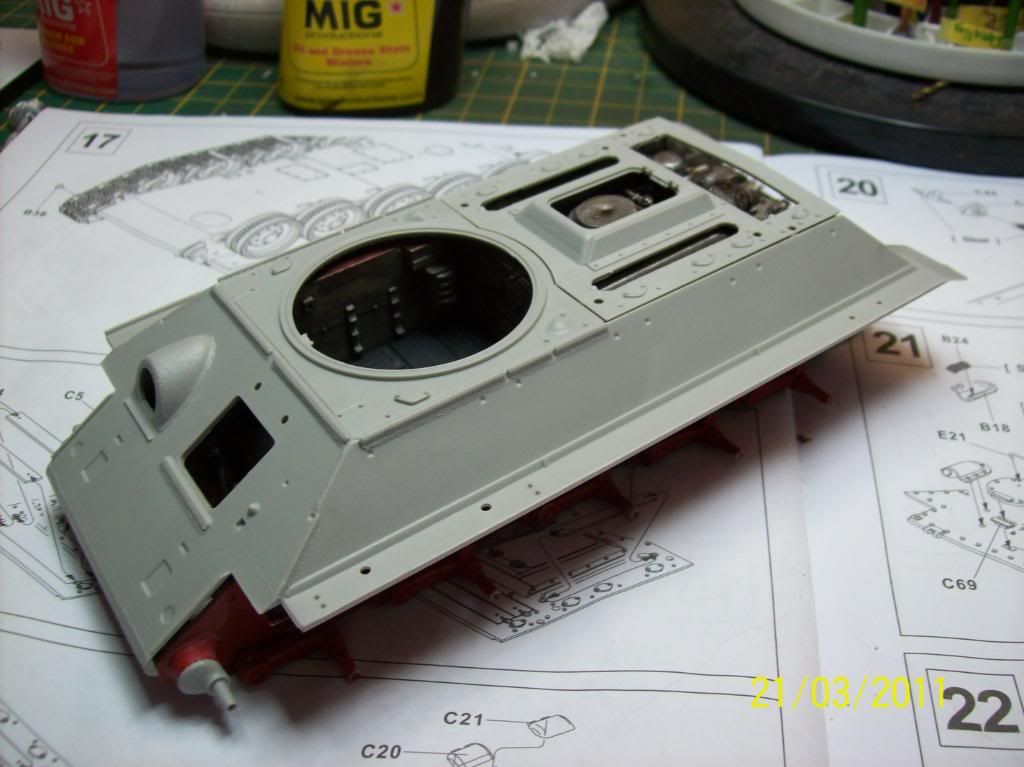
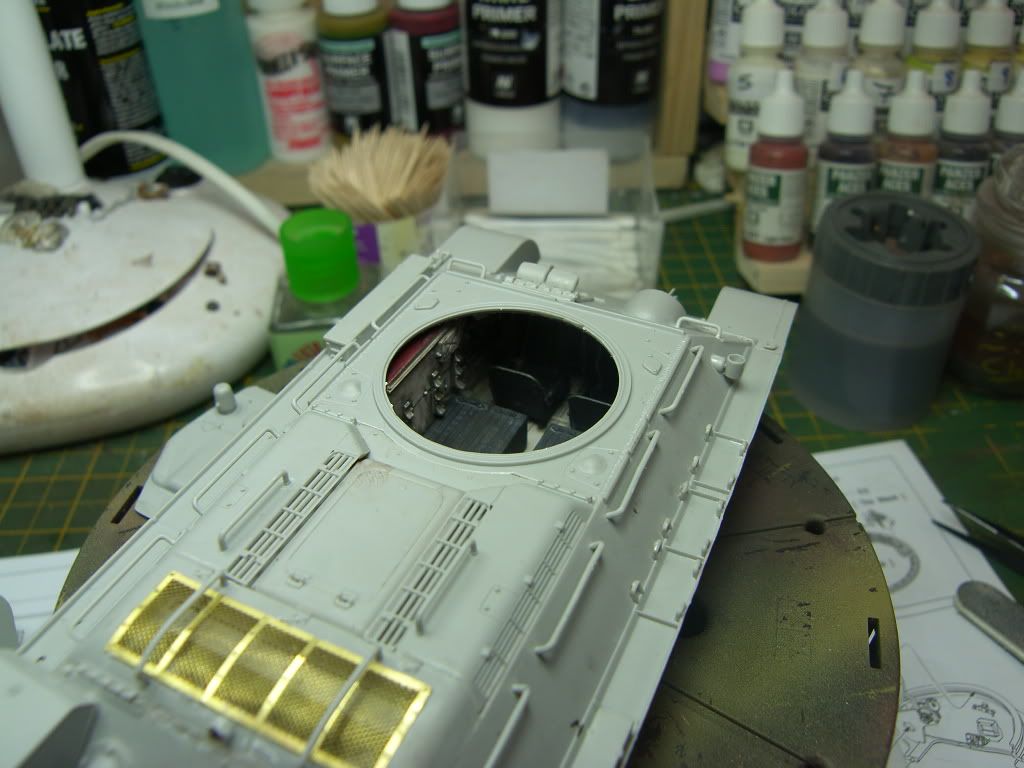
And a start to the interior
18/3/11
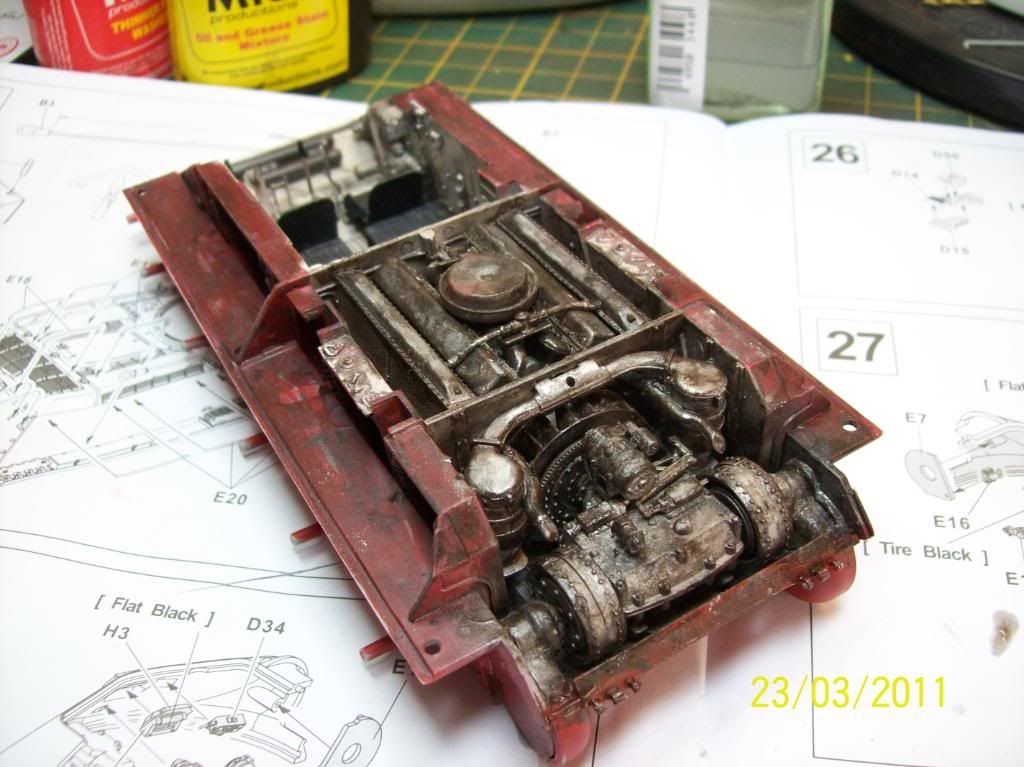
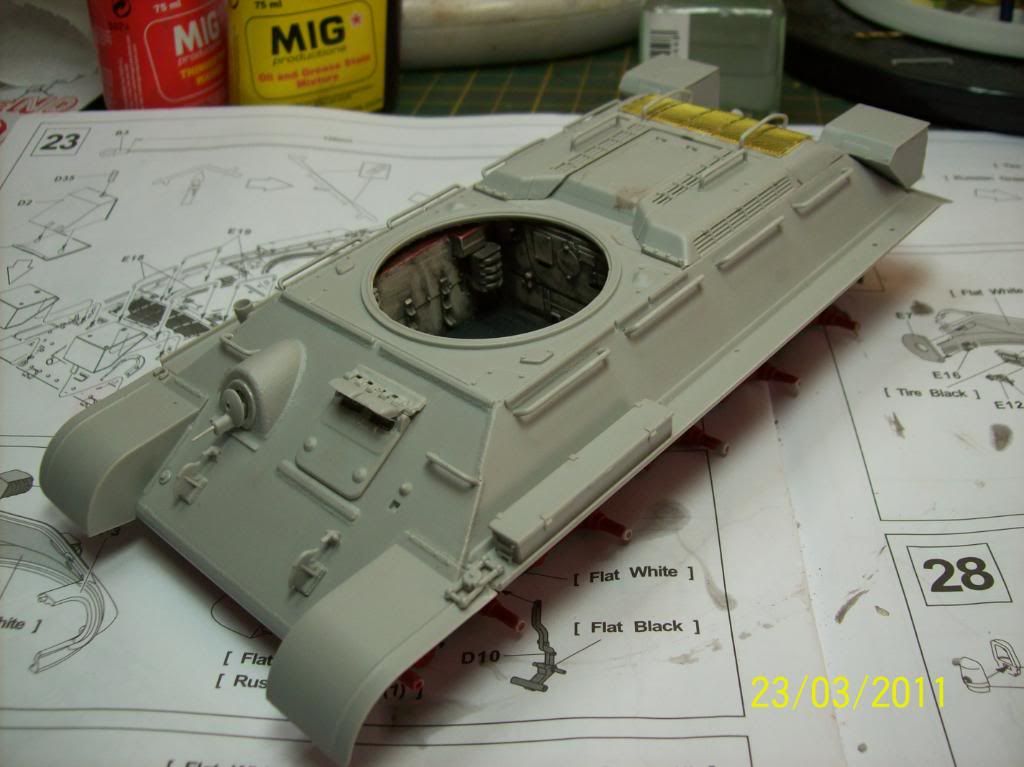
Got the interior together, primer red on the chassis and an off white on the interior which i mixed from tamiya white and buff
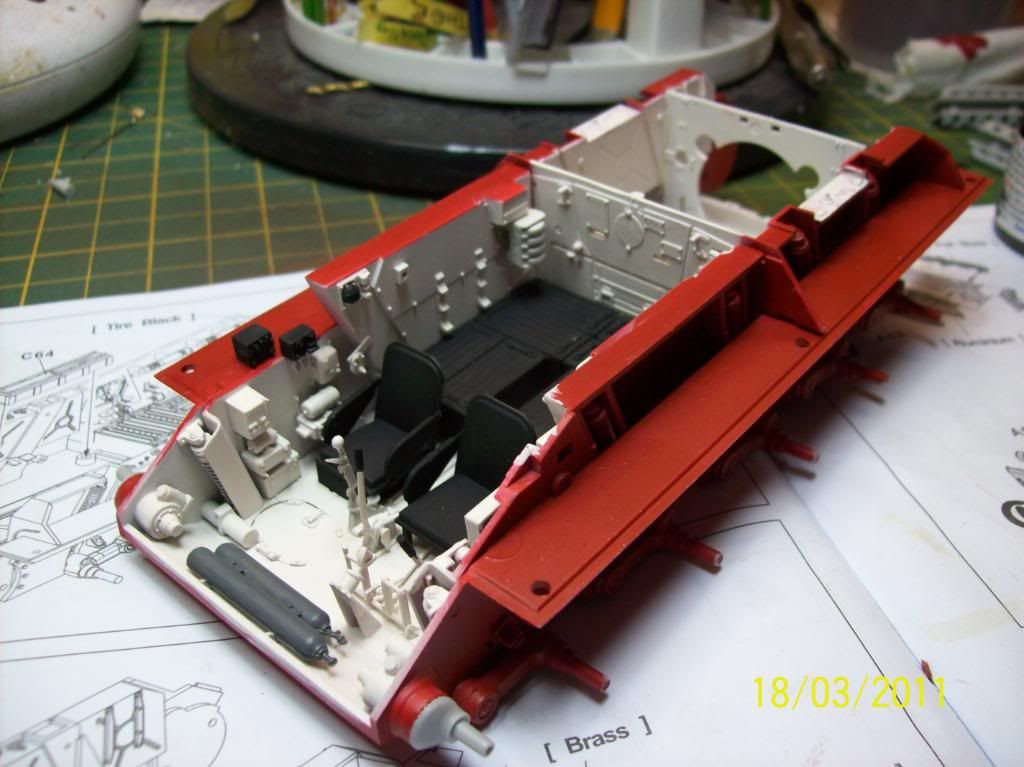
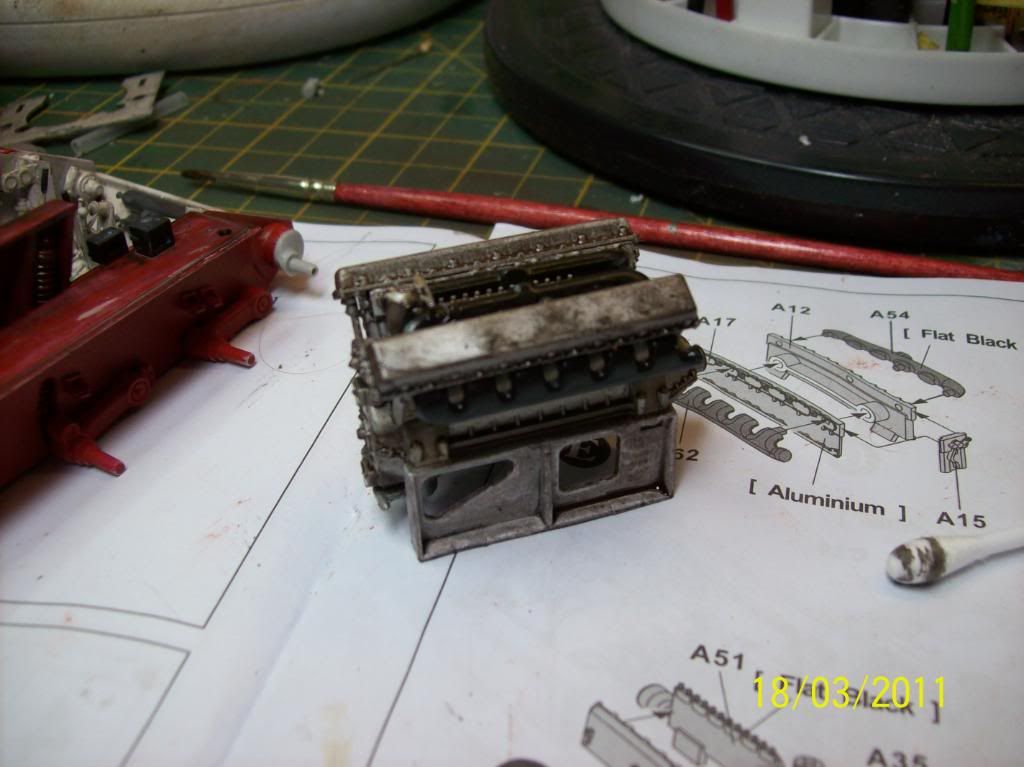
I then sprayed a dirty black thinner wash (very dilute) over the entire interior then using fm white wash and mig oil stain and thinner weathered it all giving a mix of colours and tones.
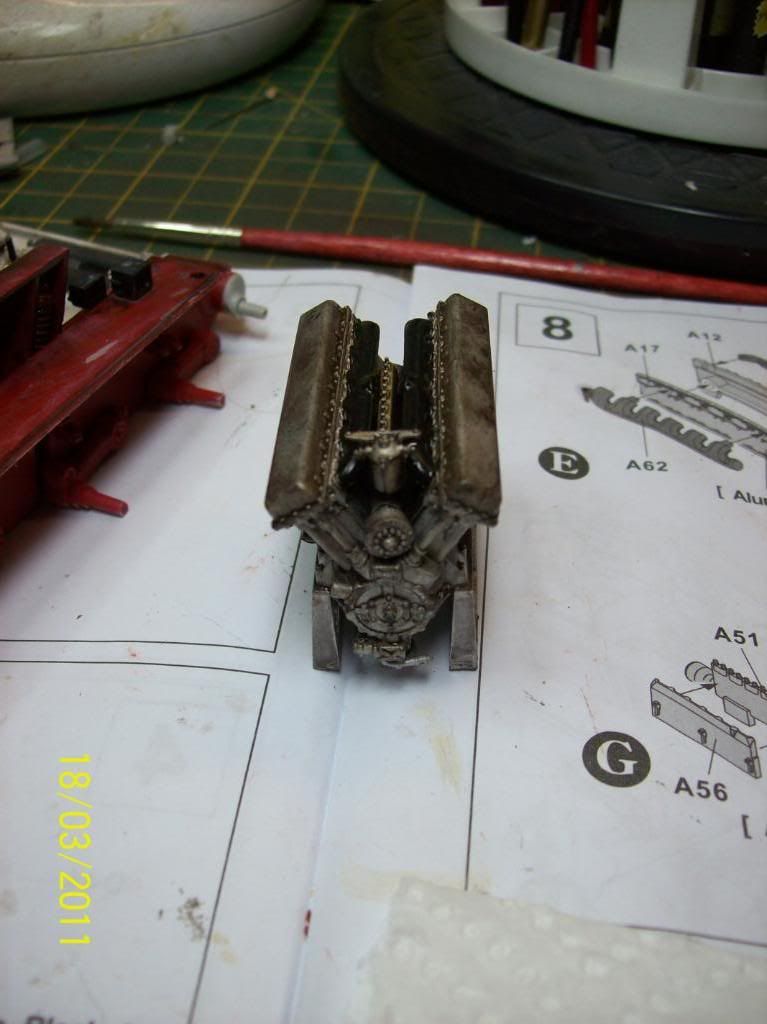
I weathered the engine bay more using the oil stain wash as it would have gotten dirtier than the crew compartment.
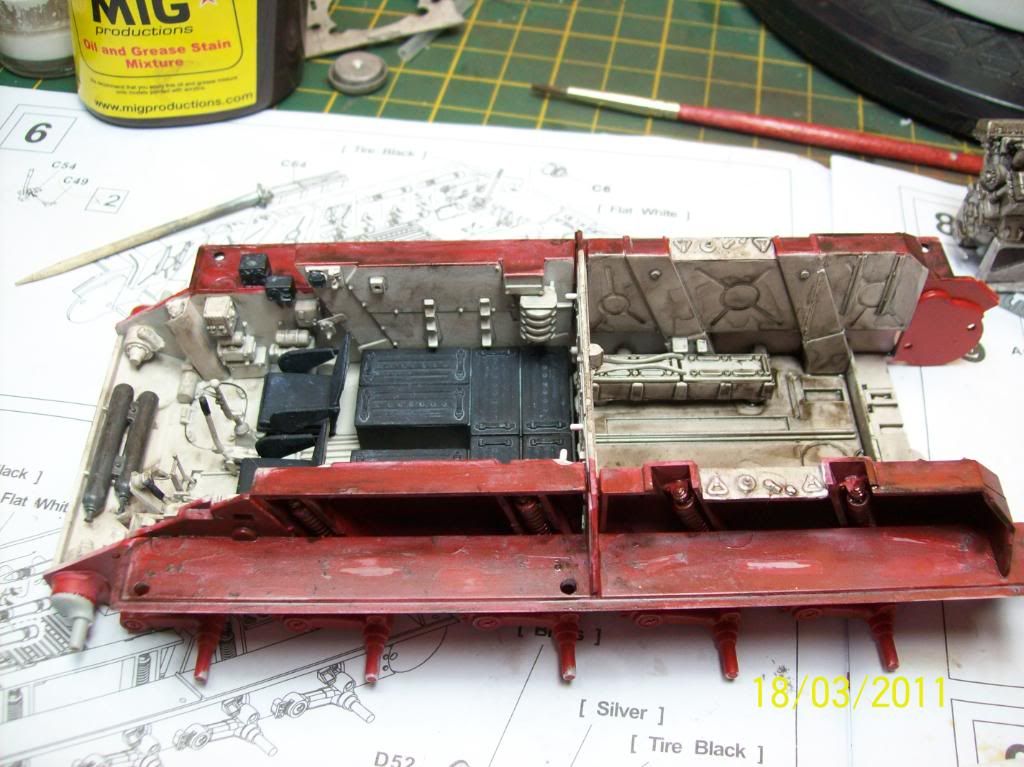
Enigine with its first wash, ive still got some bits and bobs to attach and paint.

Some more progress, bit slower than normal progress as im doing some home renovations.
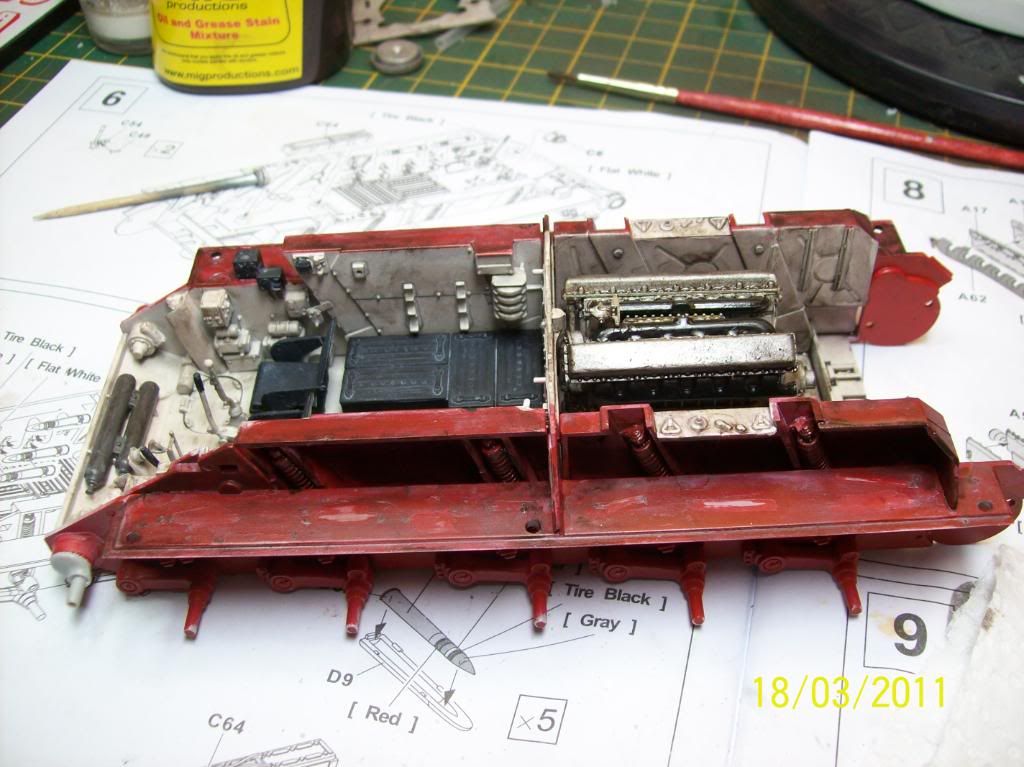
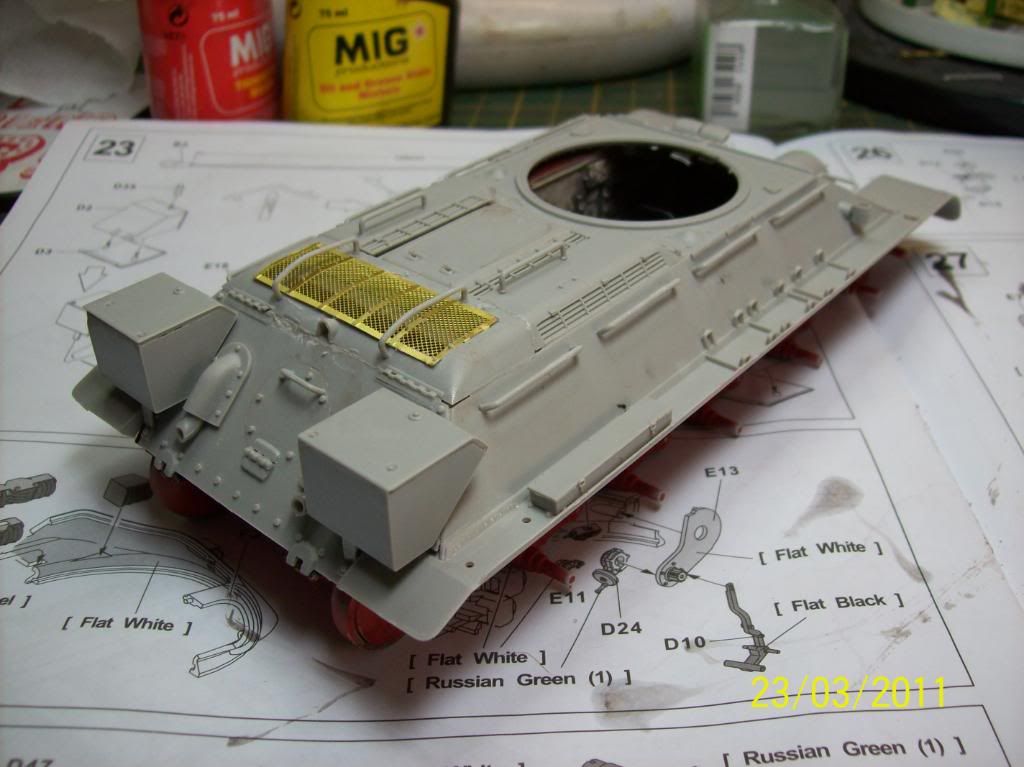
Gearbox, radiators, exhausts etc all spryed up and stage one of the weathering usiing mig washes, ill get some pigments on them later. I also got the rear section of hull attached too.


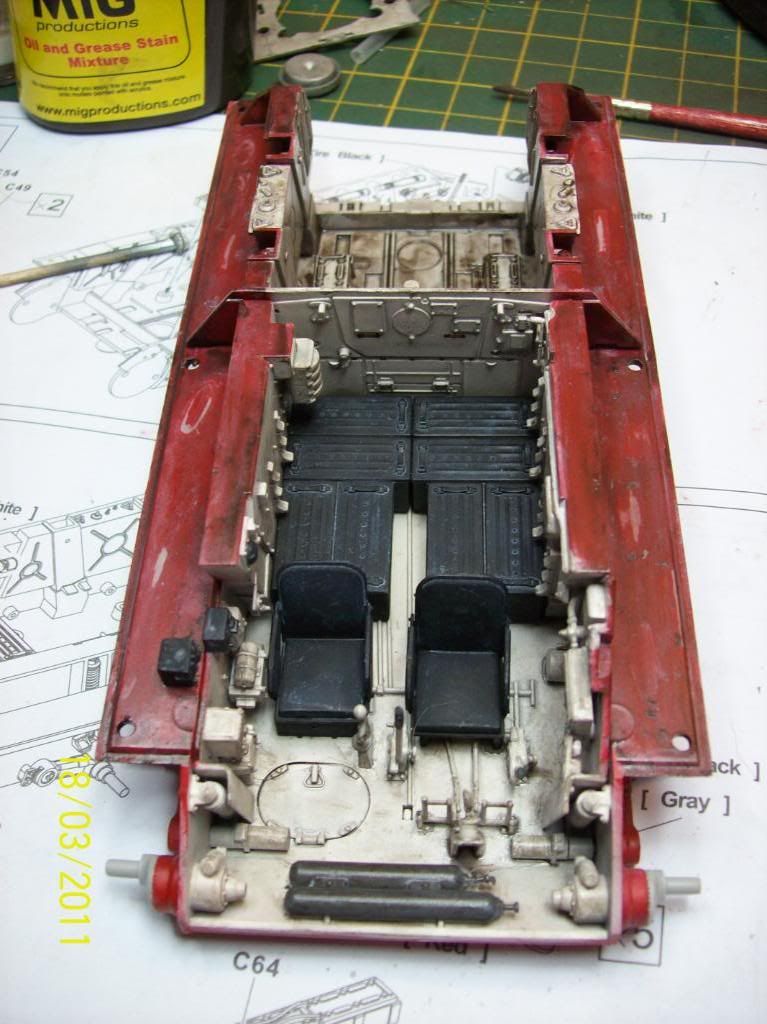
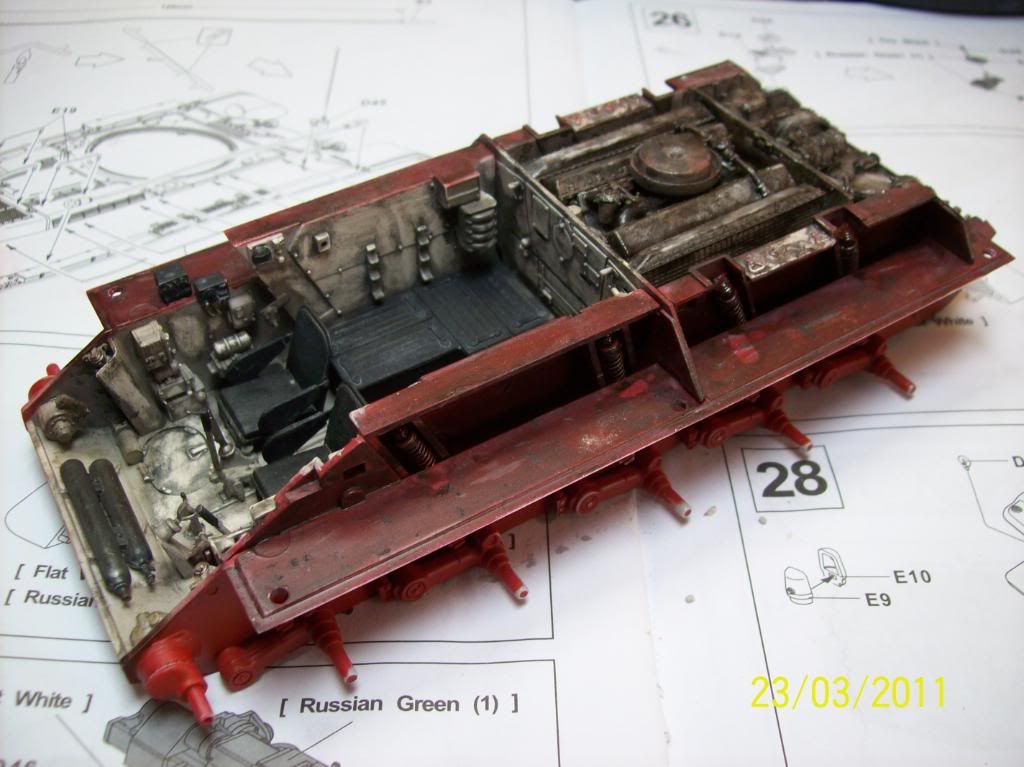
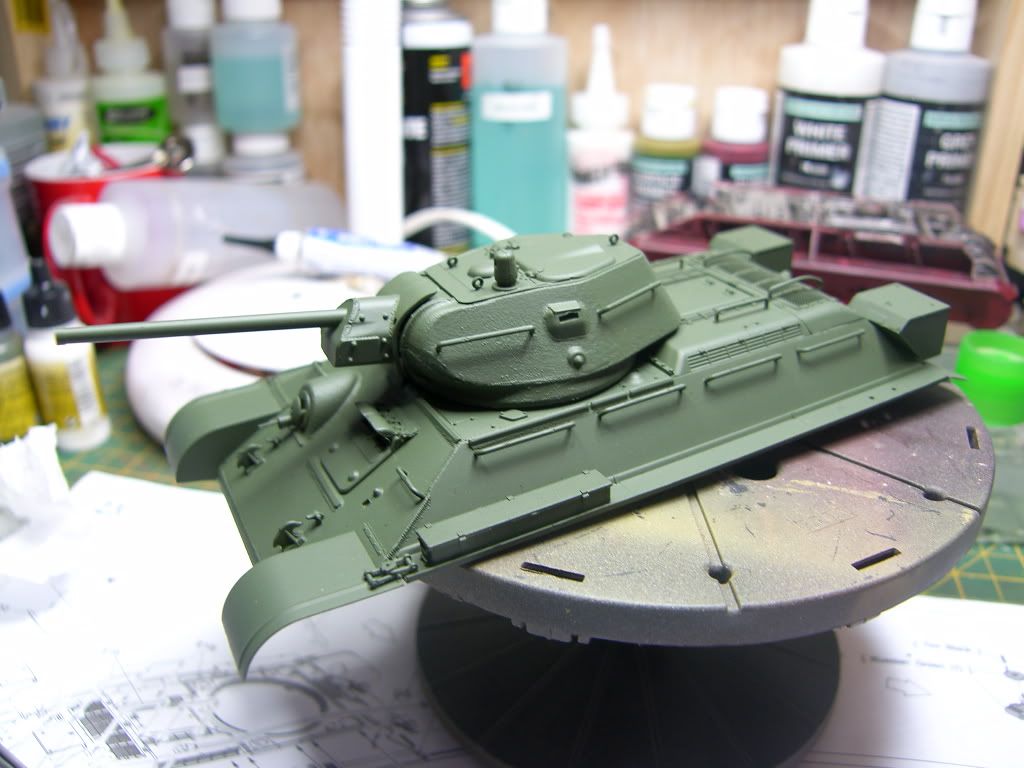
23/3/11
Got the interior fully weathered up now im fianlly happy with it and have moved on to the exterior. I added some diferent coloured pigments as well as a rust wash and finally another oil and engihe stain wash

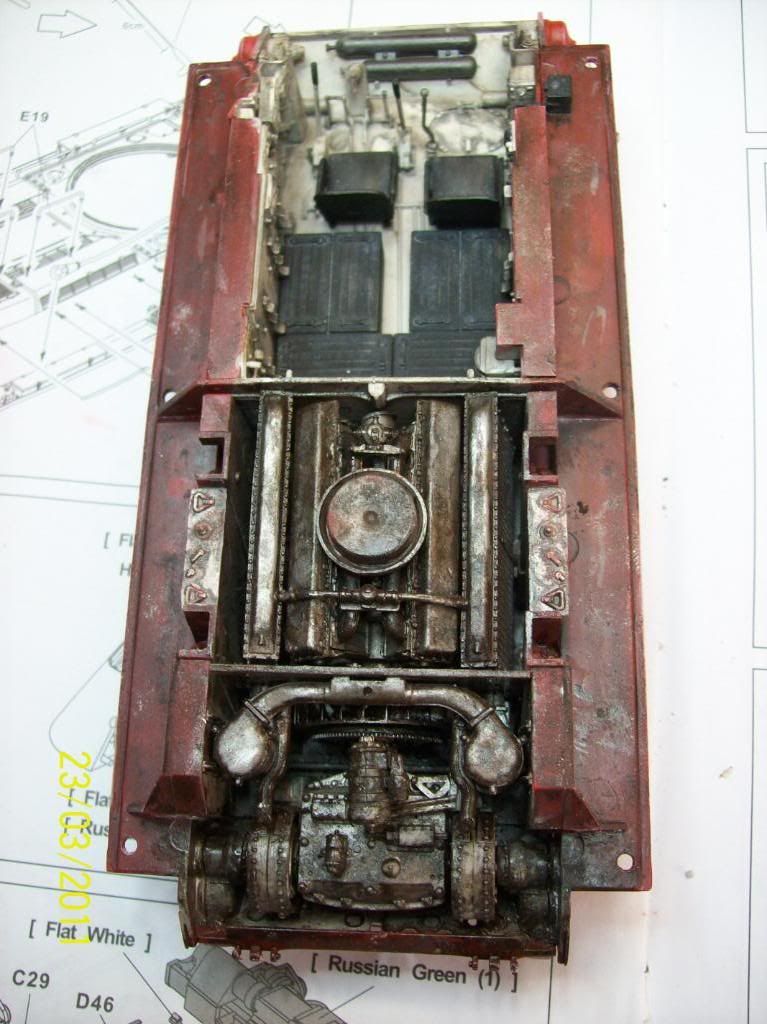
I removed some of the wash from the crew compartment using thinner this left behind a worn effect to ares that would have collected dirt and grime.
09/07/11
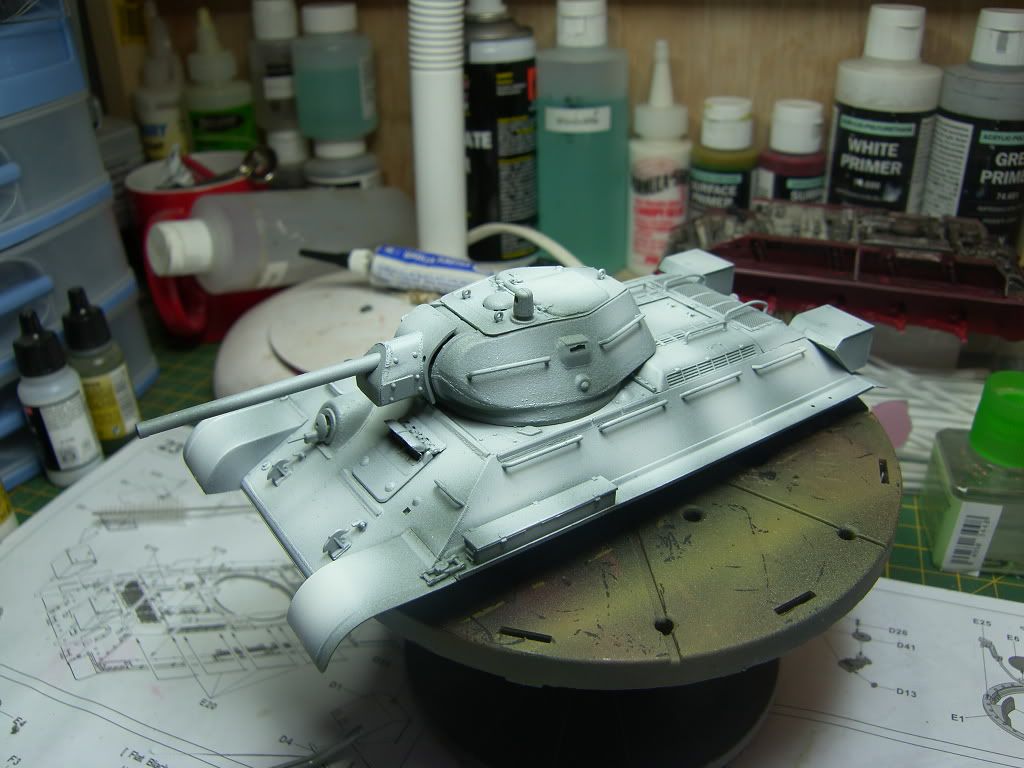
Ok back at the t34 now.
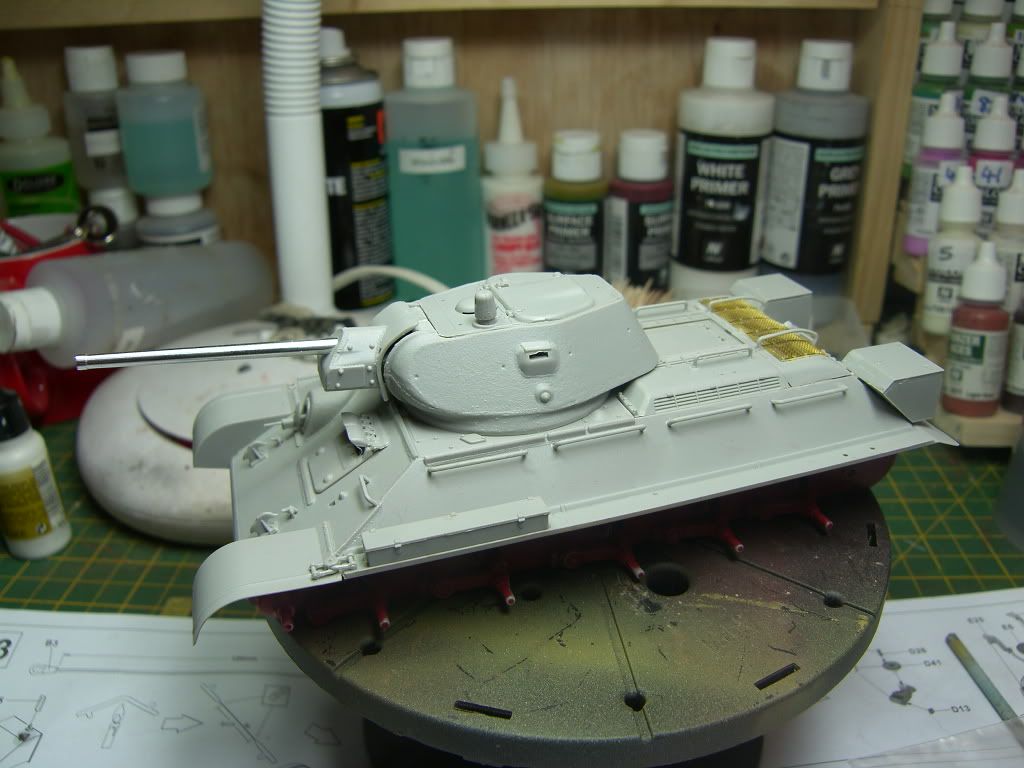
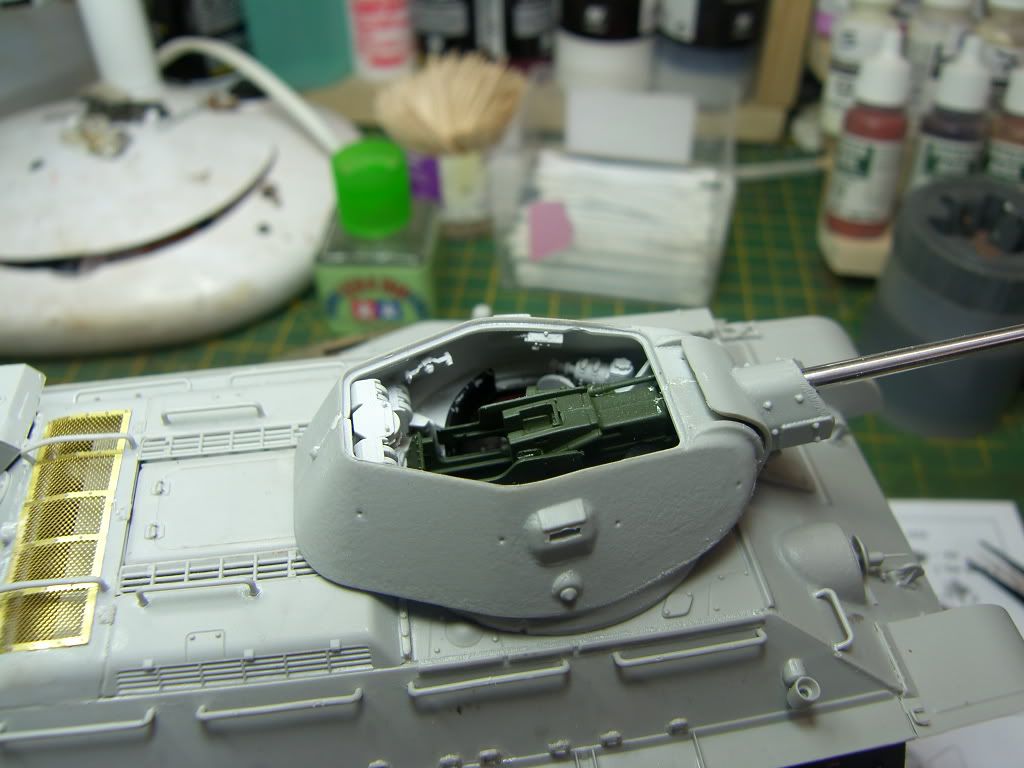
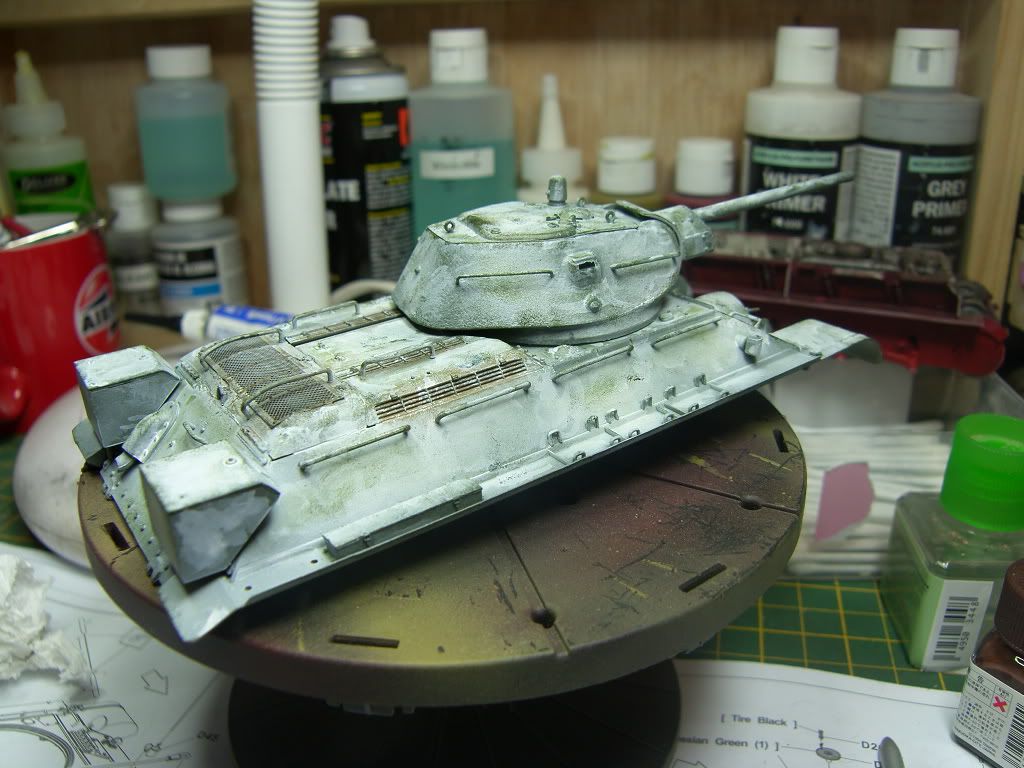
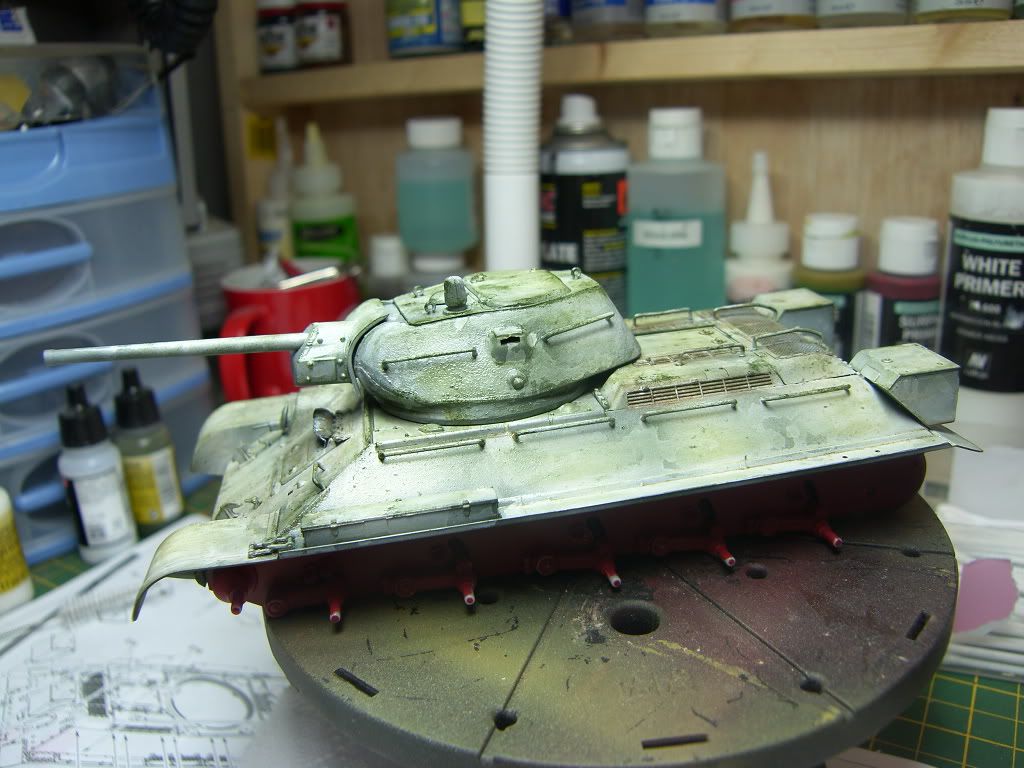
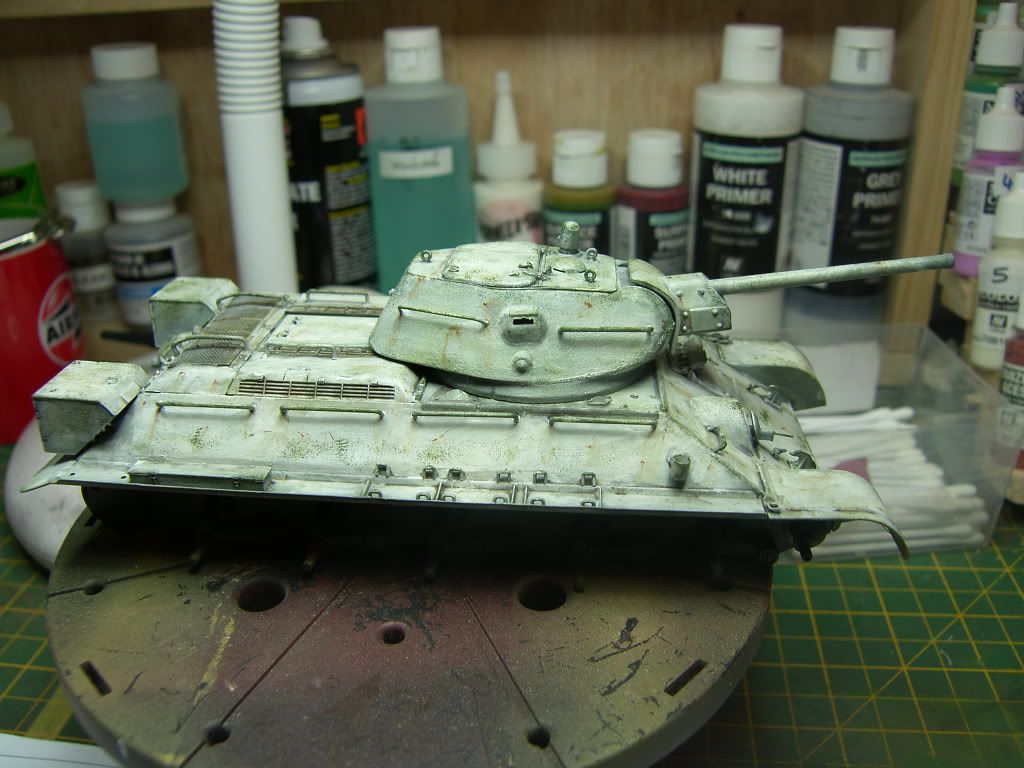
Mangaged to get the turret togther and sprayed today, attached the manlet and the metal gun barrel, i will then weather all the interior of the turret in the same manor as the hull was done. Ime leaving the top of the turret lose to enable seeing inside the turret.
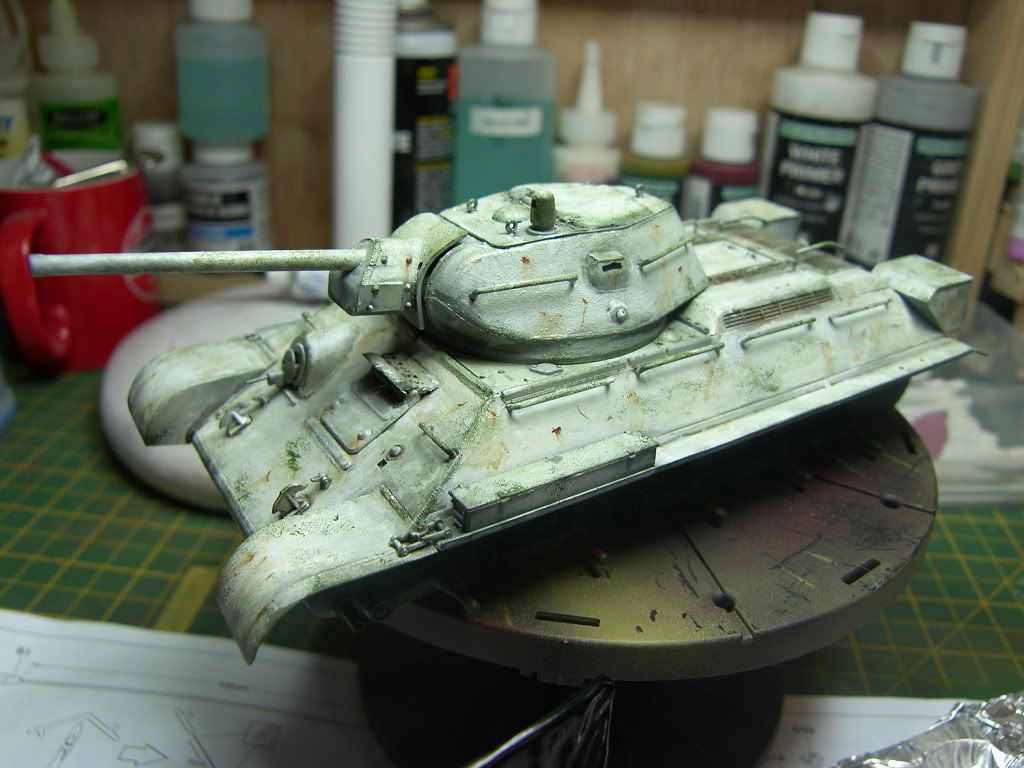
Ive done a seqeunce of pics to show how the certain parts can be veiwed.

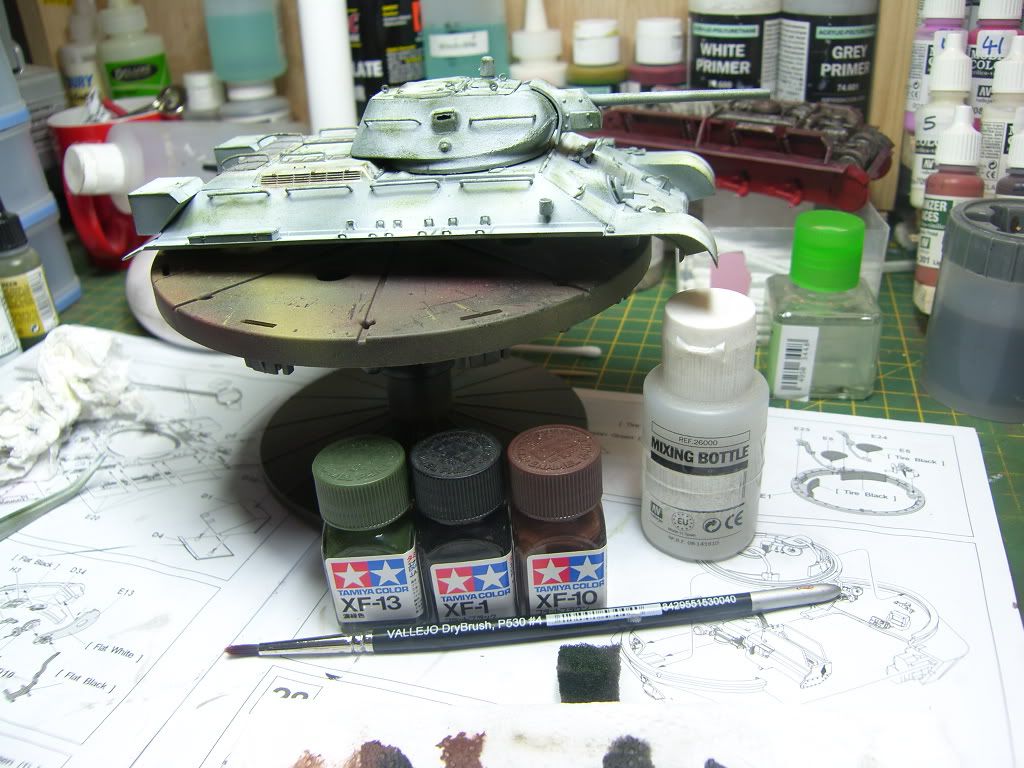
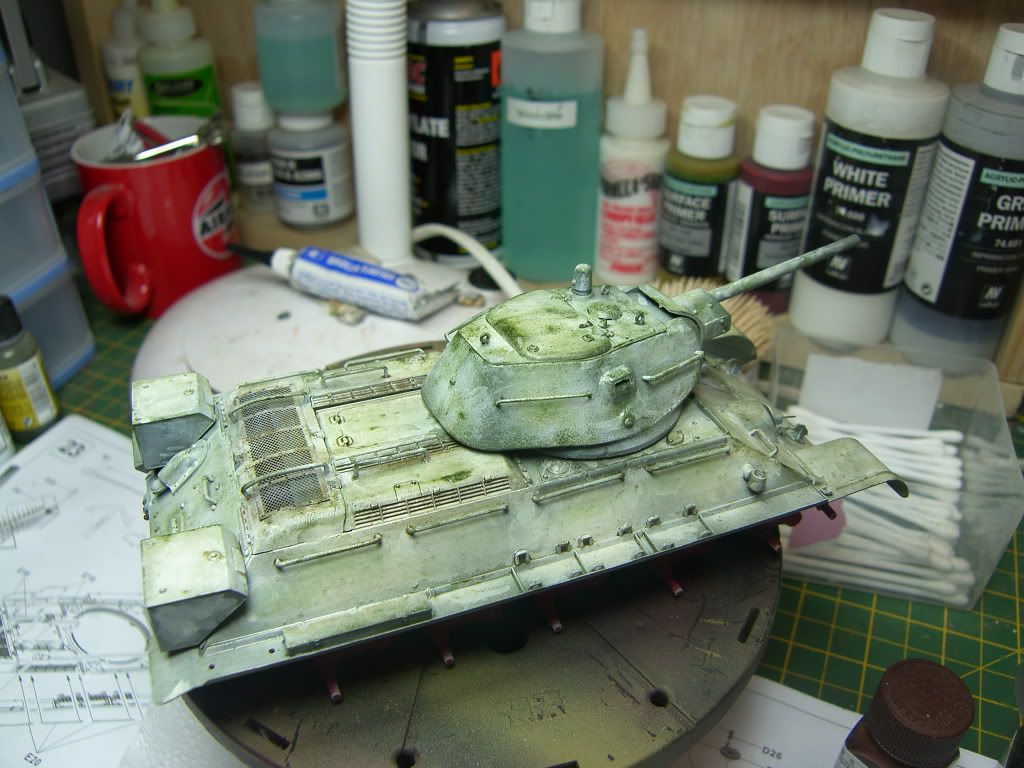
11/7/11
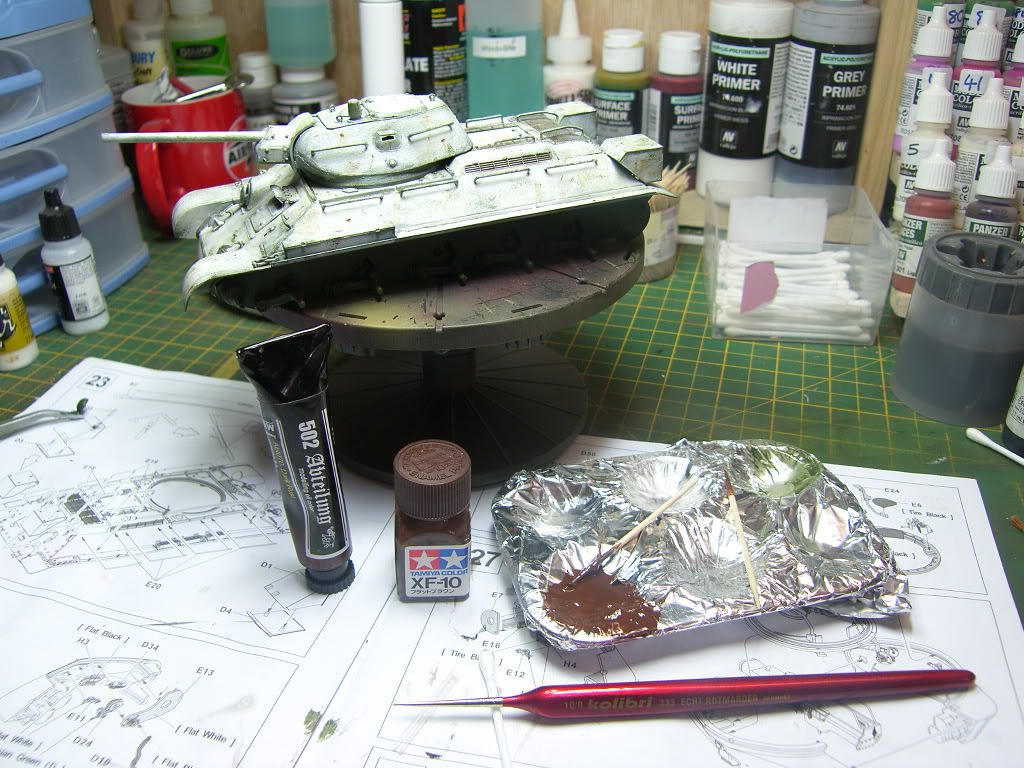
Ok ive made a start on the winter camo scheme, starting with an overall coat of russian green. I will be following Mig jimenez guide in my osprey t35/76 book using filters and multiple layers of various paint.
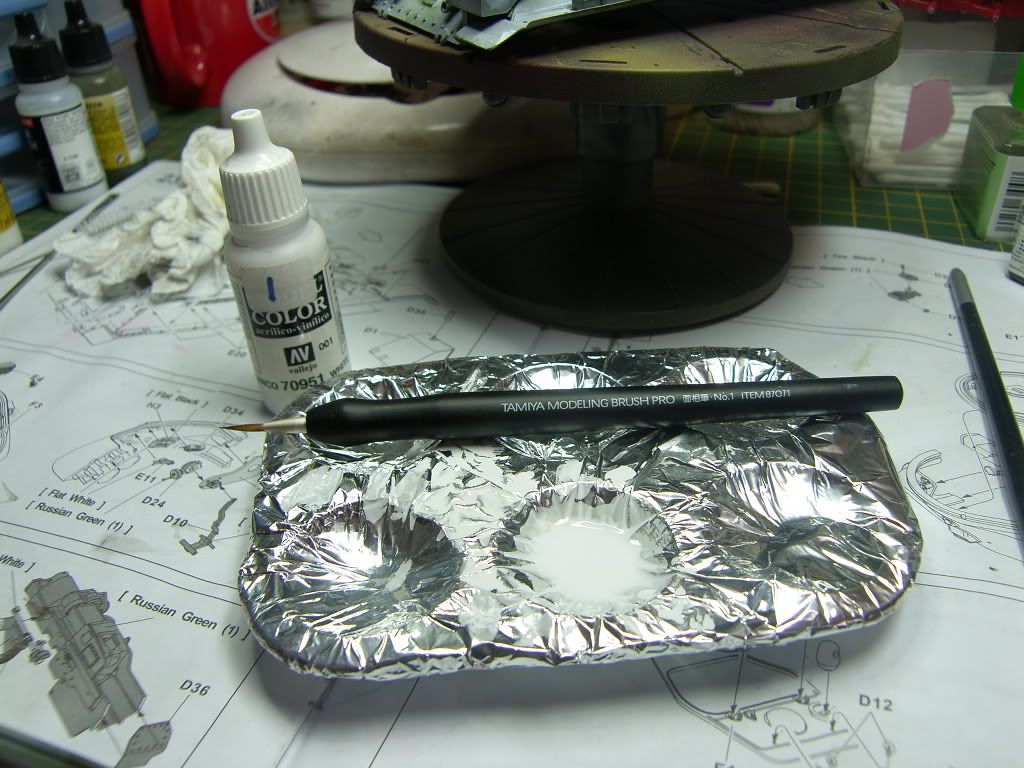
Russian Green (Vallejo)
Russian Green (Vallejo)
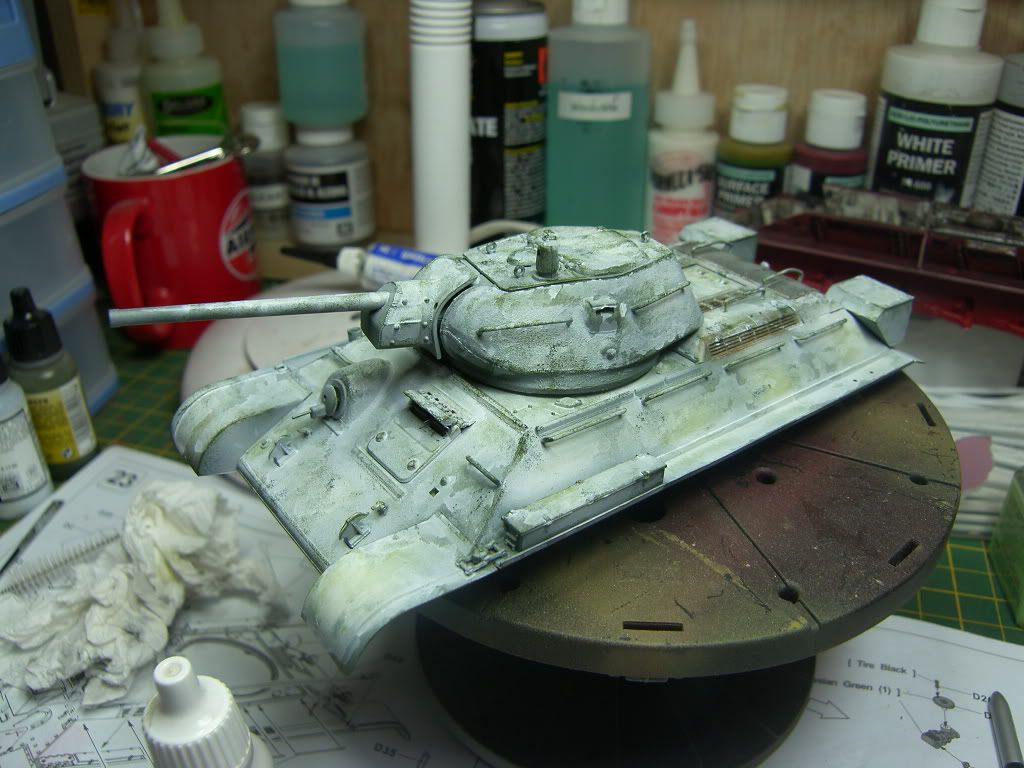
An varied coat of Vallejo air white, leaving some patches of green showing though
Then using tamiya enamels i dry brushed green brown and black around the grills and green all over the hull and turret. I then used the sponge method to add chipping and wear.
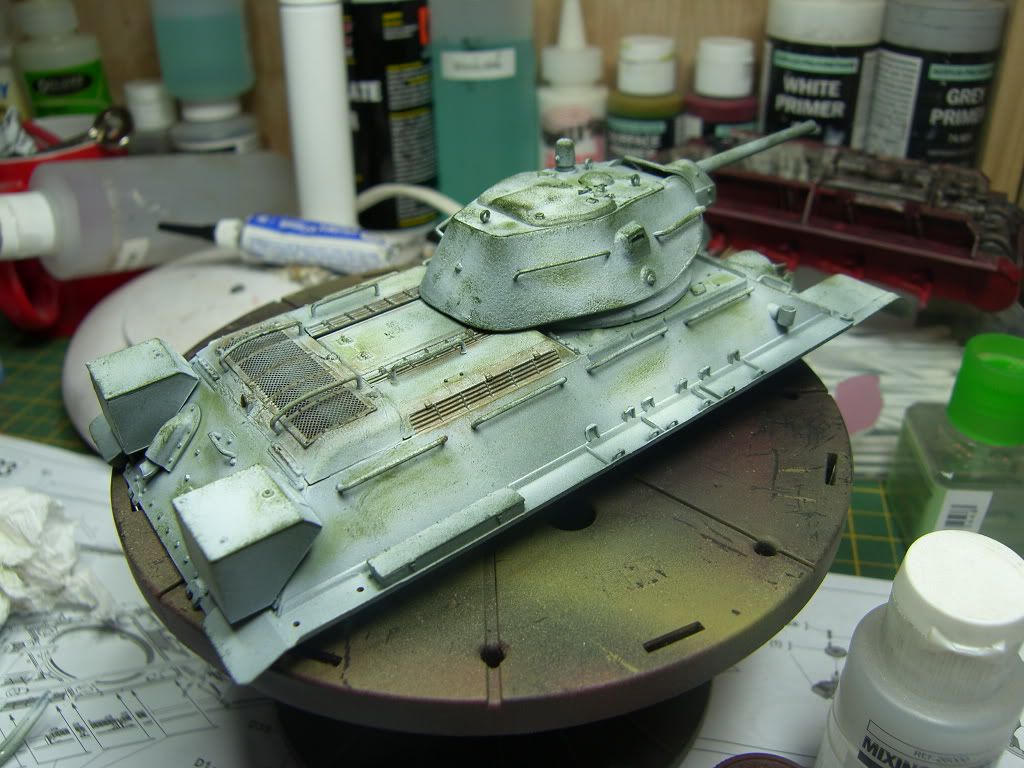
Then using a watered down vallejo white i mapped the entire tank, creating a patchy effect.
Next step a coat of sin industries tan filter, this with the enamel paints really brings all the tones together.
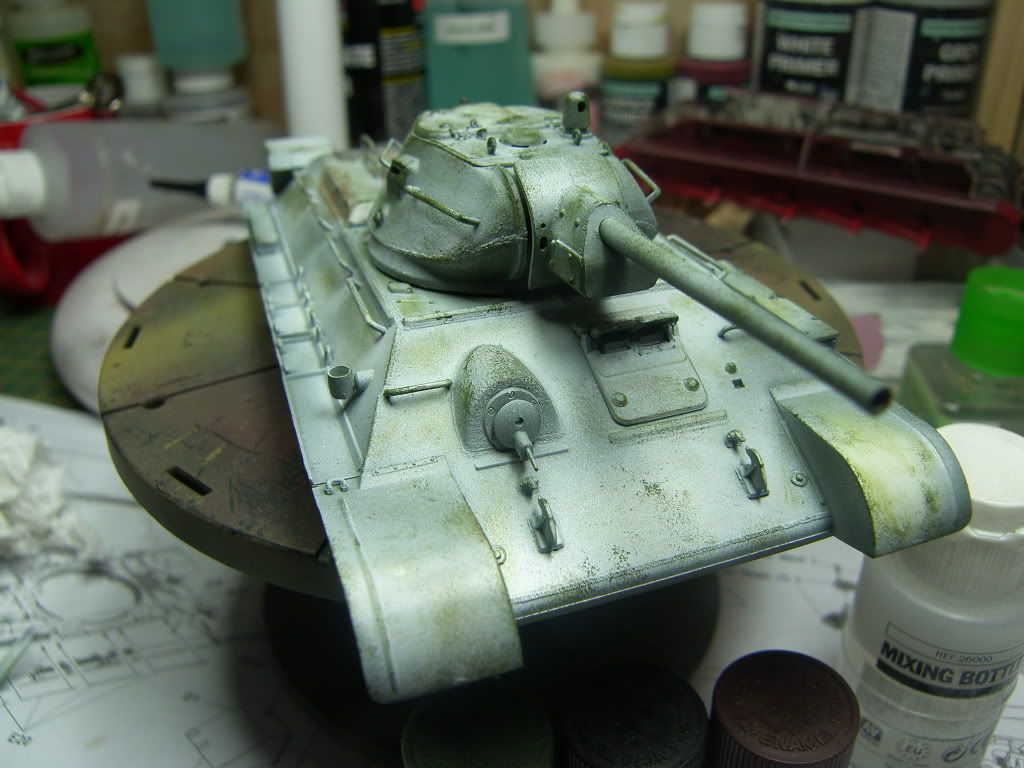
Ok Some more progress today, ive added some more whitewash to the paint scheme, brightening it up a bit more ive also added some more chipping to it too.
Using tamiya xf10 enamel and mig dark rust oil mixed i added some rust streaks and marks and using some thinner dragged thse down to give the effect of rust stains.

Love your build blogs! Look forward to seeing many more.
ReplyDeleteCheers Alexandre, as long as someone enjoys looking at them as much as i enjoy building them then im happy
ReplyDeleteSome lovely work going on there Paul.
ReplyDelete