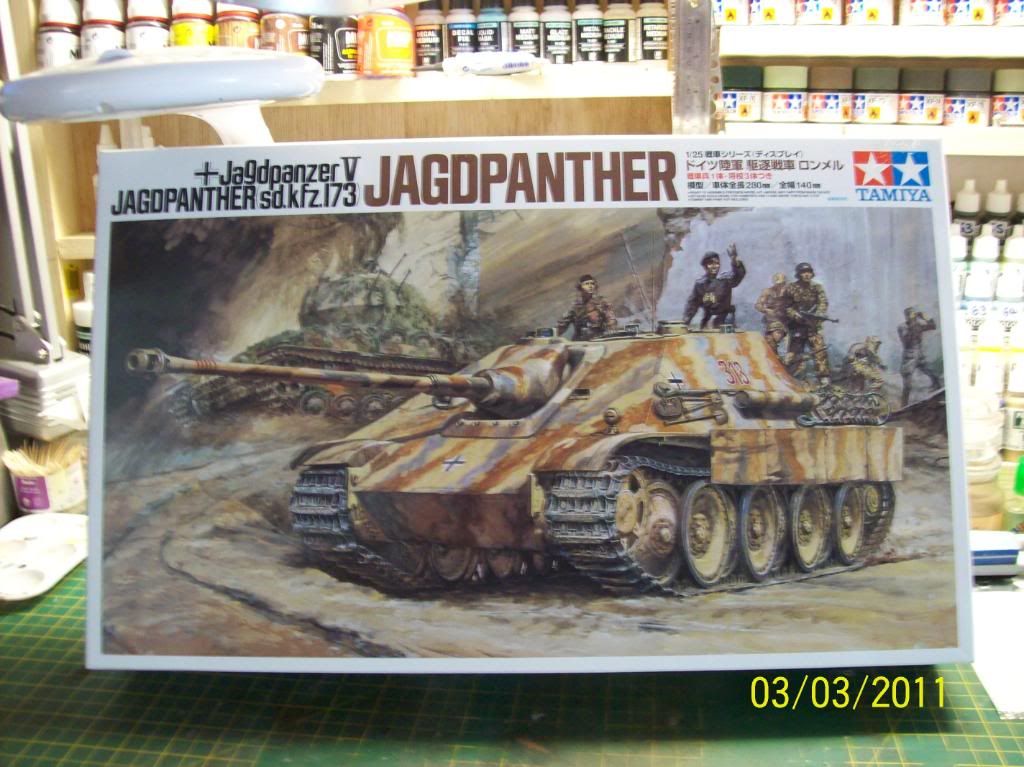
I went to modelzone to get this today. It cost £74.99 and it looks a beast of a tank. Ive also got Tamiya 1/35th Jagdtiger on the way too :thumb:
Ill get some sprue shots when i get started on it.
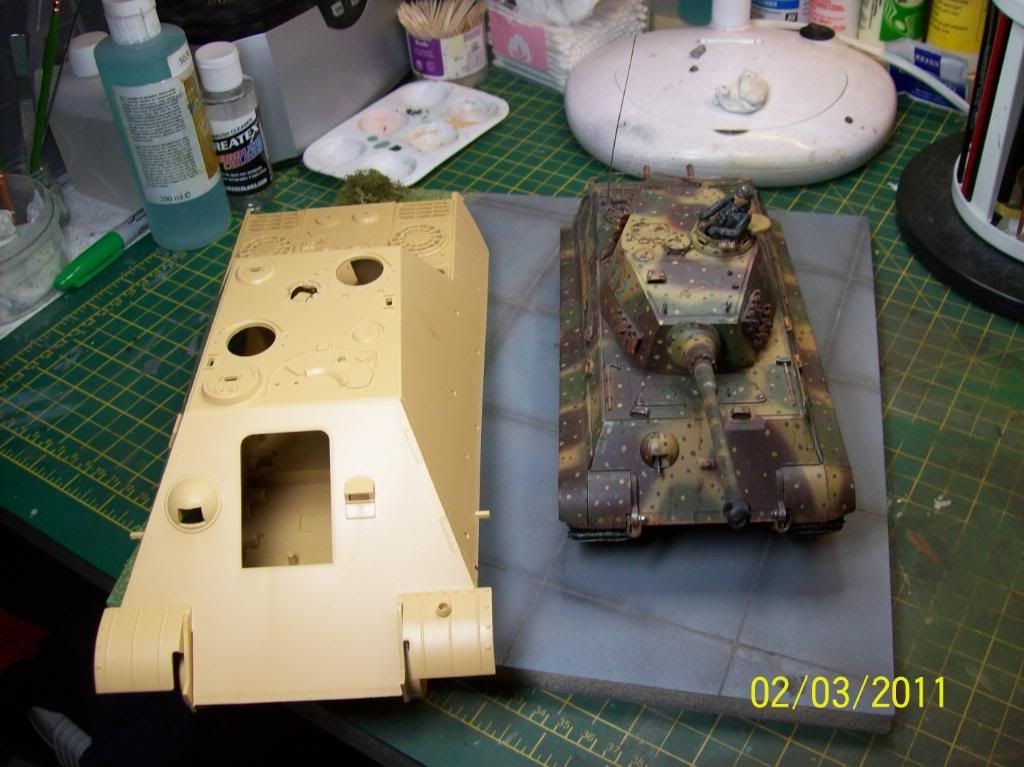
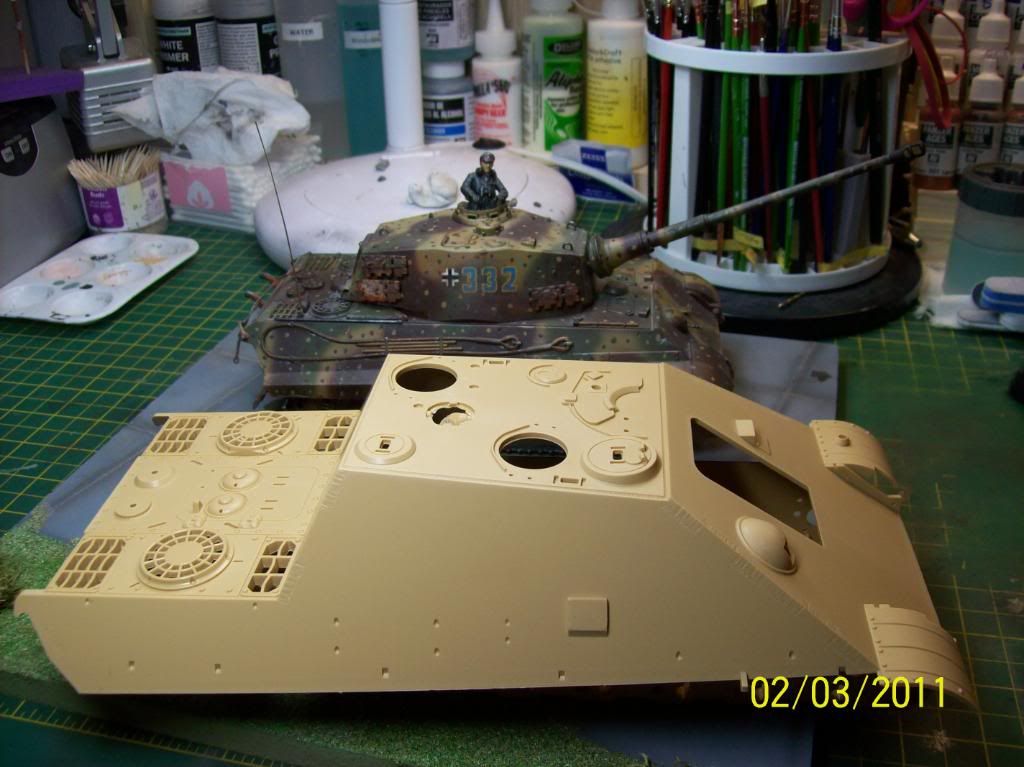
Shown next to a 1/35th king tiger you can see how big this thing is gonna be.
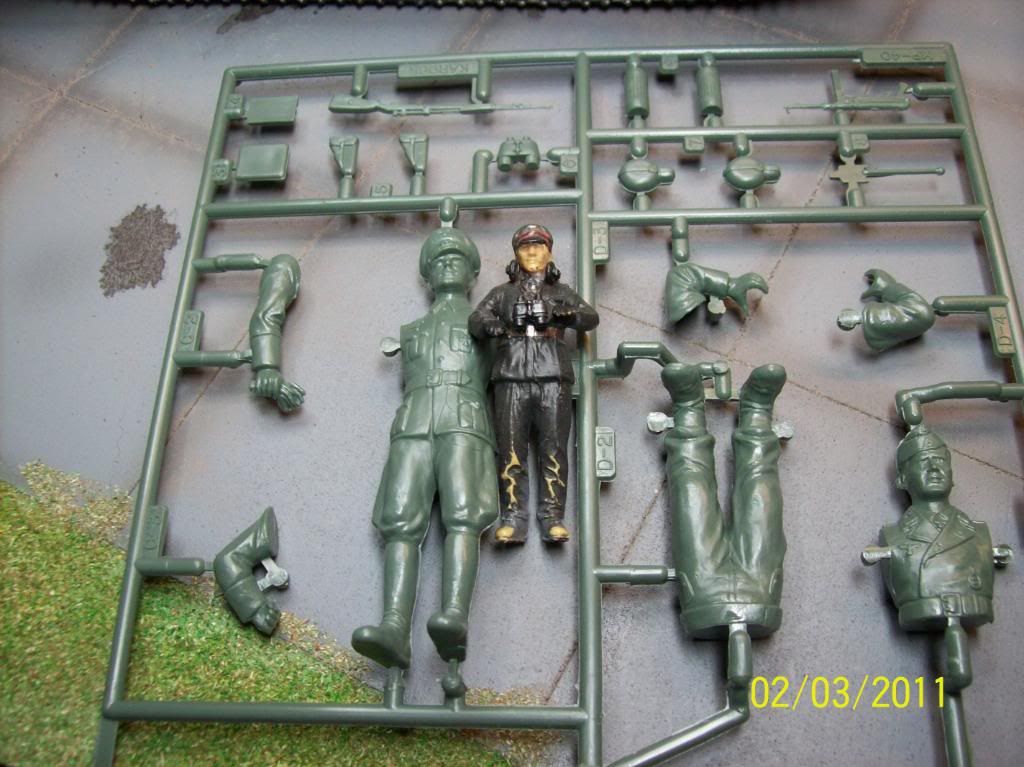
And one of the figures shown next to a 1/35th
Even though this kit is 40-50 years old it still looks a perfect kit to build, typical tamiya no flash etc etc. I cant wait to get started on this.
3/3/11
Ok i got started on this beast today.
Its a lovely kit, the fit is perfect and all the parts are nice and crisp with only a very small amount of flash to be found.
I looked everwhere for a pic of the box contents and a build in progress and found nothing so i intend to do as good a job as i can in building this and documenting its build.
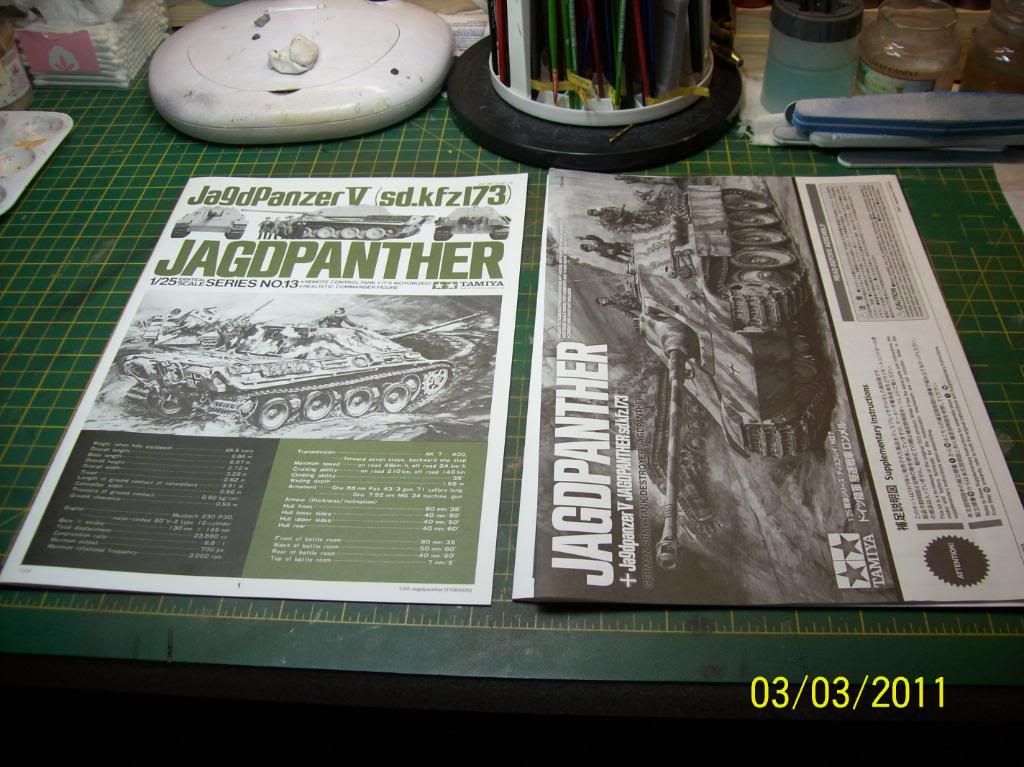
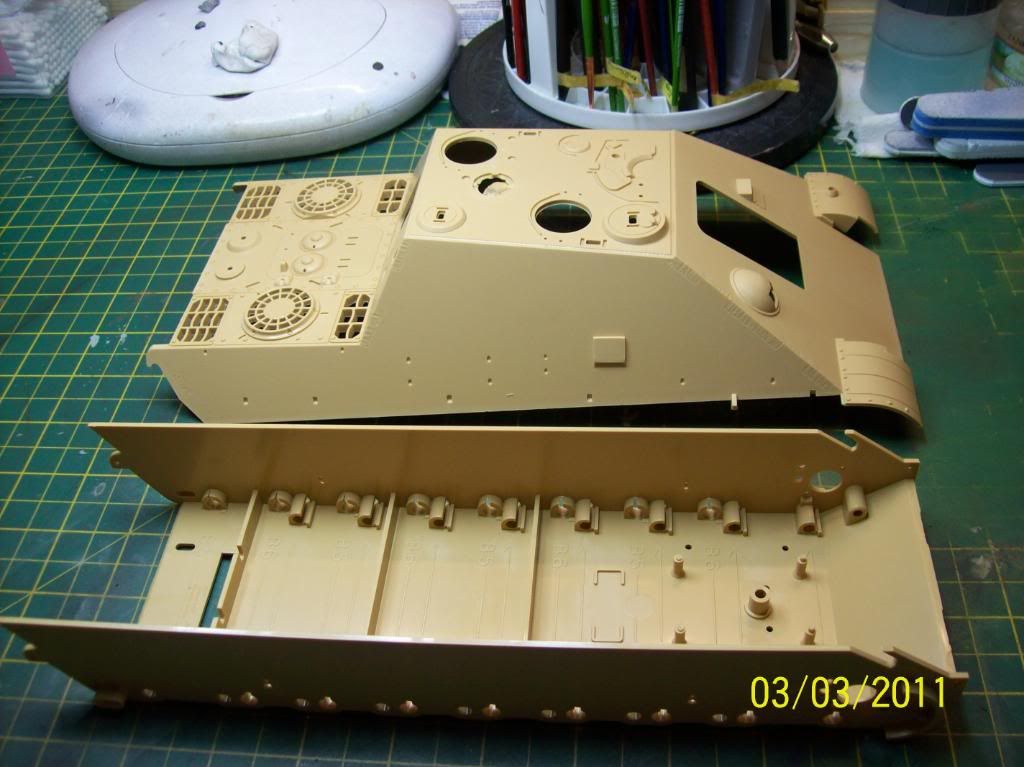
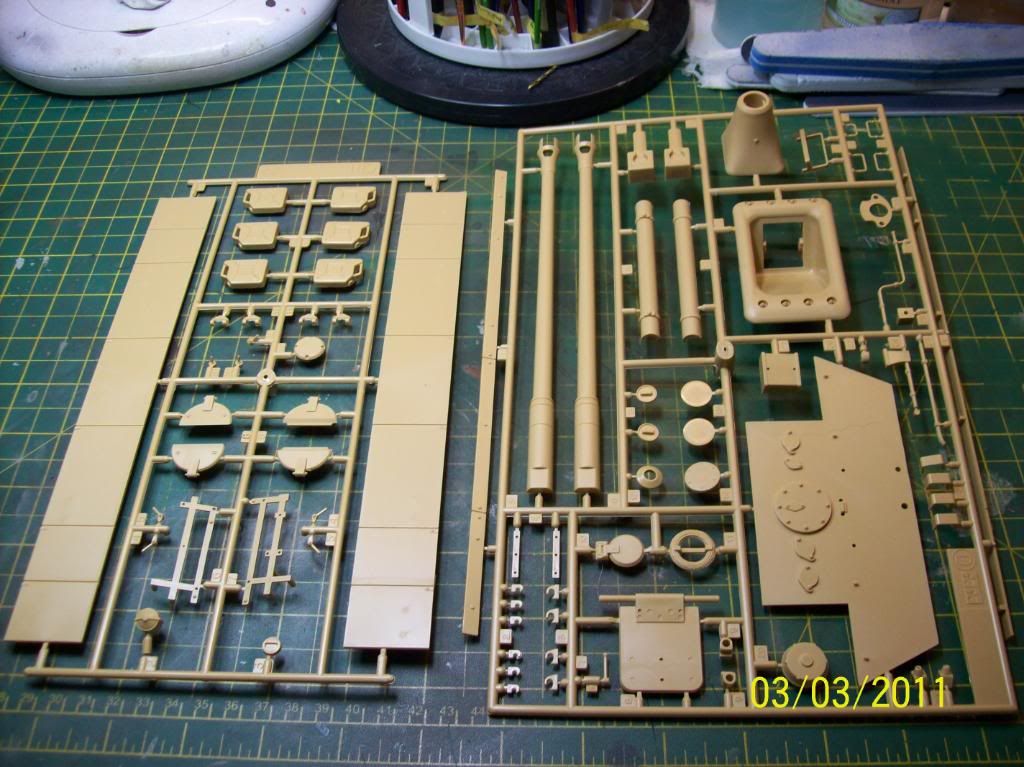
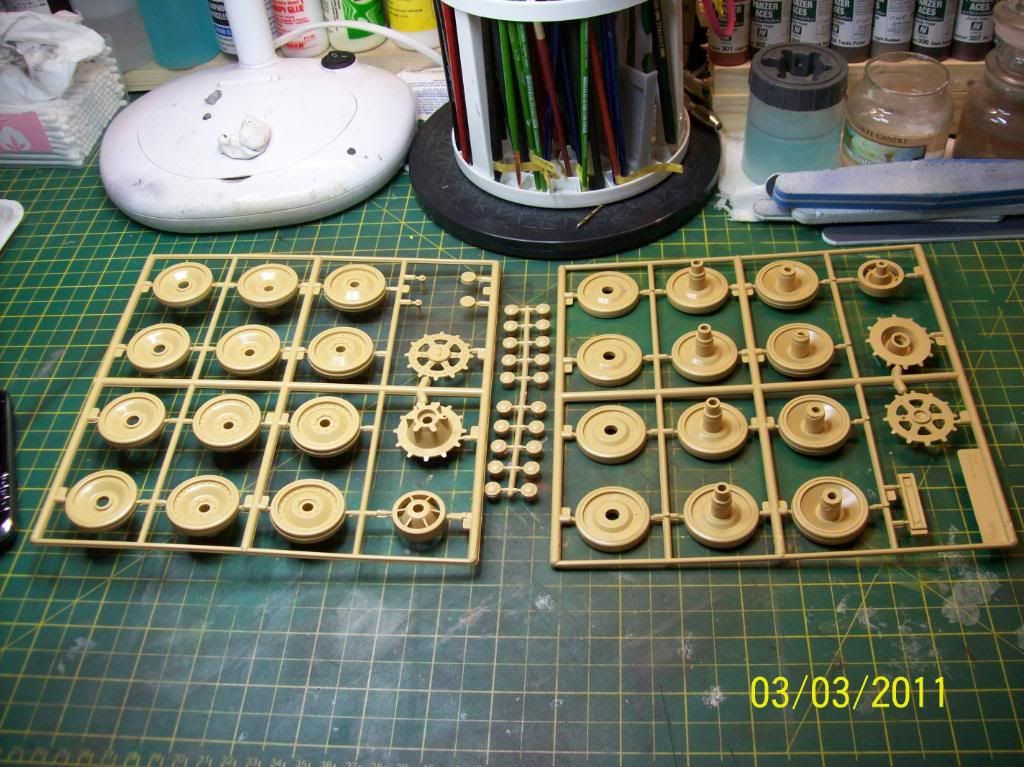
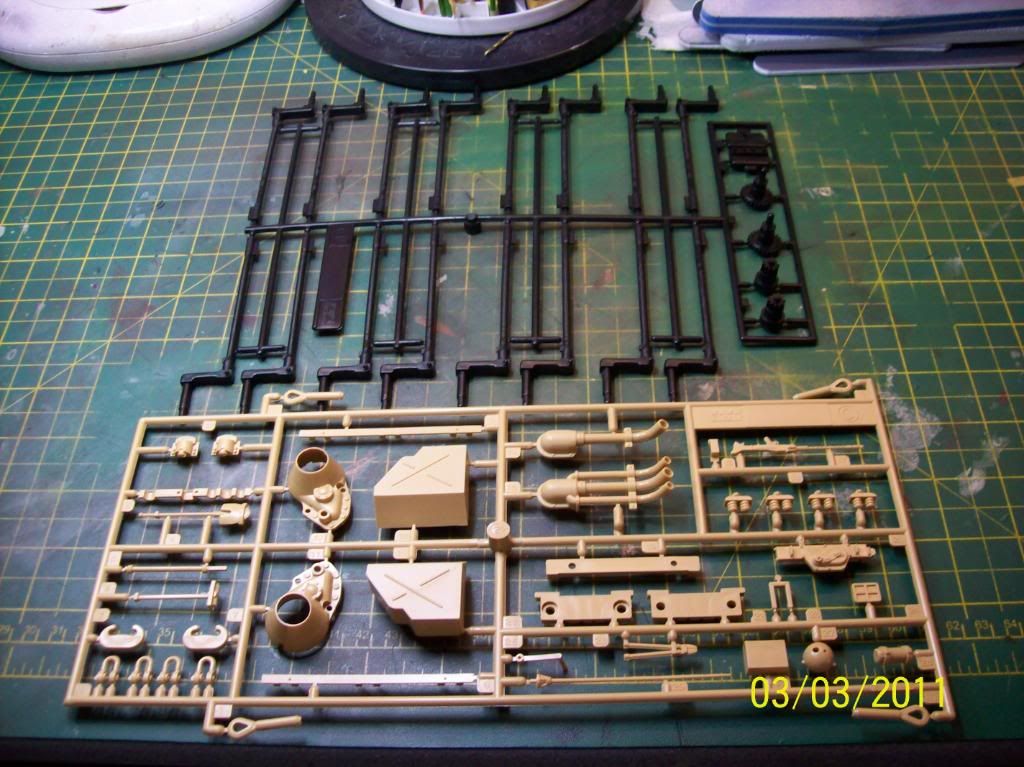
Box and contents
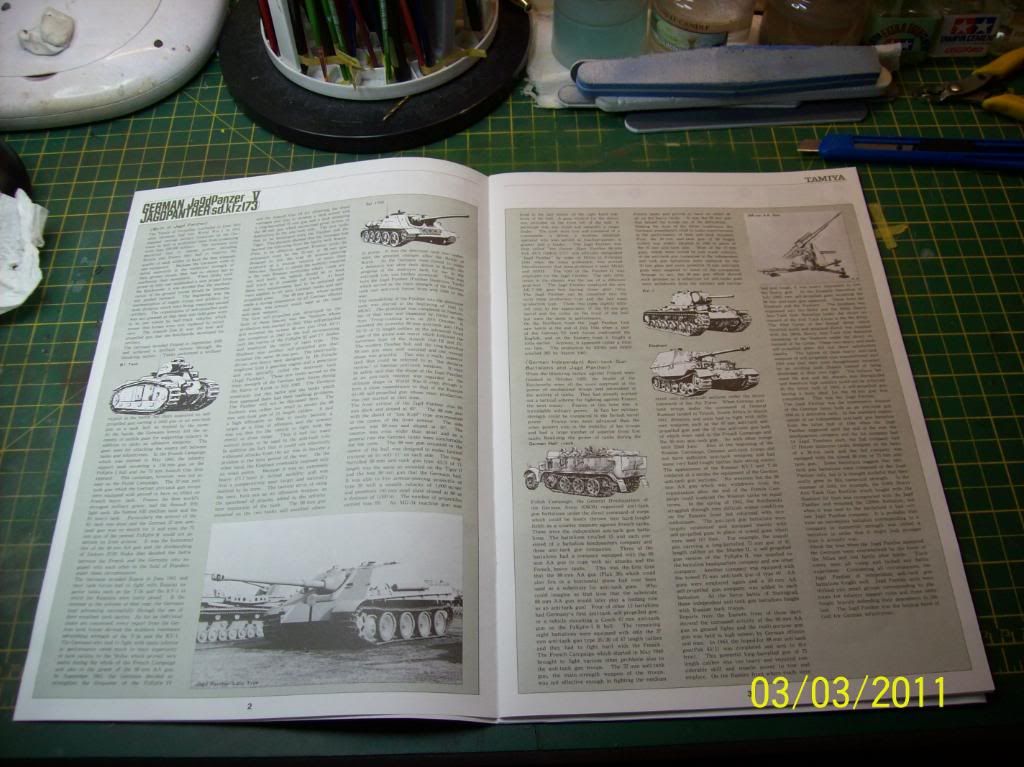
A bit of history in the instructions.
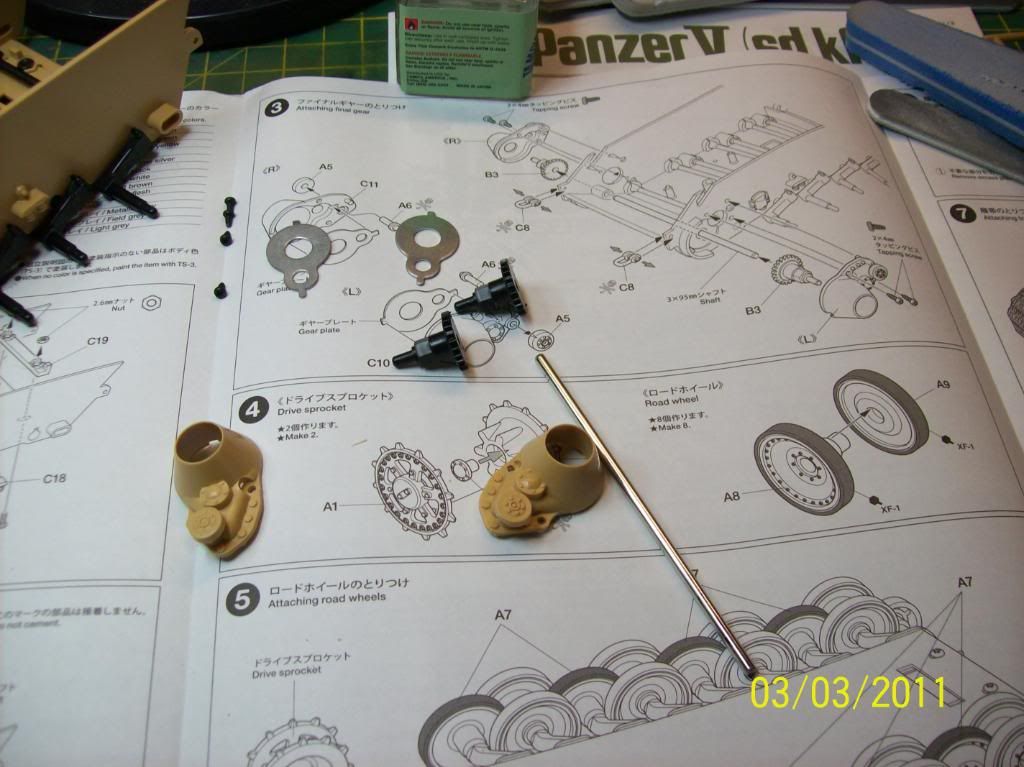
Typical tamiya instructions, theres a copy in english a copy in japanese and a updated part too.
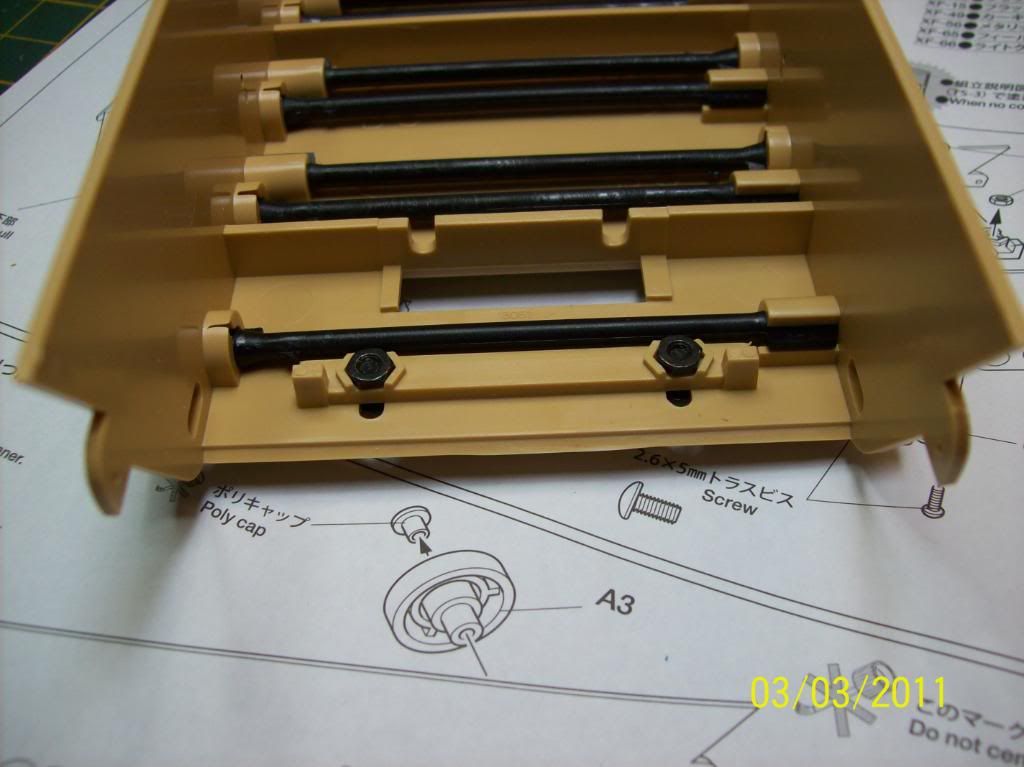
1st stage, torsion bars in, the simply clip in place.
This piece at the rear is screwed in position and is movable to allow the fitting and adjustment of the tracks.
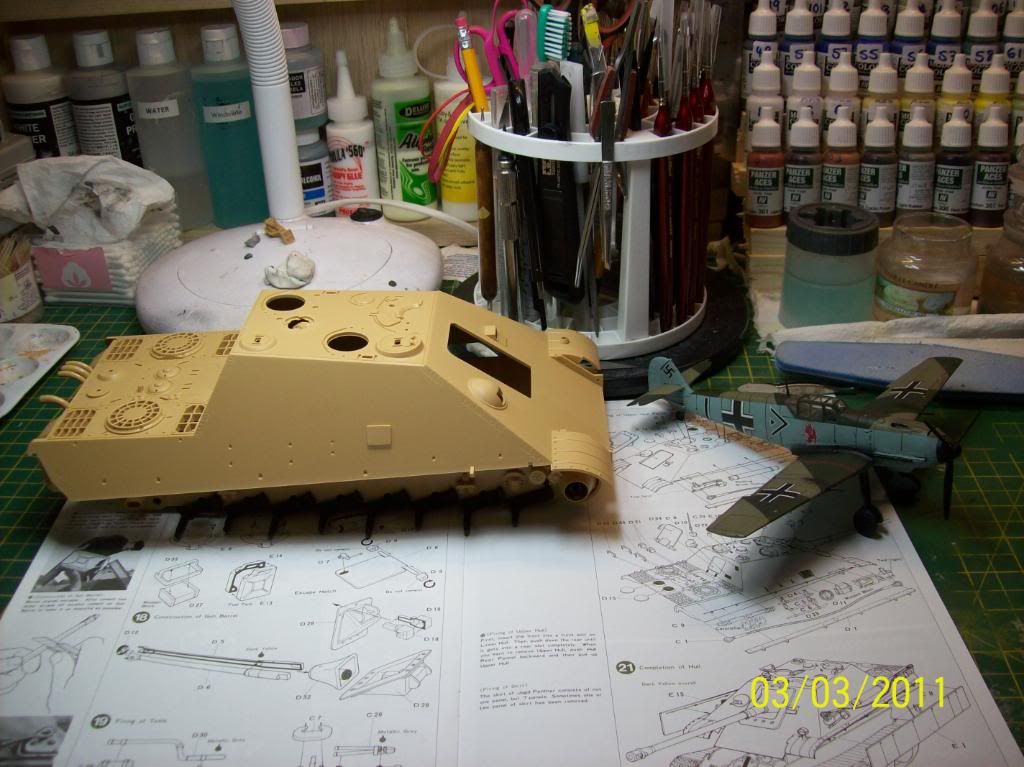
Size comparision with a 1/48 me109
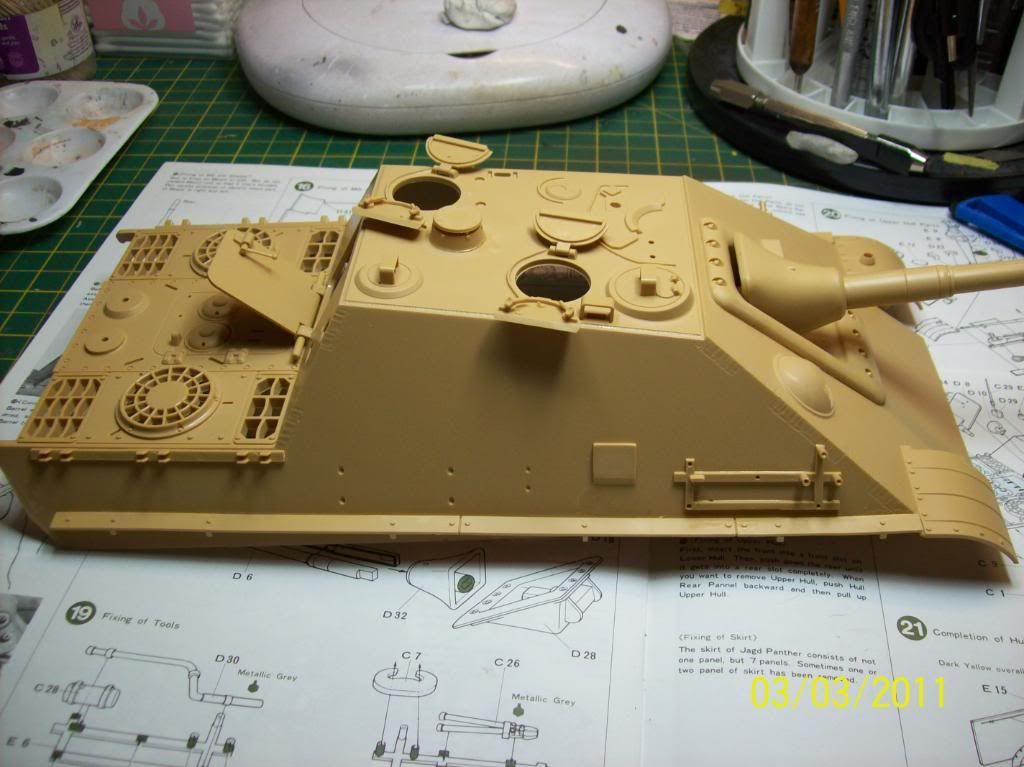
Hatches, tool racks and periscope covers on.
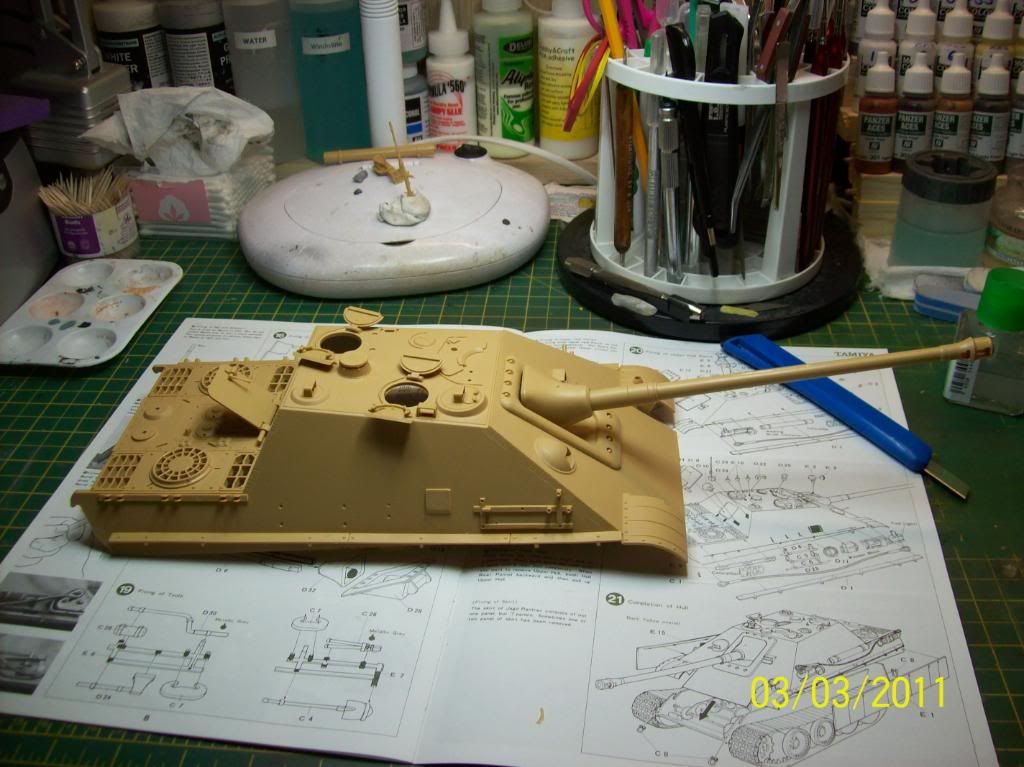
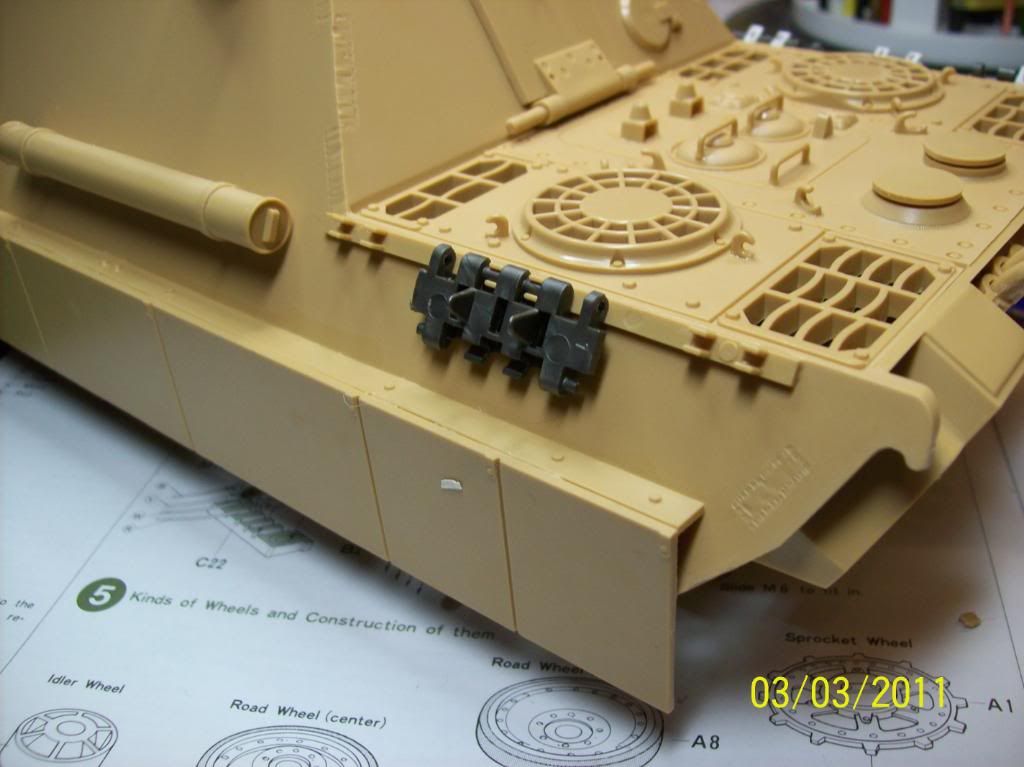
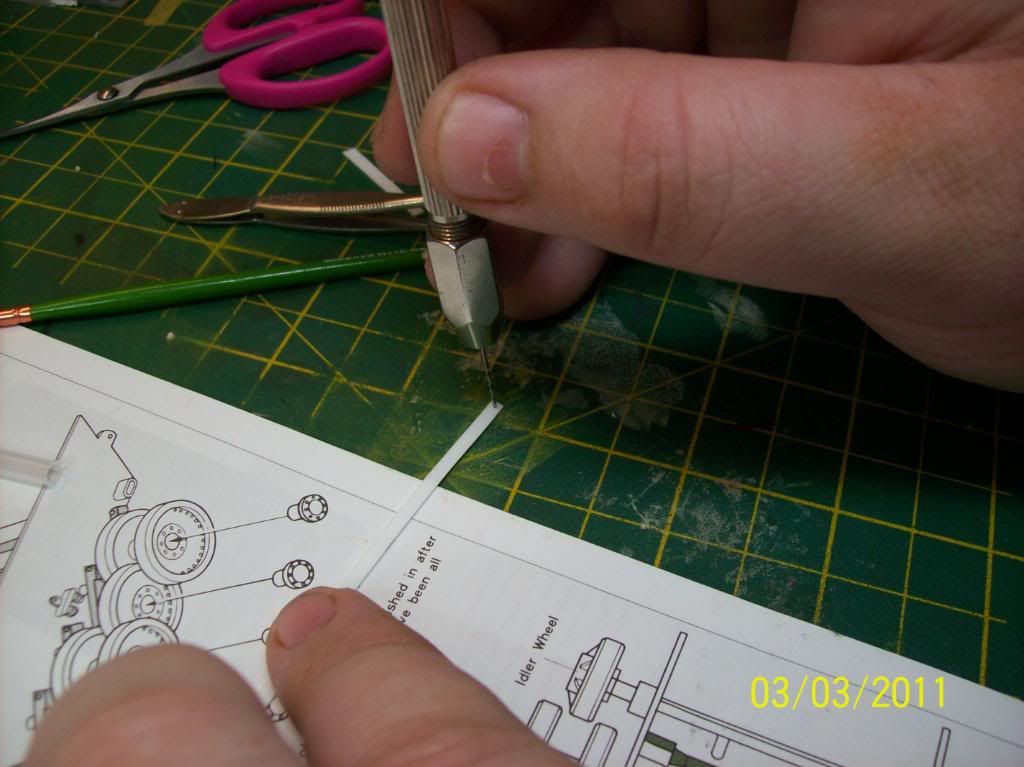
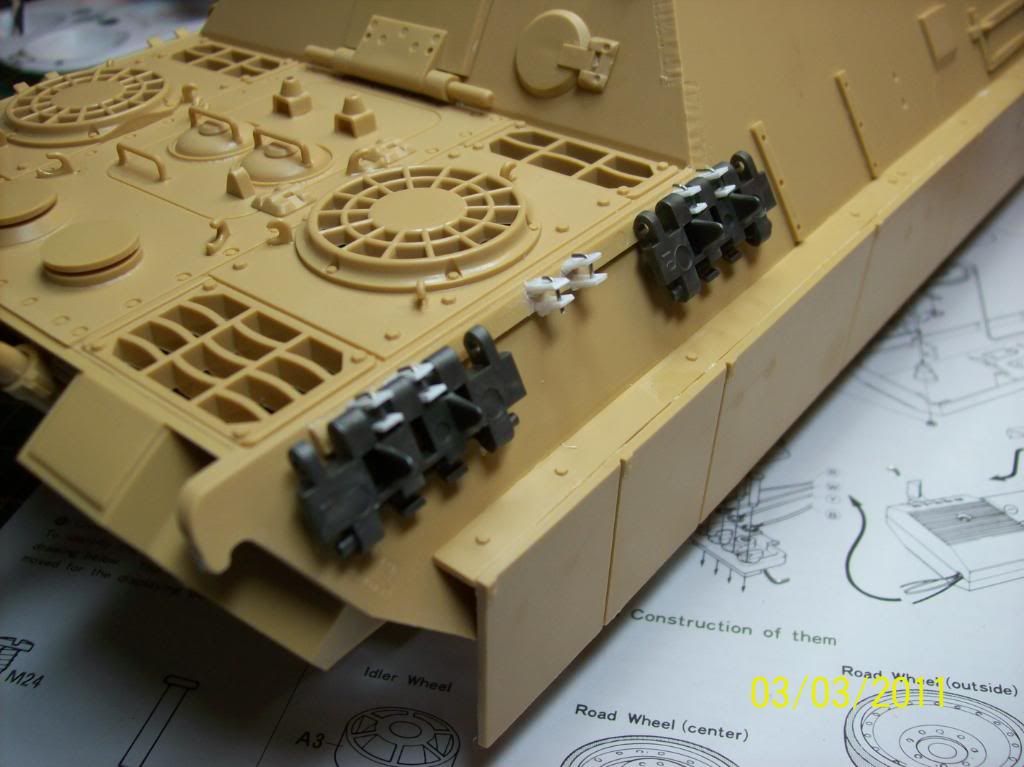
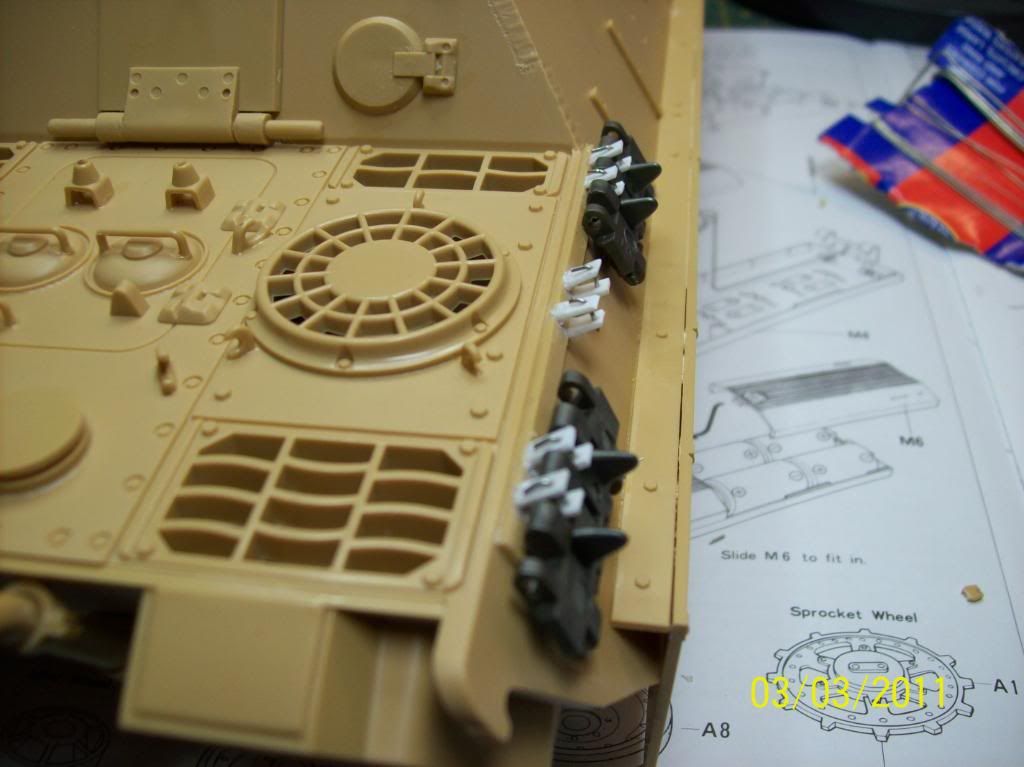
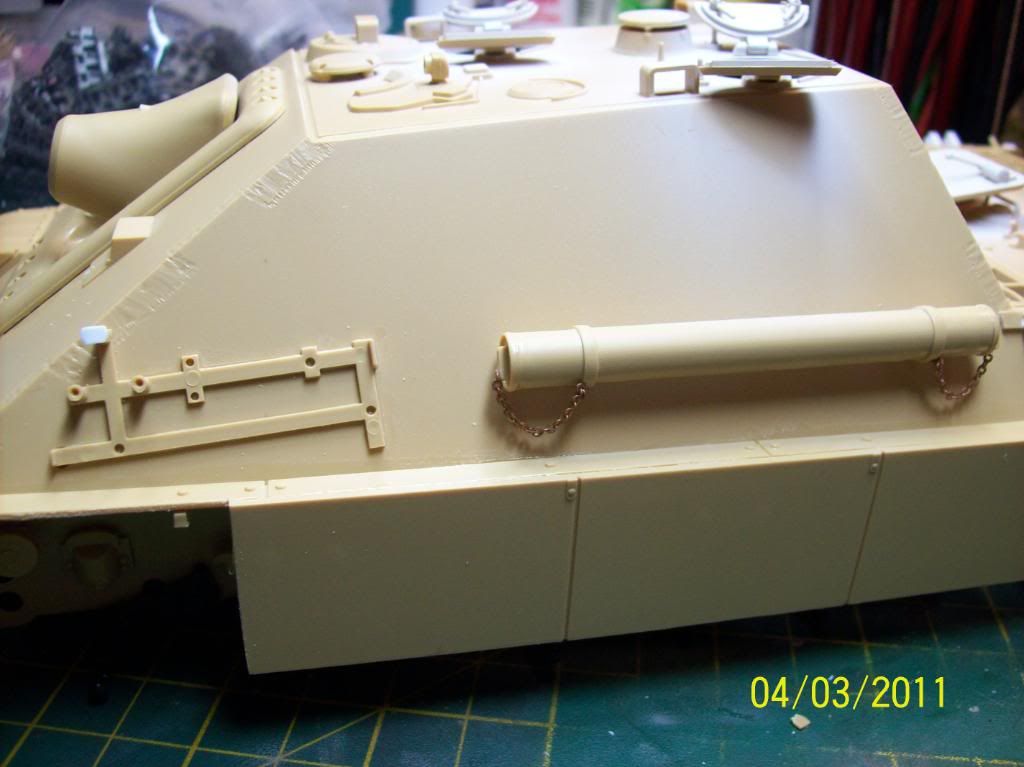
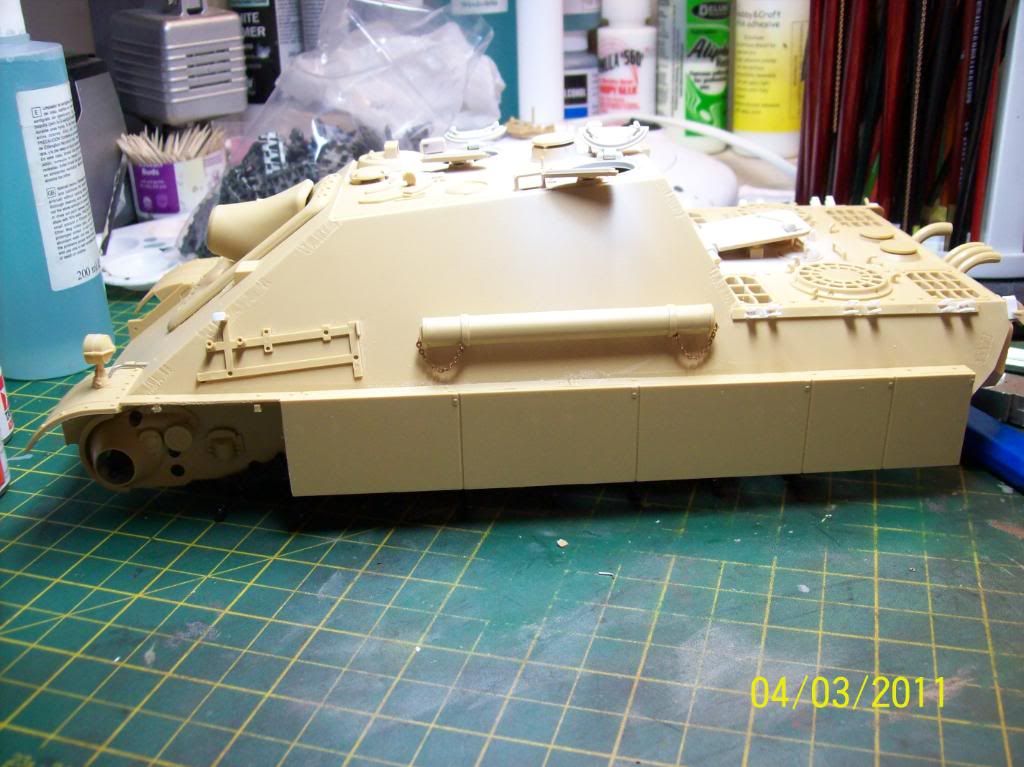
Wasnt happy with the spare track link holders. i thought something this scale sholud have better.So with some plasticard and vice drill i set to work, cutting off the old holders and attaching my own, including the pins that hold them on.
4/3/11
Some more progress today.
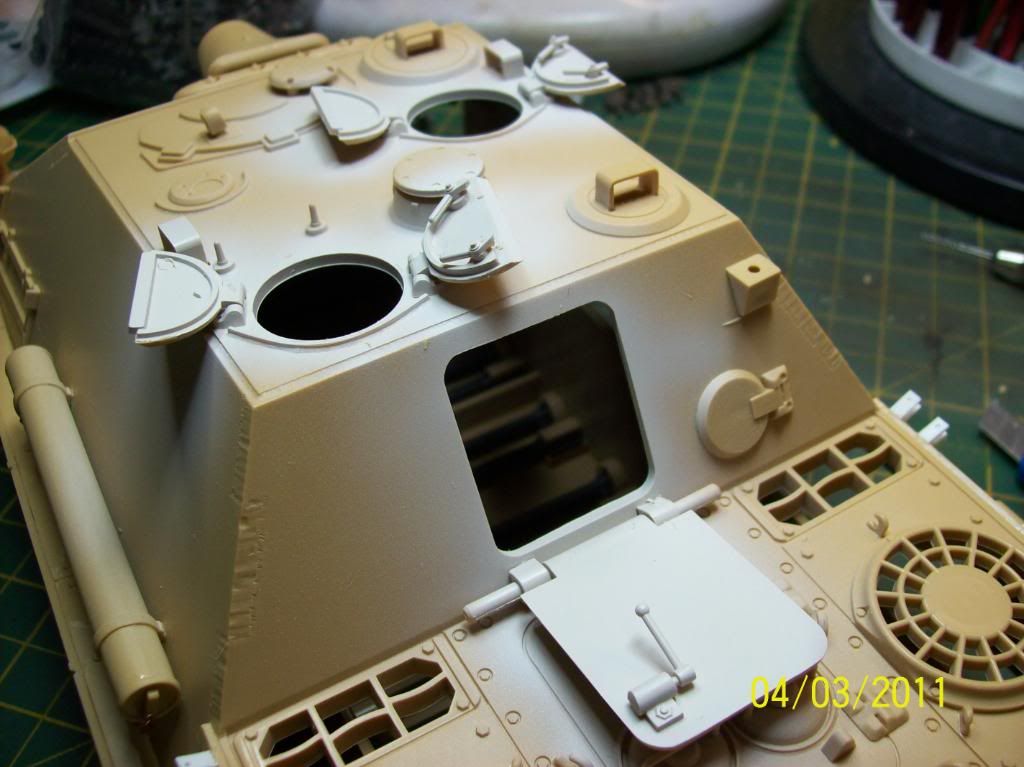
Sprayed the interior and the inside of the doors a mix of tamiya flat white and buff.
Sprayed the interior and the inside of the doors a mix of tamiya flat white and buff.
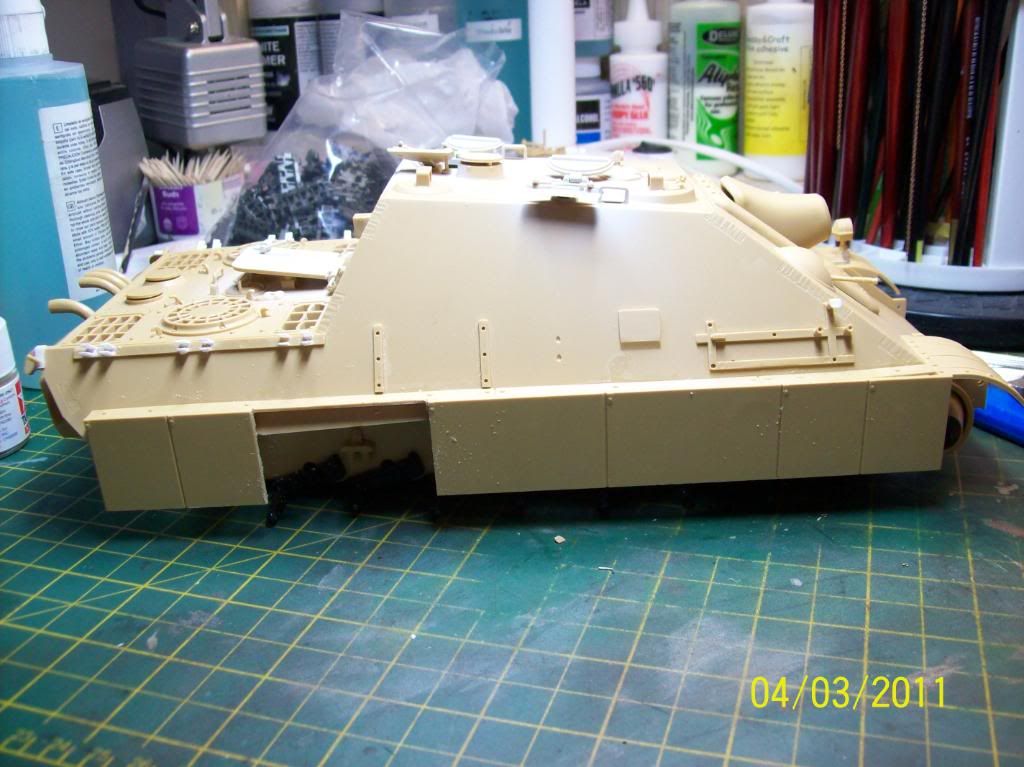
Got the other side spare track holders done as well as adding a couple of rear studs to hold the towing cable on.
Added a round section of plasticard to the front tow cable stud (it needs sanding a little) i also added a couple of smll lengths of chain to the cleaning brushes tube.
Mg attached to its ball joint and a cable added for the headlight.
I removed a couple of sections of the side armour with a razor saw.
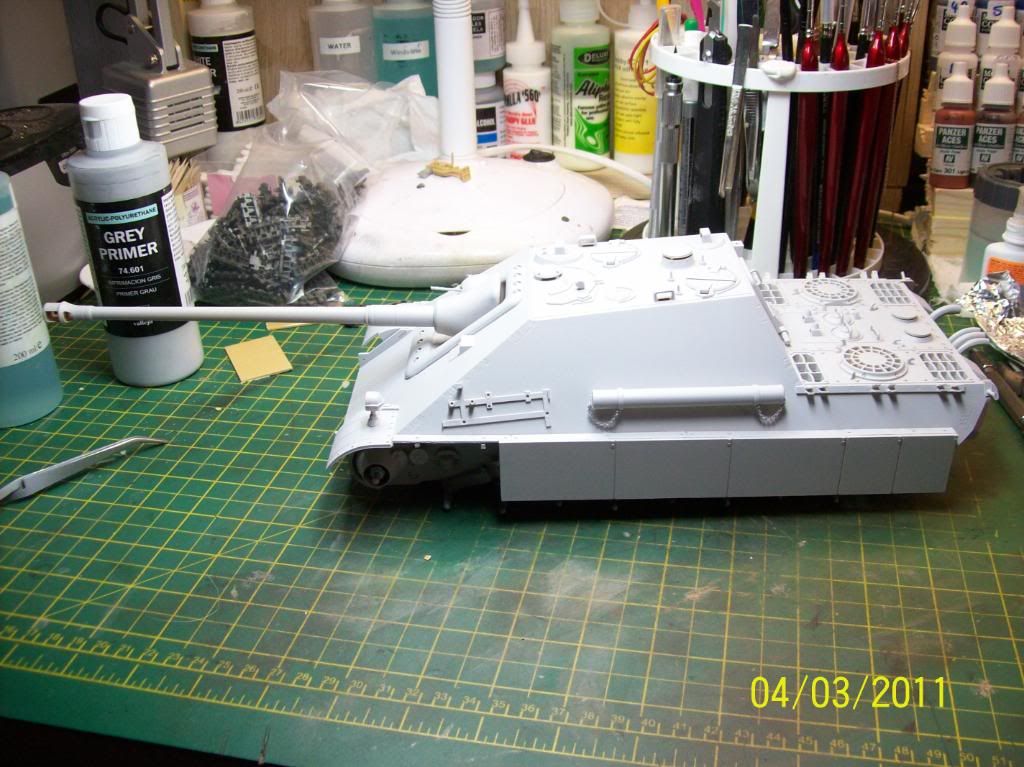
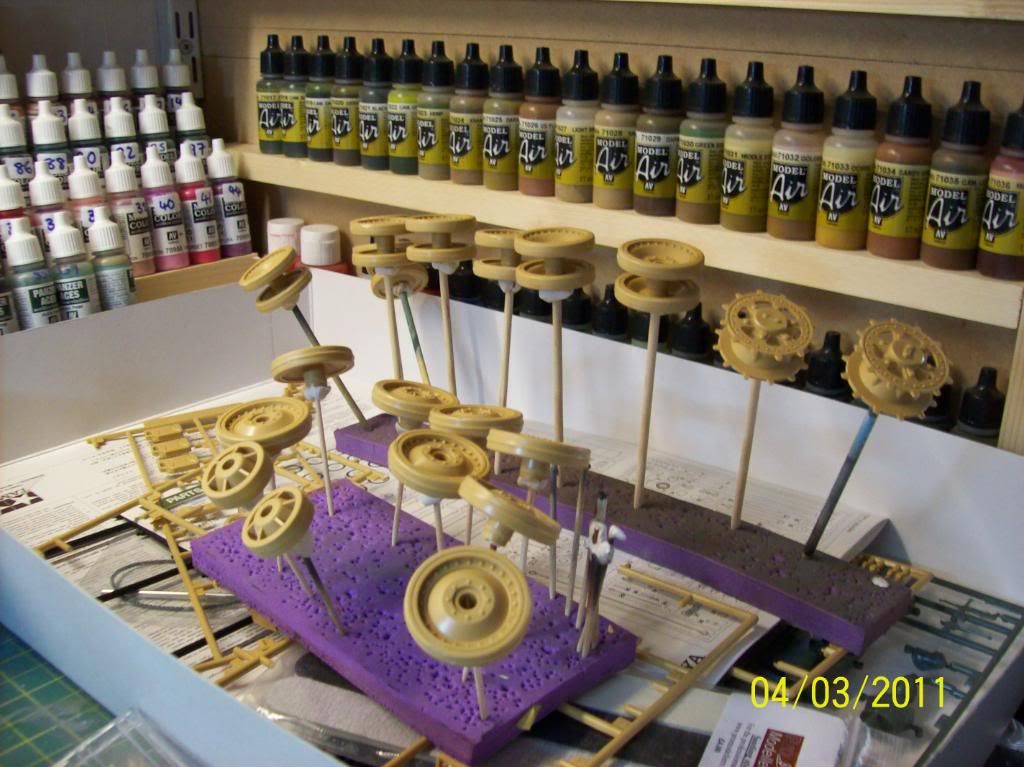
All primed up in vallejo primer ready for a base coat of tamiya dark yellow.
Road wheels ready for priming which is my next job.
6/3/11
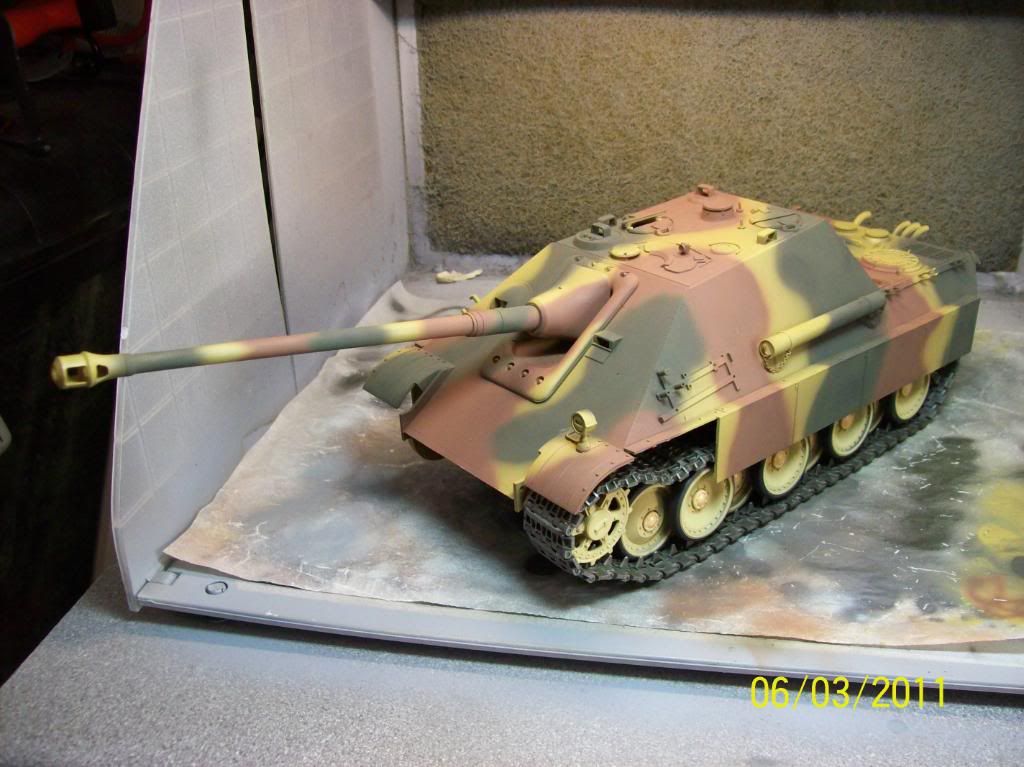
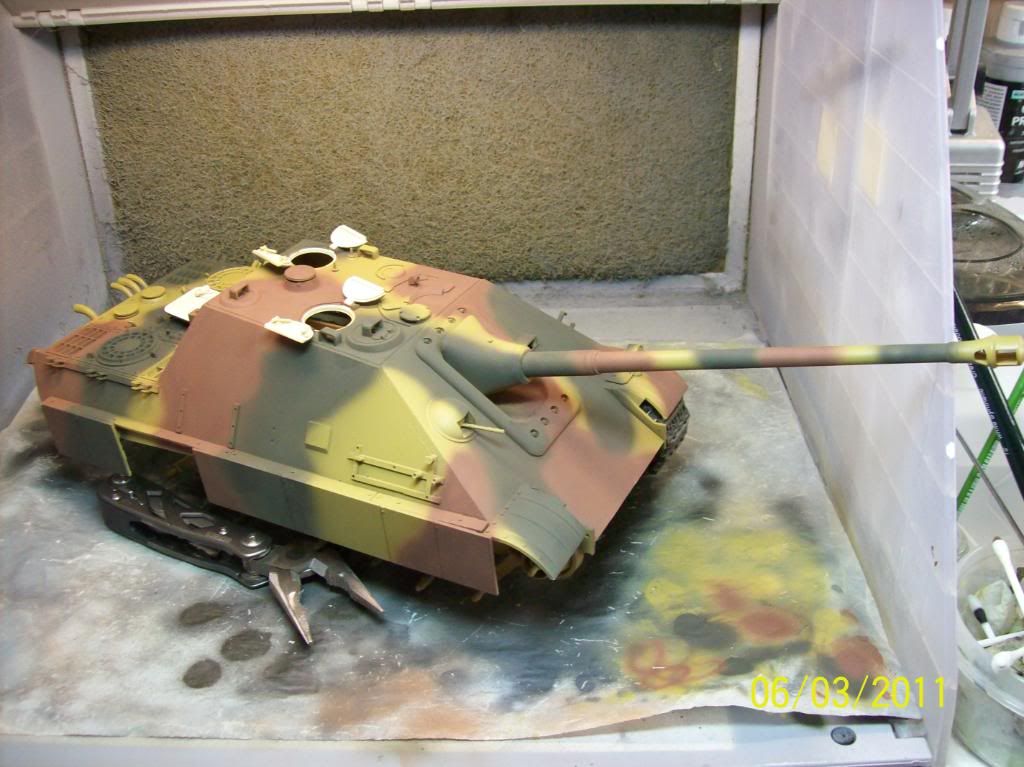
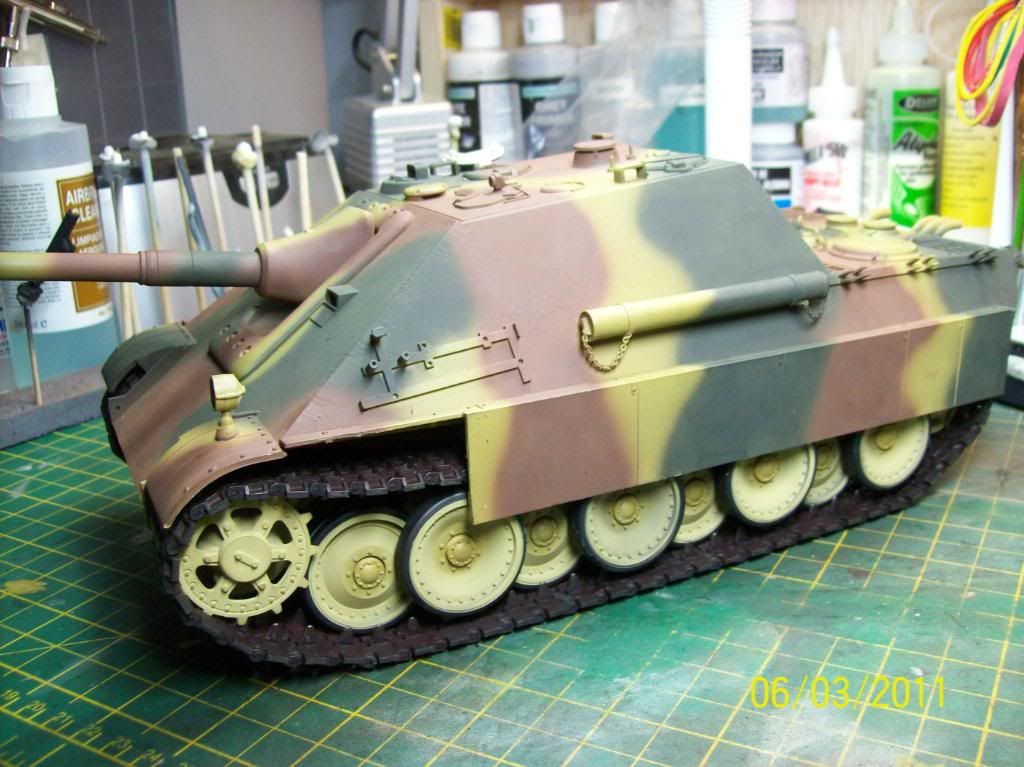
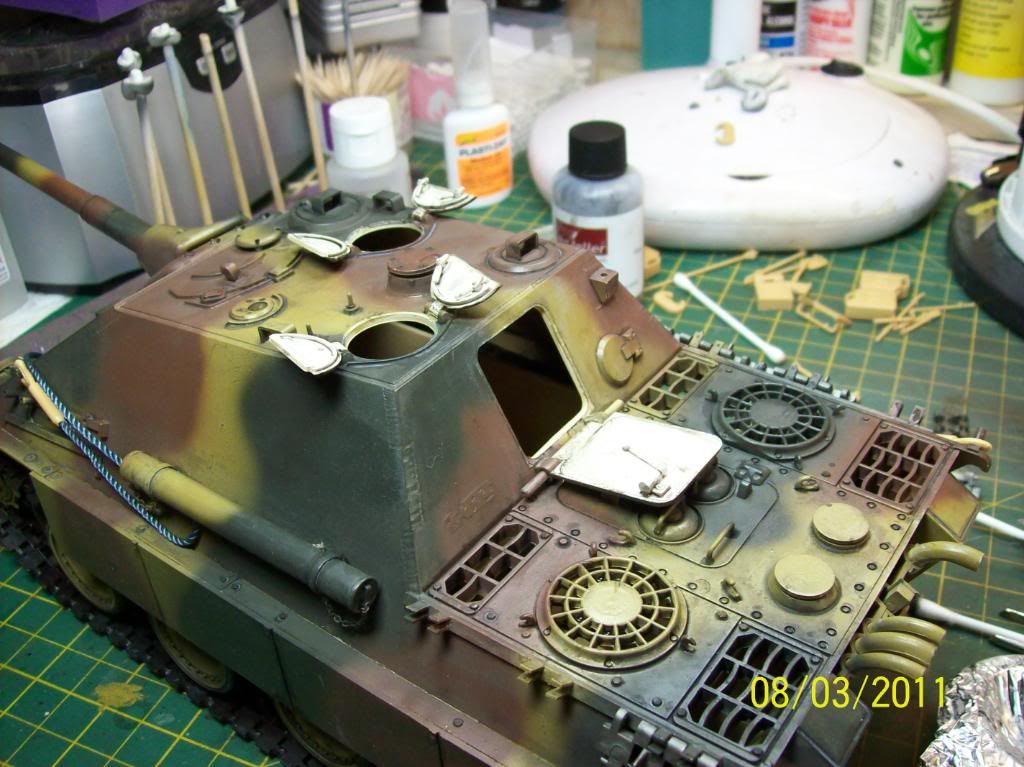
Ok its been sprayed in Tamiya dark yellow (XF60) and ive done the three tone camo using tamiya dark green (XF61) and red brown (XF64) . Ill say one thing you use alot of paint on a model this size, especially so with the dark yellow.
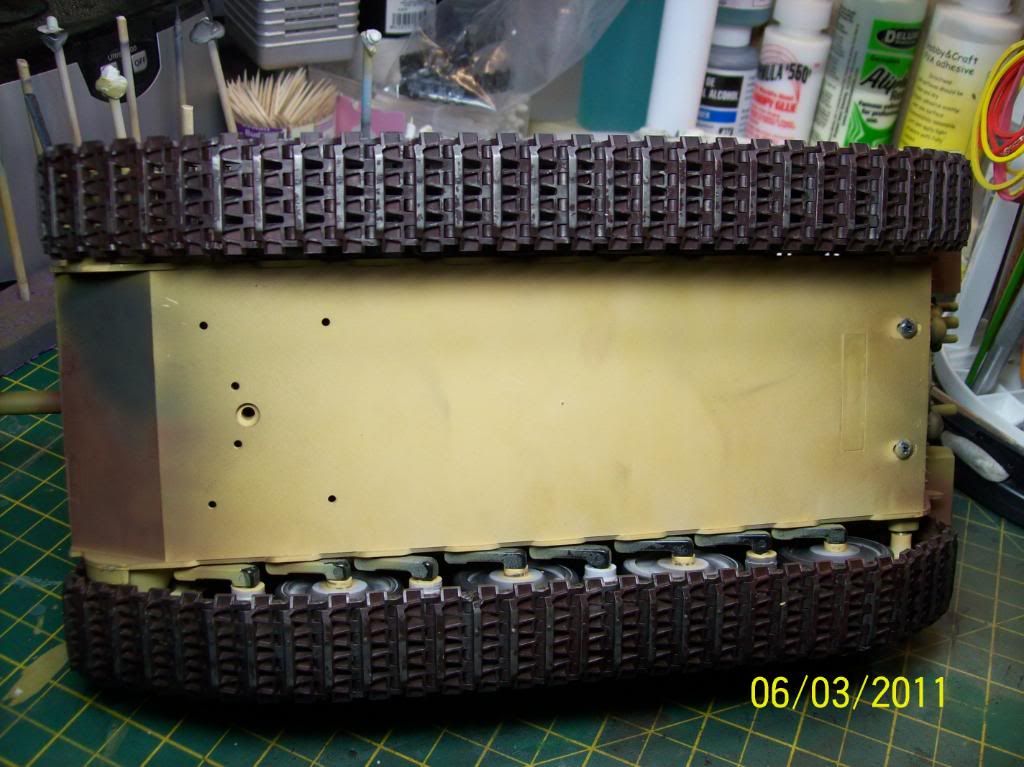
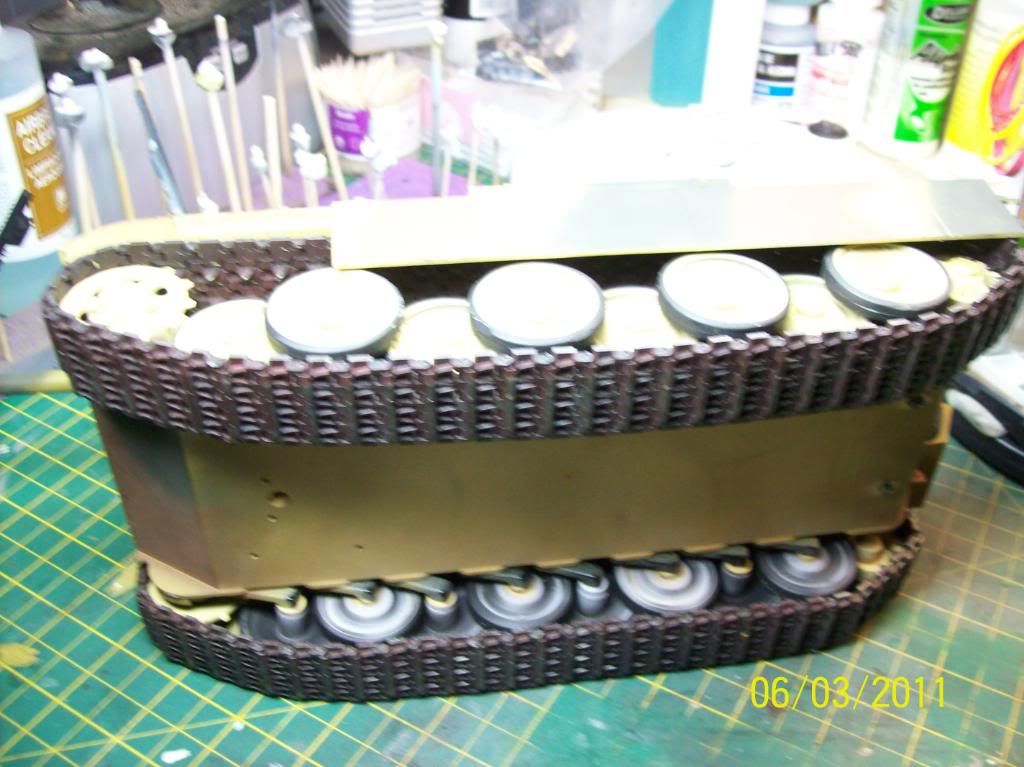
Ive got one track on to test fit, just need to play about with the tensioner to get the right amount of sag, not too sure about to gerber track on the other side that may have to go.
Got got the tracks sprayed up in tamiya hull red then they were given a black pm wash, and once dry i scraped of the paint were wear to the tracks would appear i then sprayed an very thinned mix of tamiya xf1 and thinnner over it, i will dry brush tomorrow once its all dry.
I also used my mig tricolour filter wash, appleied all over once it blends the colours and also gives a more satin finish, ive no idea whhat it is or how it works but it doe seem to blend to colours a bit.
8/3/11
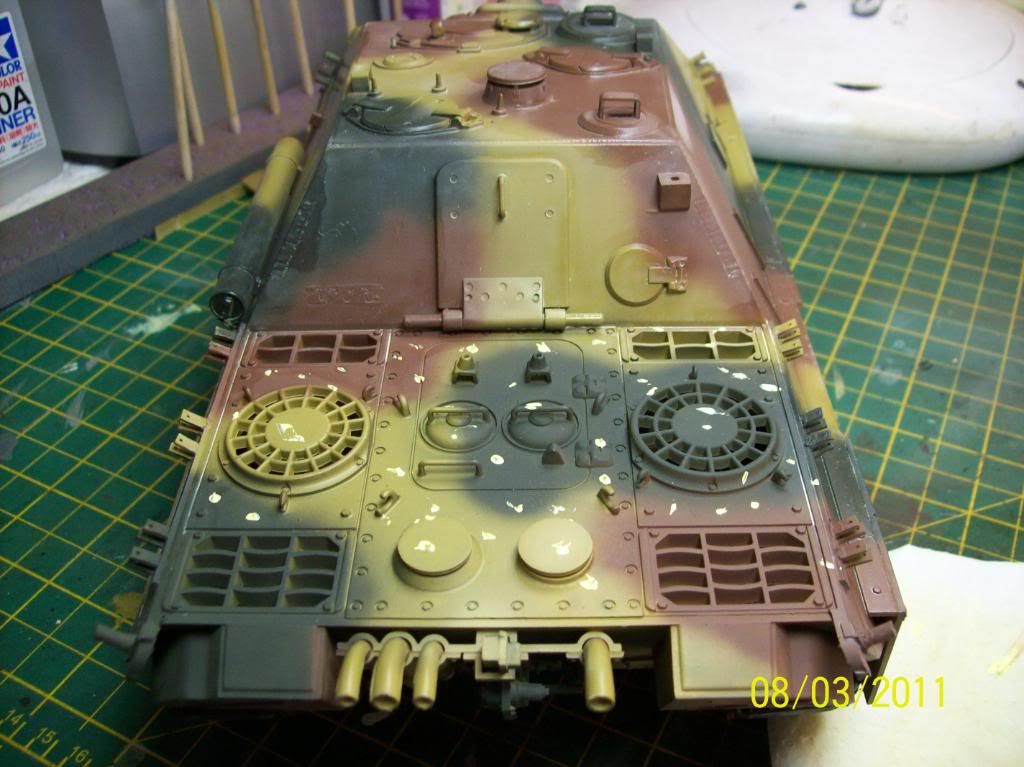
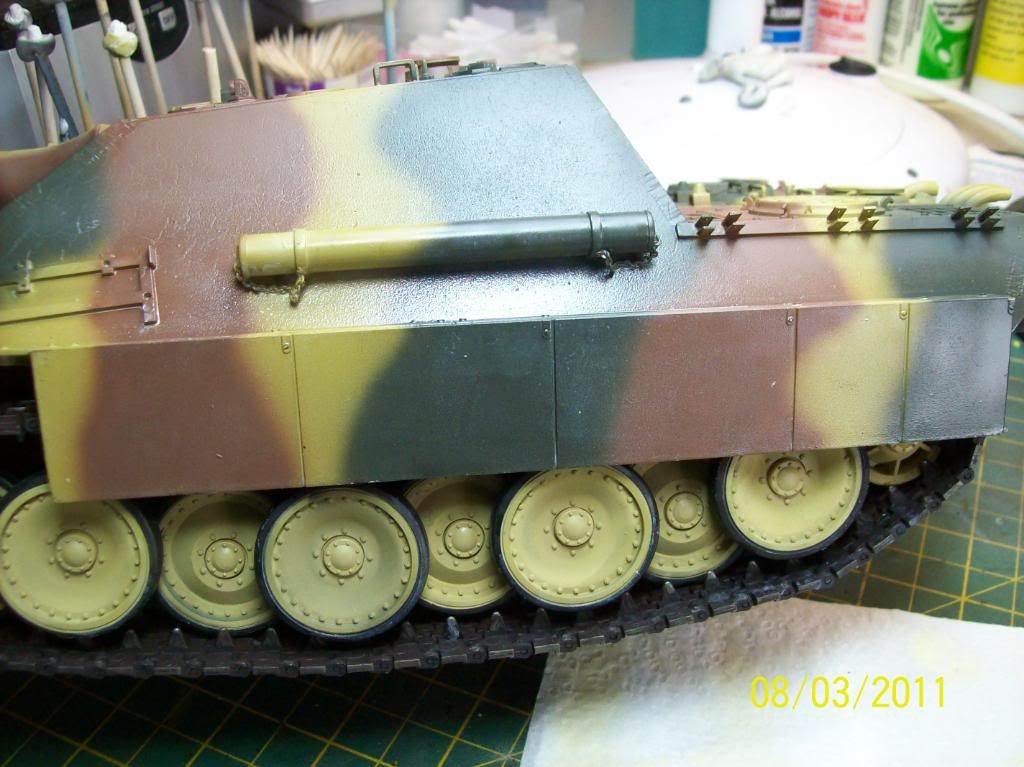
I started off toady by applyiing mig prductions 3 tone camo oil to blend the camo colours a bit, applied in spots, then using a flat brush dipped in thinner drag the oil down and blend it all in.
Its hard to see a difference on camera but it does the job well.
Oil blended in a coat of Flory models dark dirt wash was airbrushed all overand then a pin wash applied using vallejo acyrilic black "oils"
11/3/11
12/3/11
I started off toady by applyiing mig prductions 3 tone camo oil to blend the camo colours a bit, applied in spots, then using a flat brush dipped in thinner drag the oil down and blend it all in.
Its hard to see a difference on camera but it does the job well.
Oil blended in a coat of Flory models dark dirt wash was airbrushed all overand then a pin wash applied using vallejo acyrilic black "oils"
11/3/11
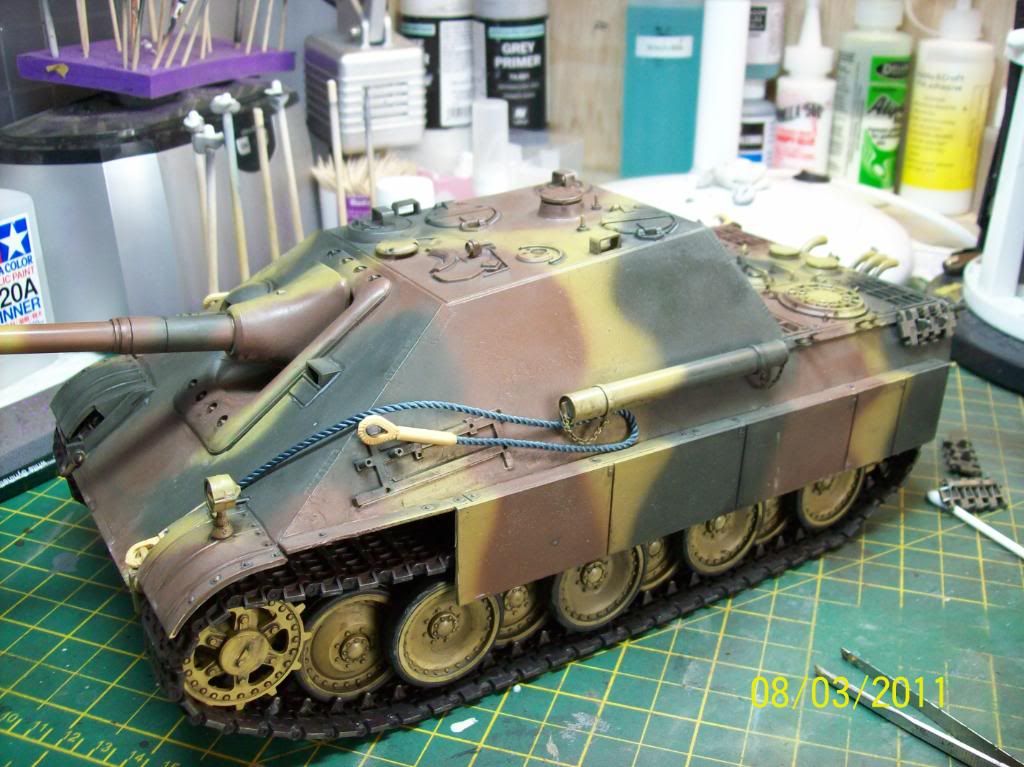
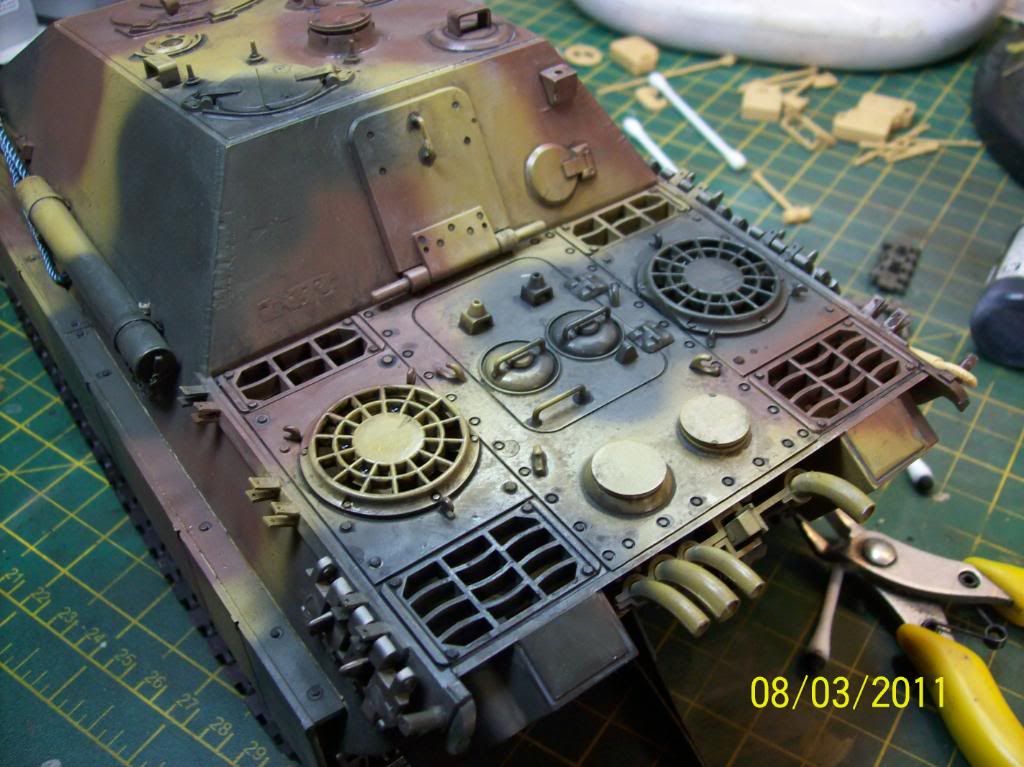
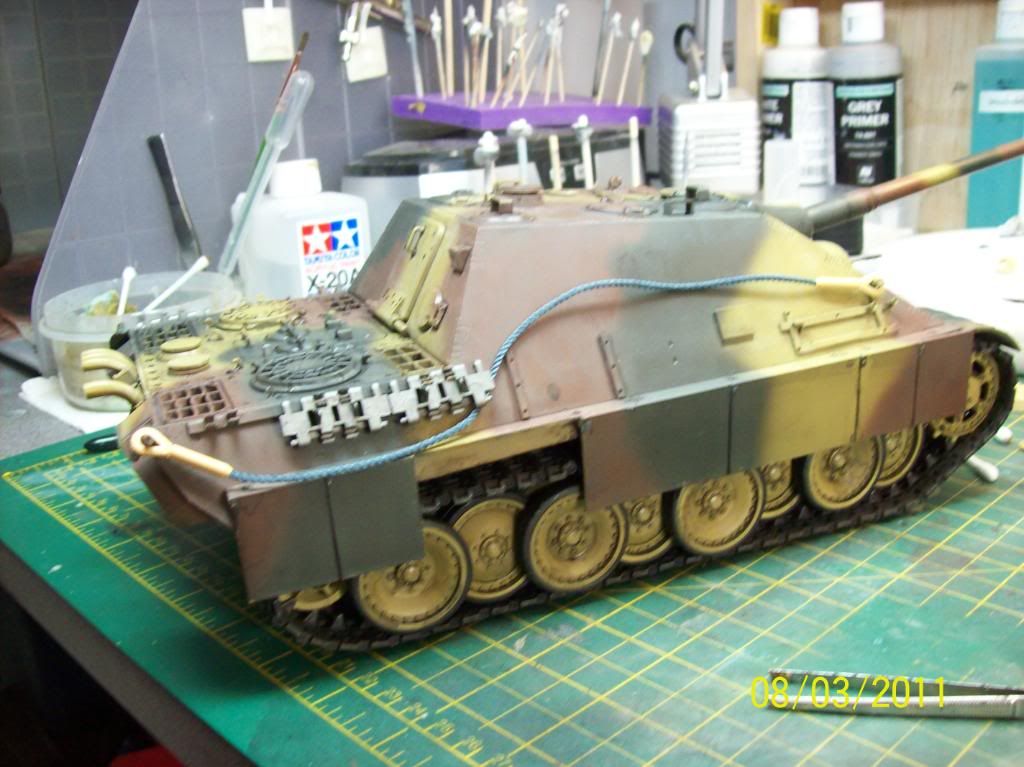
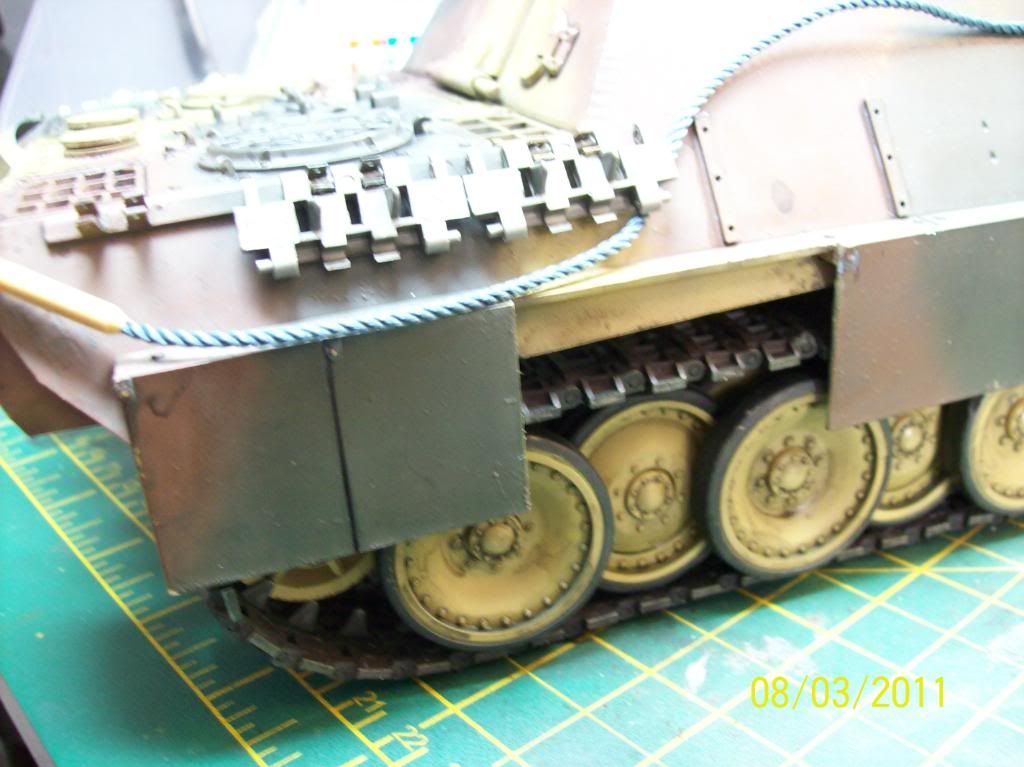
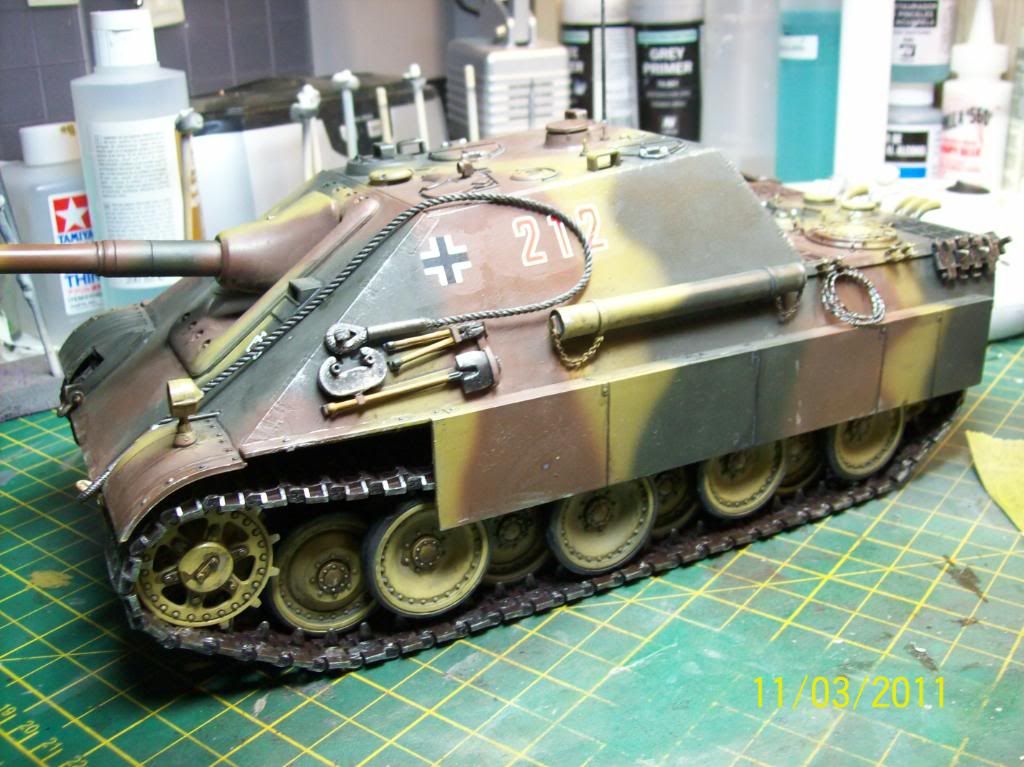
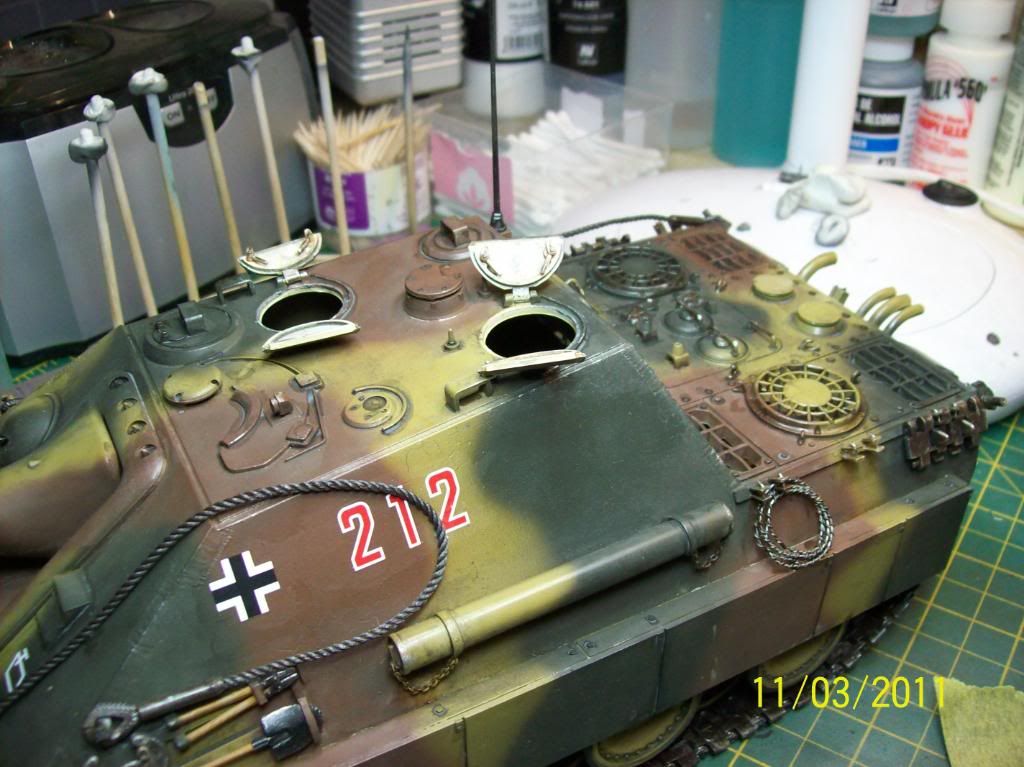
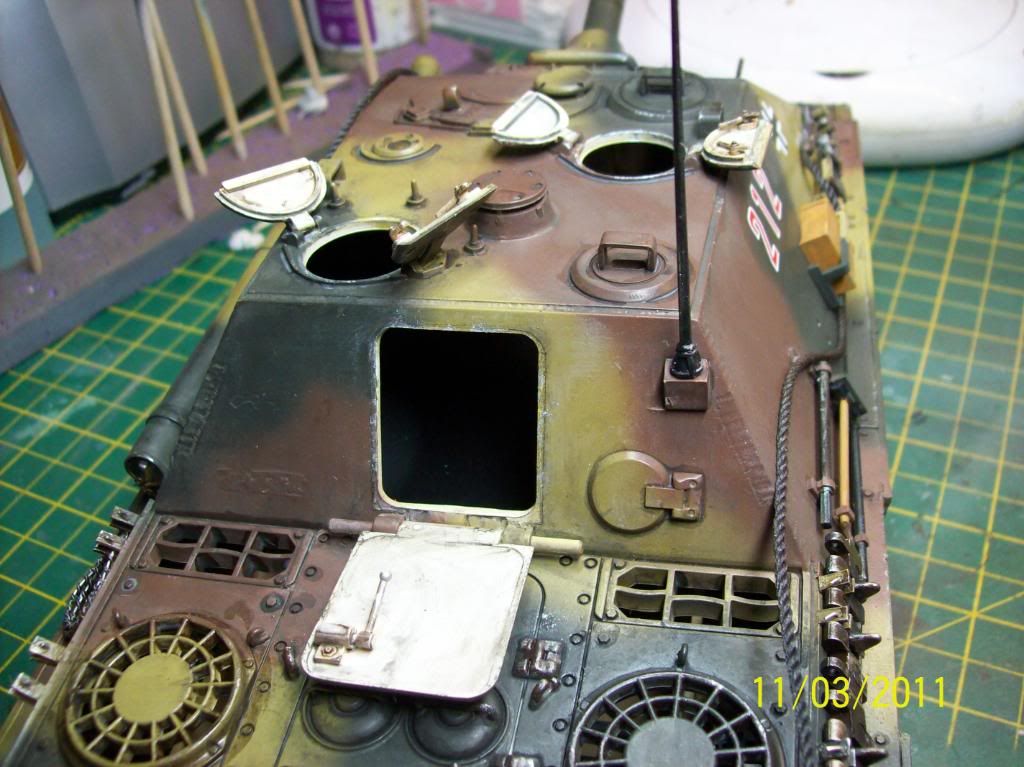
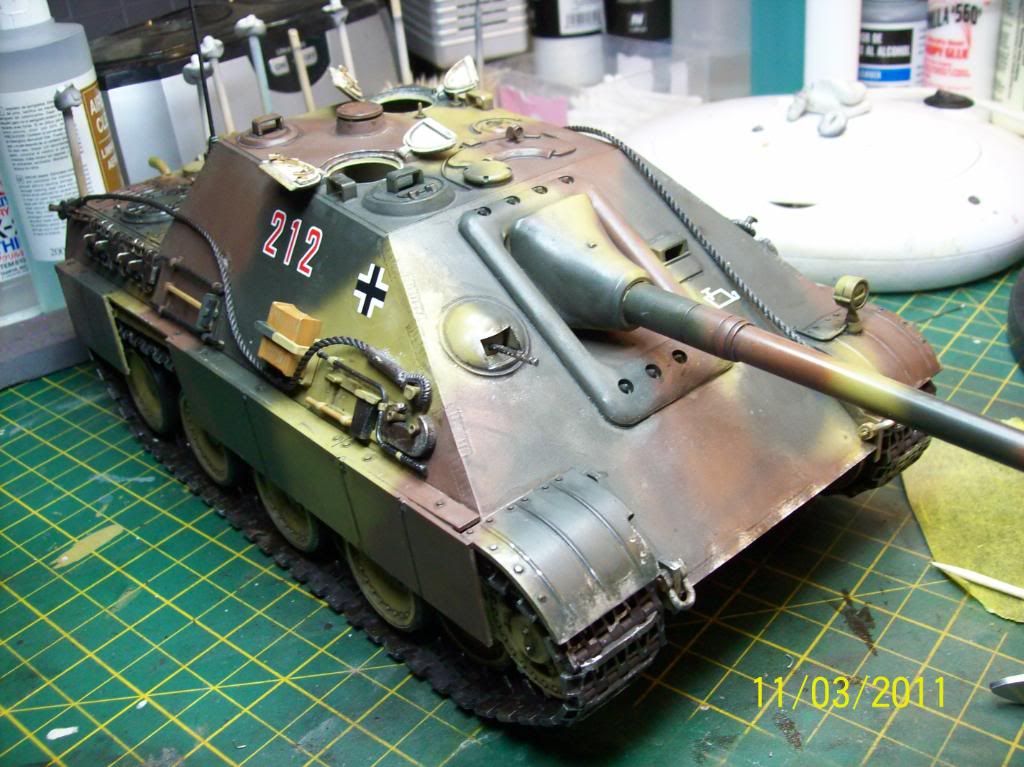
Ok decals are on, tools and towing cables etc have been sprayed worn and weathered, ive added an oil wash to the hatches tools etc and also added chipping effects to the tracks and high traffic ares (hatches handles etc)
Next up is weathering the exhausts and adding some mud then a matt coat.
12/3/11
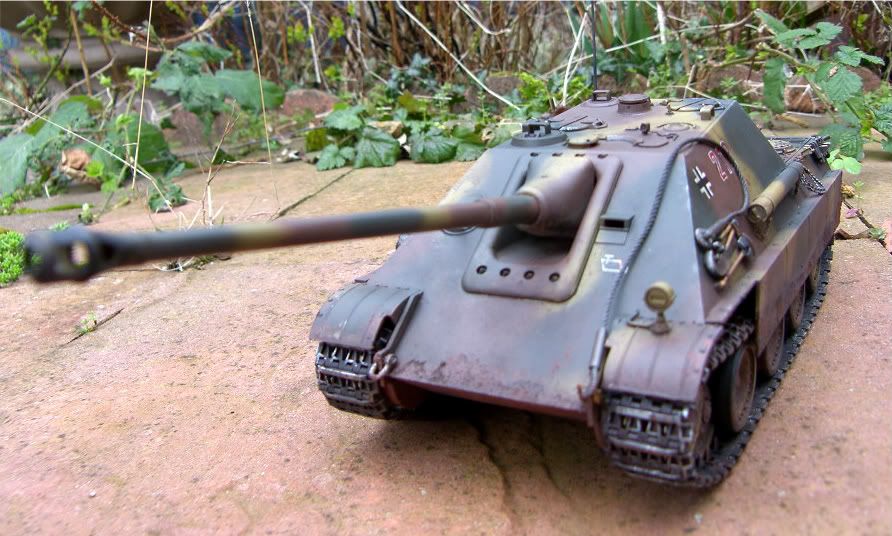
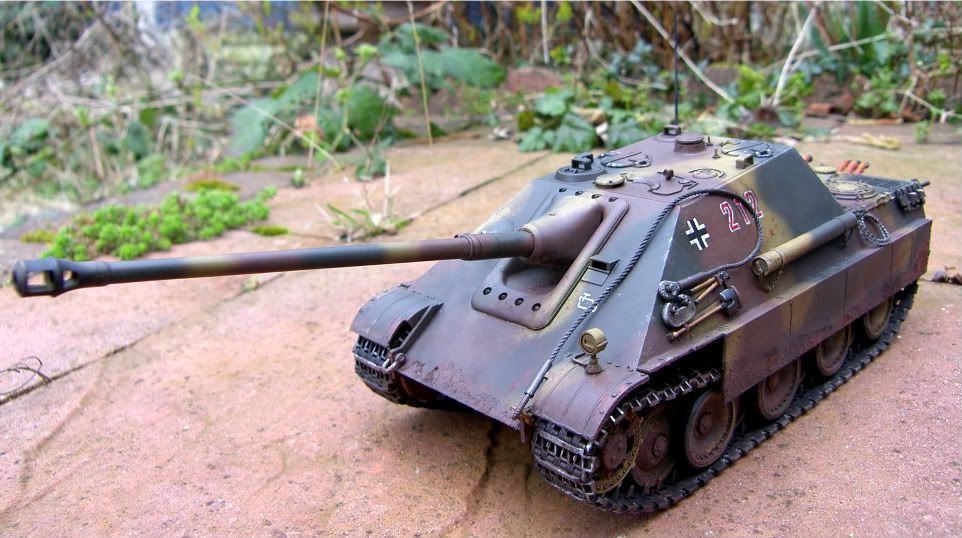
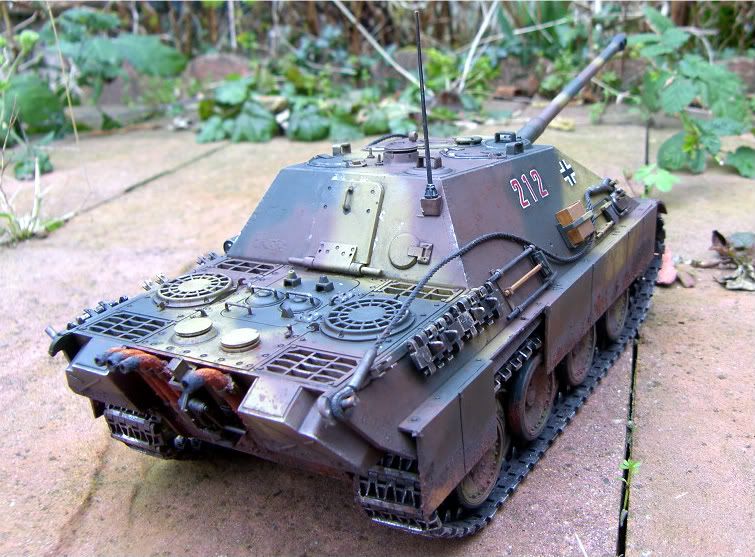
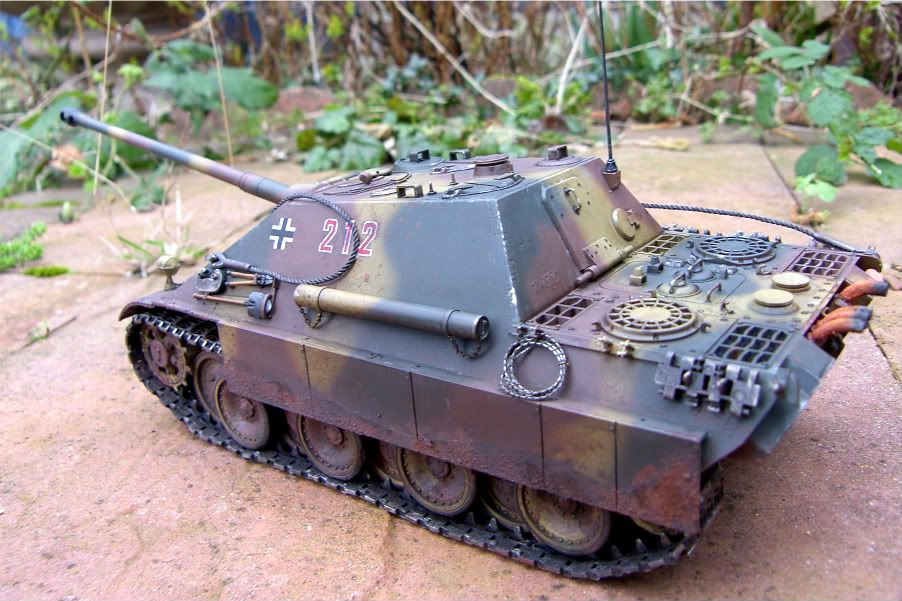
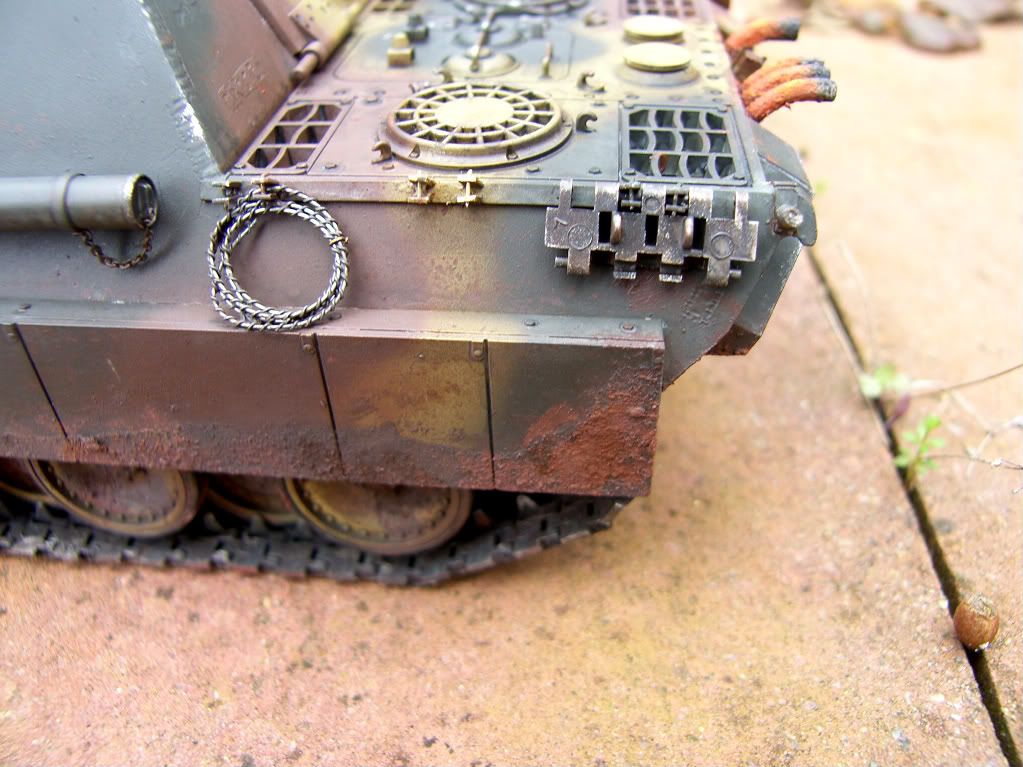
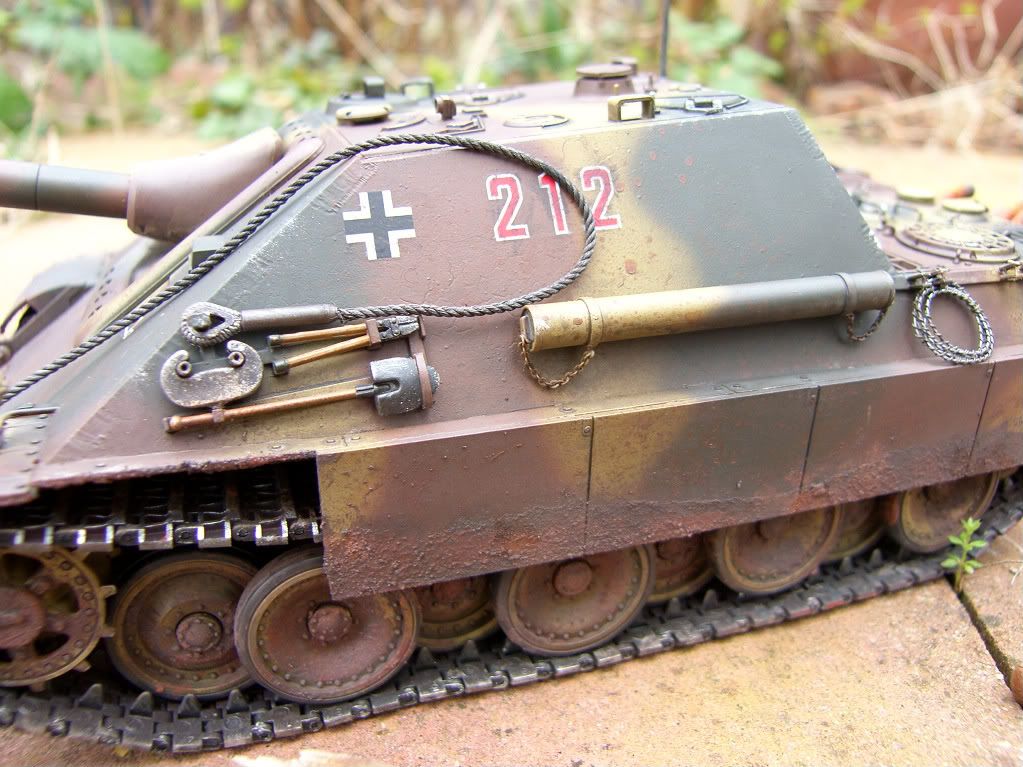
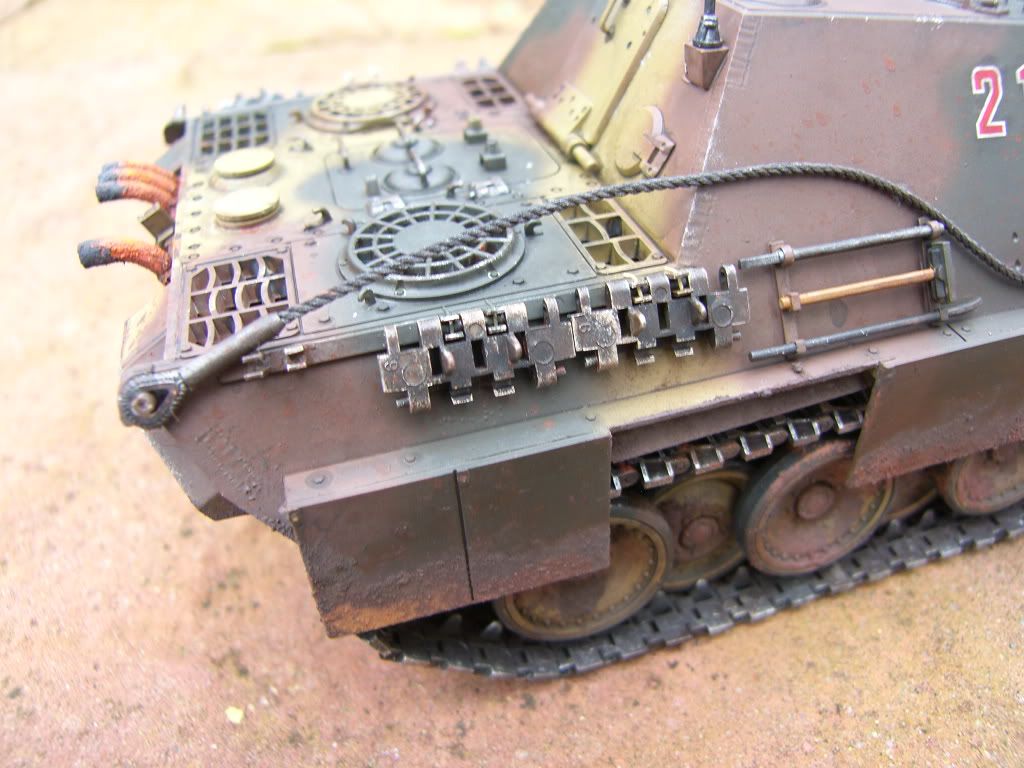
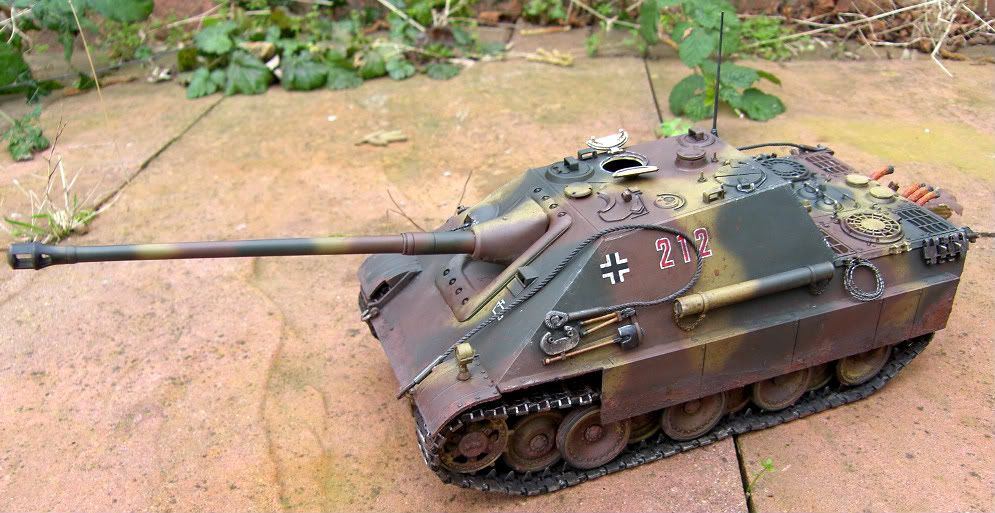
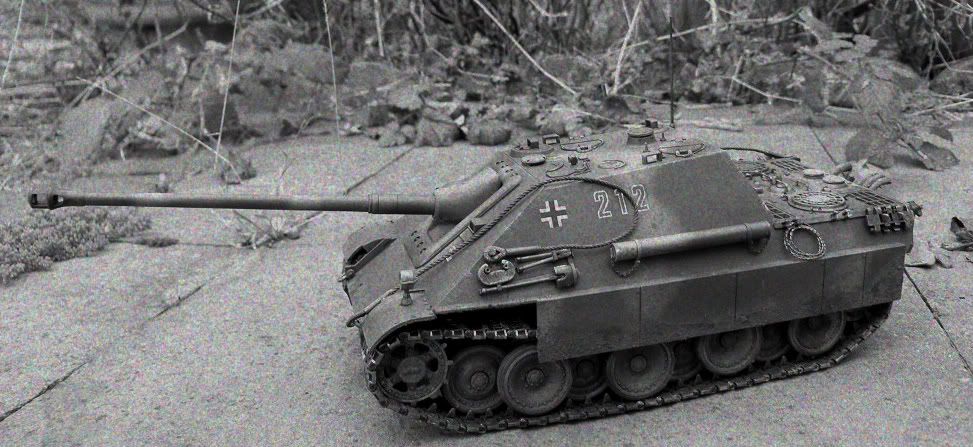
Ok some pics of the finished model, not the greatest piics ill replace them with better ones at a later date.













i just bought the old academy version of this tank and cant wait to start it. btw tamiya bought the rights for this model off academy and the academy version is now very cheap i got mine for £17.99
ReplyDelete