
I started on the search light today.
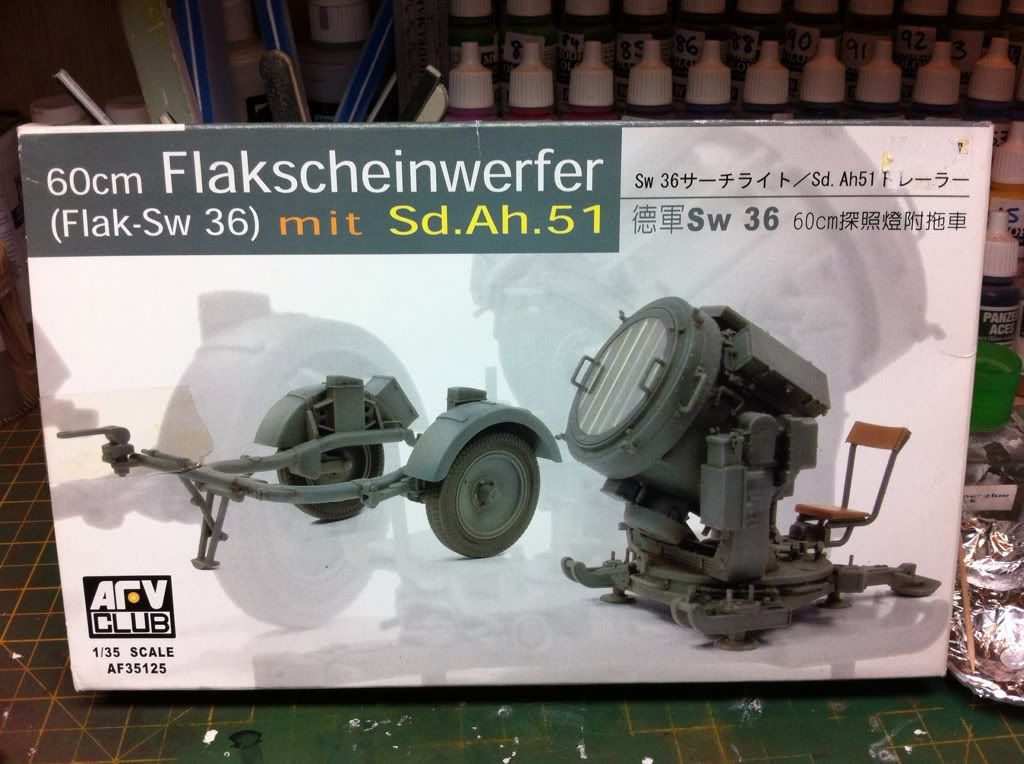
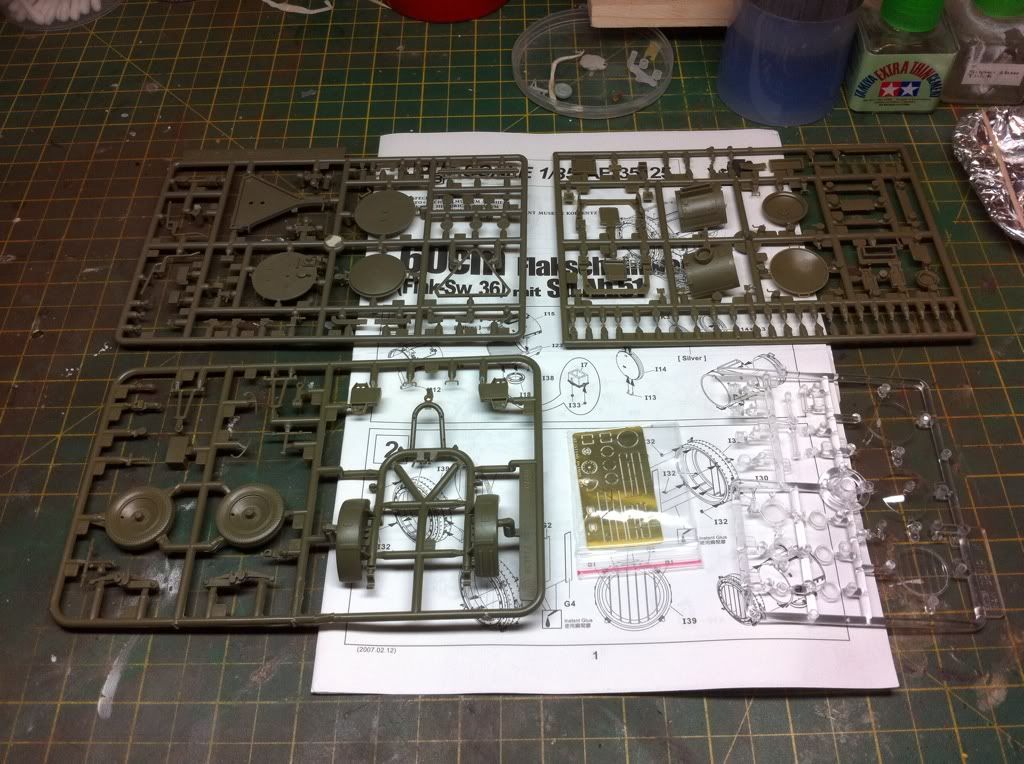
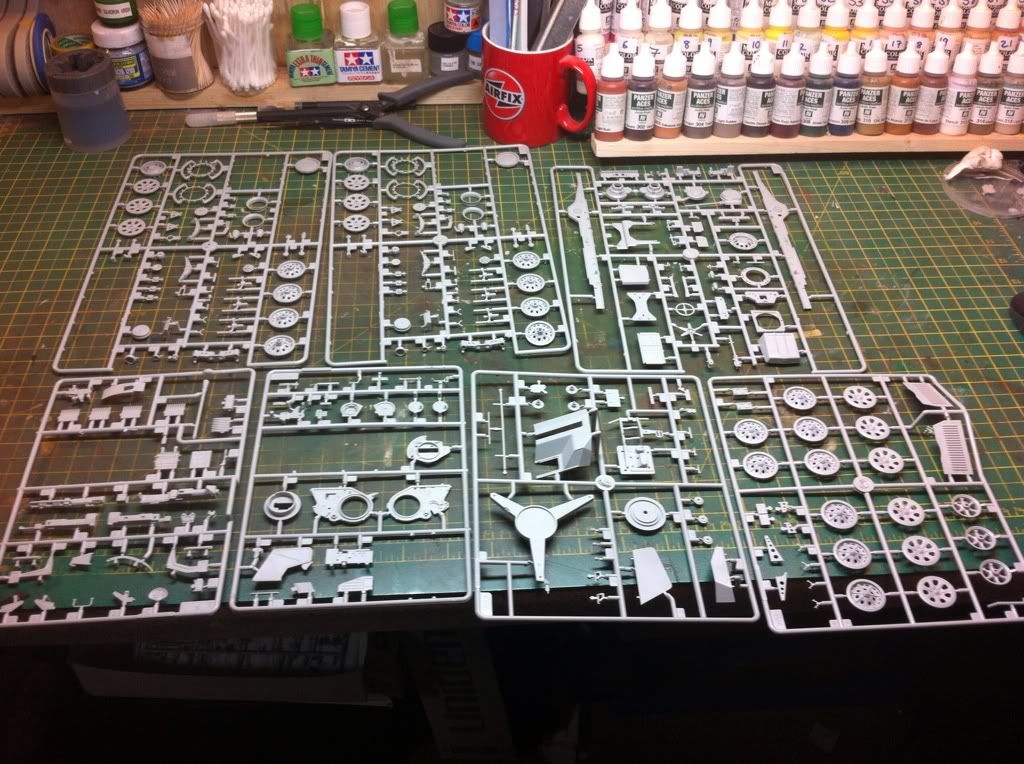
Box and spruce shots
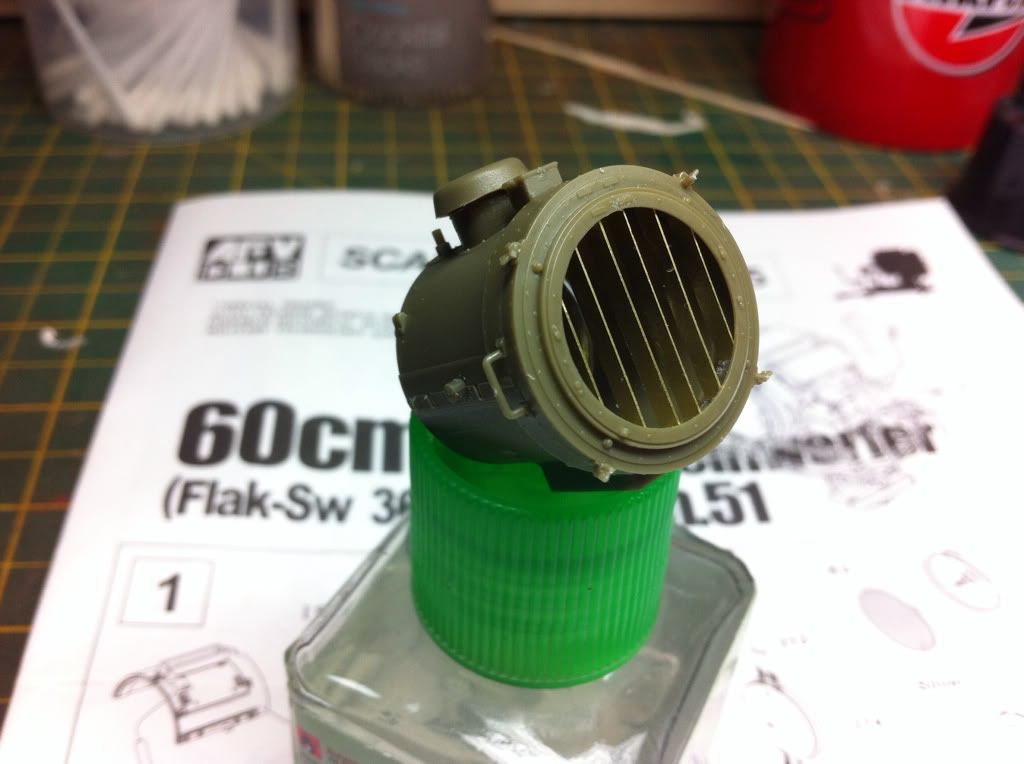
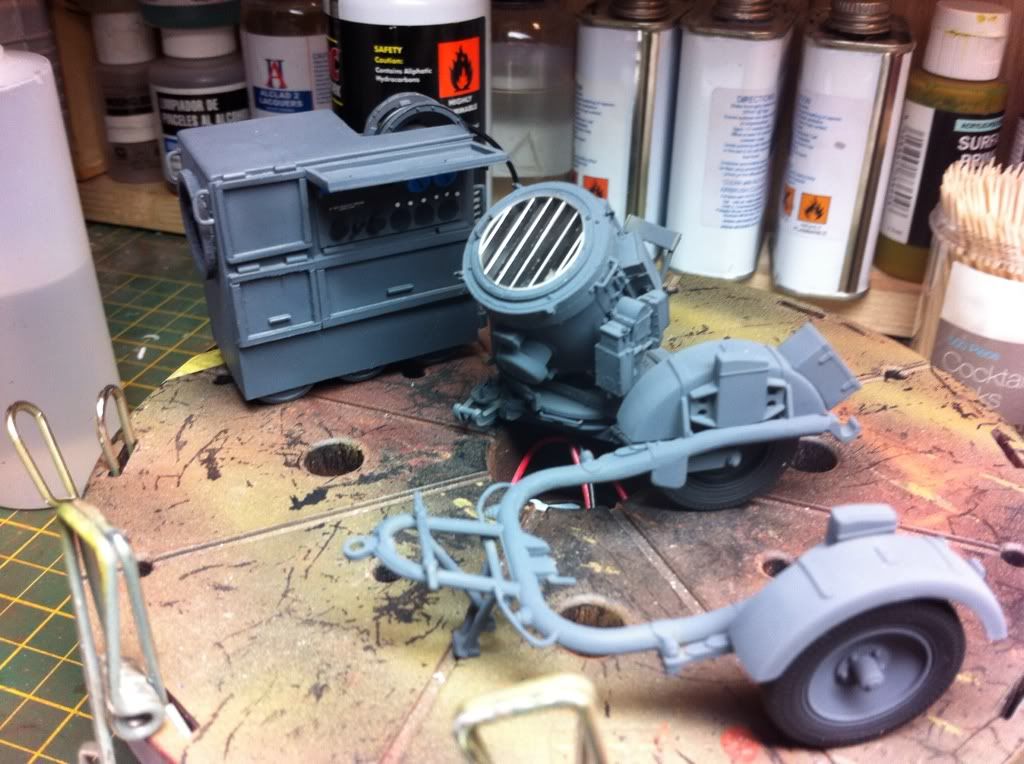
The search light itself with the pe louves attached.
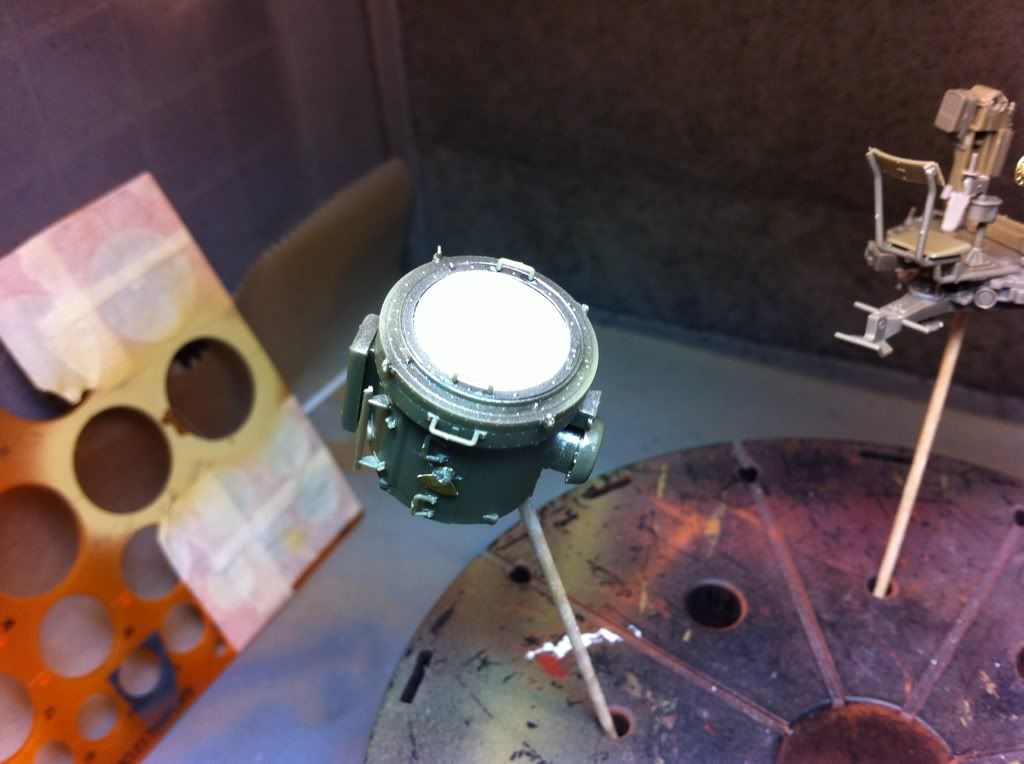
The cradle and search light completed and with a mask covering the innards Of the search light i had sprayed with alclad polished aluminium.
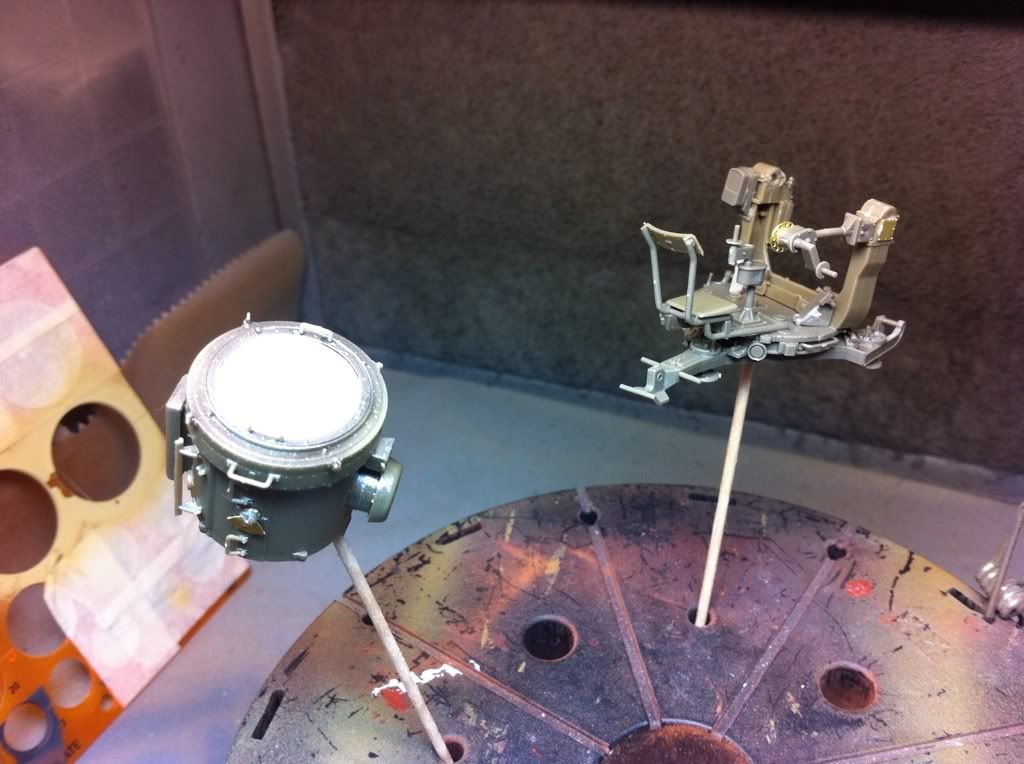
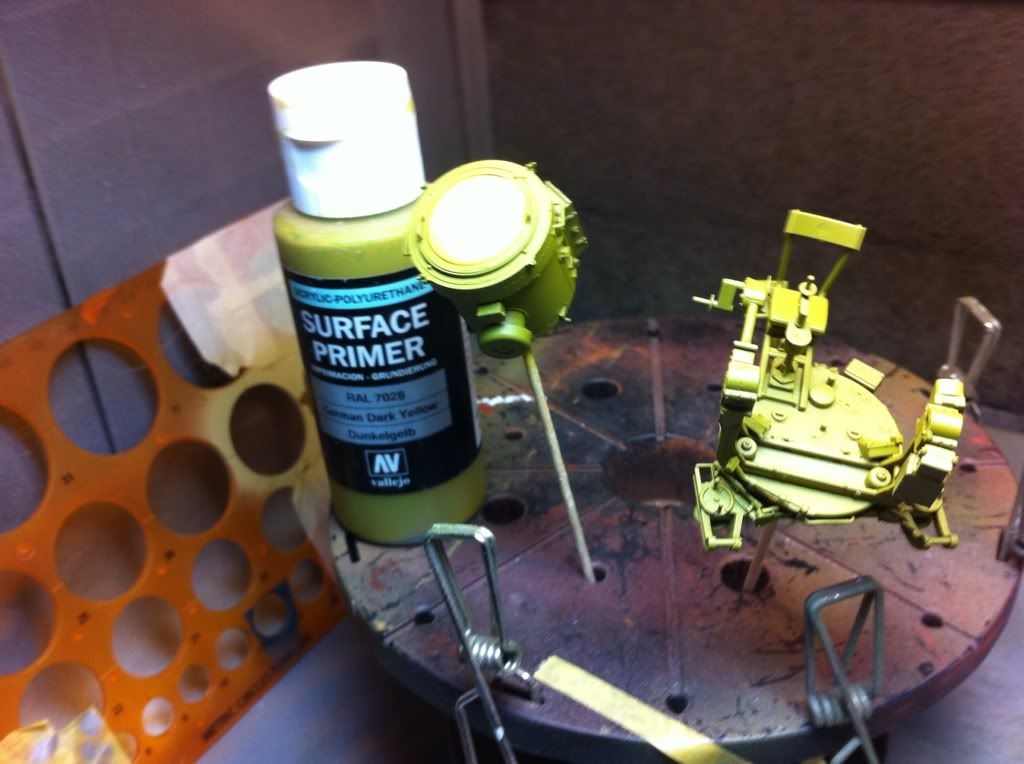
Primed in Vallejo dark yellow primer.
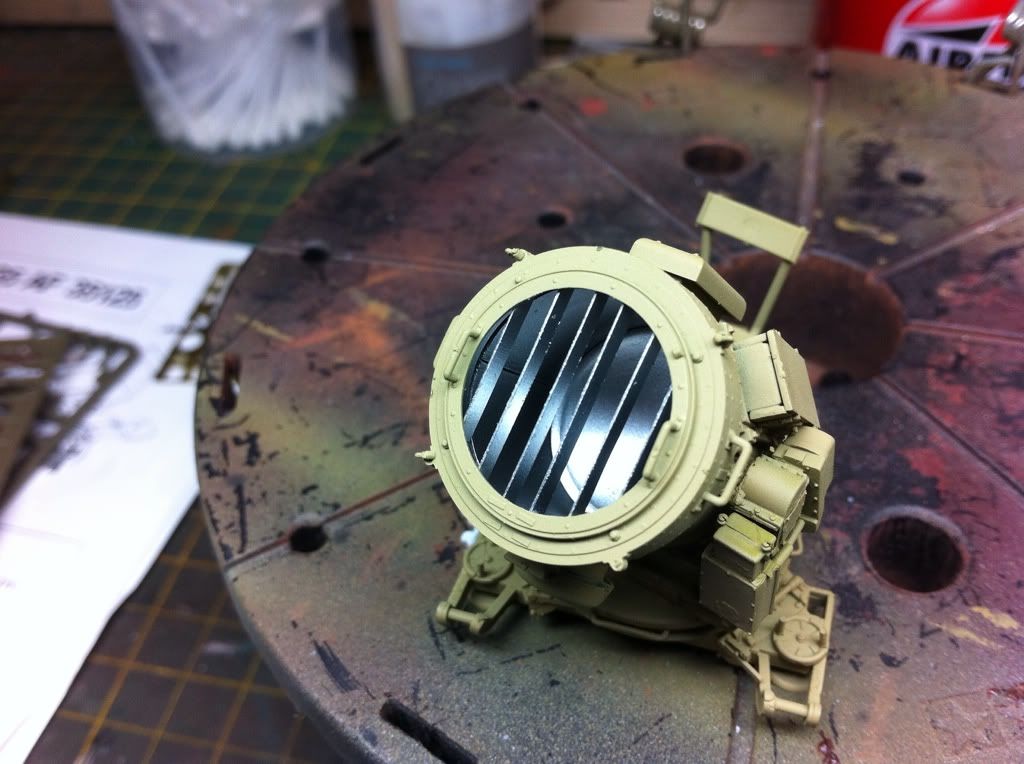
Then given light coat of tamiya xf60 dark yellow

Took the mask off and everything,inside,is fine.
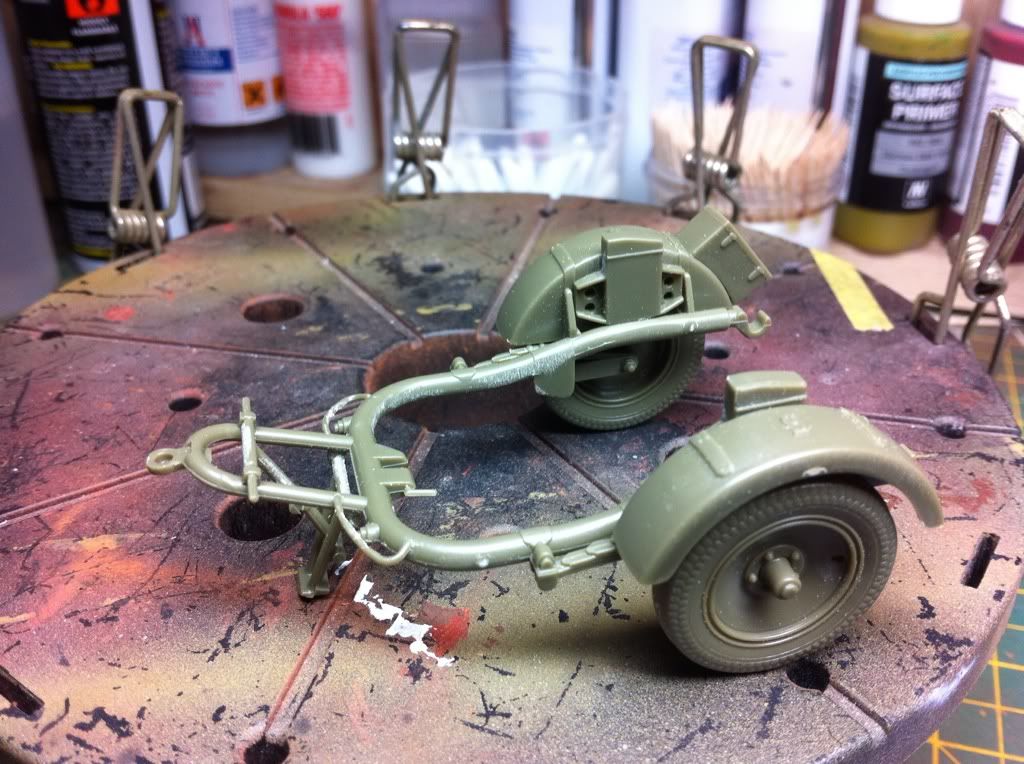
On with the trailor next.
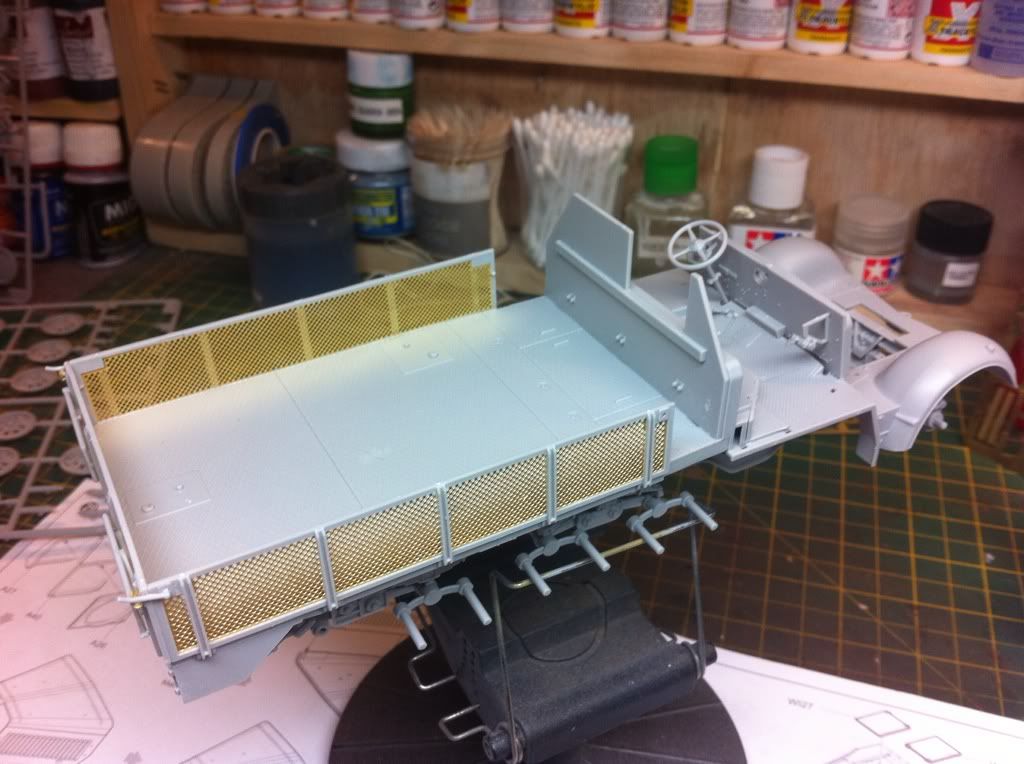
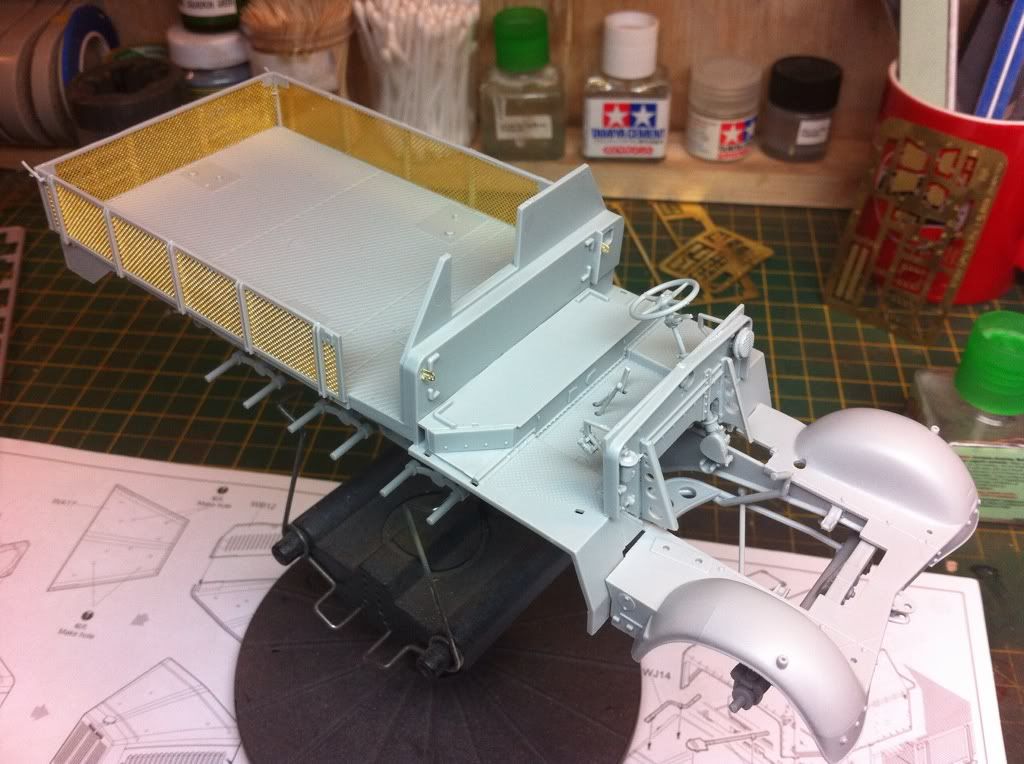
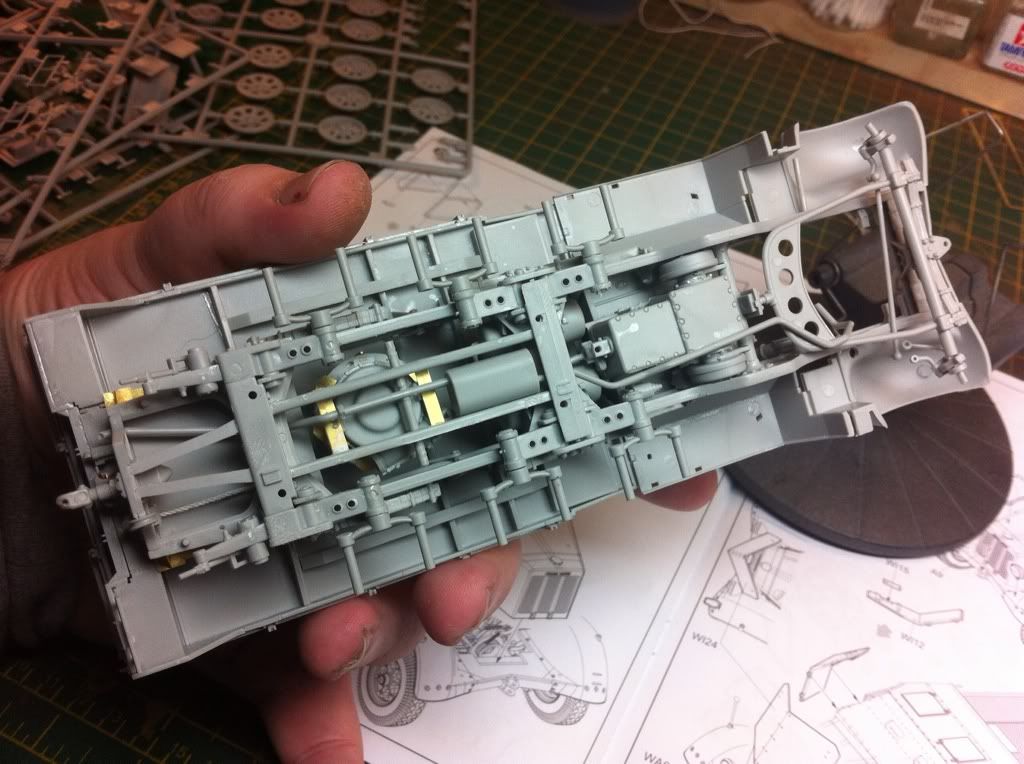
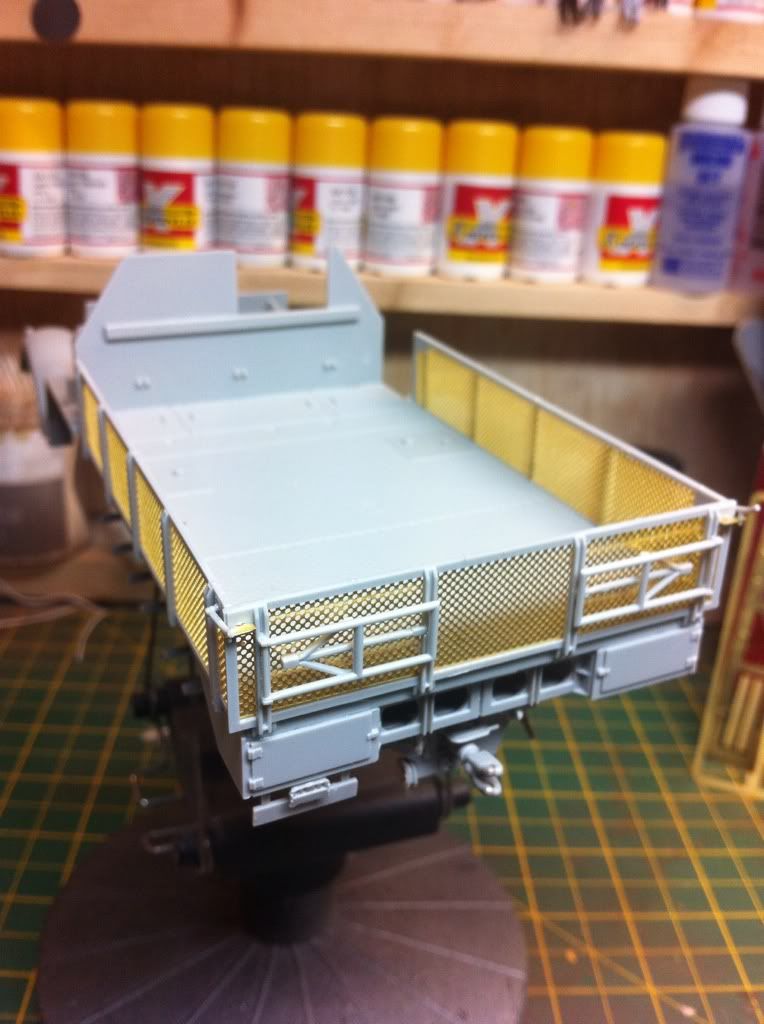
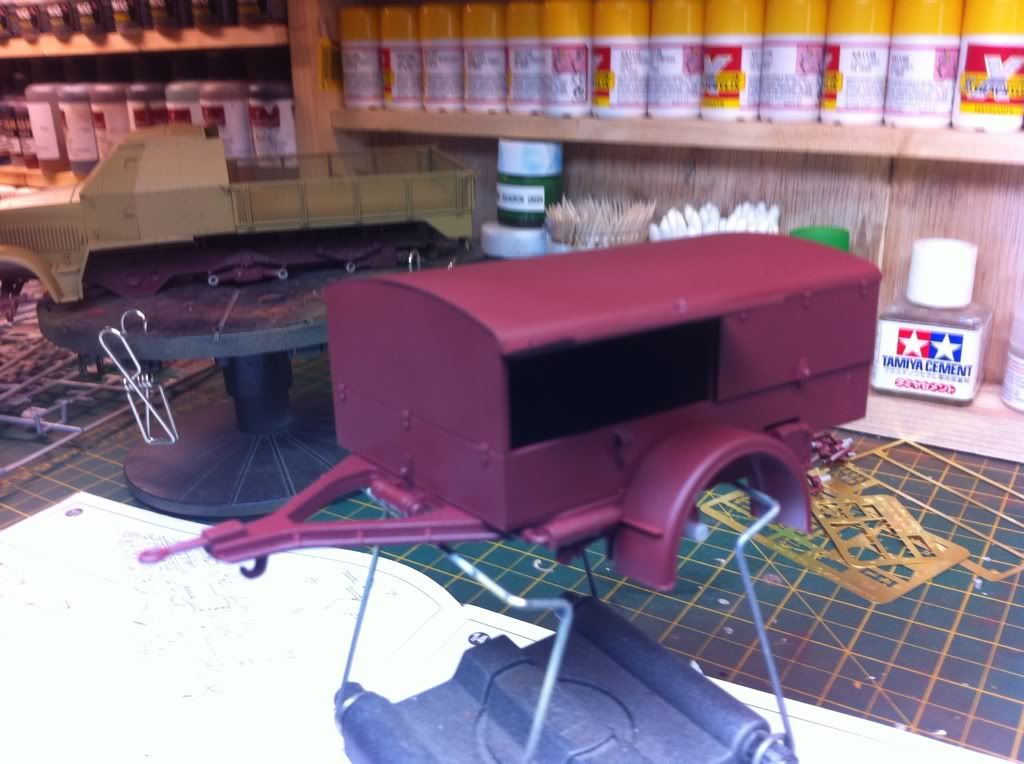
Right got the trailor buid today primed and ready for some tamiya dark yellow.
Ps,I did polish those,rough parts before priming
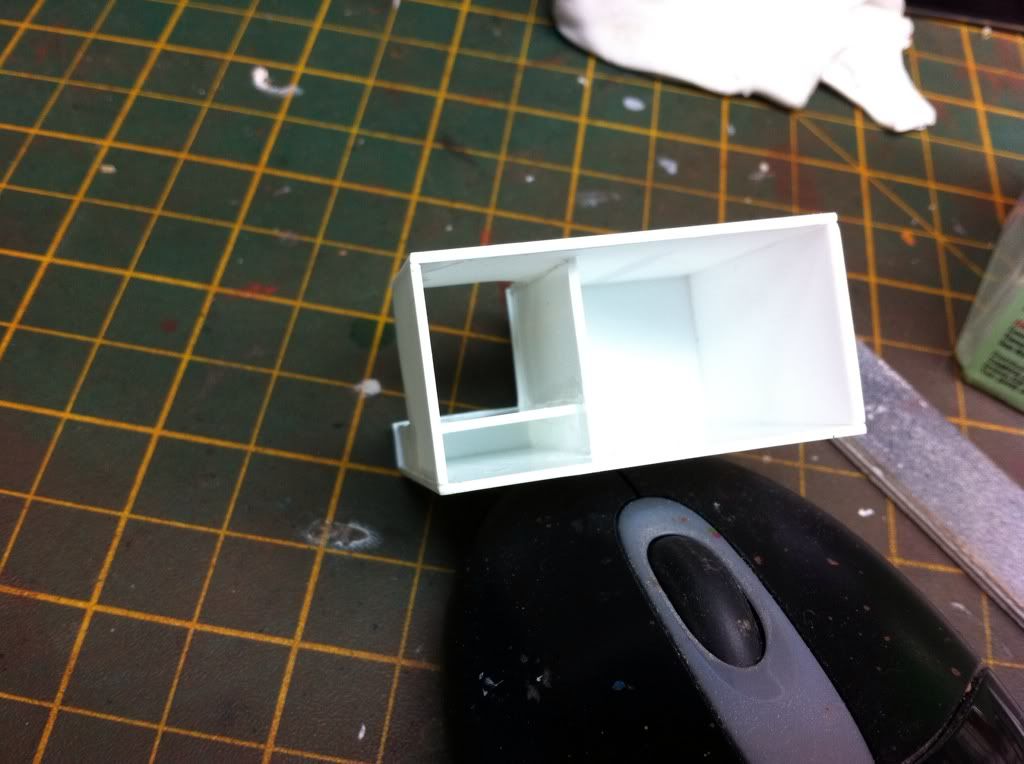
A searchlight like this would have been powered by a maschinensatz 85volt generator, I found this source of pics of the generator used, and set to scratch building it.
http://vorbild.ipmsdeutschland.de...5V_8kW/Maschinensatz_65V_8kW.html
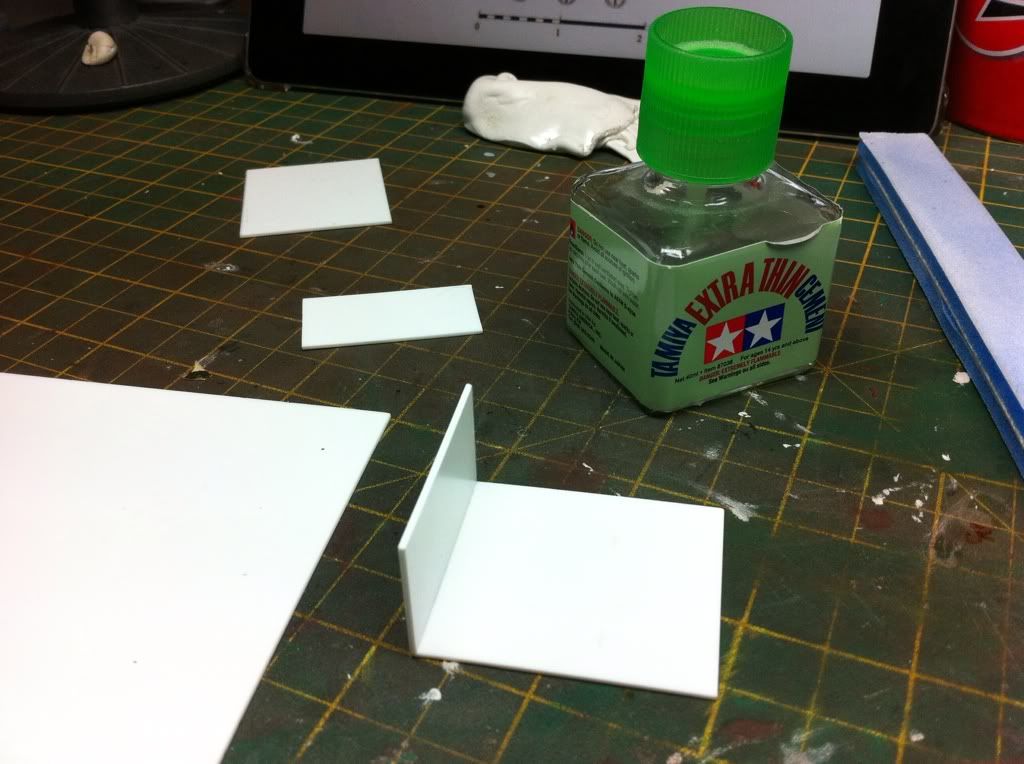
Using plastic are and some artistic licence I got to it. I used the plans from the link above
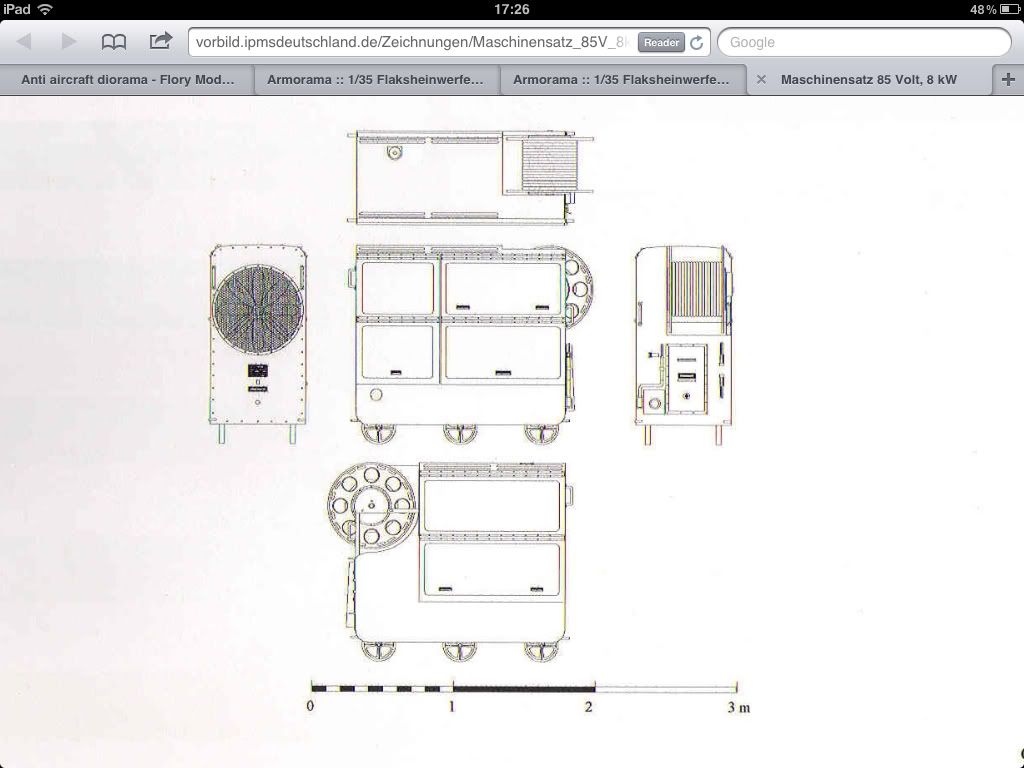
And with my iPad in front of me I could enlarge it to life size which made it easier
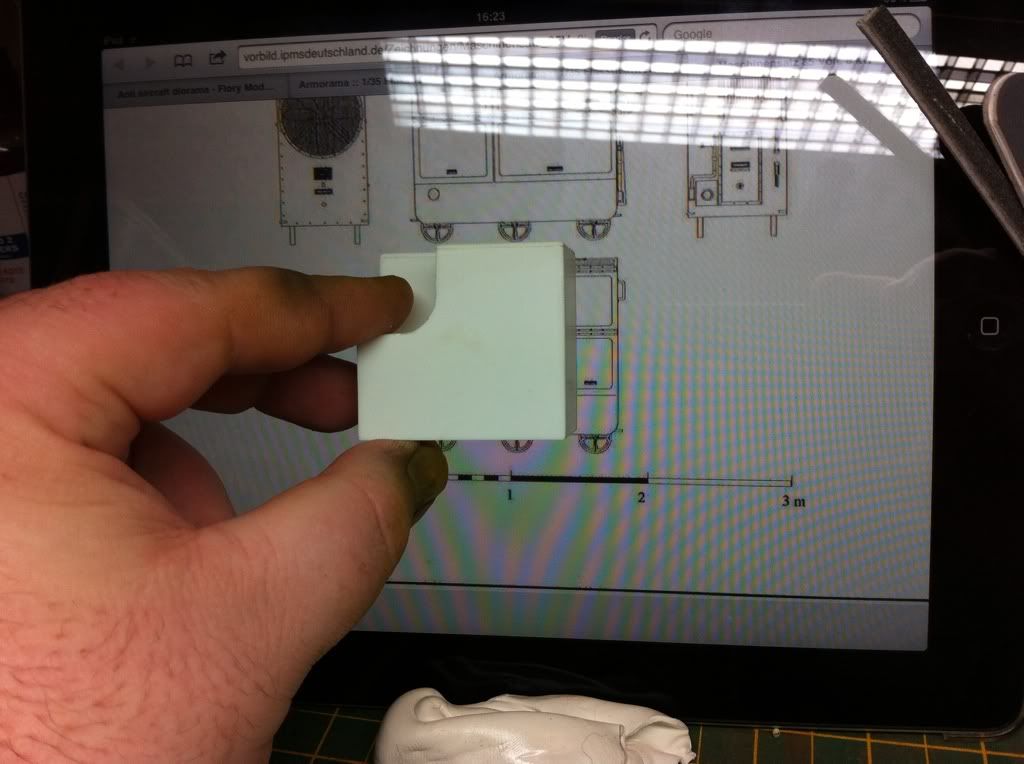

I also got to use my new scale ruler, with marking for metres, cm , inches and ft it's a great tool.


Progress so far.
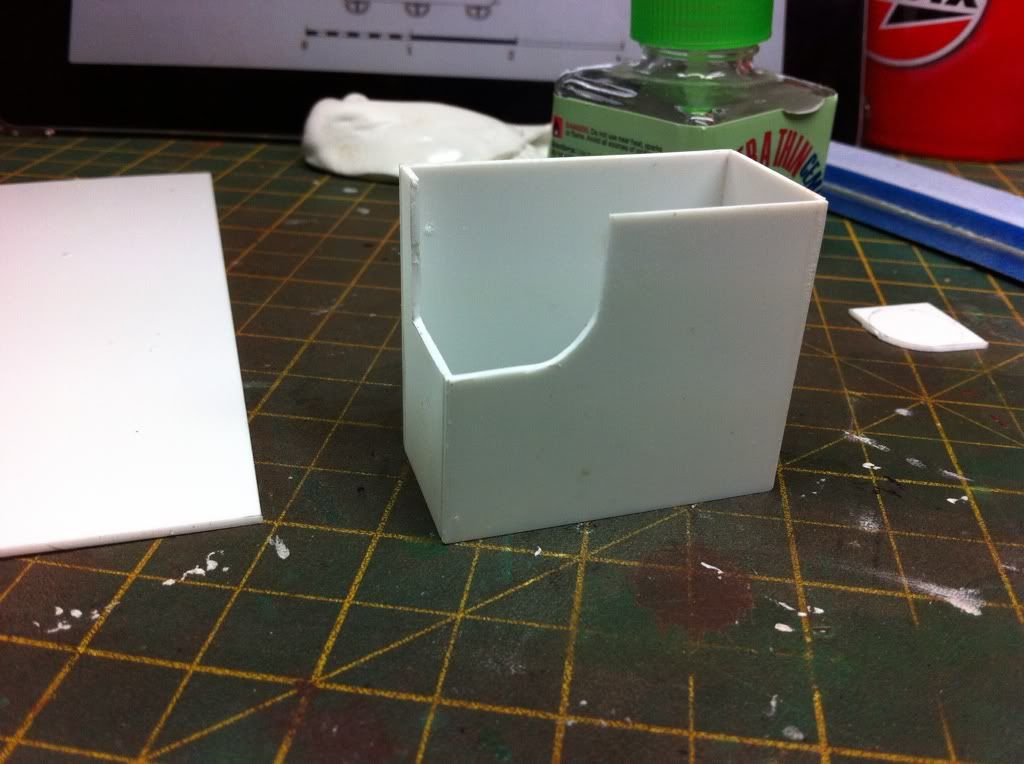

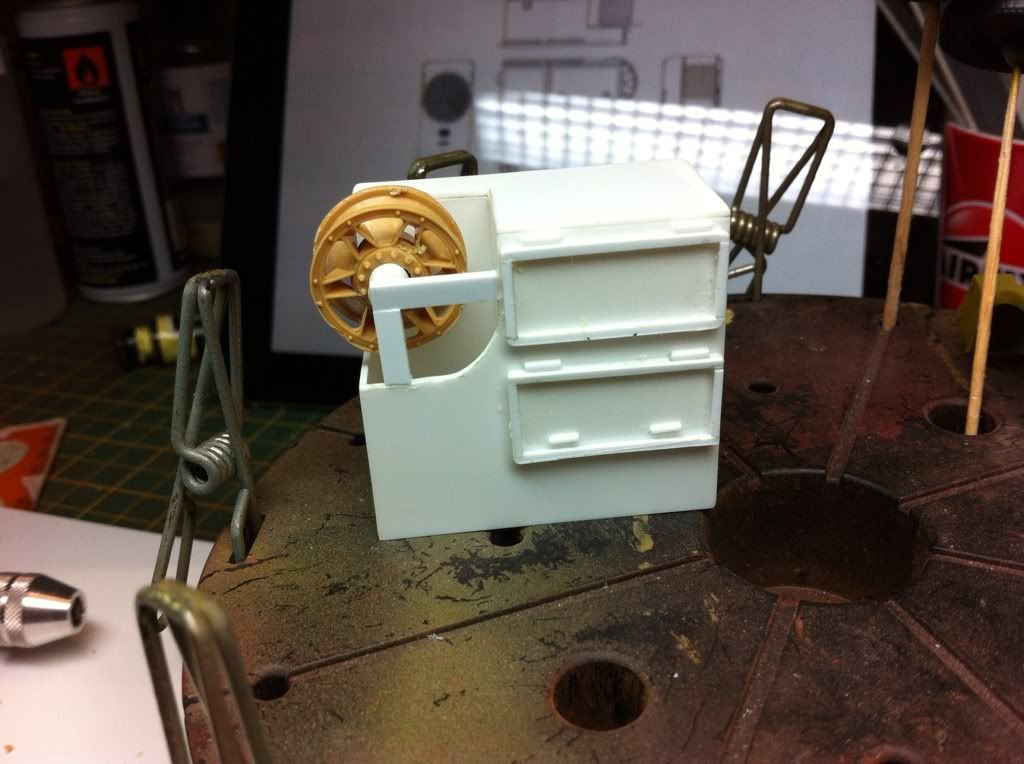
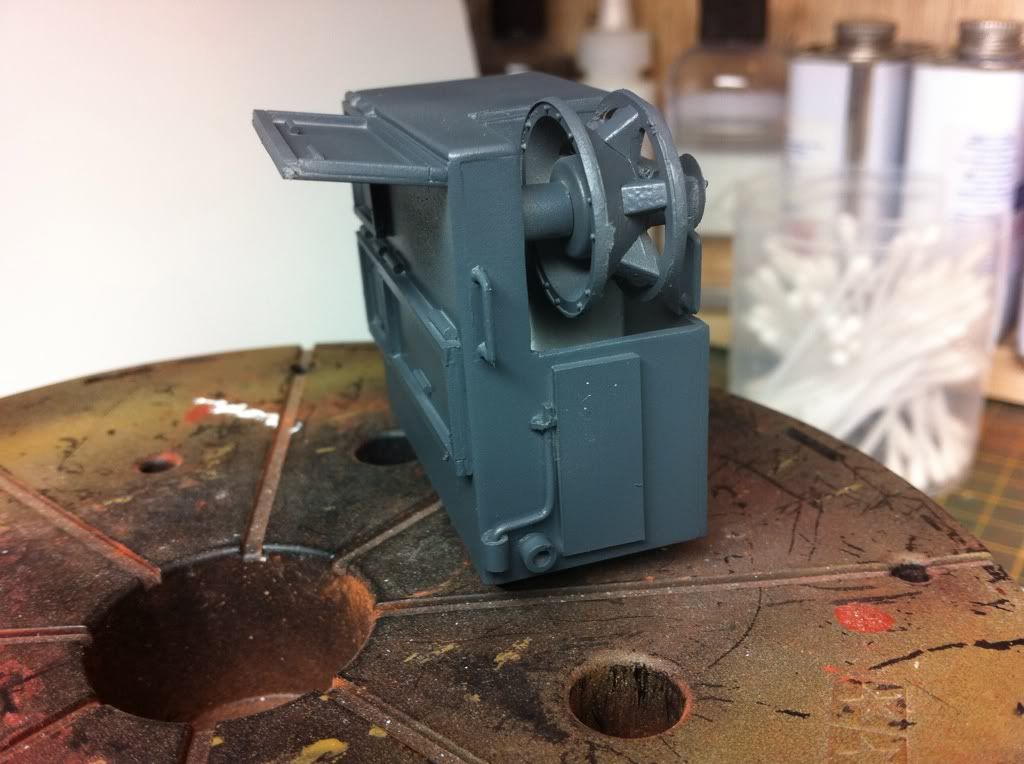
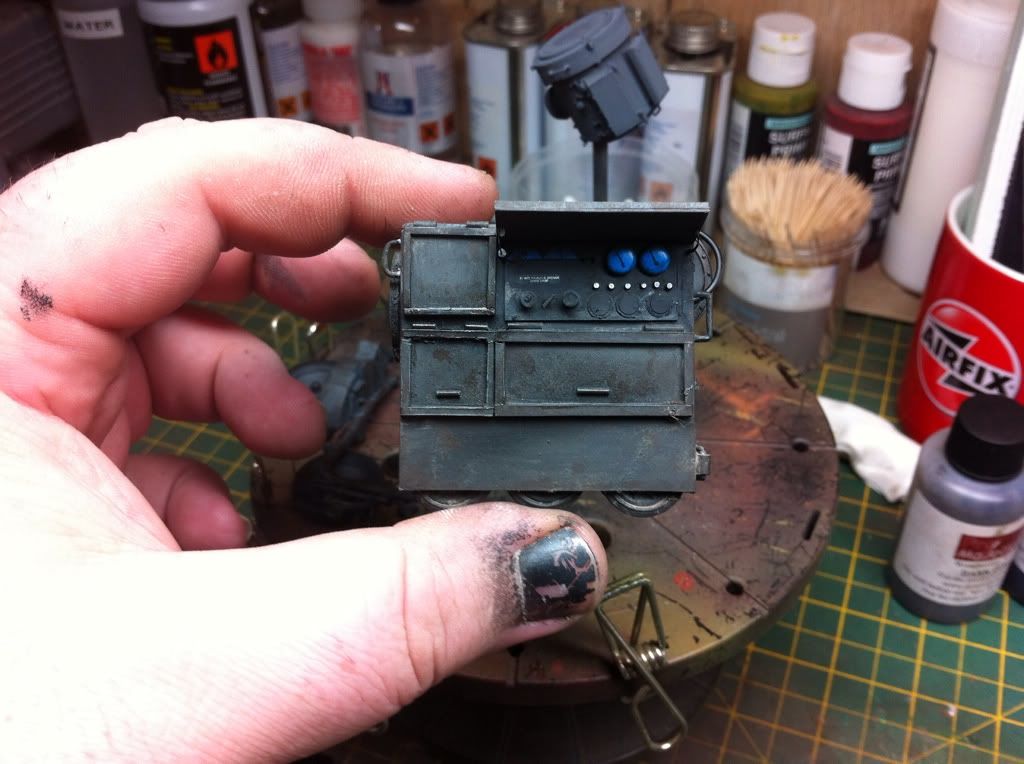
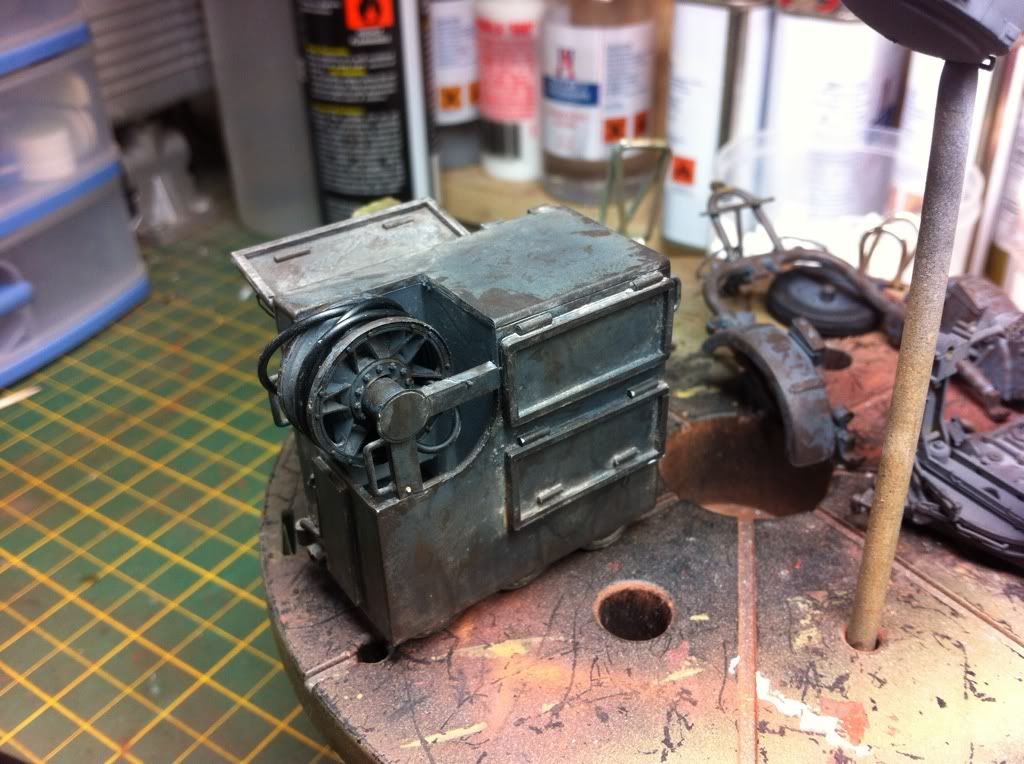
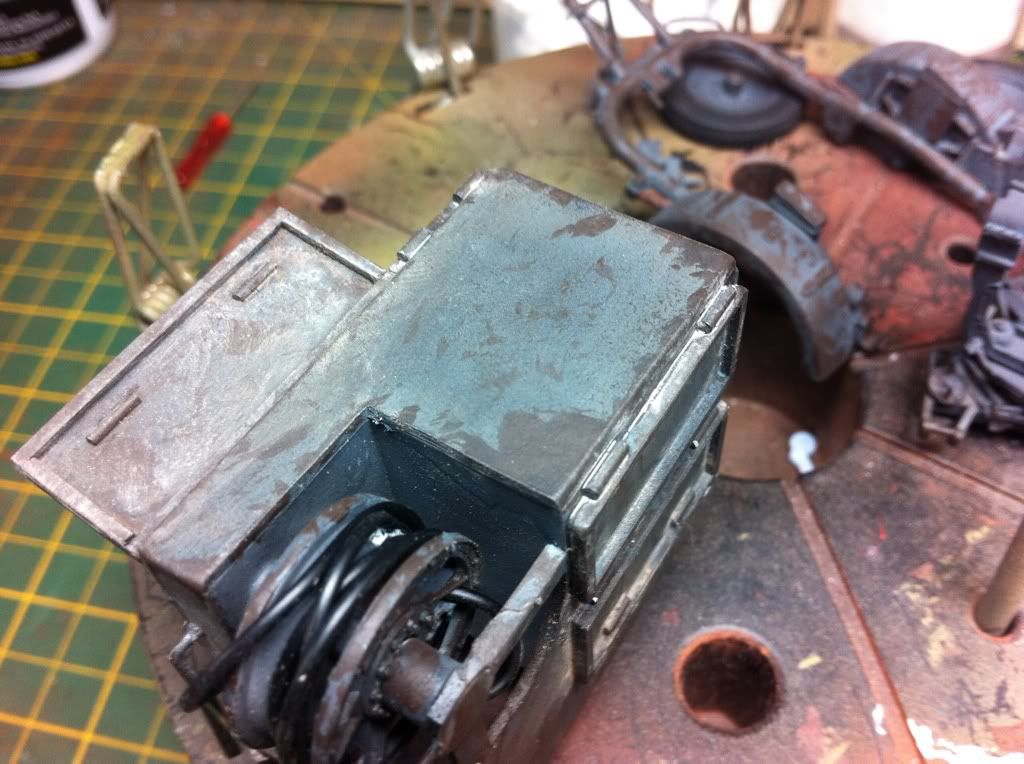
I got the front of the generator sorted adding doors like i did on the back only having the main control panel open, I will add the control panel itself later. I also added a crank handle (fuse wire) with holders (using round plastic tubing and some scrap pe) and also added the crank handle hole. I also added and couple of handles too. I'm happy with how it's turned out, I haven't scratch built anything for years and it think it's a reasonable representation of the generator in the links above


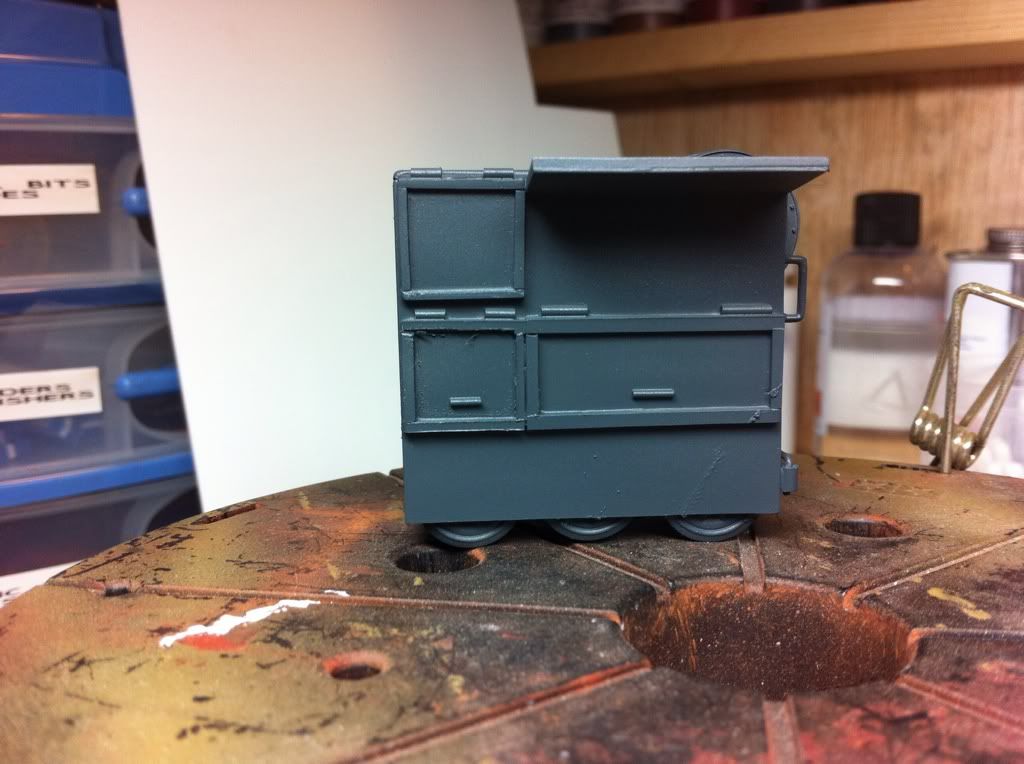
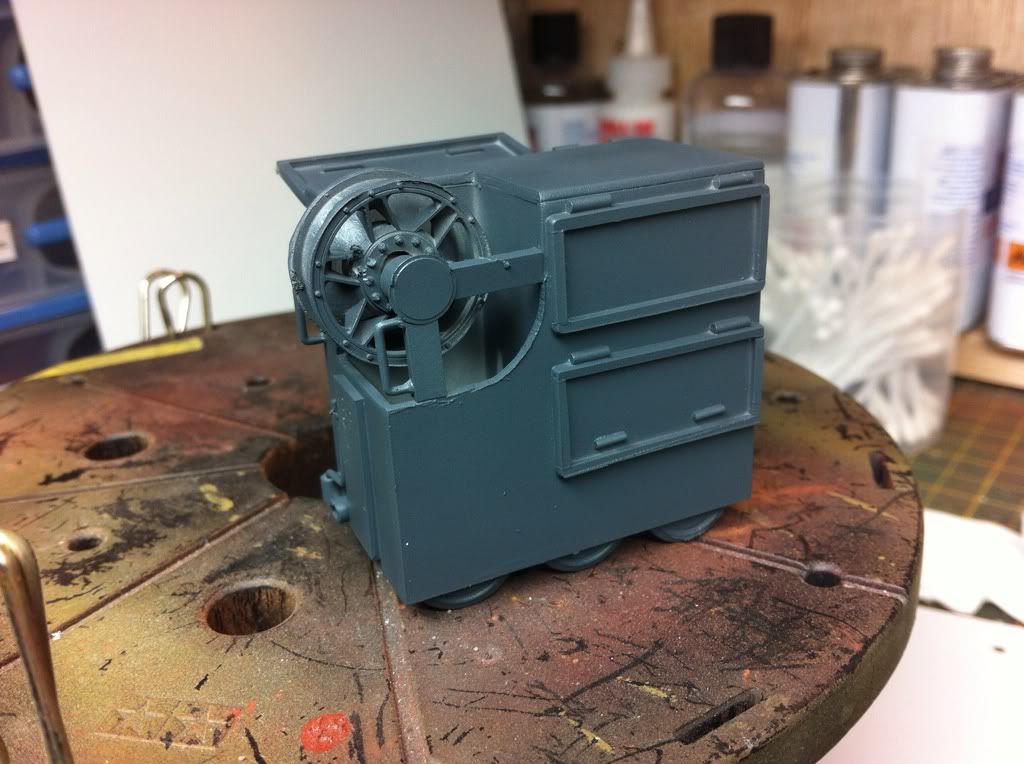
This was then primed in Vallejo grey primer and then sprayed in tamiya German grey. Ive sprayed the generator I grey as I'm going to get a Krupp that would have carried this and towed the search light, I've only seen krupps in grey so not sure what colour that will be but I think the gen will be staying grey either way
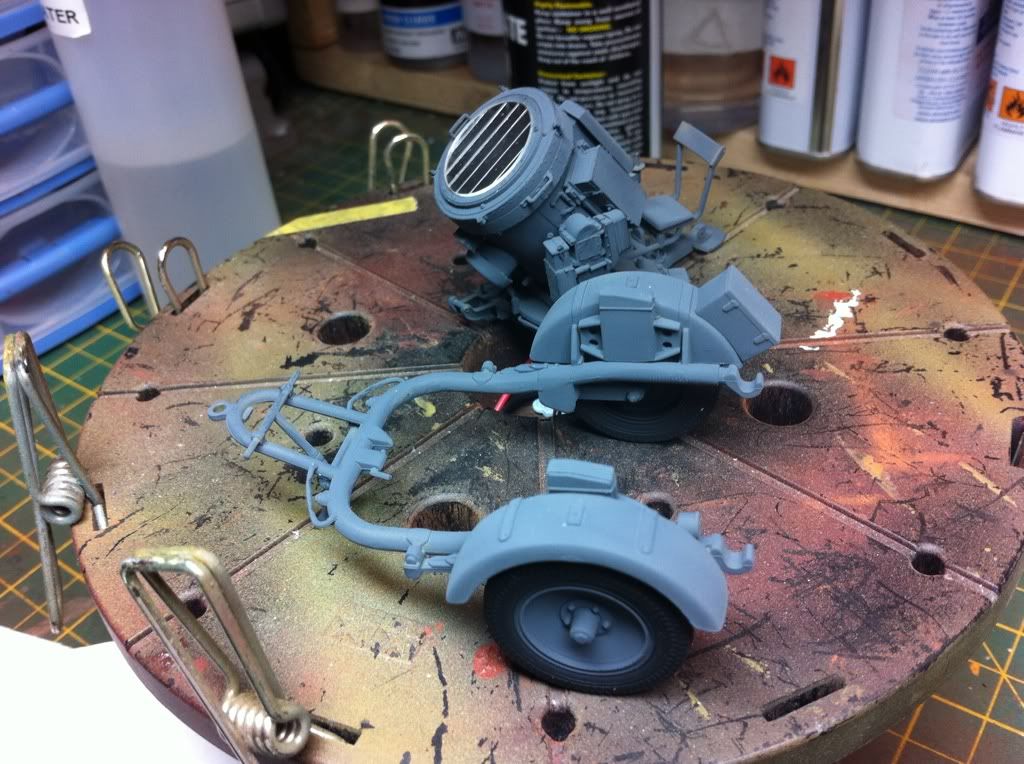
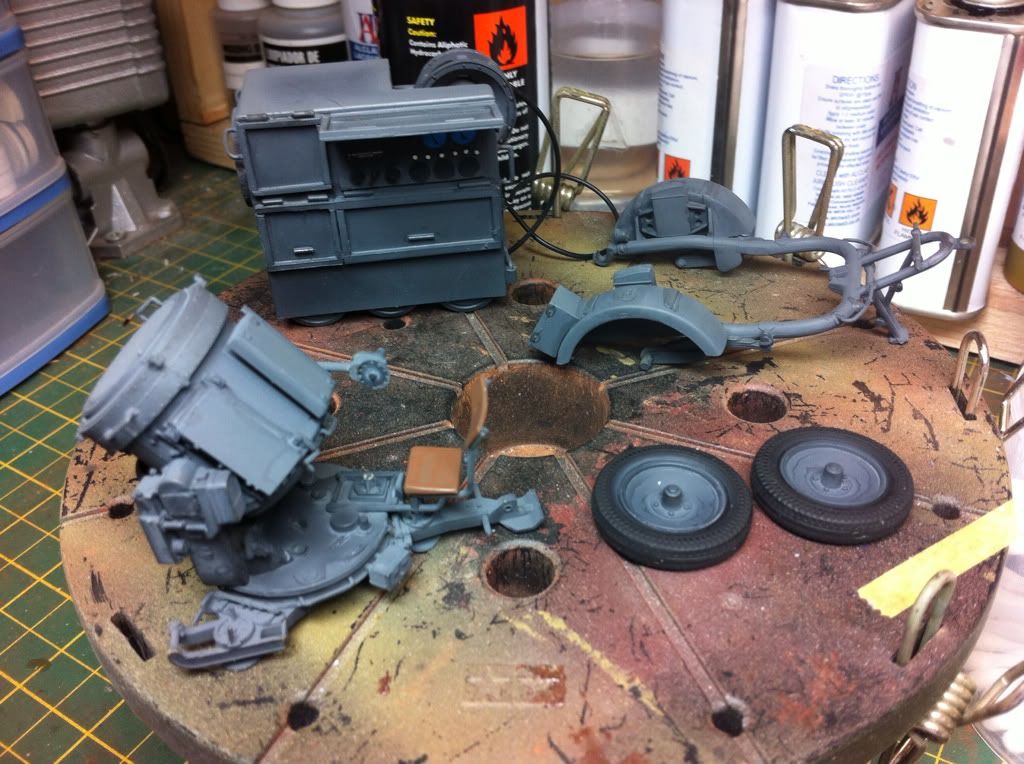
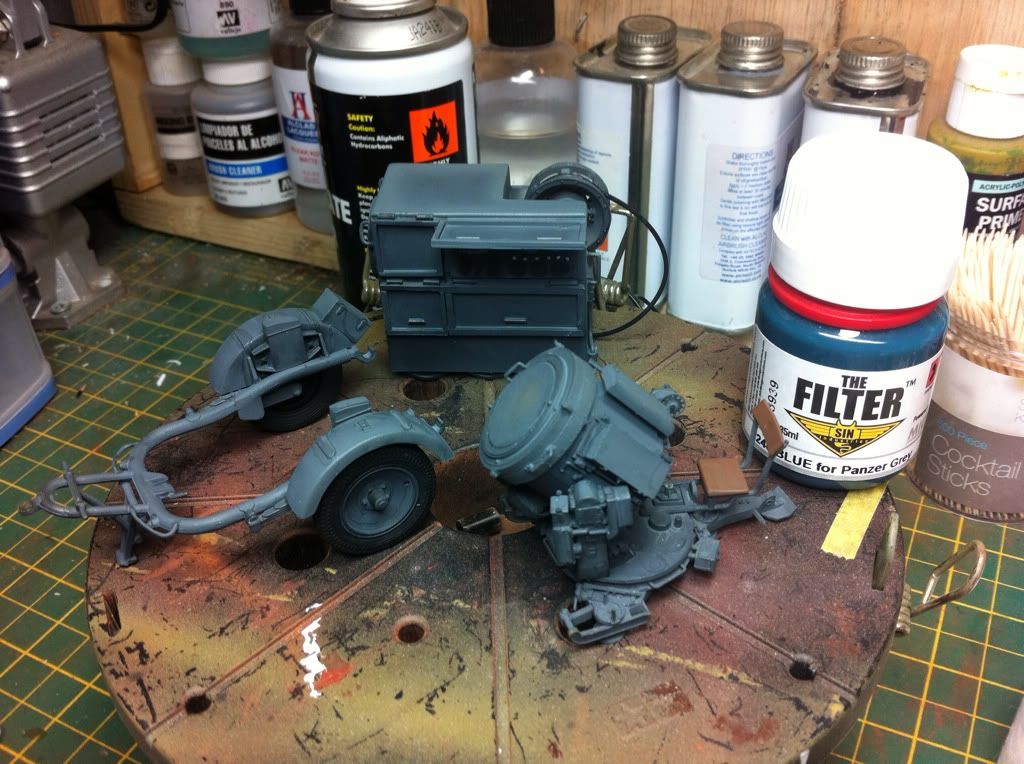
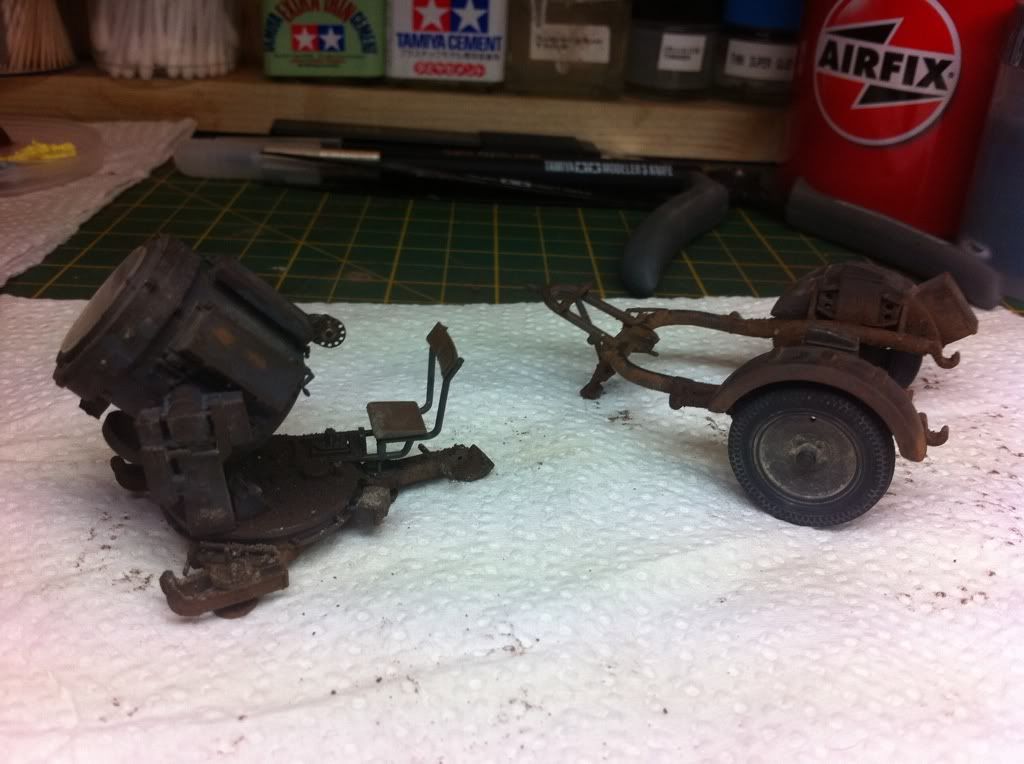
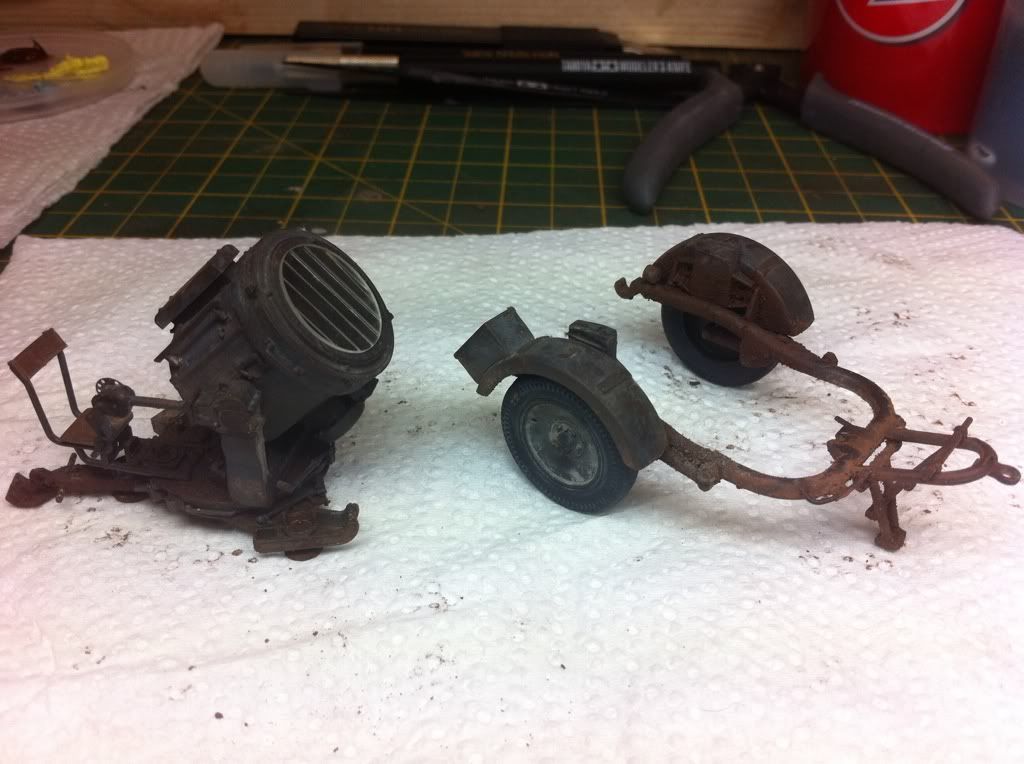
The trailor has been sprayed dark yellow and the bits I missed on the light have been filled and touched up. And here's a group shot of them together, still loads to do, wiring to add etc

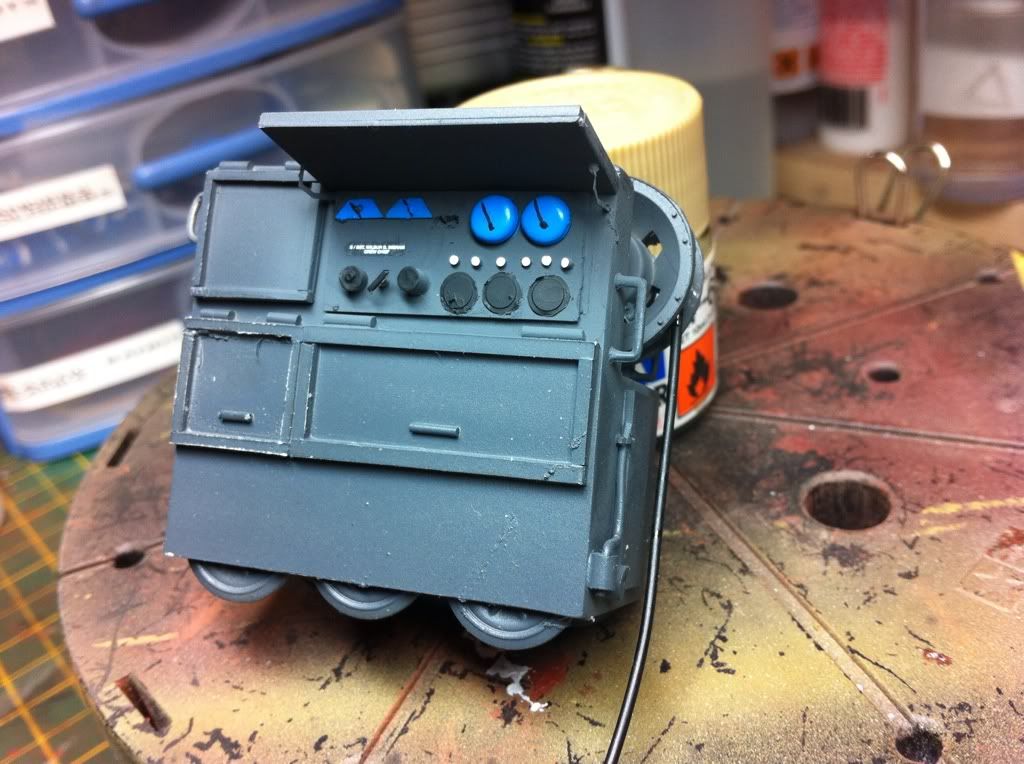
Ok I built up to control panel using various odds and ends I found including some old pe, some brads and a few bits plastic pipe and fuse wire. I modelled it as I saw fit as I would never get the amount of dials and switches I there as the proper one shows i then painted it and later it'll get a wash to dull the colours, plus weathering and chipping. I found a couple of prices of pe that made excellent arms to hold up the control panel door
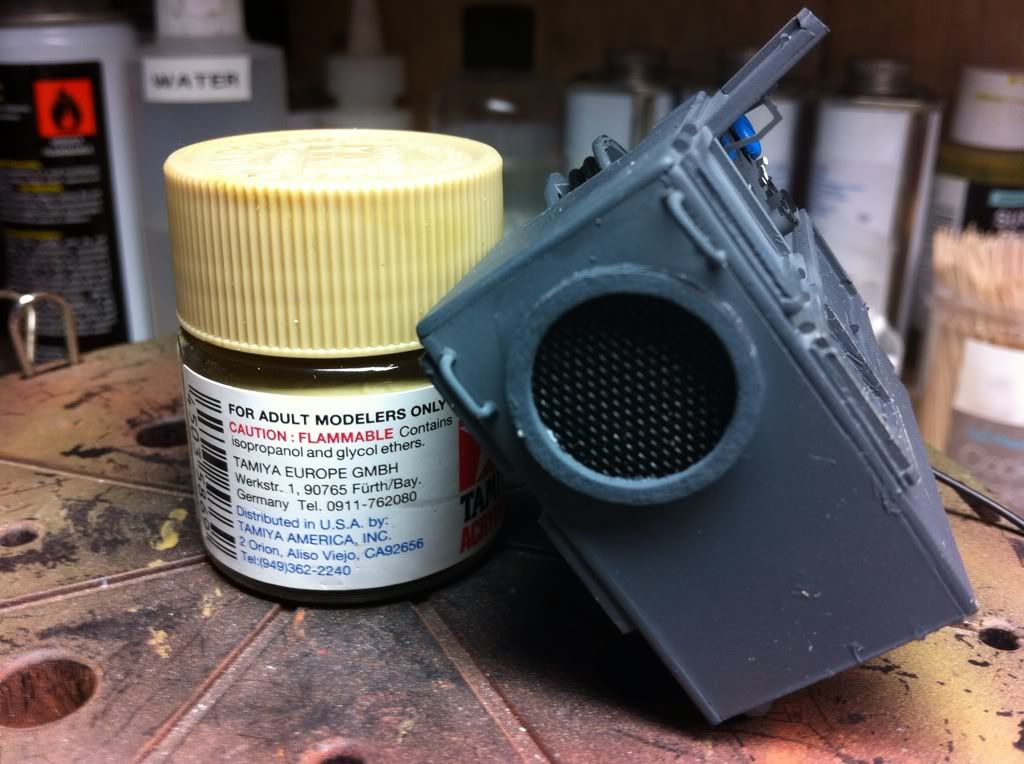
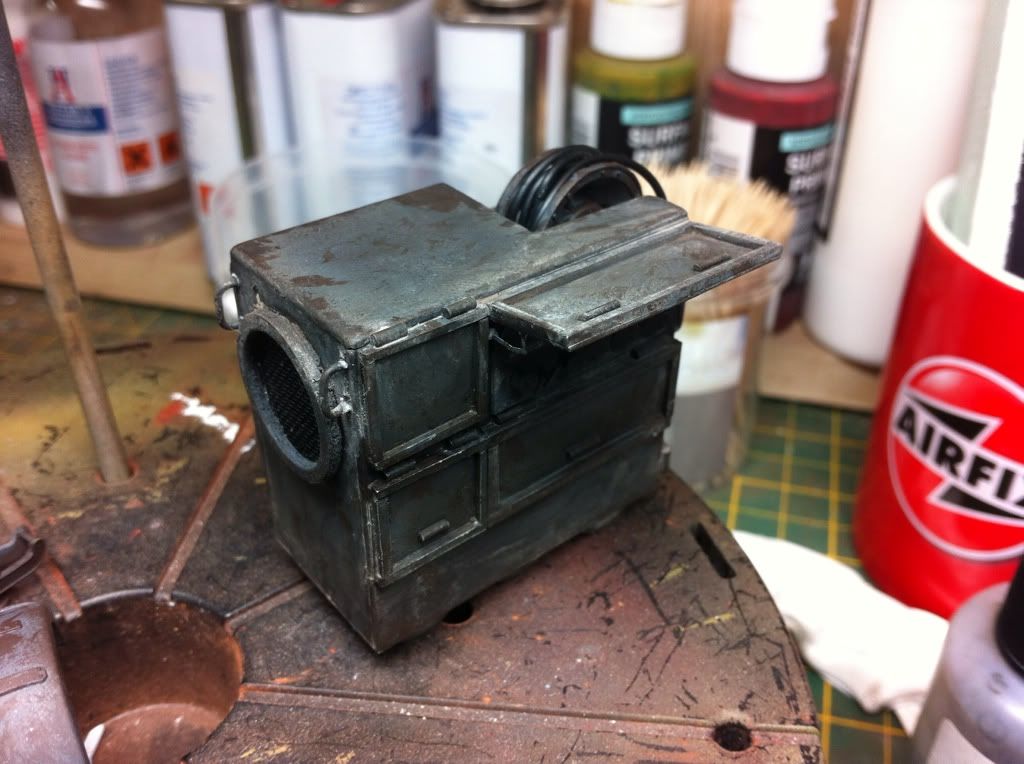
I added the cable to the reel using the type of rubber hose you get in kits. And using some fine mesh and a 15mm fibre washer I added the vent to the other side.
After some research I decided to respray the light and trailor in german grey to match the generator and forthcoming krupp. I also sanded the front lens to fit snugly, the instructions tell you to place it in front of the pe louves but this would made spraying it a nightmare.
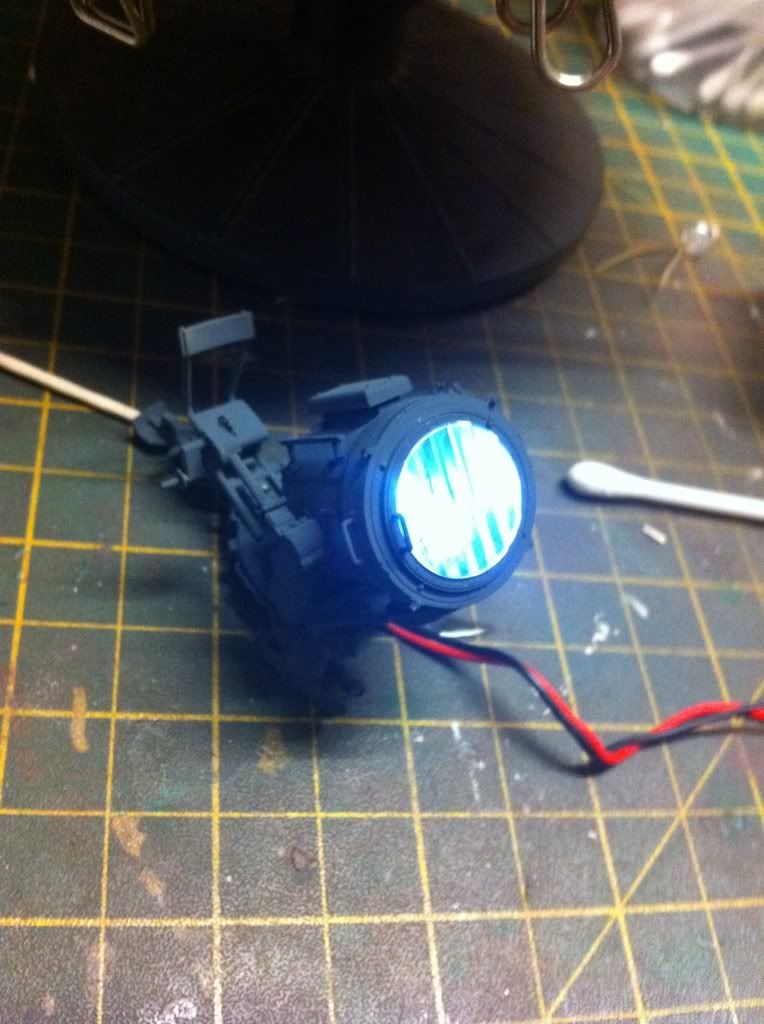
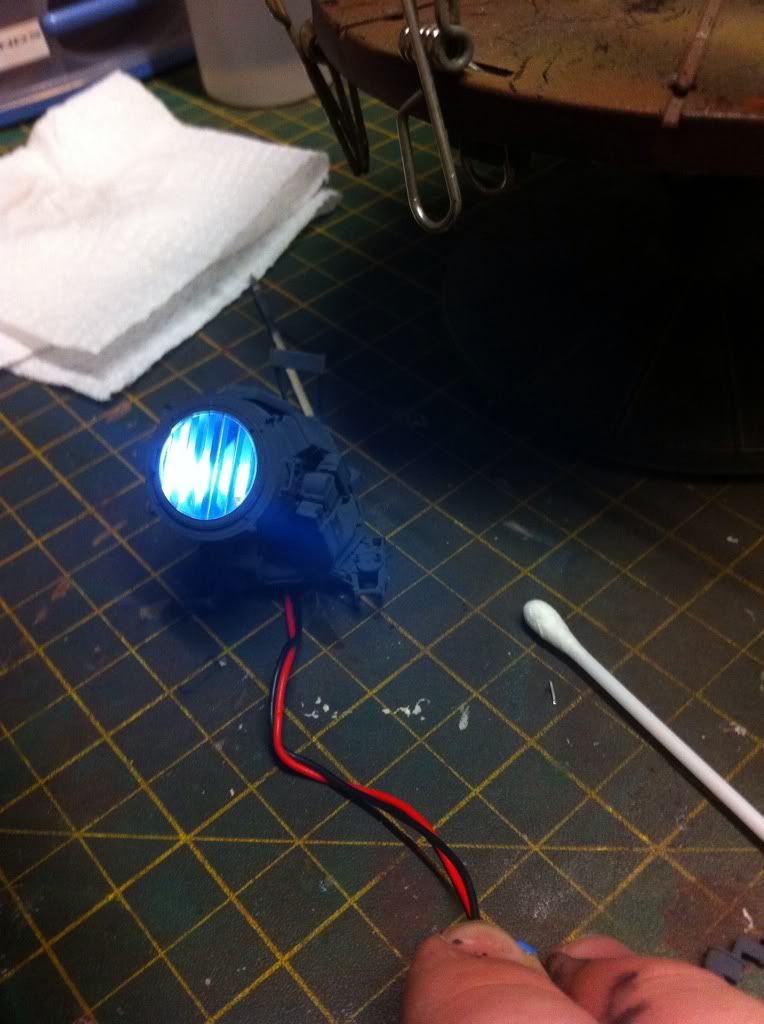
I then set to lighting this baby up. I found and old novelty torch and stole the led and batteries. I drilled a 3mm hole in the base and then into the rear of the light, this positioned the light were I wantd it and also hit the wires. I have a switch for when it's in it's final position othe diorama.

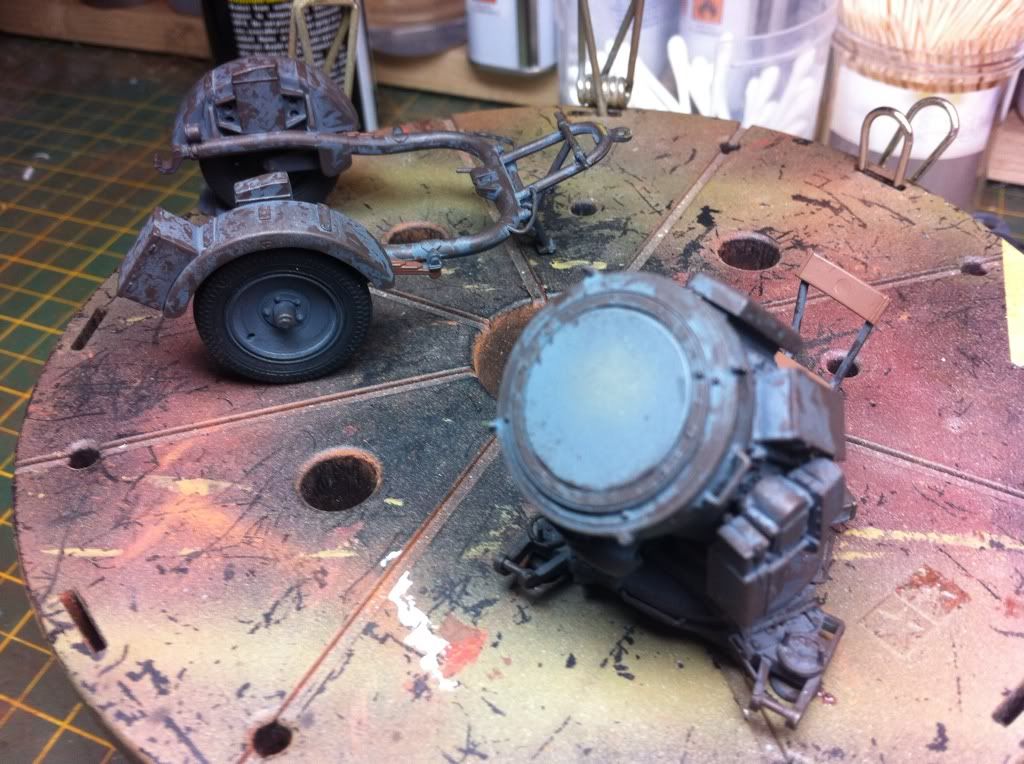
Right I started of today by adding some highlights and shadows using lightend and darkened tamiya German grey.
I then used a blue filter to blend it all together.
I then set to chipping the light and trailor I wanted to depict a well used look to the light and especially so the trailer as IMO I reckon they would have been battered. Honest opinions would be appreciated about the chipping

Right today I set to weathering the generator, again going for that will used and battered look, I think this would recieved being loaded in and out of the back of the Krupp. I used Vallejo model,colour 150 German cam black brown for the chipping applying it where I think it would have received the most wear. I then gave it a black flory model wash amd allowed this to accumulate in the corners and panel lines. Then using mig industrial dust and Europe dirt I added pigments graduating from the bottom up and held this with thinner, as you can see the pigments are a bit to prominent in places,so I need to blend these once dry. I'm off to emodels tomorrow and while there I'll be getting mig oil and pigments in panzer grey and they should help blend all this together
I've also resprayed the searchlight and top of the cradle, I'm going to chip it a bit lighter this time, but am leaving the trailor and base of the light cradle as is.

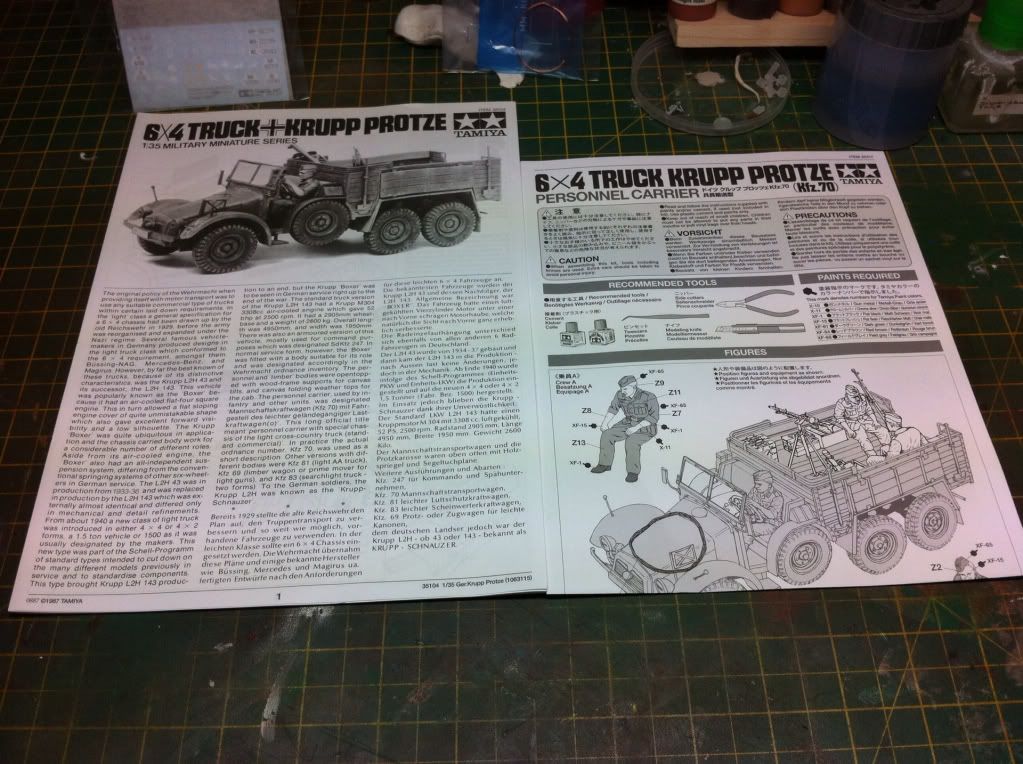
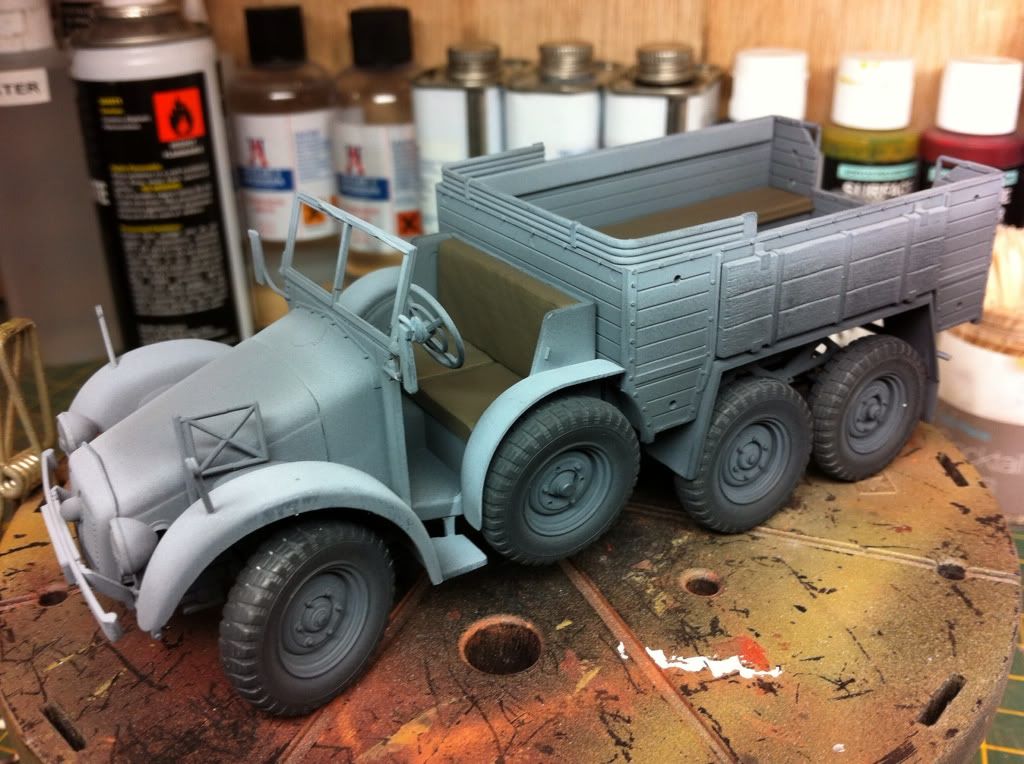
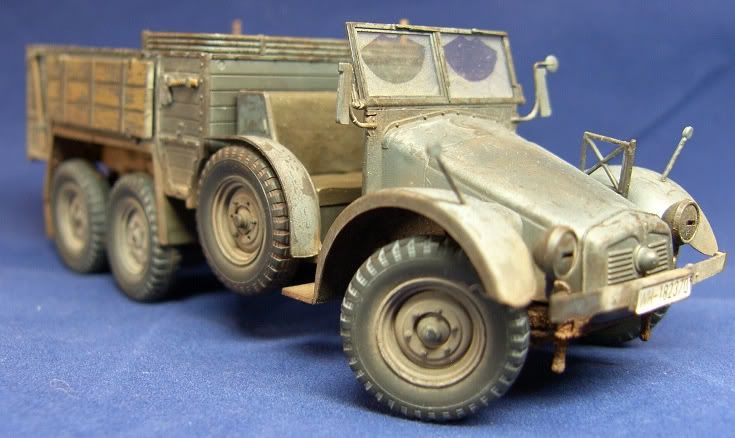
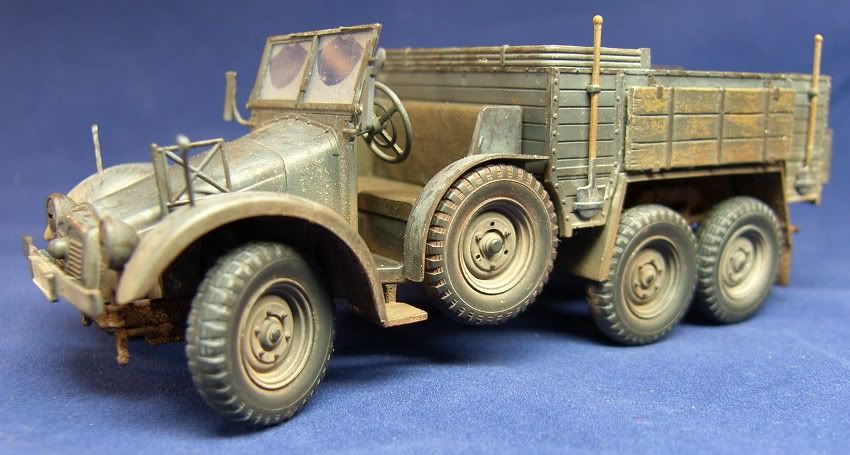
Got started on the Krupp today so I'll start With th box and sprue shots. I believe this is a new tooled kit.

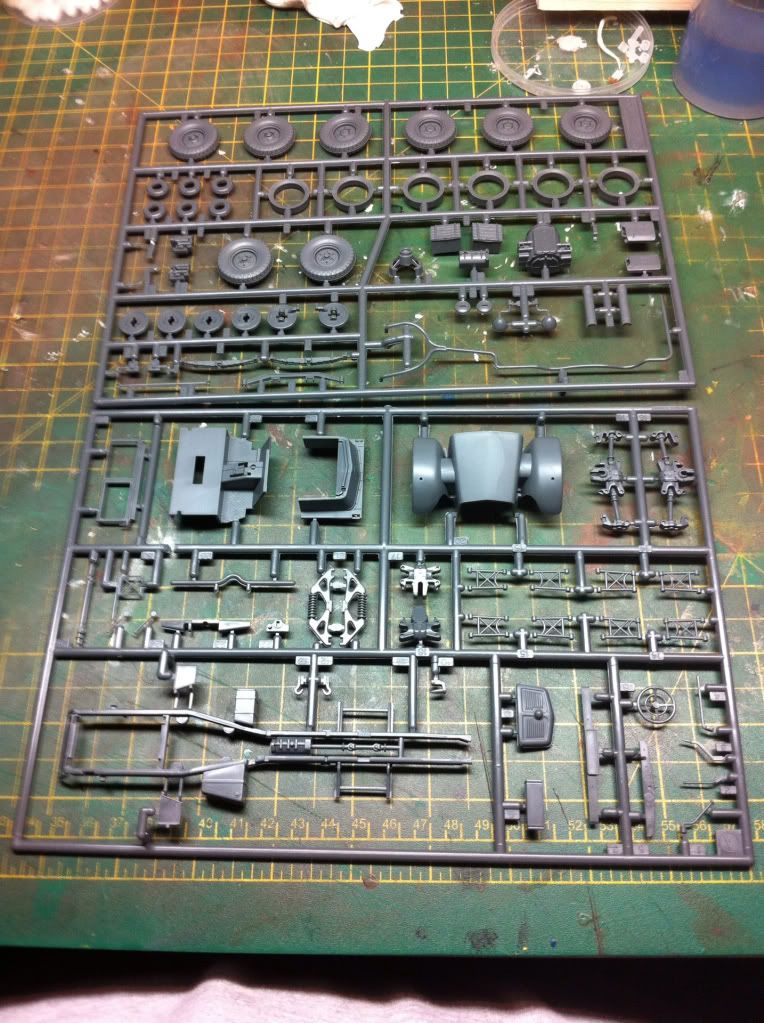
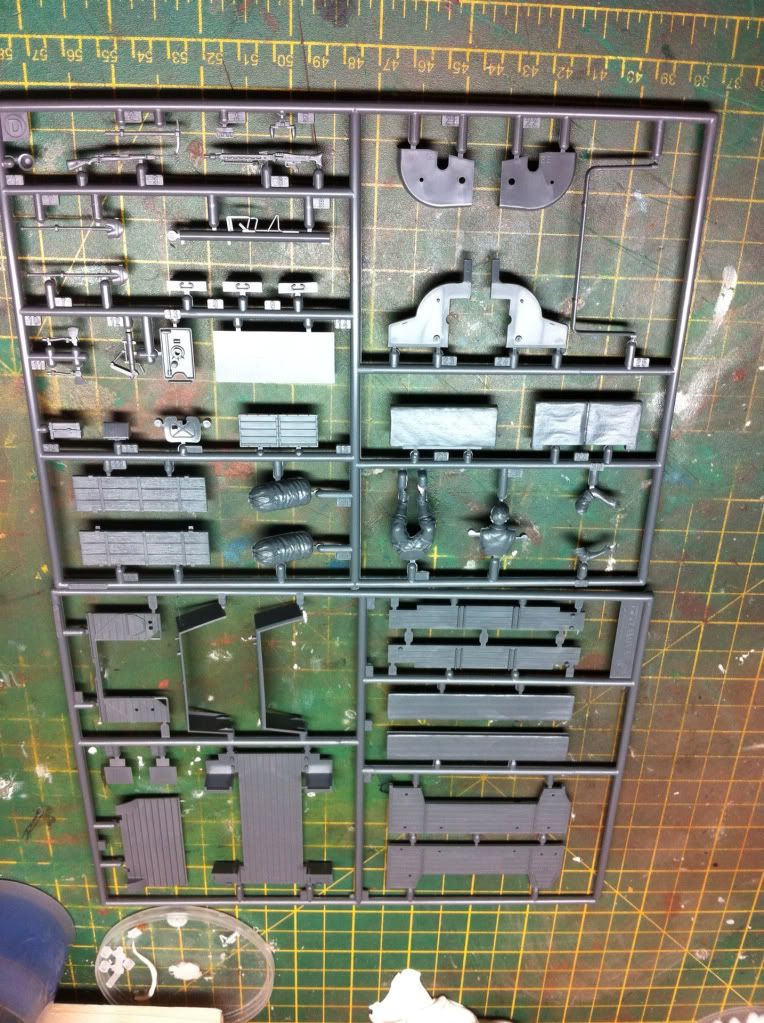
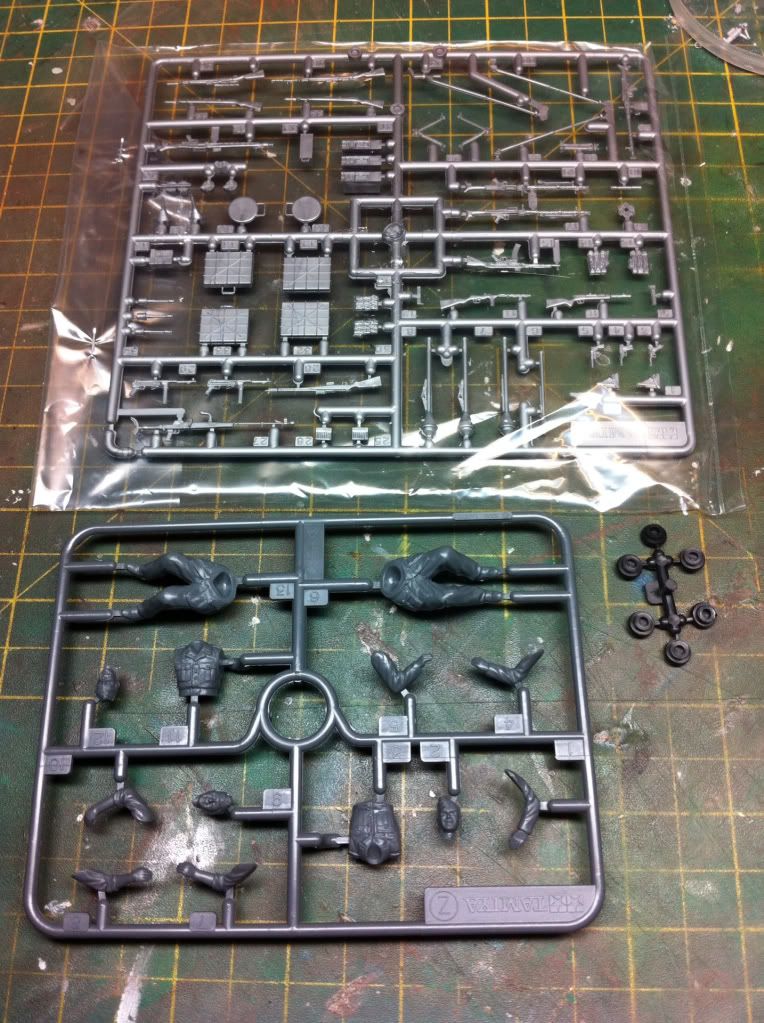
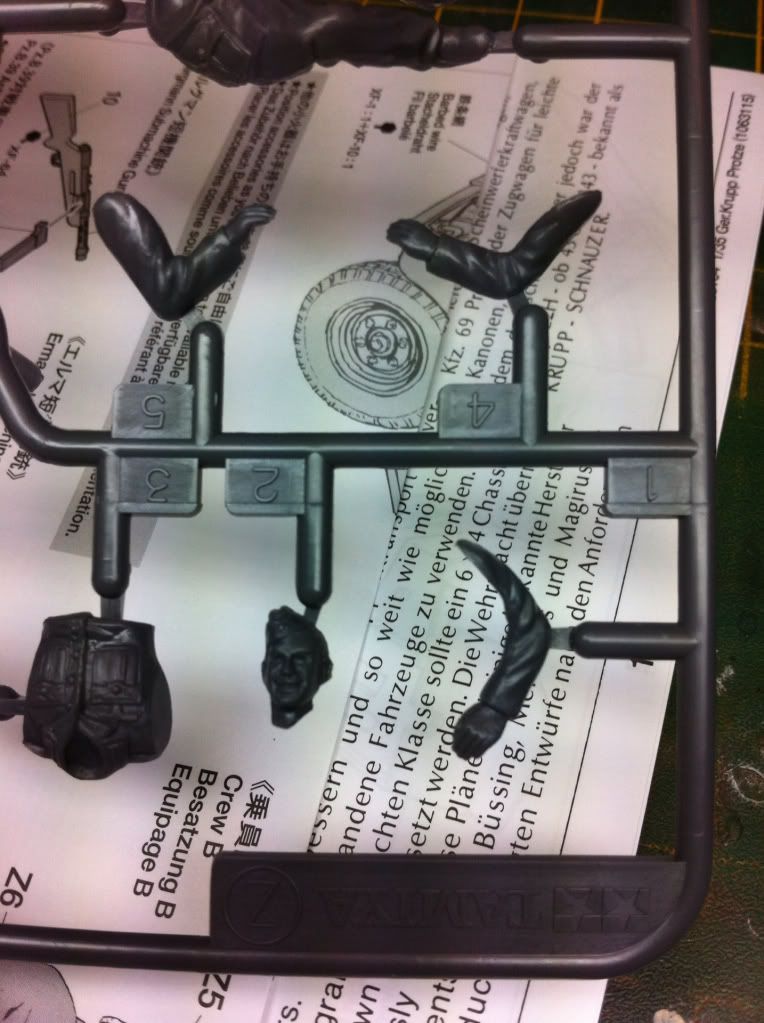
It comes with a full sprue of weapons and accessories. As well as some figures which have good detail.
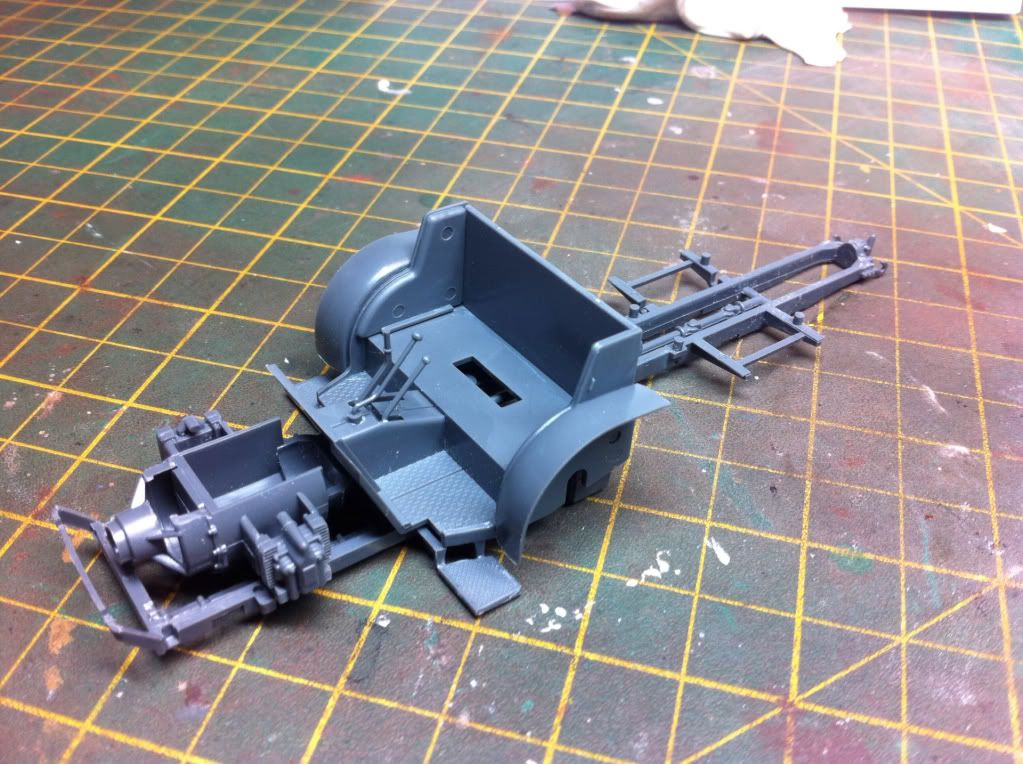
Construction was easy all the parts are crisp and well made with no flash. Everything went together well, although you do have to make sure to read the instructions properly or some parts can end up in the wrong position.


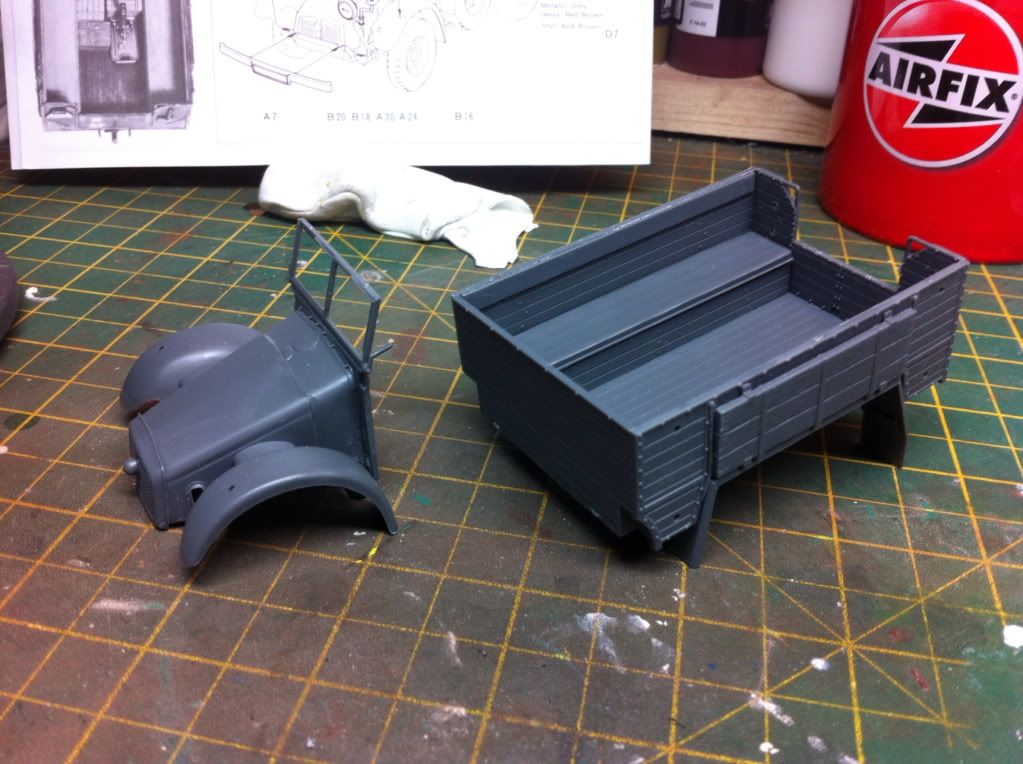
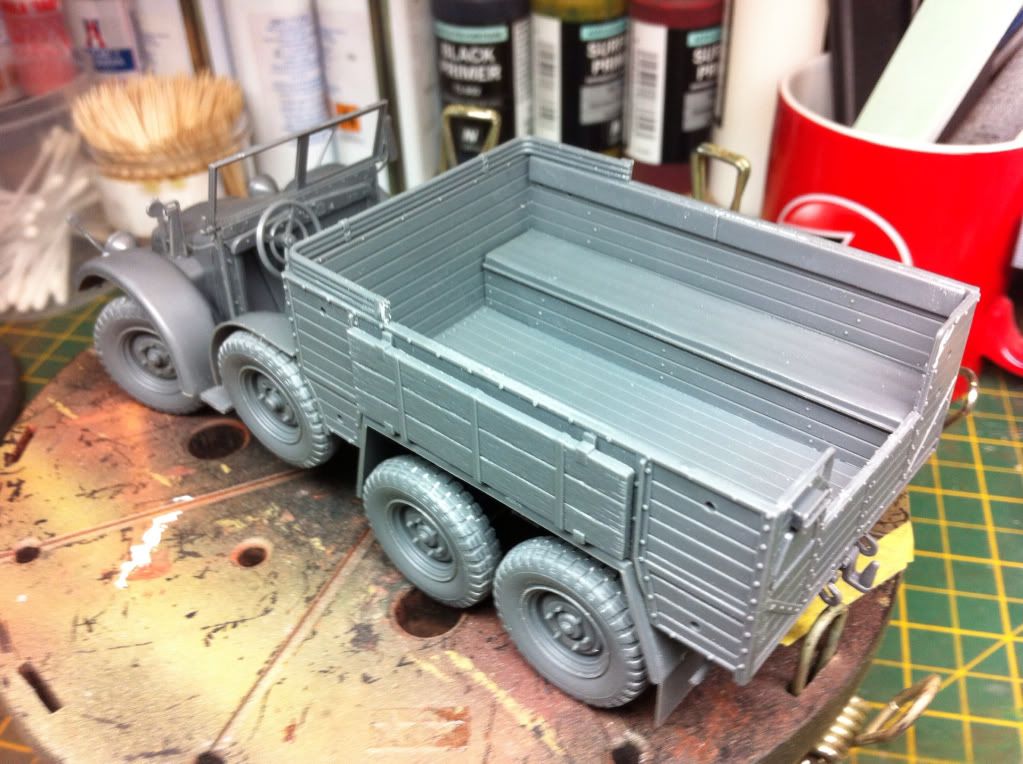
Everything attachd that I want attached for spraying, ive left offf all the tools for now

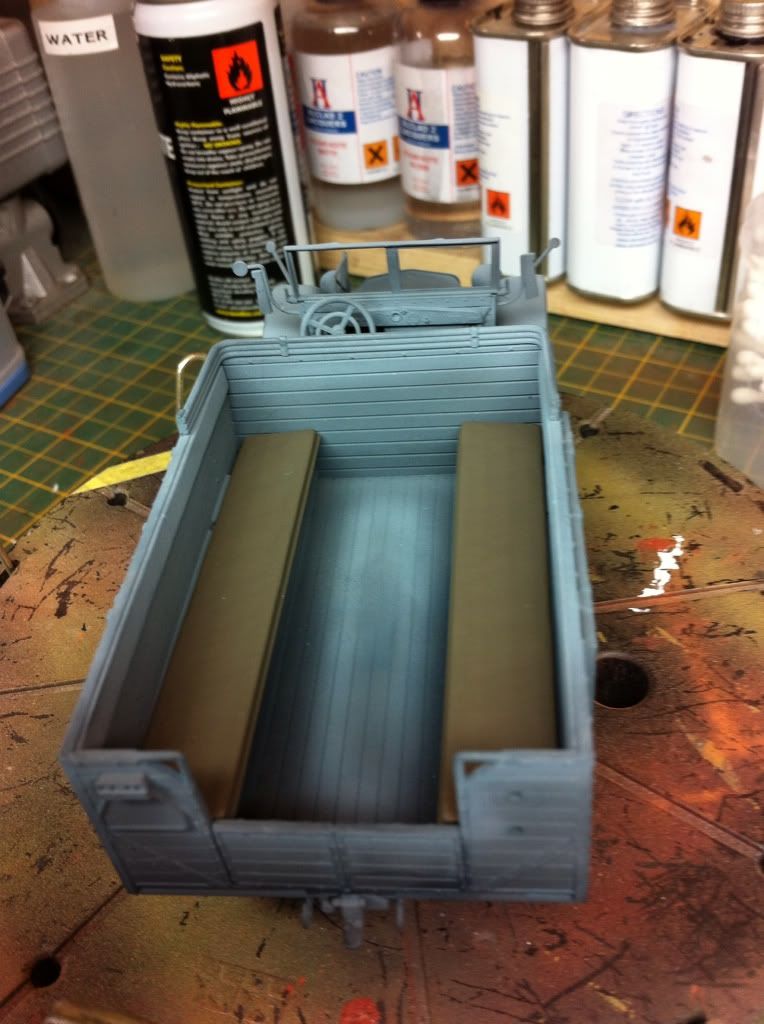
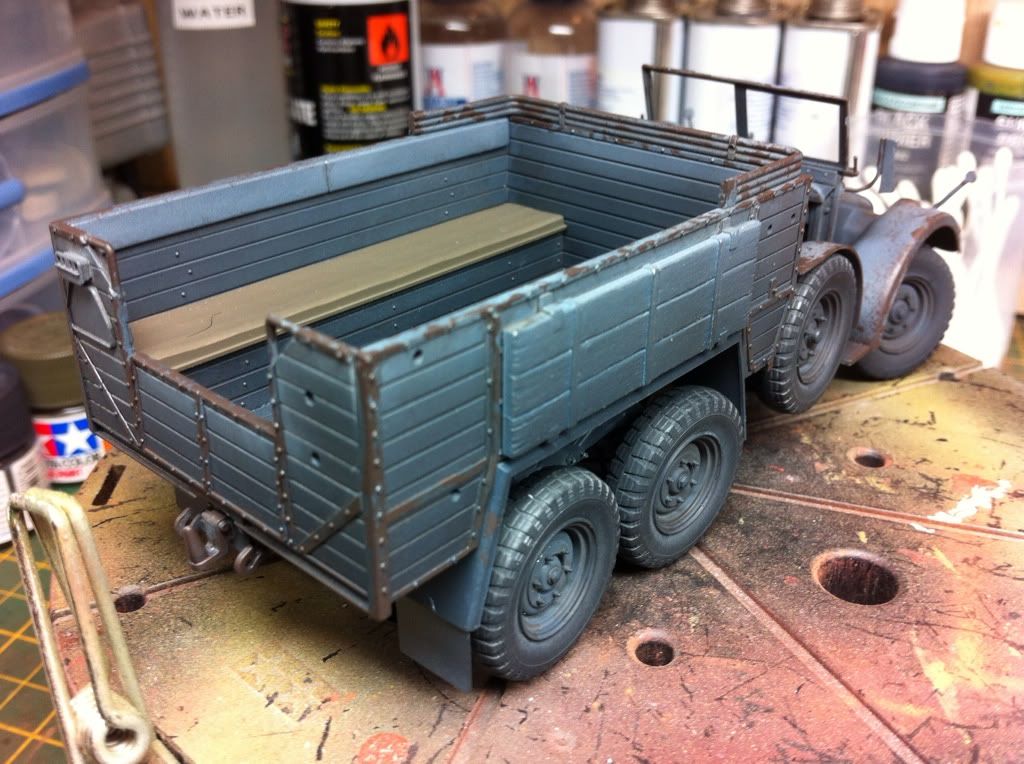
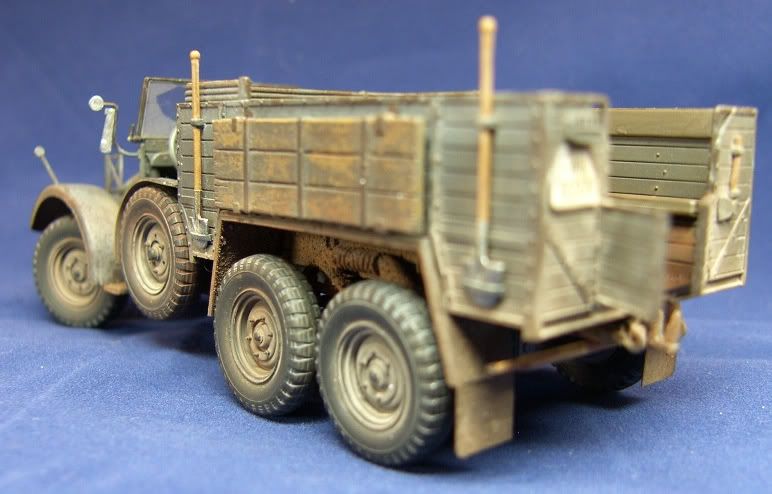
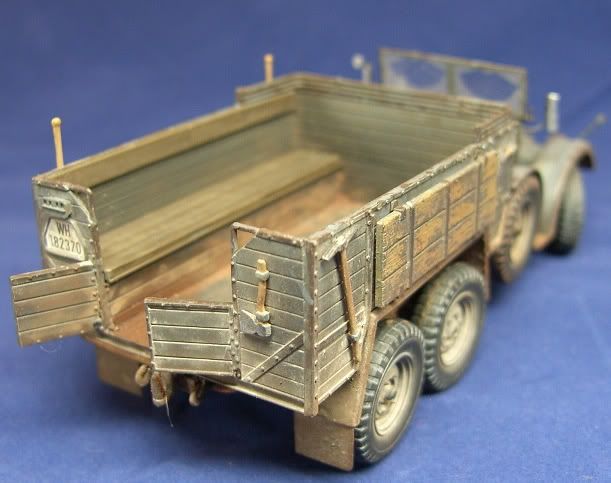
Some good wood effects on the paneling on the rear.
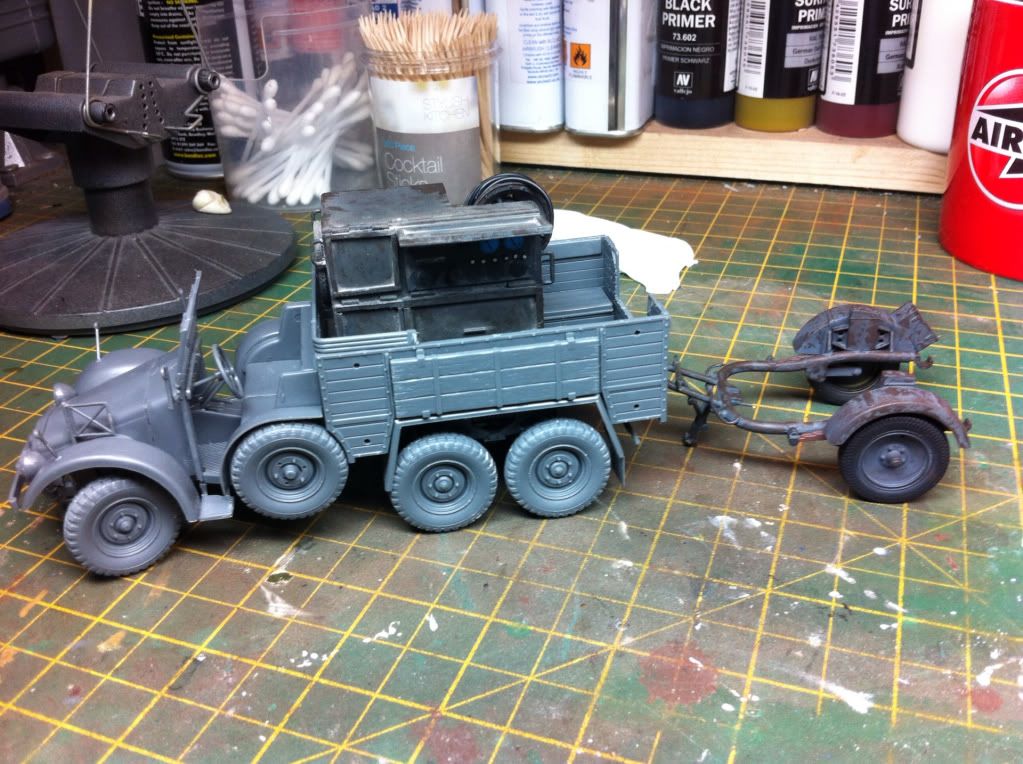
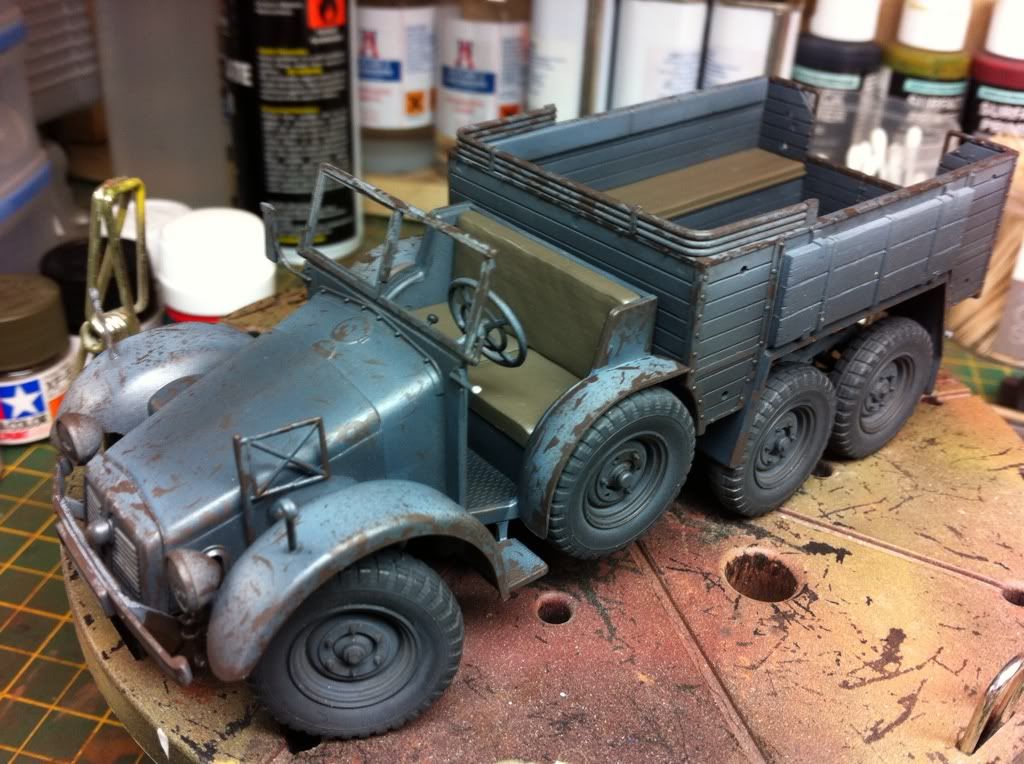
And shown with trailor and generator is place, the genny is a tight fit, looks like I measured it well. On the diorama itself the trailor and genny won't be attached to the Krupp but I wanted to see them together
I didn't glue the cab and cargo bed to the chassis so I could remove it and spray it easier as well as weather the chassis later.
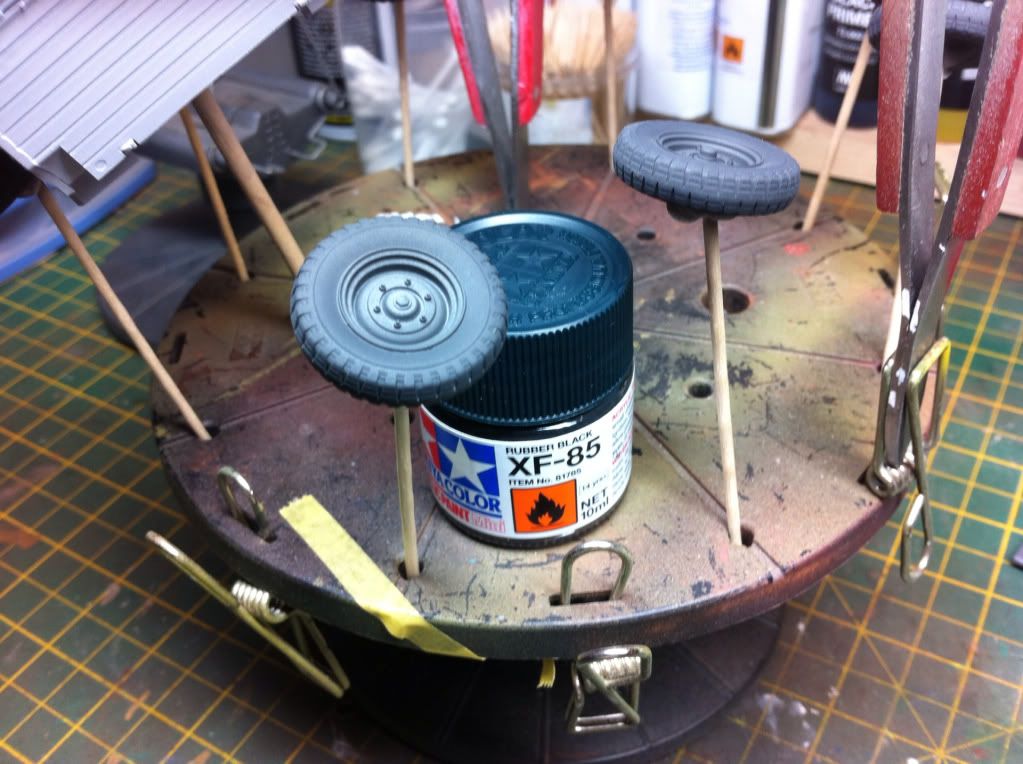
It was given a coat of Vallejo grey primer

And the tyres sprayed in tamiya xf85 dark rubber, gives a good effect for tyres. Just need to spray the centres German grey
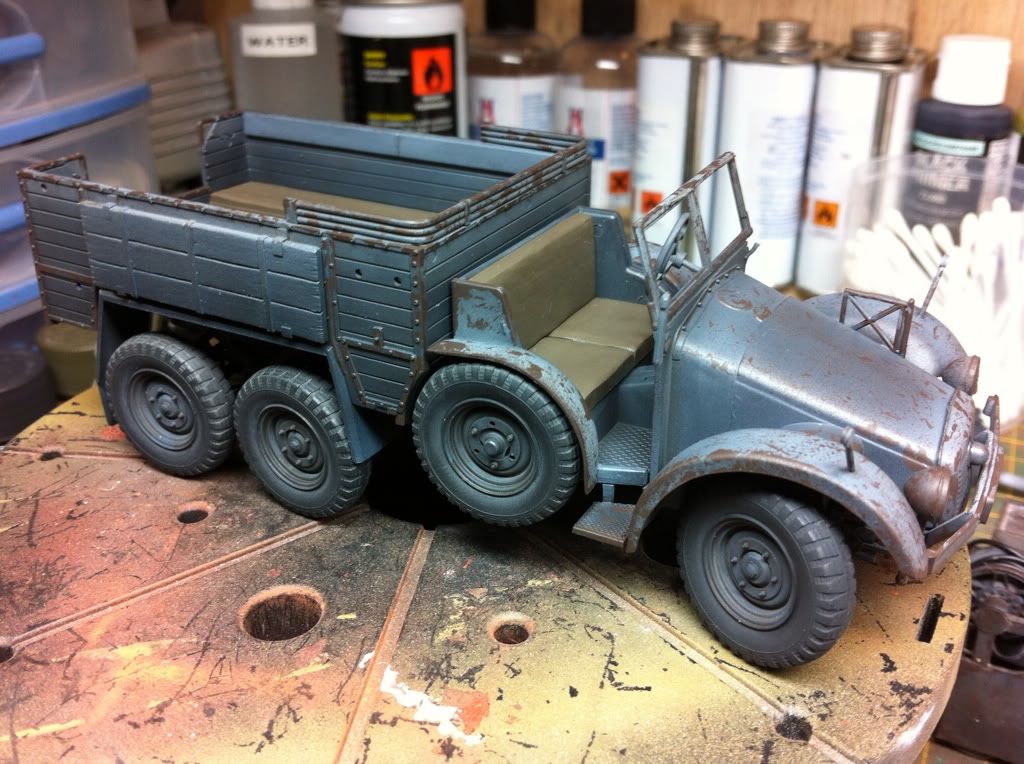
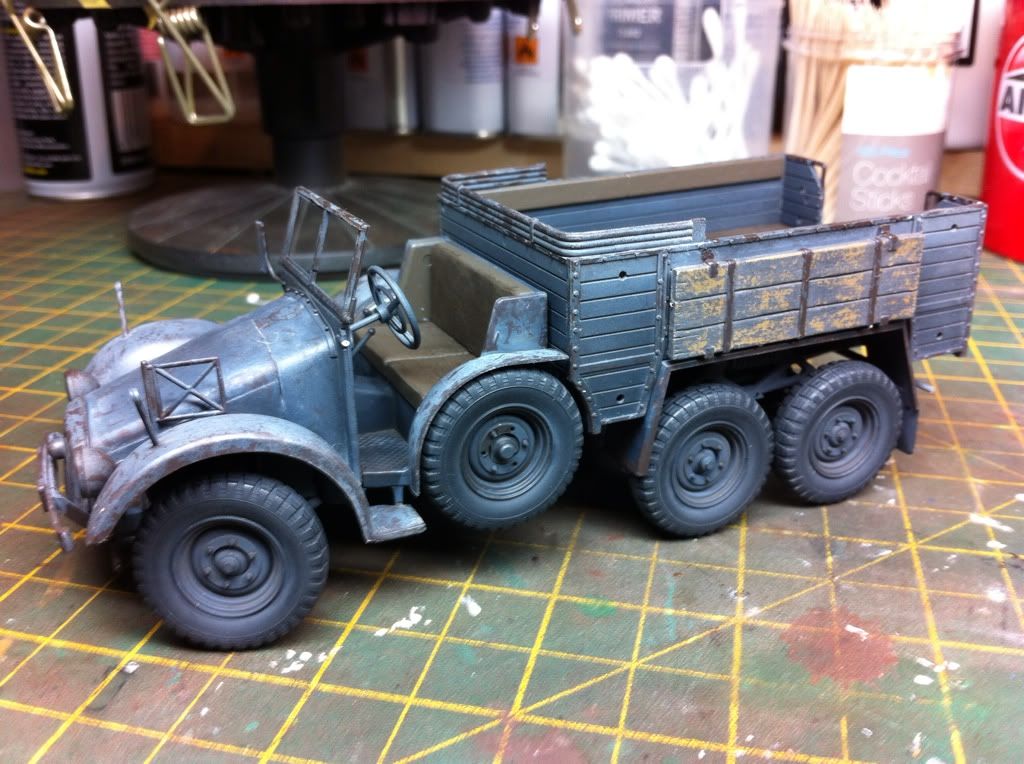
Ok,i started today by adding white and black primer In the highlights and shadows, it was then given a coat of xf63 German grey allowing the highs and shadows to show through, I then lightened then xf63 and applied more highlights and again darkened the xf63 to allow the shadows to show more. After allowing it to dry I then gave it a filter coat using Sin industries blue for panzer grey this blended it all together

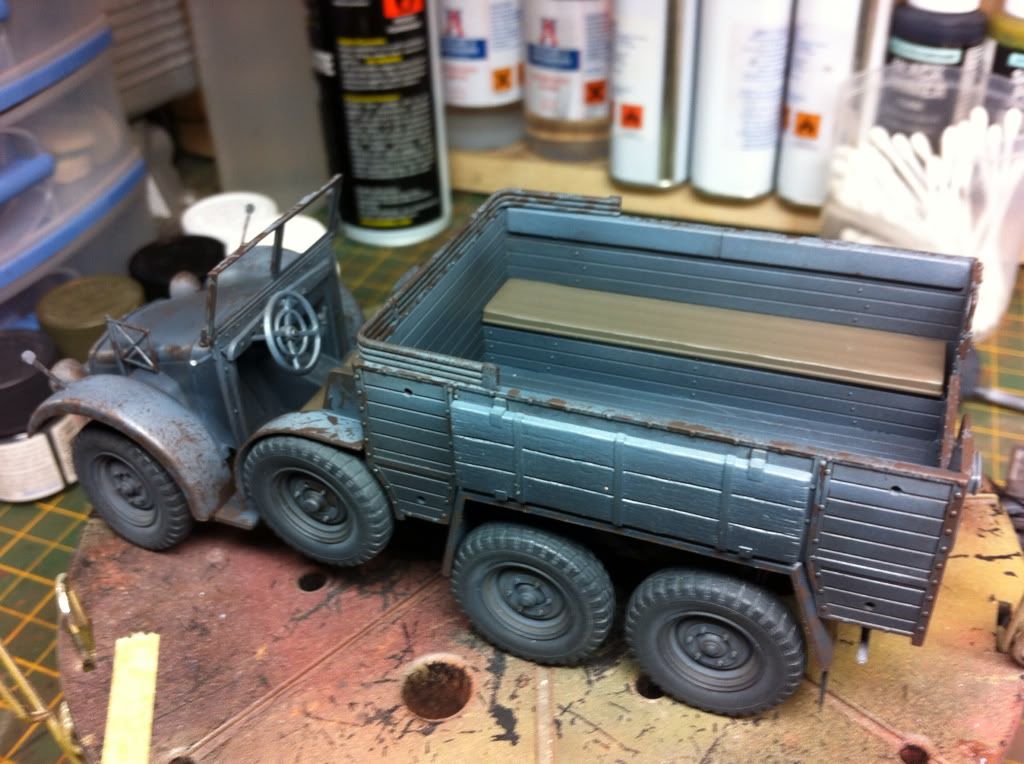
After these pics were taken I applied another dark wash to the panel lines etc as they were a bit lame from, yesterday. I've also removed the wooden boards from the side of the cargo section and have painted them a wood colour, I will then spray it with ak interactive heavy chipping solution and then spray it German grey again, once worn away this should give a good impression of boards that have been driven on etc, I'll get some pics later.
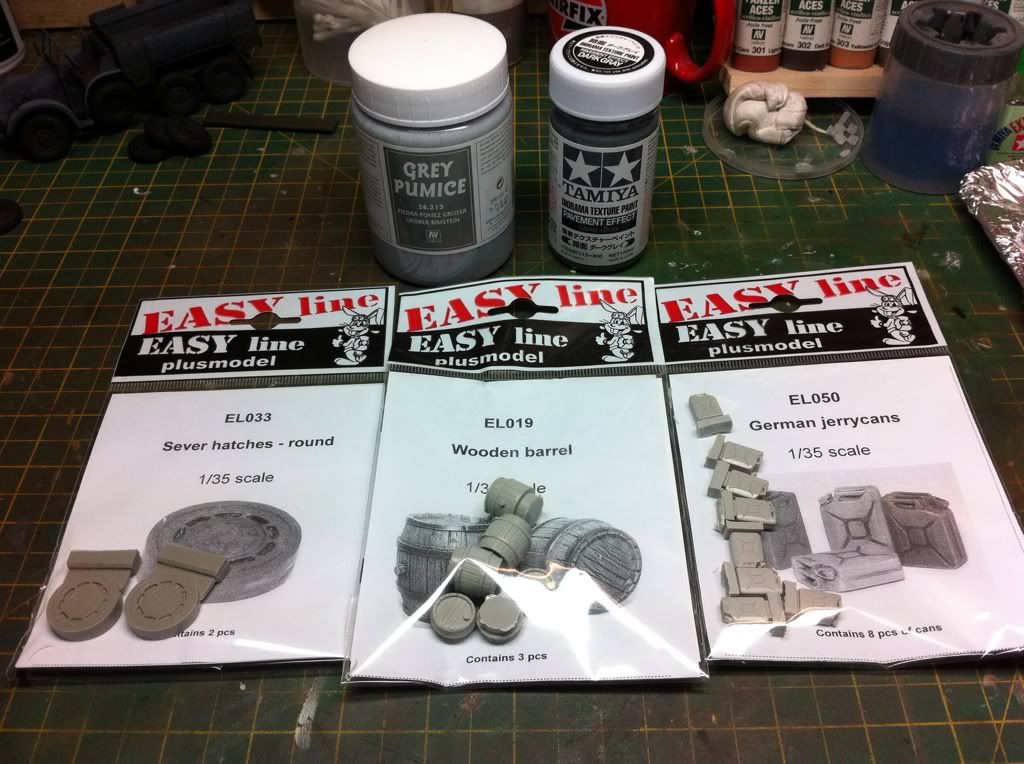
Got some more bits and bobs for this build this morning. Although model hobbies missed out my 1/35 rats
Using ak interactive heavy chipping solution I sprayed and chipped the wooden panels that hang form the rear of the vehicle, these panels would have been used for on loose ground for grip at the wheels so as I see it they would have shown some wear. The panel was painted in panzer aces new wood, and once dried two coats of the chipping solution were sprayed on and once dried German grey sprayed on top once dry a wetted brush removes as little or as much of the top coat as needed, works just like the hairspray technique only without all the smell and hassle of decanting Fromm spray can to airbrush.
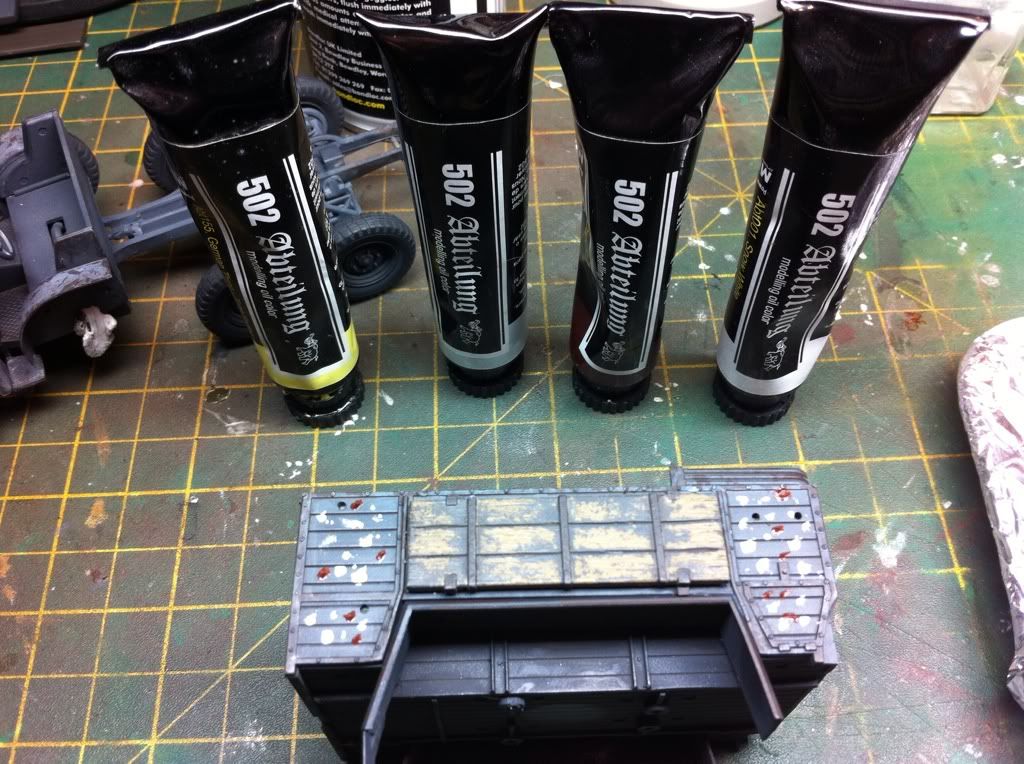
I then faded the paintwork using some of migs oils, these are great quality and blend really easy, I used white, panzer grey, the tri tone Camo one and dark rust. These were dabbed on then blended using white spririt, this leaves behind a nice faded effect.
I also painted the other parts of the seat covers.
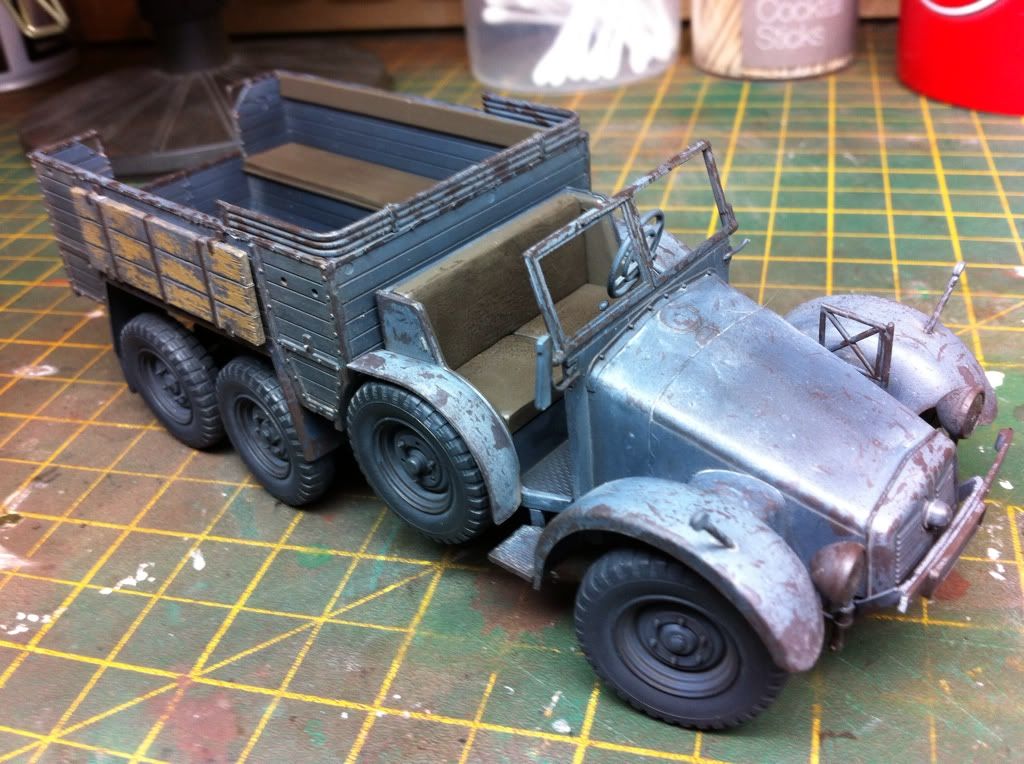
In all the ares that would attract mud and dust etc a light spray with tamiya dark earth, to simulate a base covering of dust.
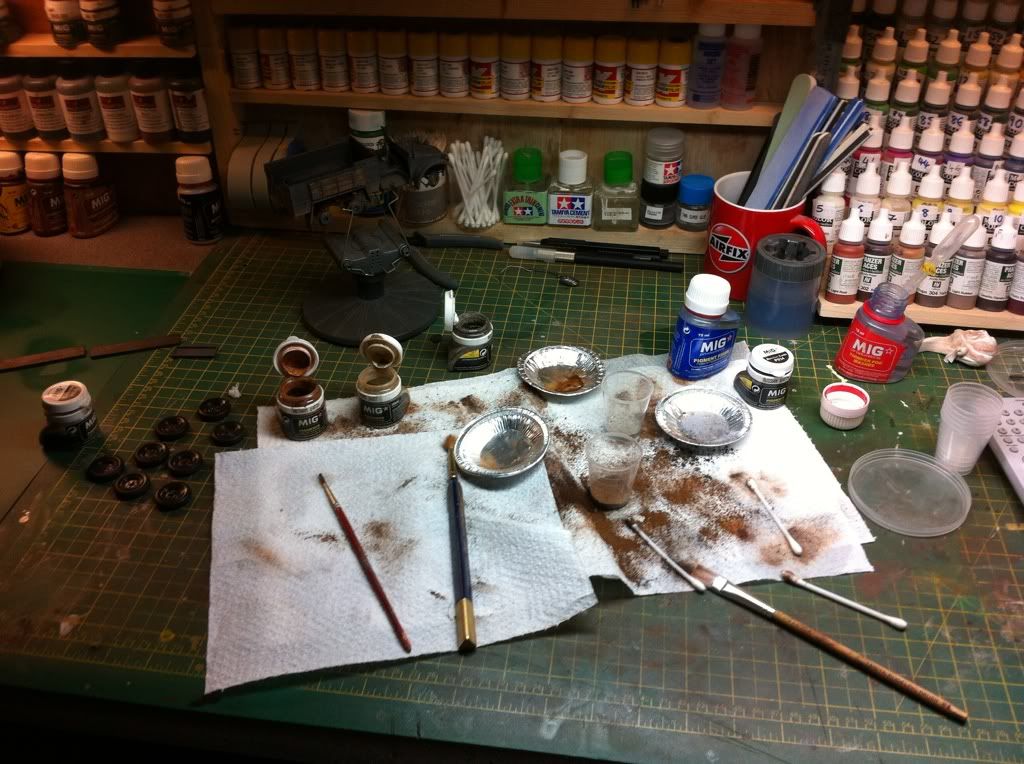
I then mixed a number of Mig earth piments and the fixer these were applied along the chassis, the rear suspension and under all the wheel arches as this was drying I flicked on some industrial dirt and concrete pigments, hopefully giving the impression of dried mud ie the vehicle had been off road at some time but had been othe city for a while too.
Great to make a mess once in a while, not great to blow your nose later and find half a bottle of Europe earth up there
I then applied some industrial dirt to the lower section of the body and set them with thinner.
The wheels were next, they were given a dusting of mig concrete and industrial dirt, this was then set with thinner and blended once dry, I then filled the treads of the tyres with flory concrete wash on the road wheels a d mud on the spare wheels. The spare wheels were designed to spin freely prevents the vehicle from bottoming out on harsh terrain so I guess they would have remnants of mud others treads. I'm not too sure about the Concrete wash tyes though I think I need to dull them a little.
The wheels were next, they were given a dusting of mig concrete and industrial dirt, this was then set with thinner and blended once dry, I then filled the treads of the tyres with flory concrete wash on the road wheels a d mud on the spare wheels. The spare wheels were designed to spin freely prevents the vehicle from bottoming out on harsh terrain so I guess they would have remnants of mud others treads. I'm not too sure about the Concrete wash tyes though I think I need to dull them a little.


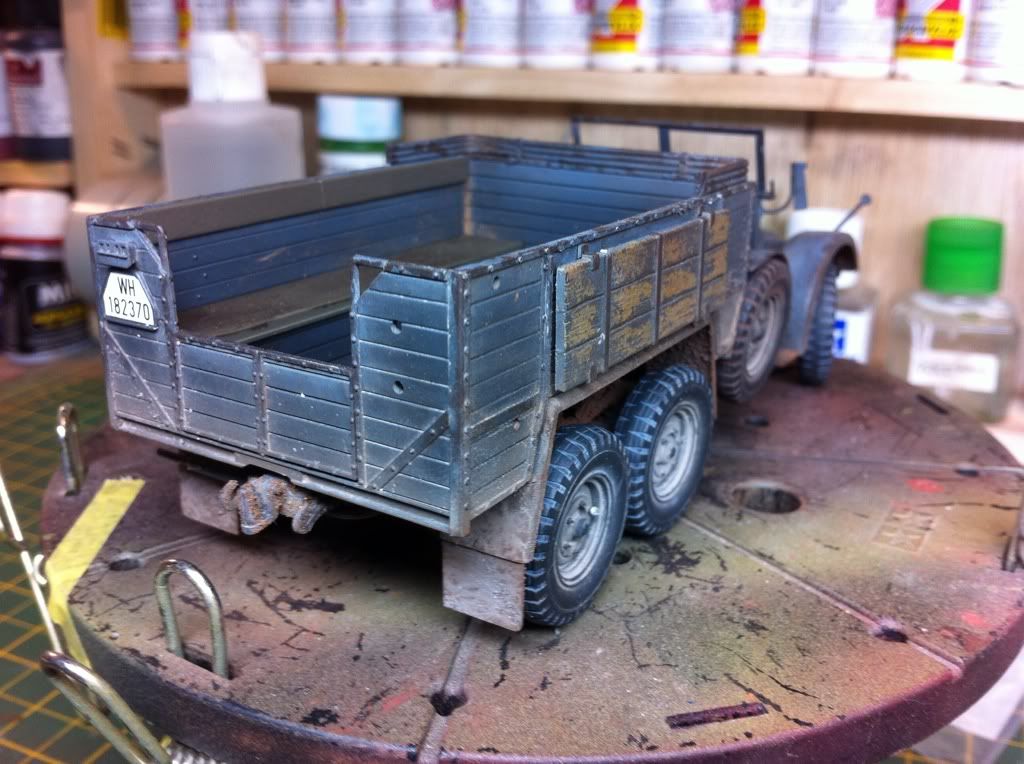

Ok the Krupp is finished.
I spent the day dusting the windscreen, painting the tools and rusting the exhaust up. I razor sawed the rear doors in half and glued them in a half open pose I also added some more wash to the cargo deck and added some more pigments to the rear of the vehicle.
Looking at the pics as I post them I think it some point I'll remove the fake windscreen washers and scratch build some of my own so it looks better

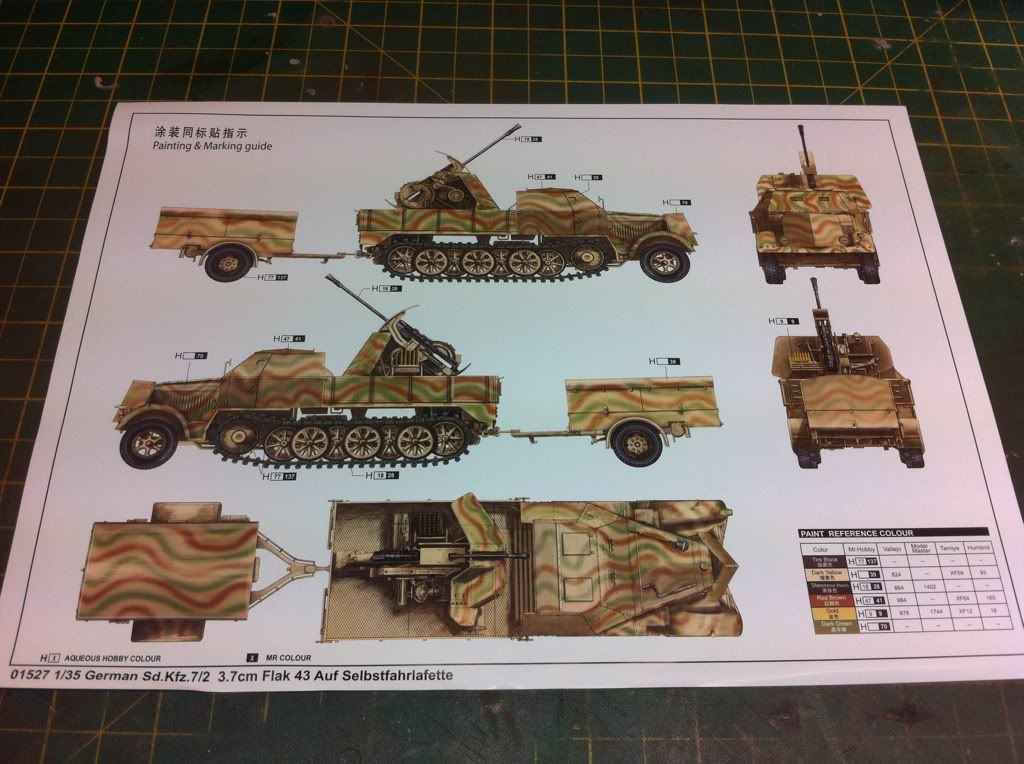
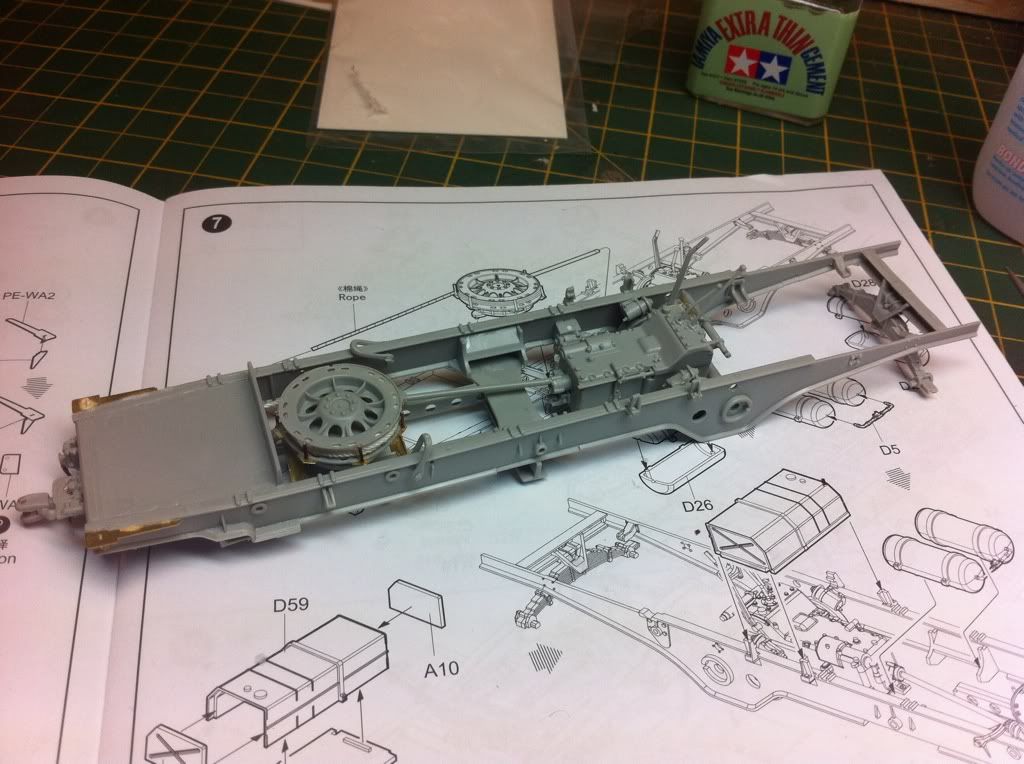
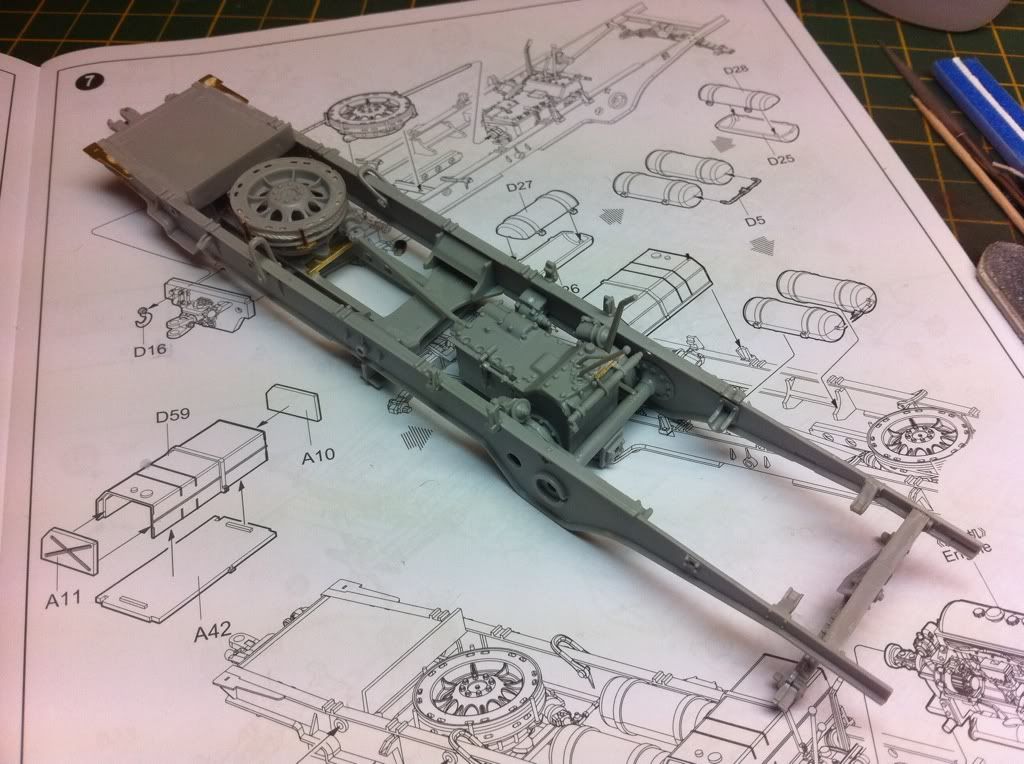
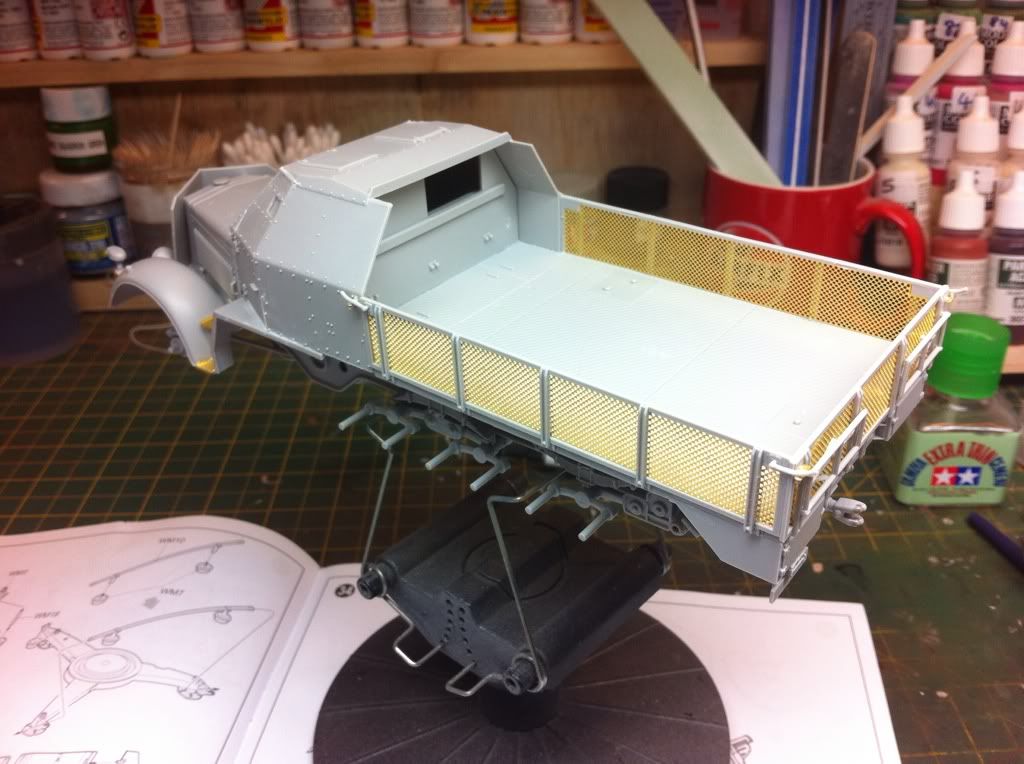
Right on the the main attraction, my first trumpeter armor kit and it looks superb


Some nice photo etch, and rubber tyres for the front wheels

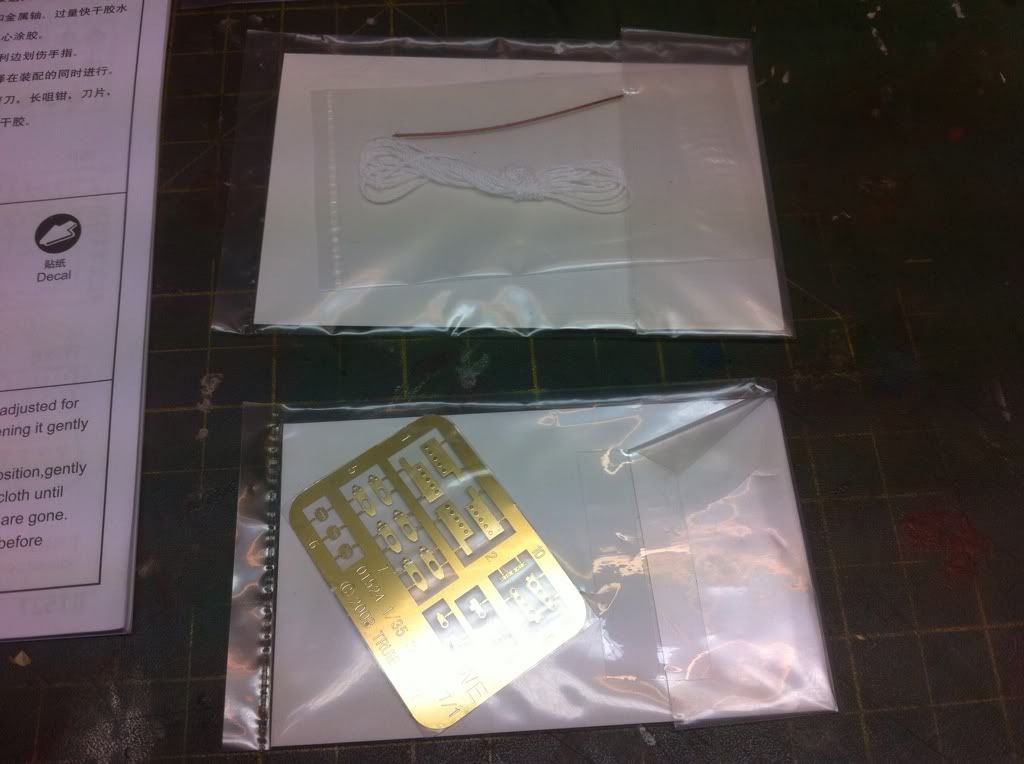
A great set of instructions too. 39 pages long too
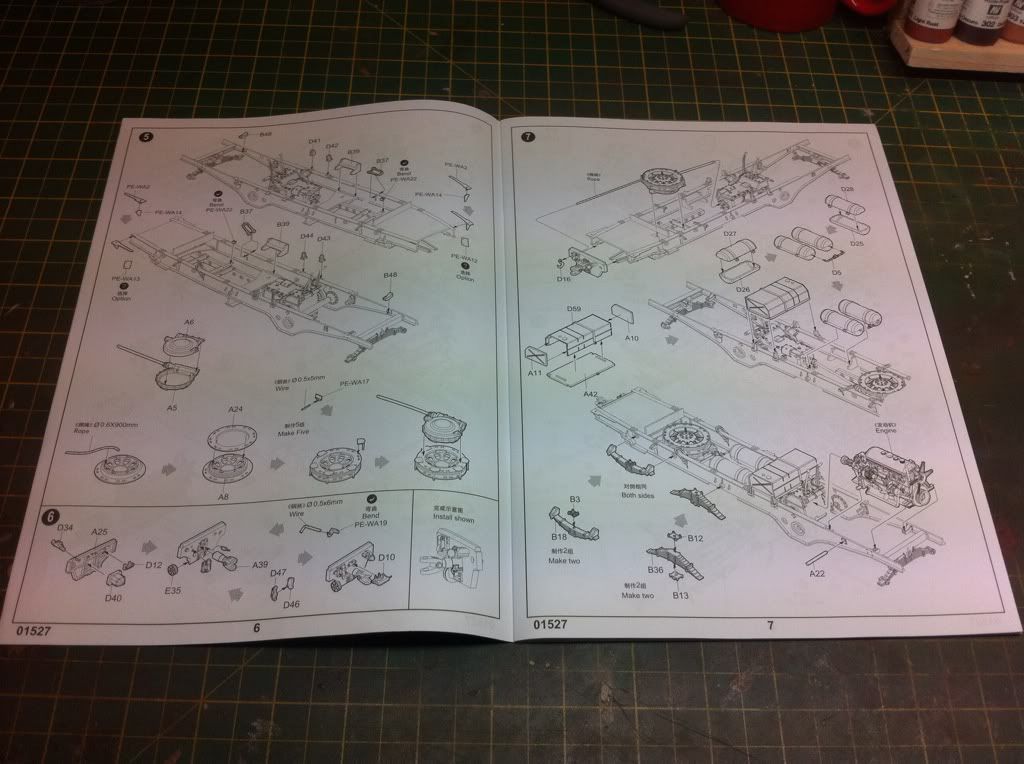
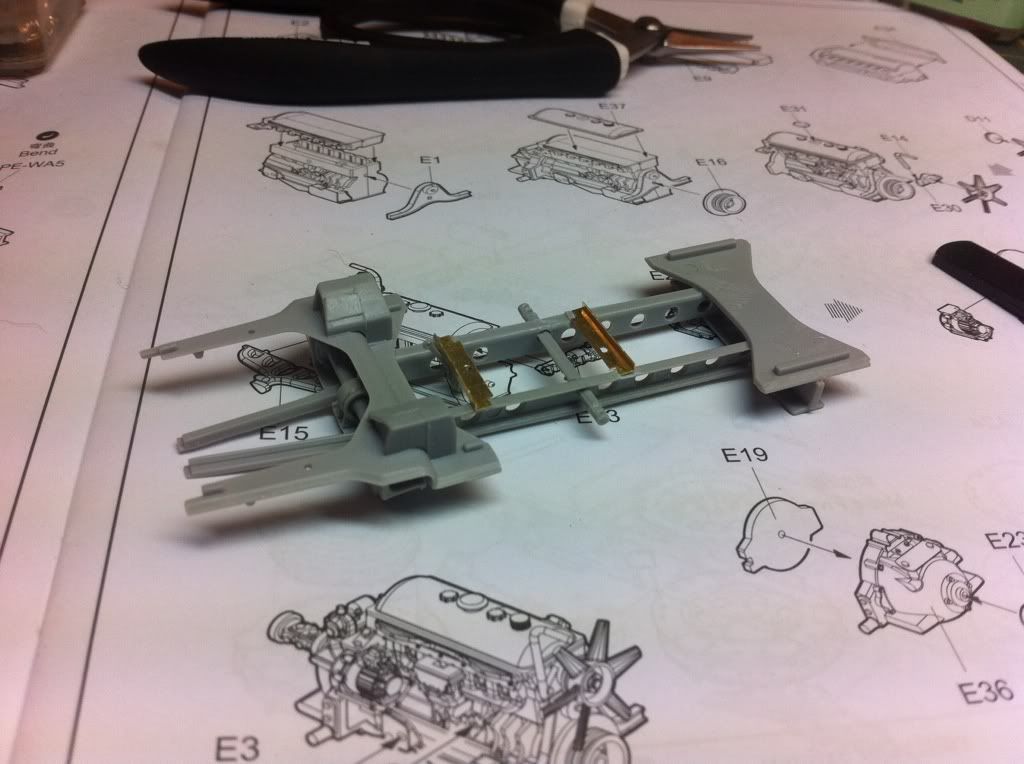
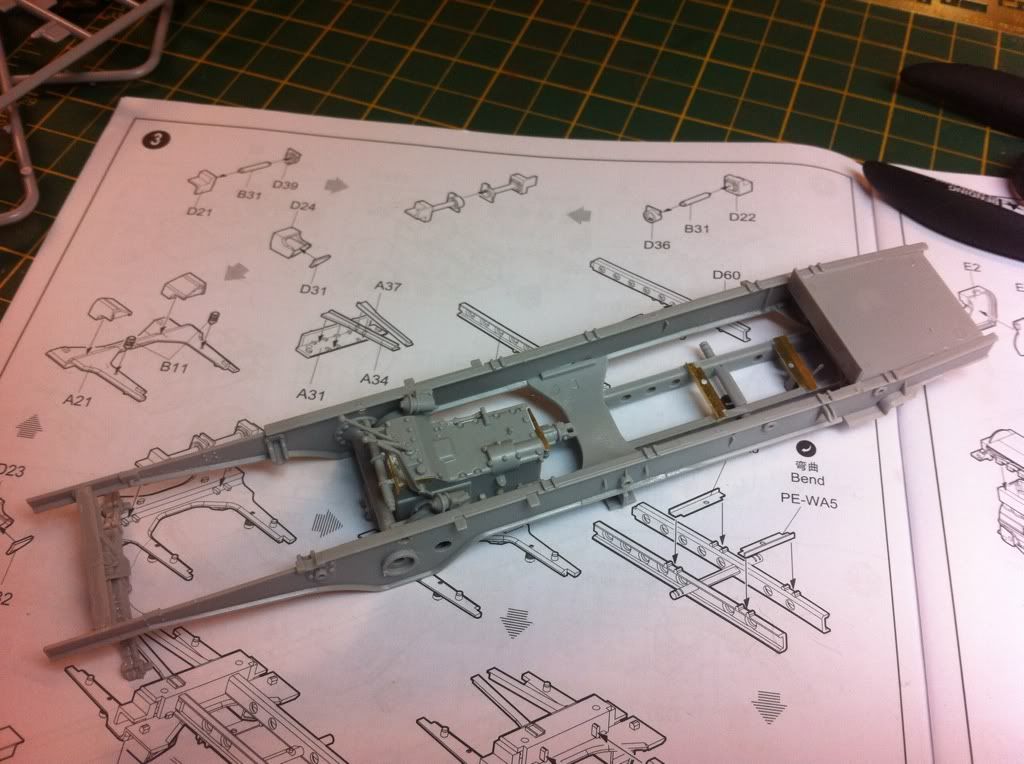
Where I'm up to so far, no much to comment on except I never knew off winch system on the chassis, very clever.
Oh and after having another look at those tracks I decided to purchase a set of friul tracks for it and while I was at it an aber gun barrel too

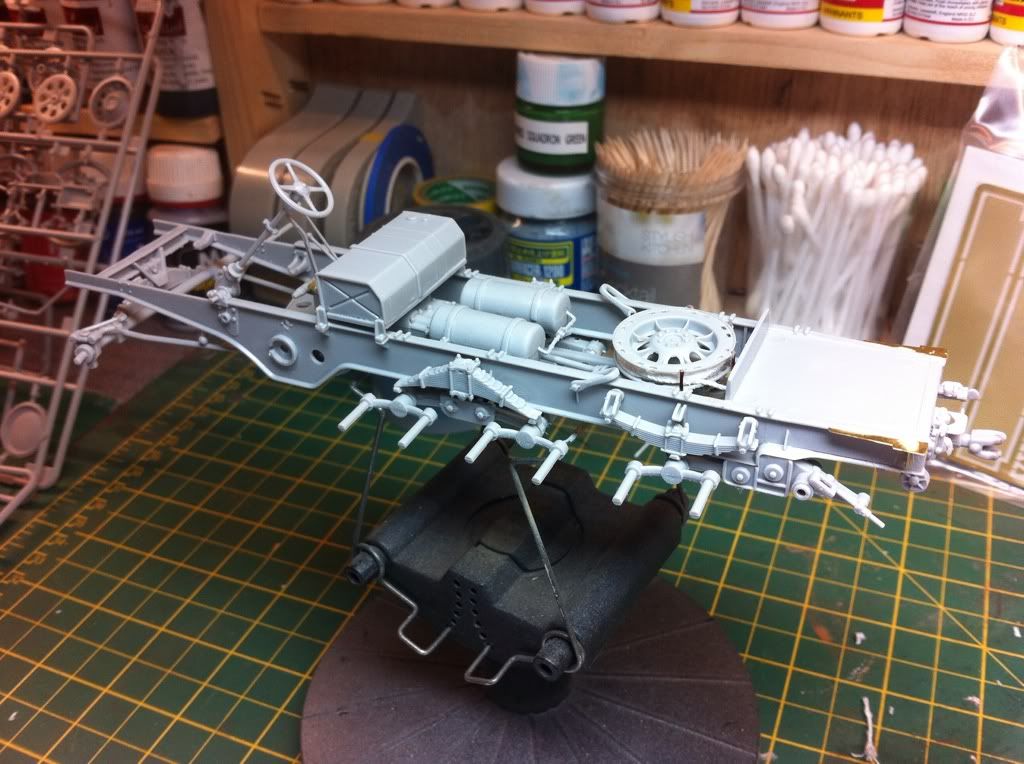
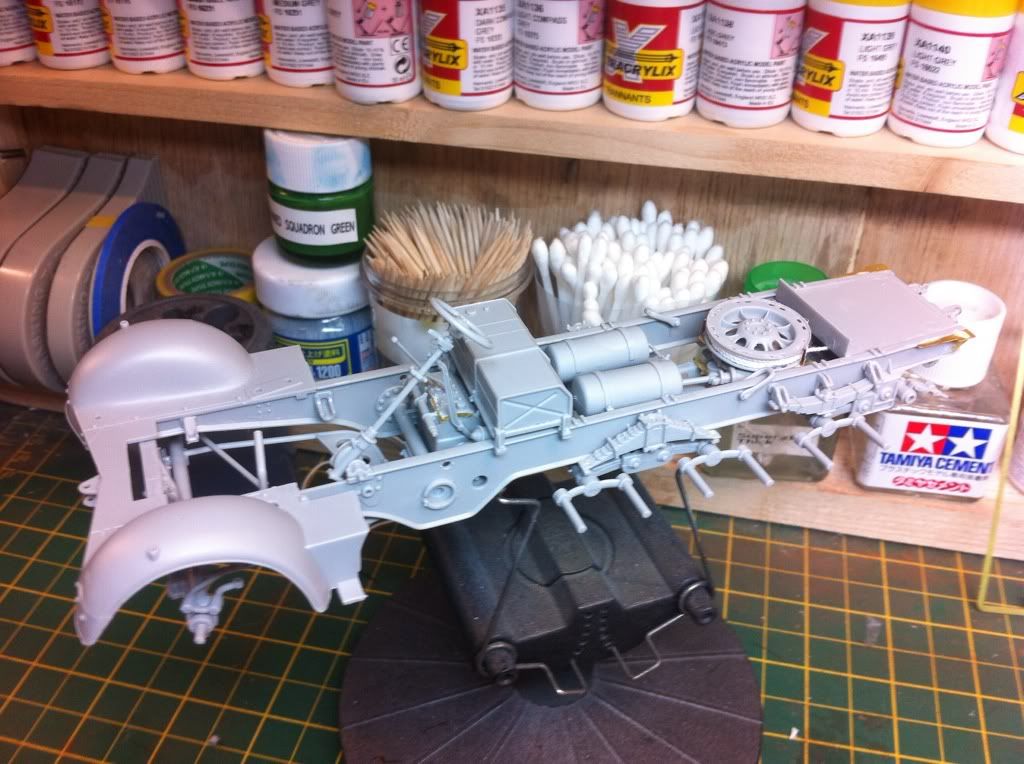

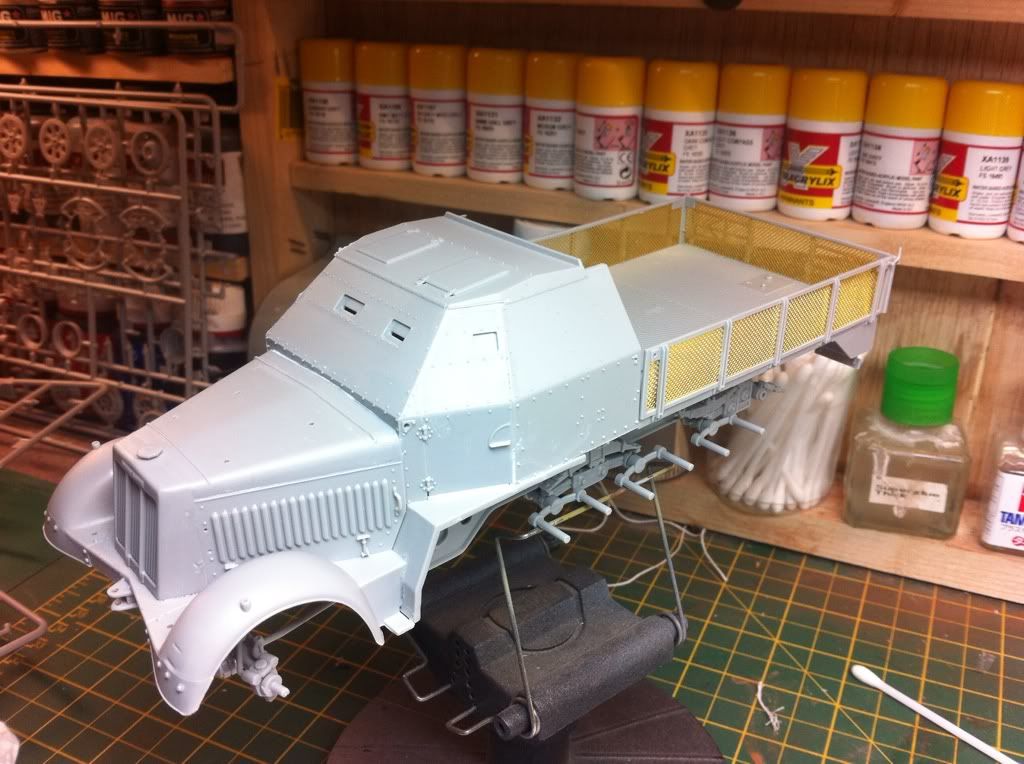


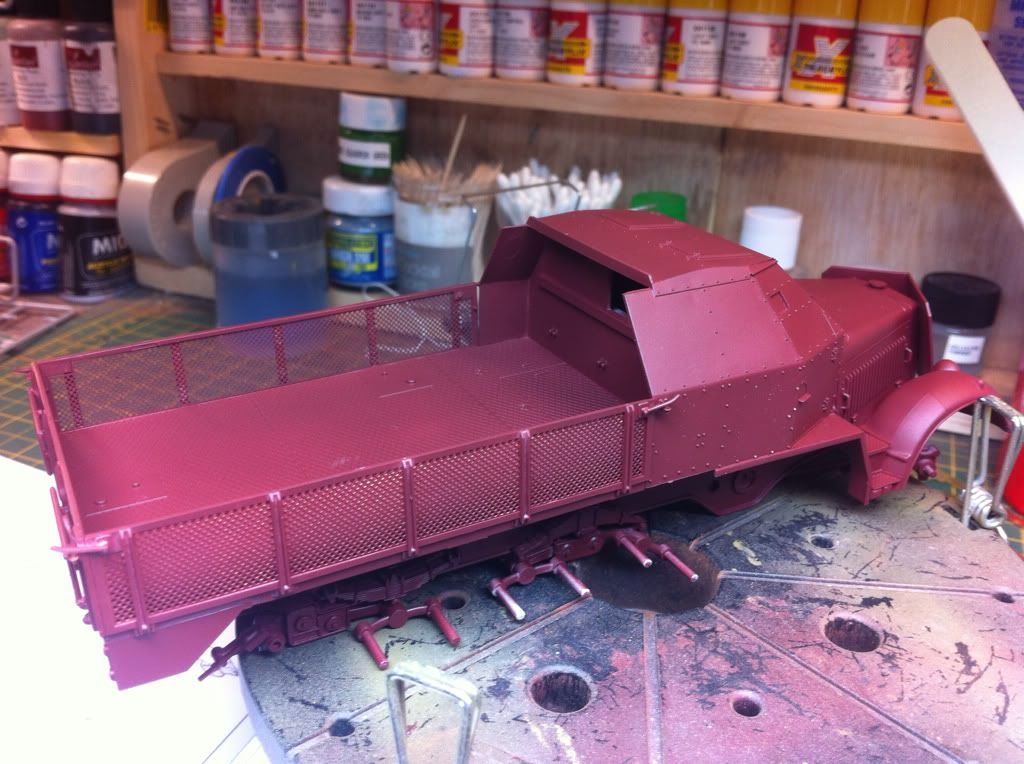
I've primed it in Vallejo red brown primer as with all the angles I thought it easier to see where I had and hadn't sprayed plus Its not a million miles away from the red oxide primer that would have been used on this

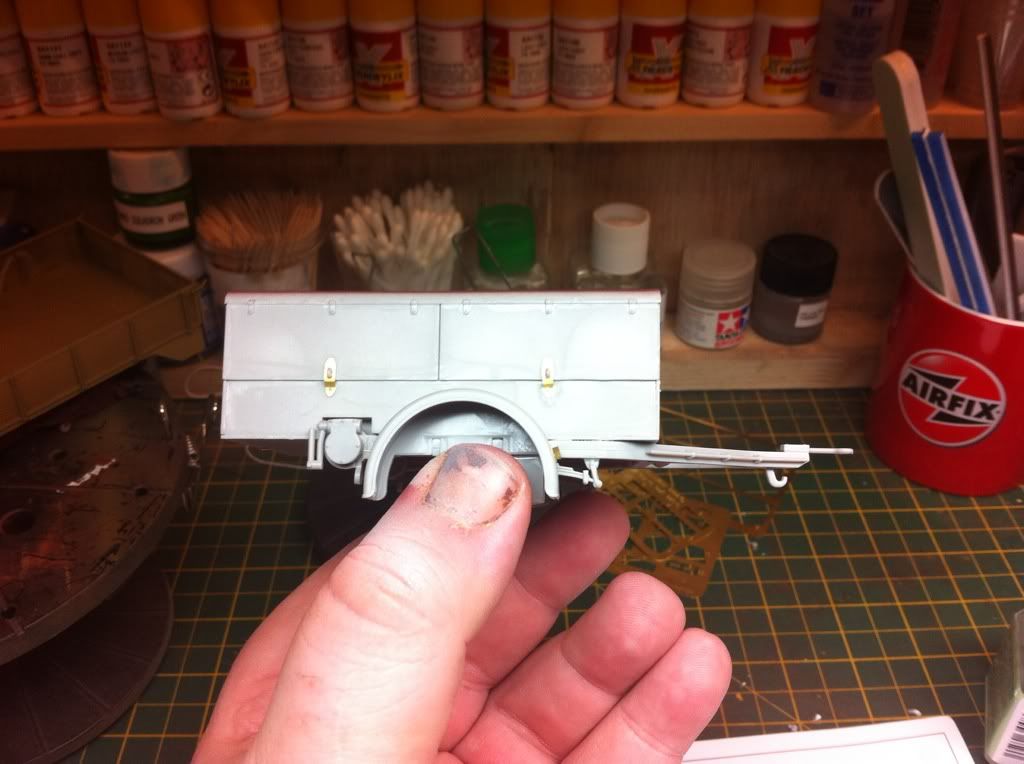
Ok last night and today's progress.
Of the ammo trailer built and primered
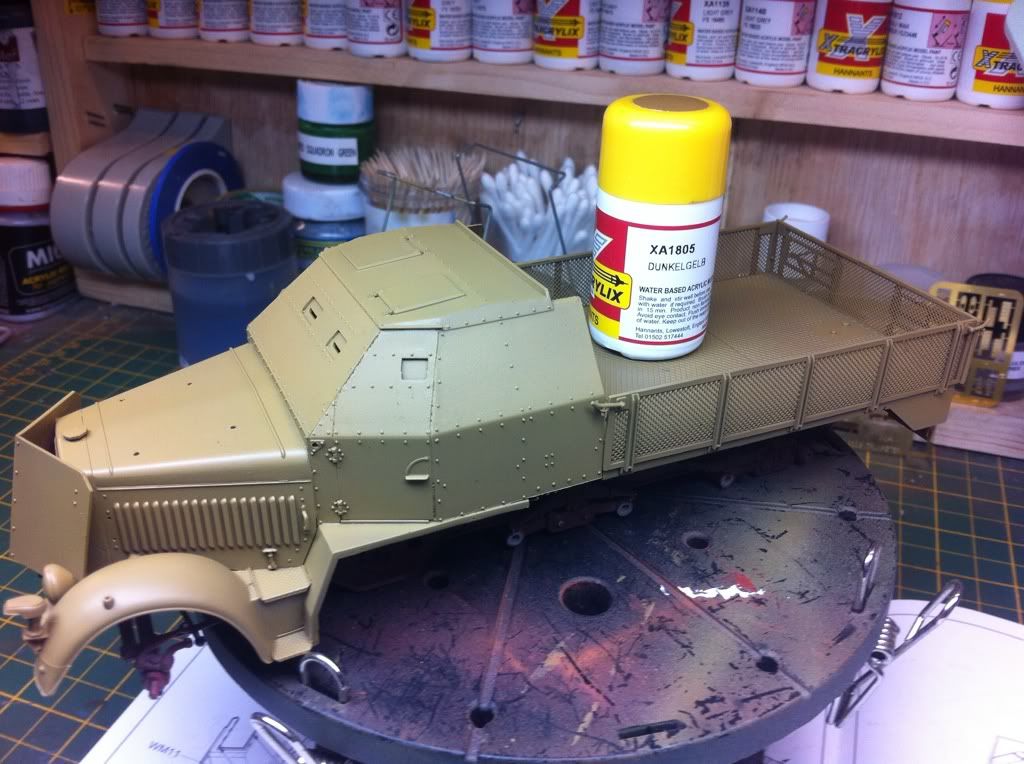
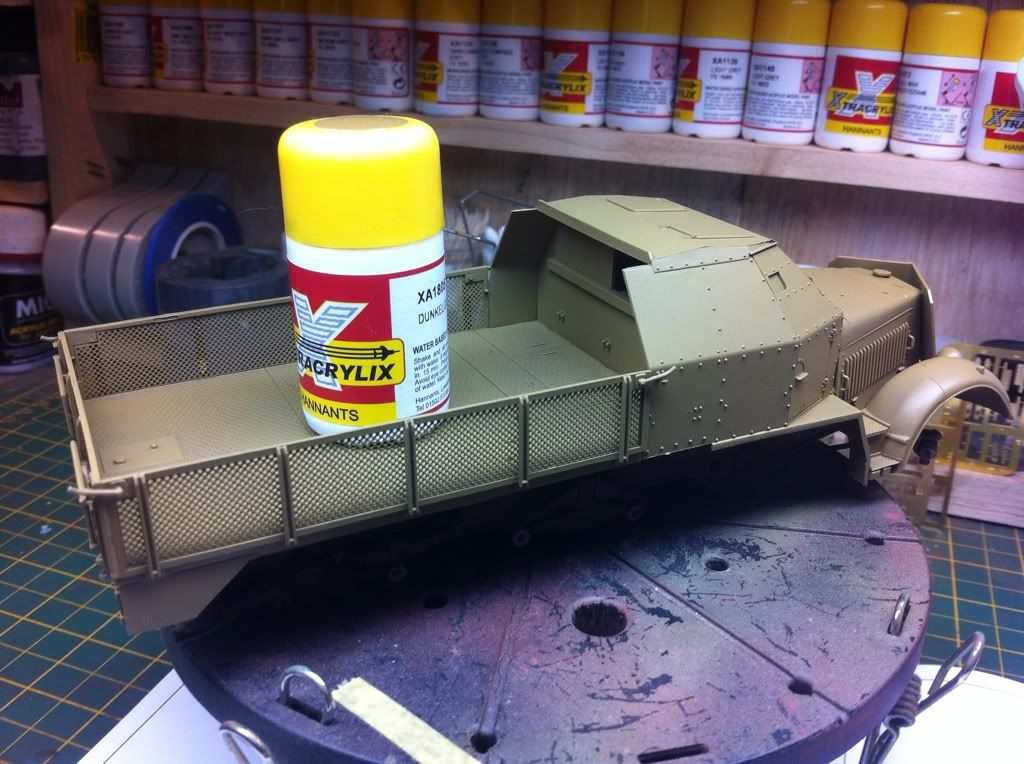
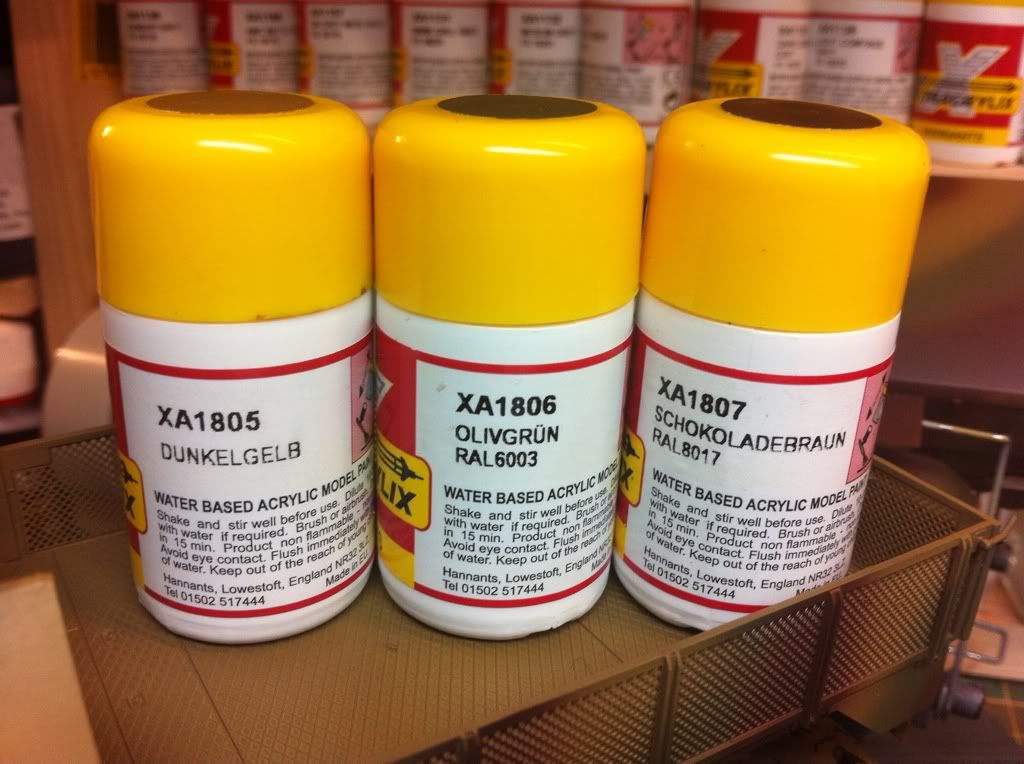
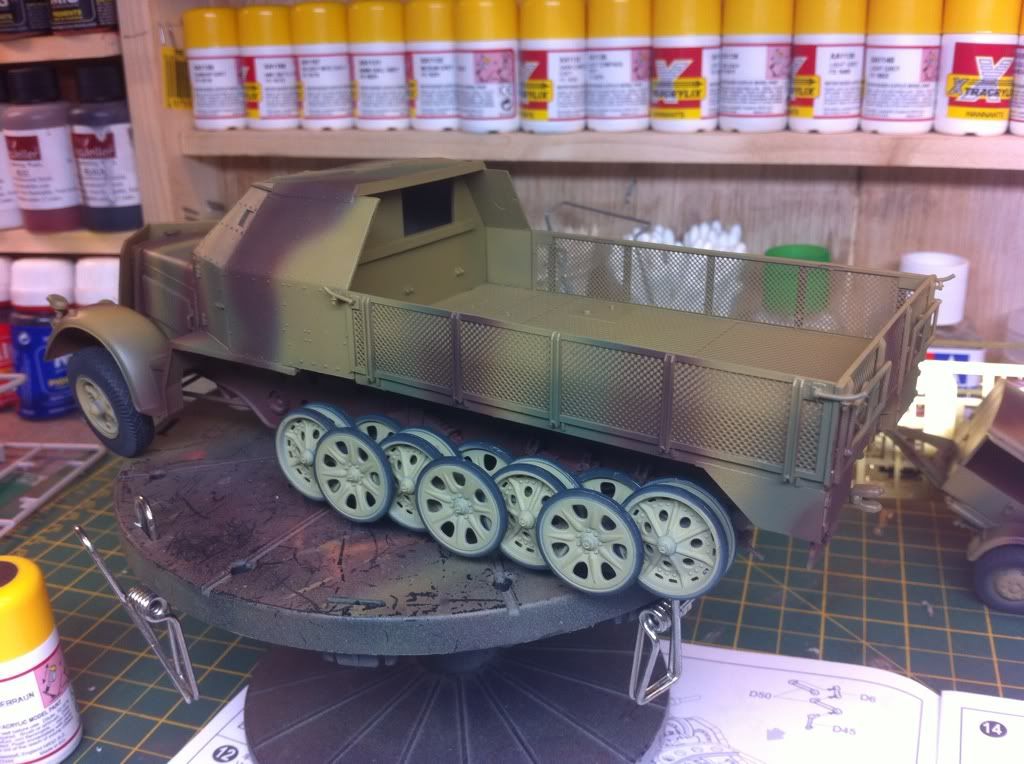
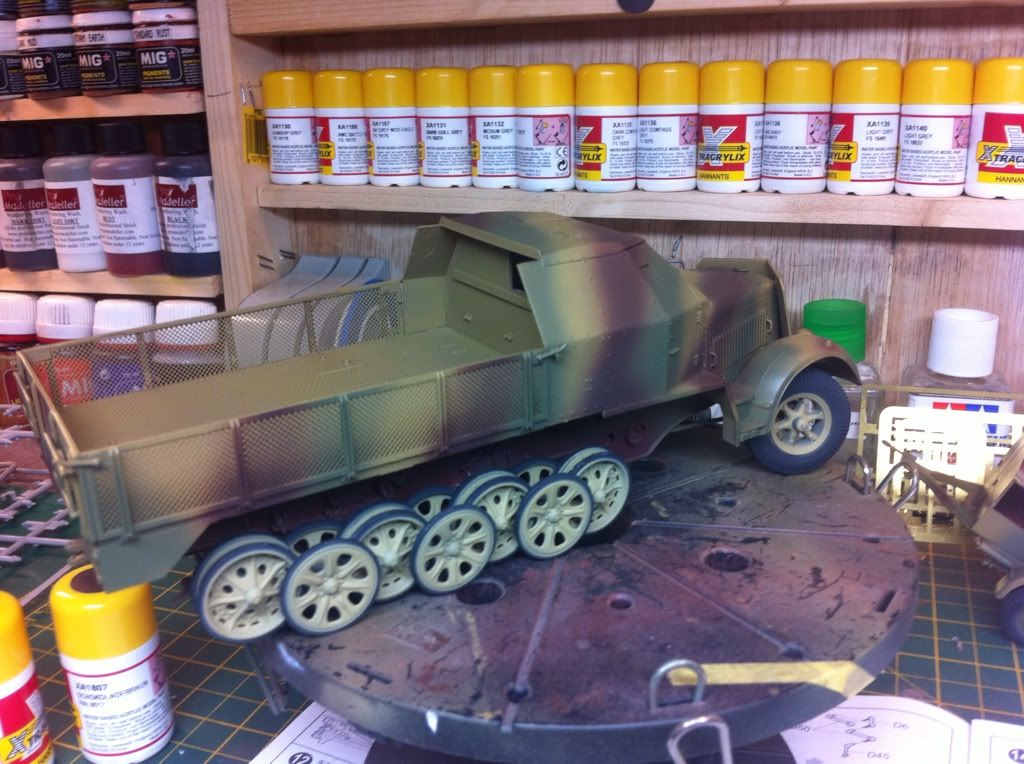
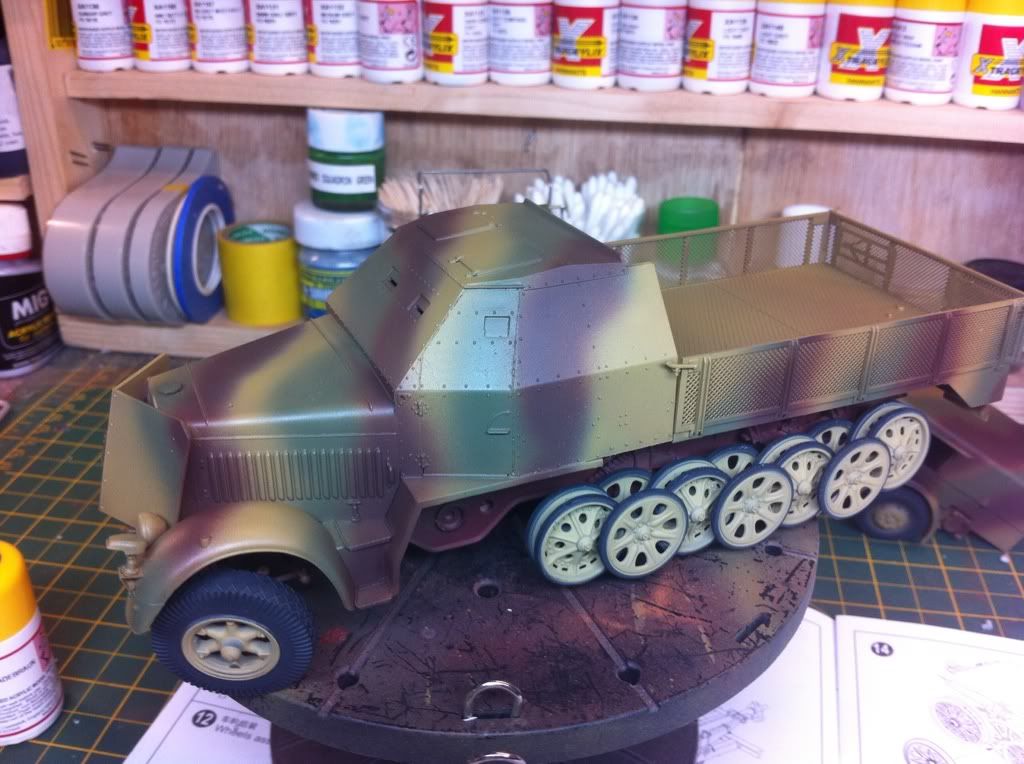
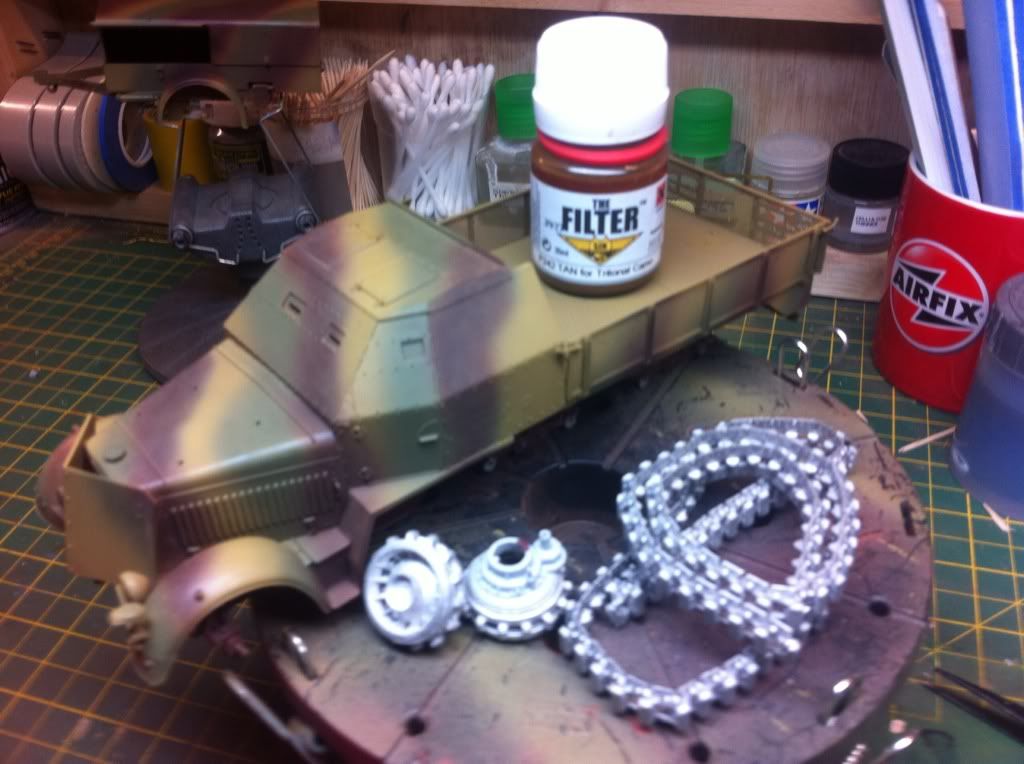
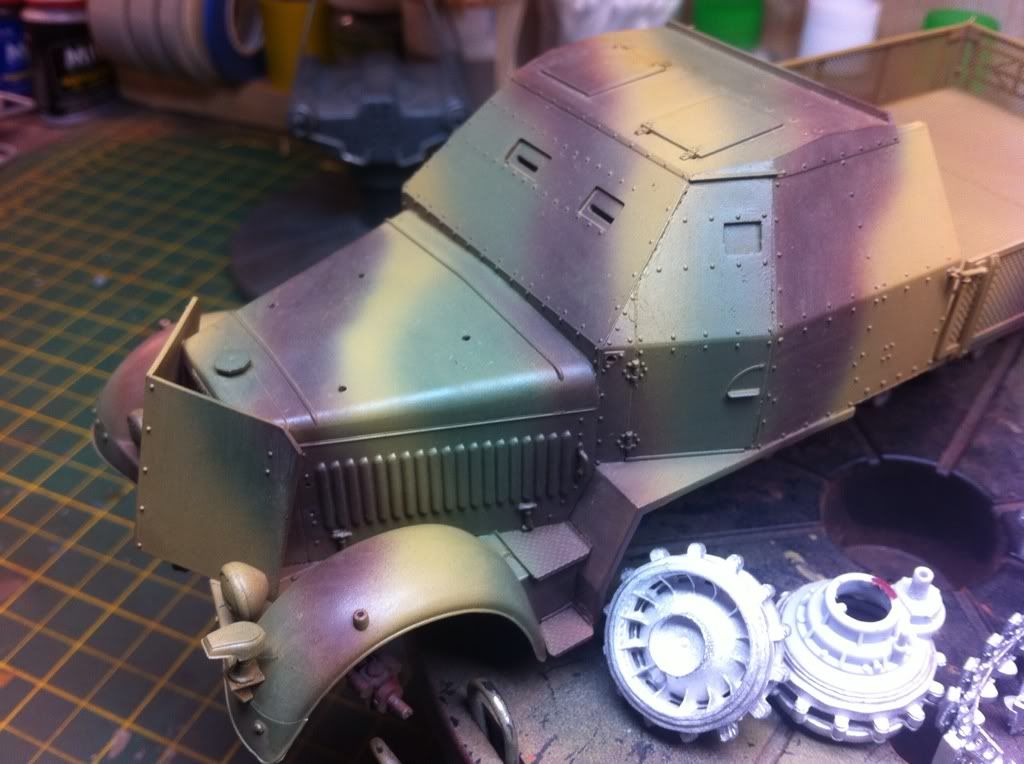
Got the halftrack sprayed in extracrylics dunkelgelb and I'm happy with the shade.
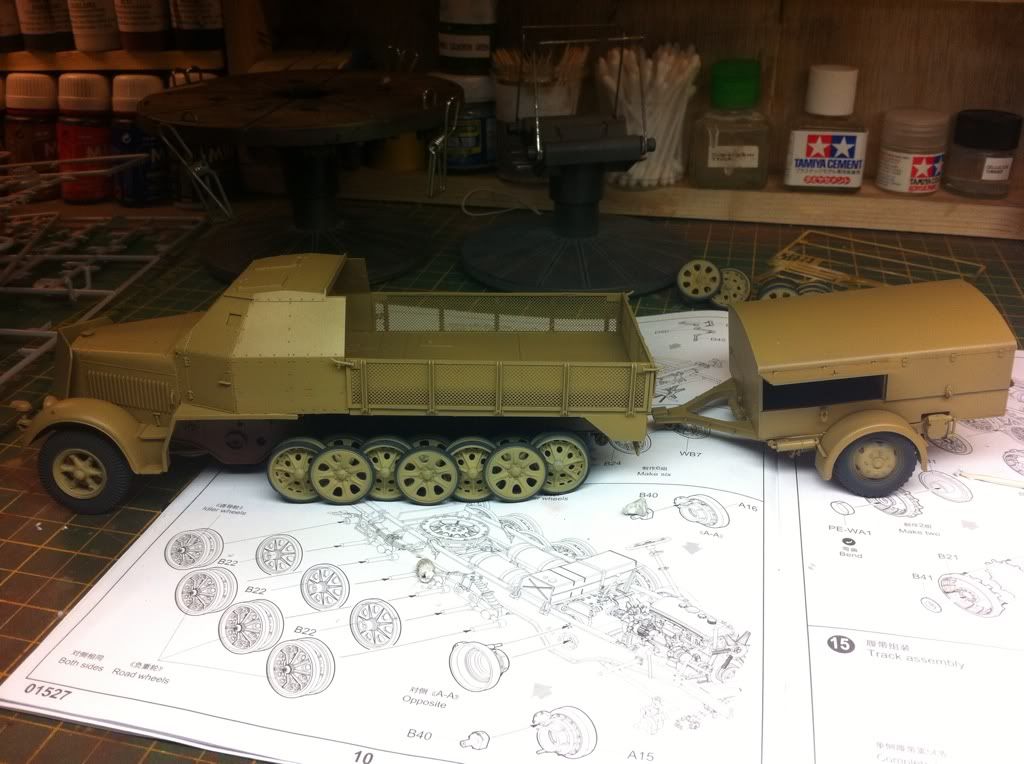
assembled all the road wheels, all 32 of them and sprayed them in tamiya dark rubber and then using a circle template sprayed them in tamiya dark yellow (not as thin as xtracrylics and doesn't go under the template). I've left them removable for now for ease when weathering. I also got the trailor sprayed too.
At the beginning of this thread I said I woul be using a base 18"x12" well seeing as this is 12" in length I think that's out the window
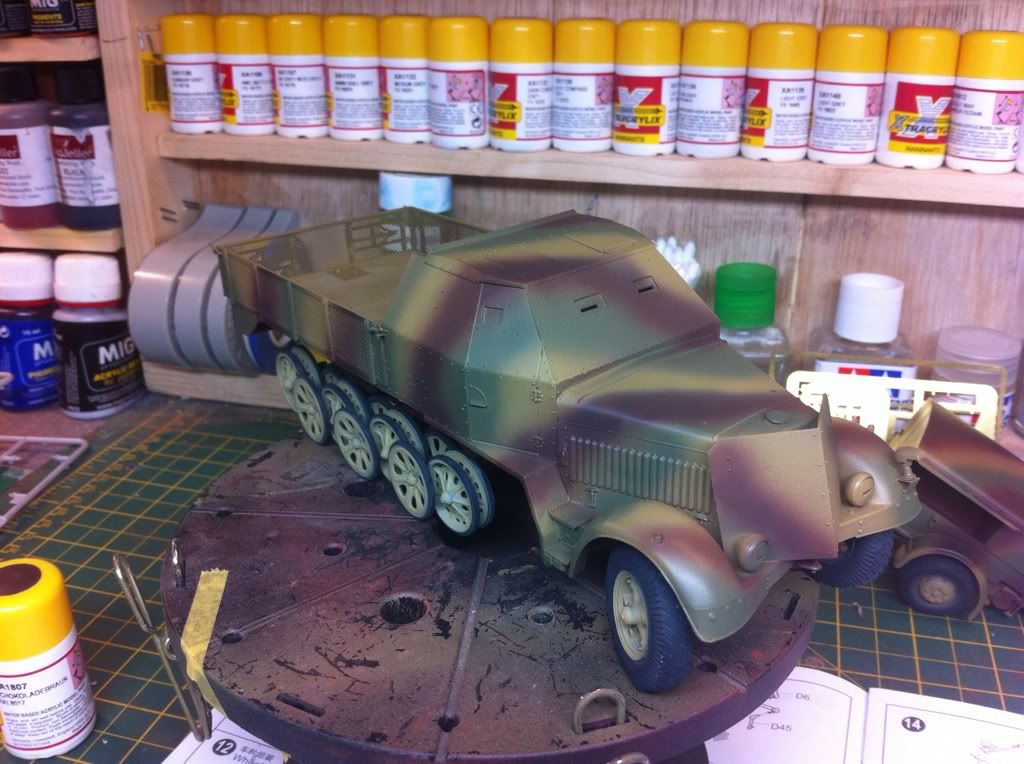
Next up wa the Camo pattern, I didn't like the one on the box art so just winged it and did my own. Using xtracrylics olive grin and rot brown again I'm happy with the colours.

I got a couple if things in the post today. The replacement aber barrel for the 37mm gun. And my set of friul tracks for the halftrack
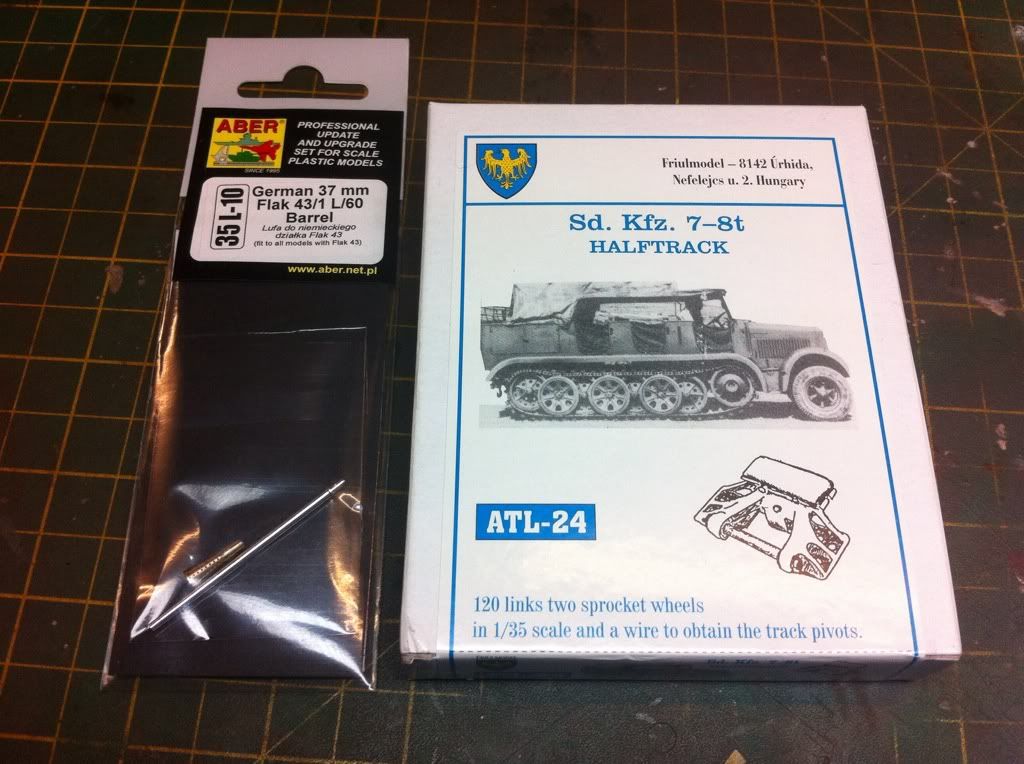
The aber barrel

And I the set to work with the tracks.
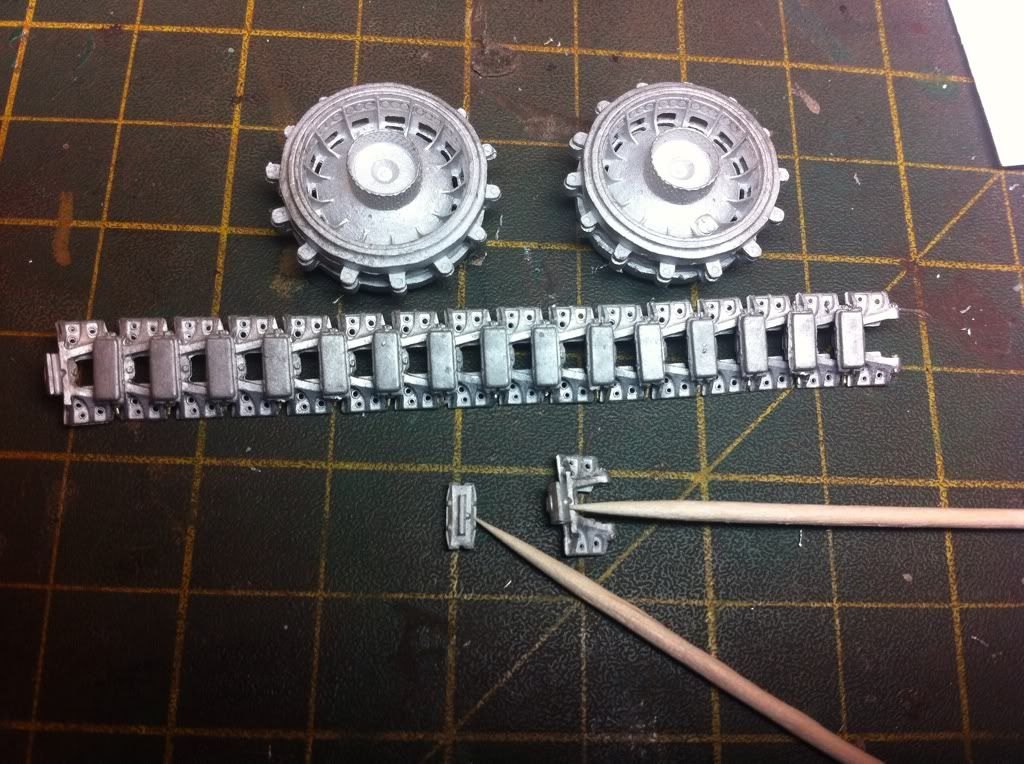
What you get for your £25
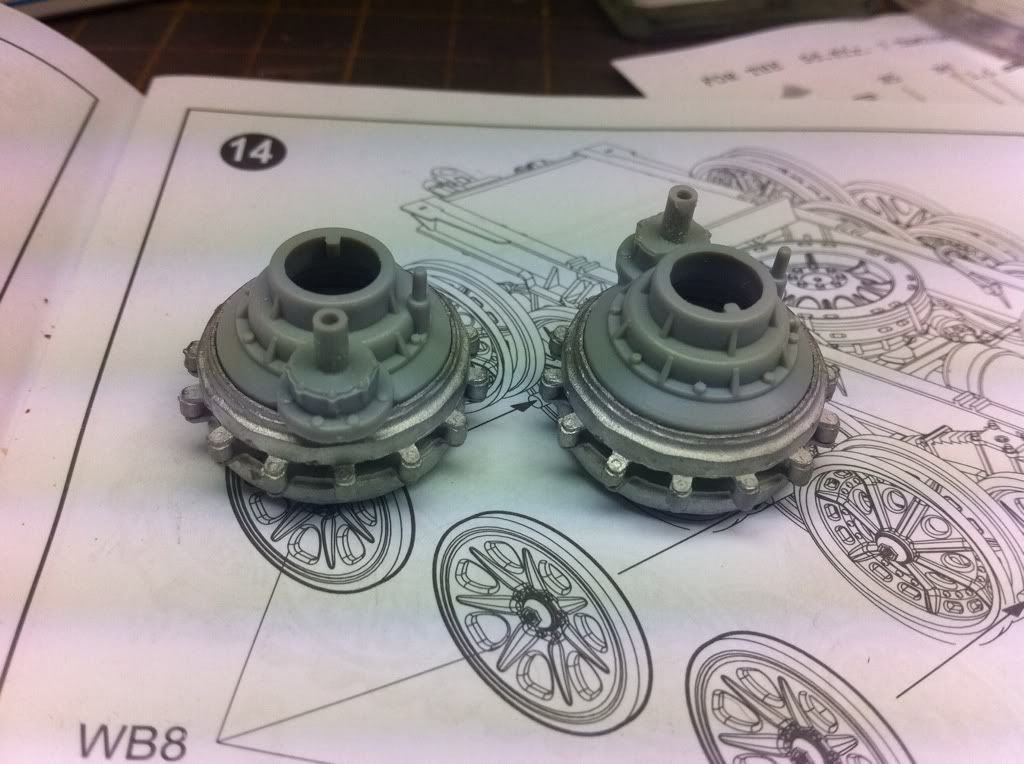
2 replacement sprocket wheels
120 links
120 track pads
A length of brass wire
And some instructions
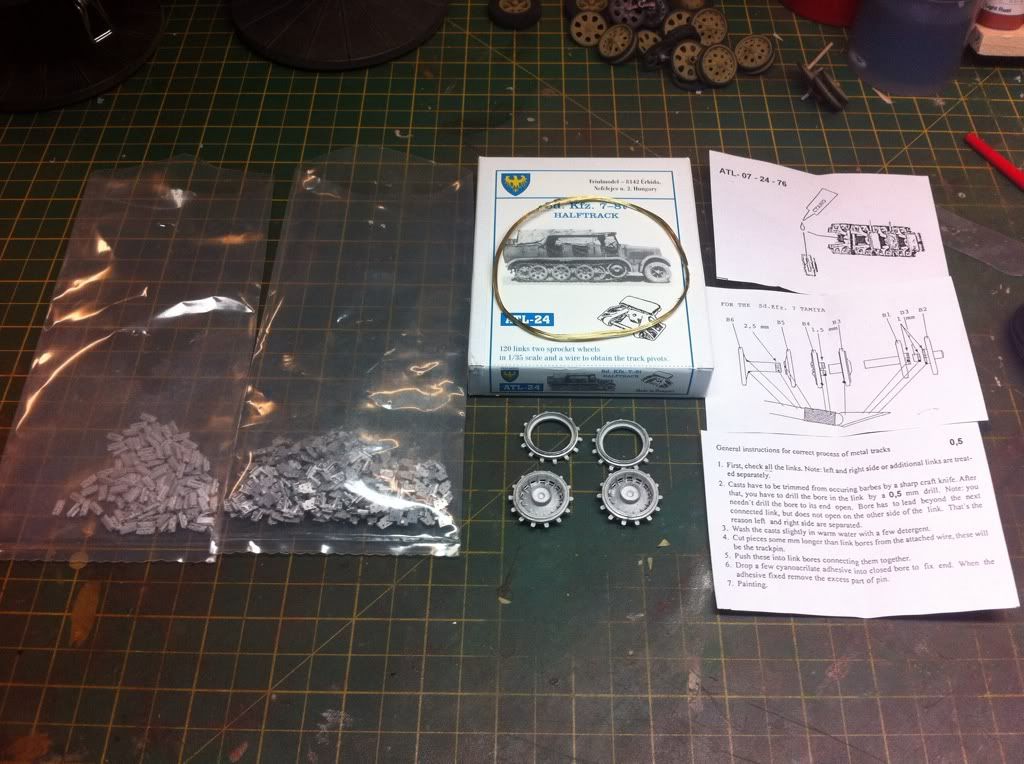
The three components of the tracks
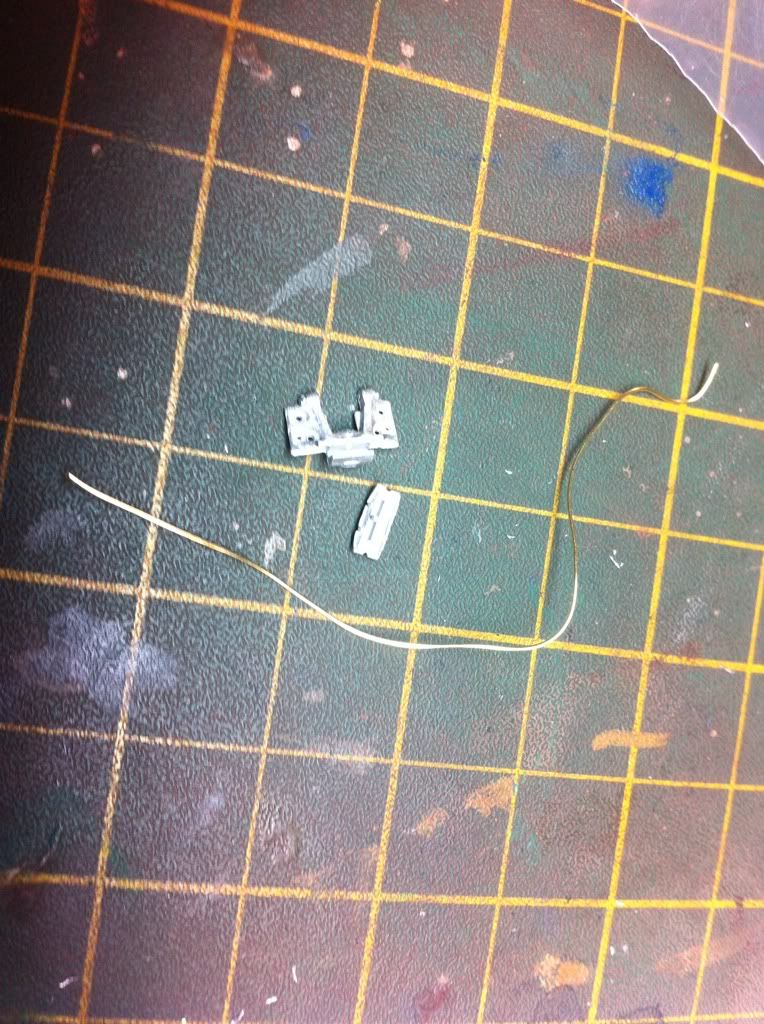
First off each link needs the hole for the wire opening with a 0.5mm drill bit. You don't go all the way through though as this gives the wire something to stick too

The the brass wire is inserted into the hole through both parts of the track, I dipped the end of the wire in superglue to hold it in place.

This is then snipped off with wire snips.

One completed section of 16 links
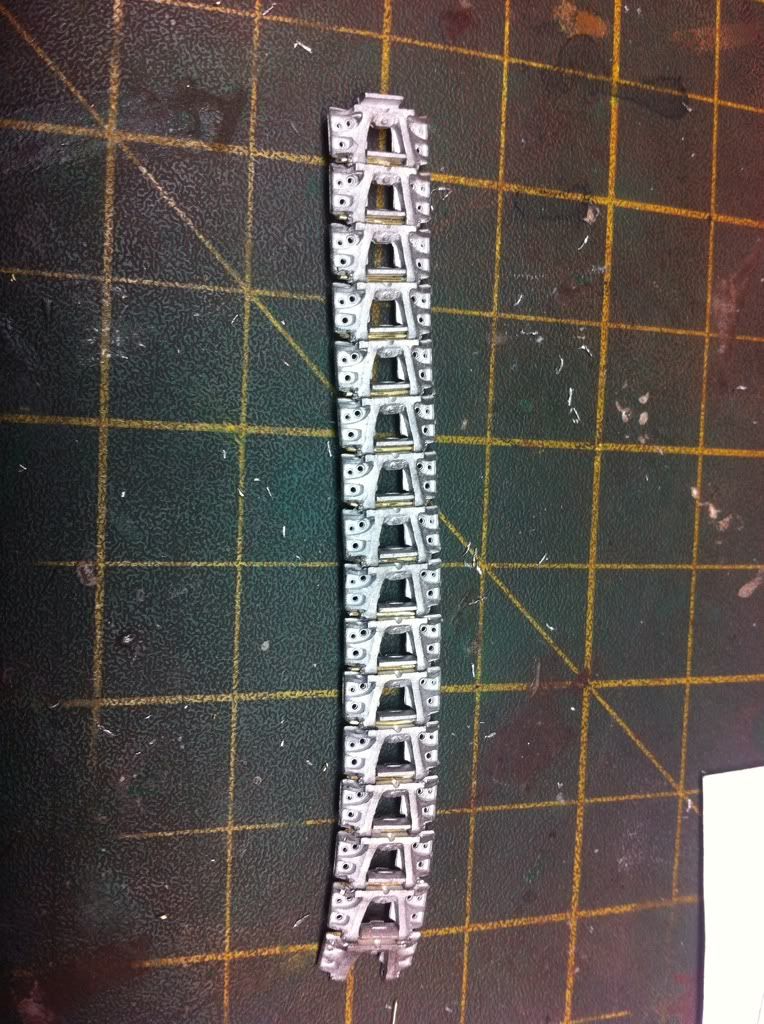
The pads then need gluing in place, they have a lug shown by the cocktail sticks which with some superglue locats in the hole on the track
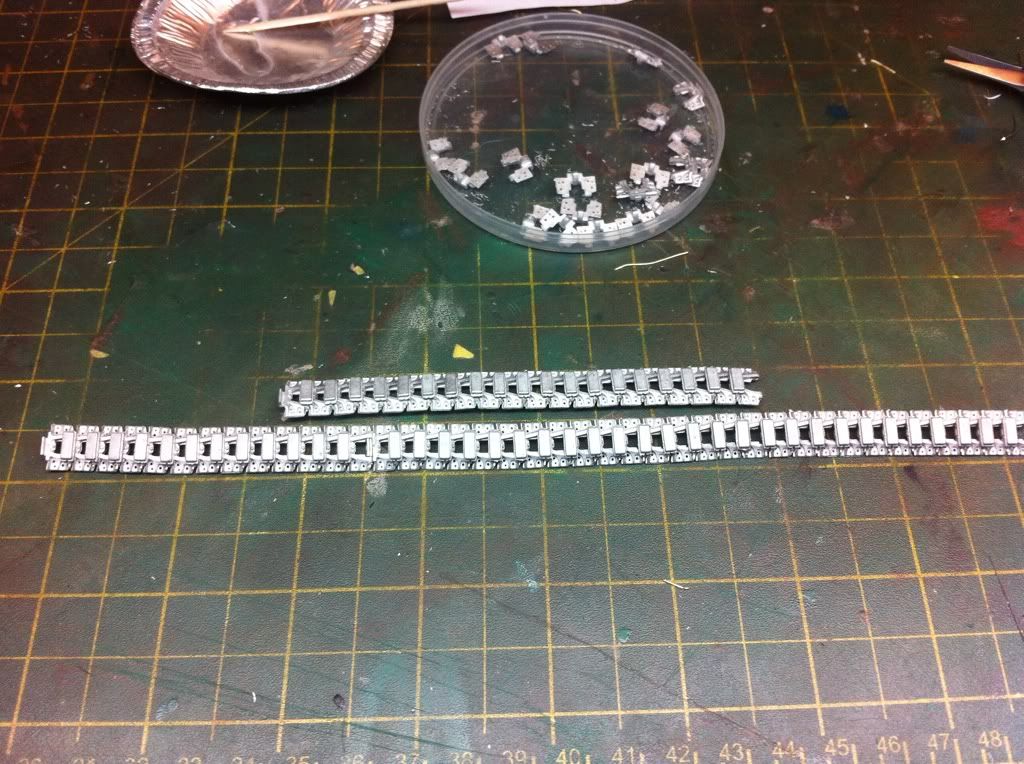
2 and a half hours later with a sore finger and half the tracks are done I won't know the complete length of the tracks till I get the wheels done etc so I'm doing them in sections for now.
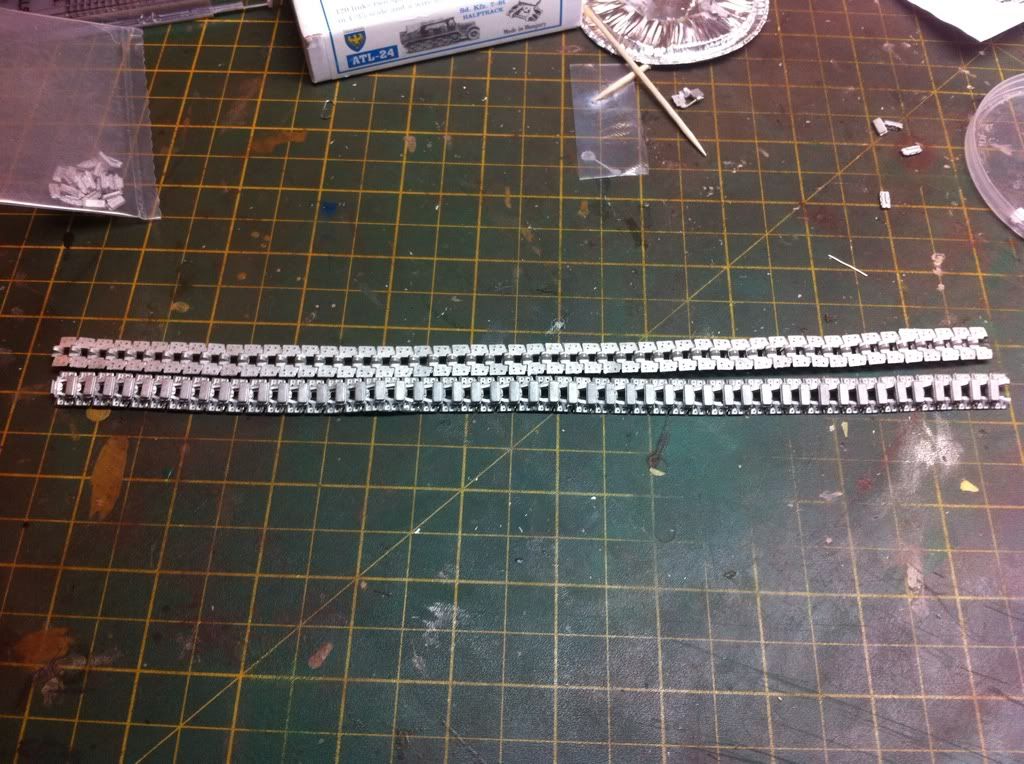
Got the little buggers done, 4.5 hours in total and my index finger is killing me.
53 links on each track leaving 25 spare some of which I'll put to use later
53 links on each track leaving 25 spare some of which I'll put to use later
Sprockets where a fantastic fit on to the kit parts.
Also applied the tritone filter to the Camo, leaving a nice faded finish behind.
I do like the work on the search light, just brilliant. Nice site, keep up the good work.
ReplyDeletenice work , Boss
ReplyDelete