
Tamiya 1/32 F4U Corsair Inbox review video "Click here'
Video Build Part 1 "Click here"
Video Build Part 2 "Click here"
Anyway the in box review has been done and can be found above and I'll add the video parts as they are uploaded as well as pictures through the build.
Anyway the kit, i haven't taken pics of the sprues as the video shows it all, but the level of detail is superb especialy the riveting.

I made a start tonight on part 1, the cockpit.
The instructions are very clear and concise.

The main cockpit parts cut of the sprues and tidied up, sorry about the iPhone pics my dslr battery had died

And all glued in position, the kit is a joy to build, fit is superb with alot of parts holding themselves together without any glue.


Next stage, priming in alclad gloss black base, can anyone see where this is going
Cheers fellas.
Part 2 is underway today, I've just stopped to let paint dry before adding chipping fluid.
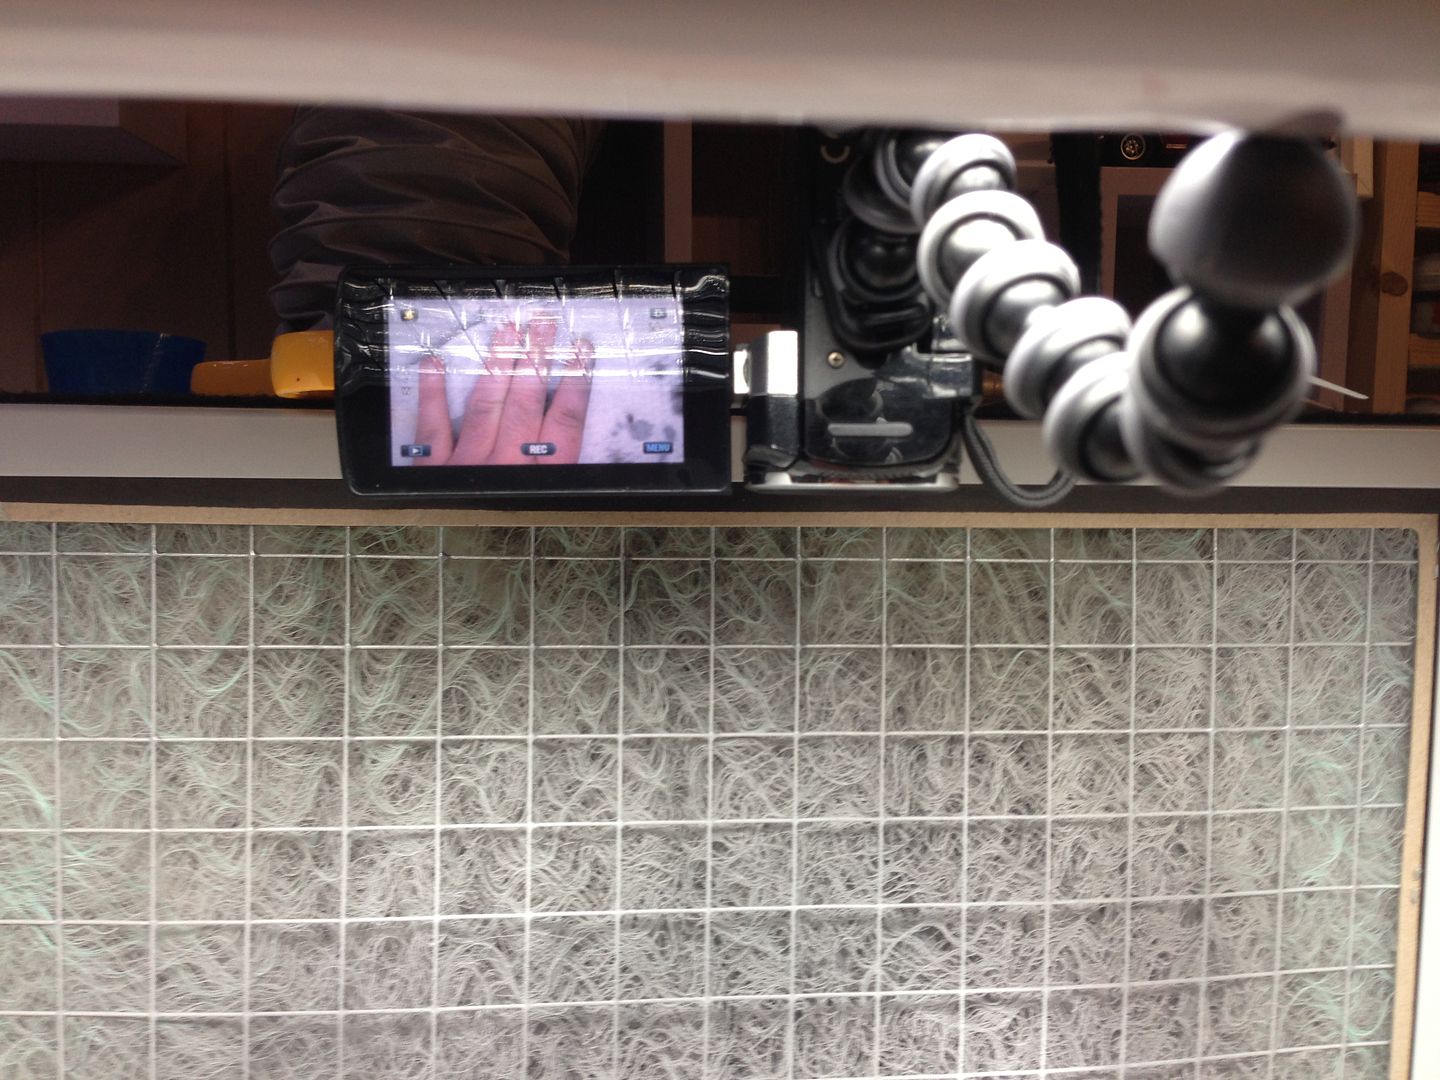
For anyone interested this is my camera set up now, it's in my spray booth at the moment but its similar when over my workbench.
Wide shot to the left close up on my lamp held on by a gorilla tripod
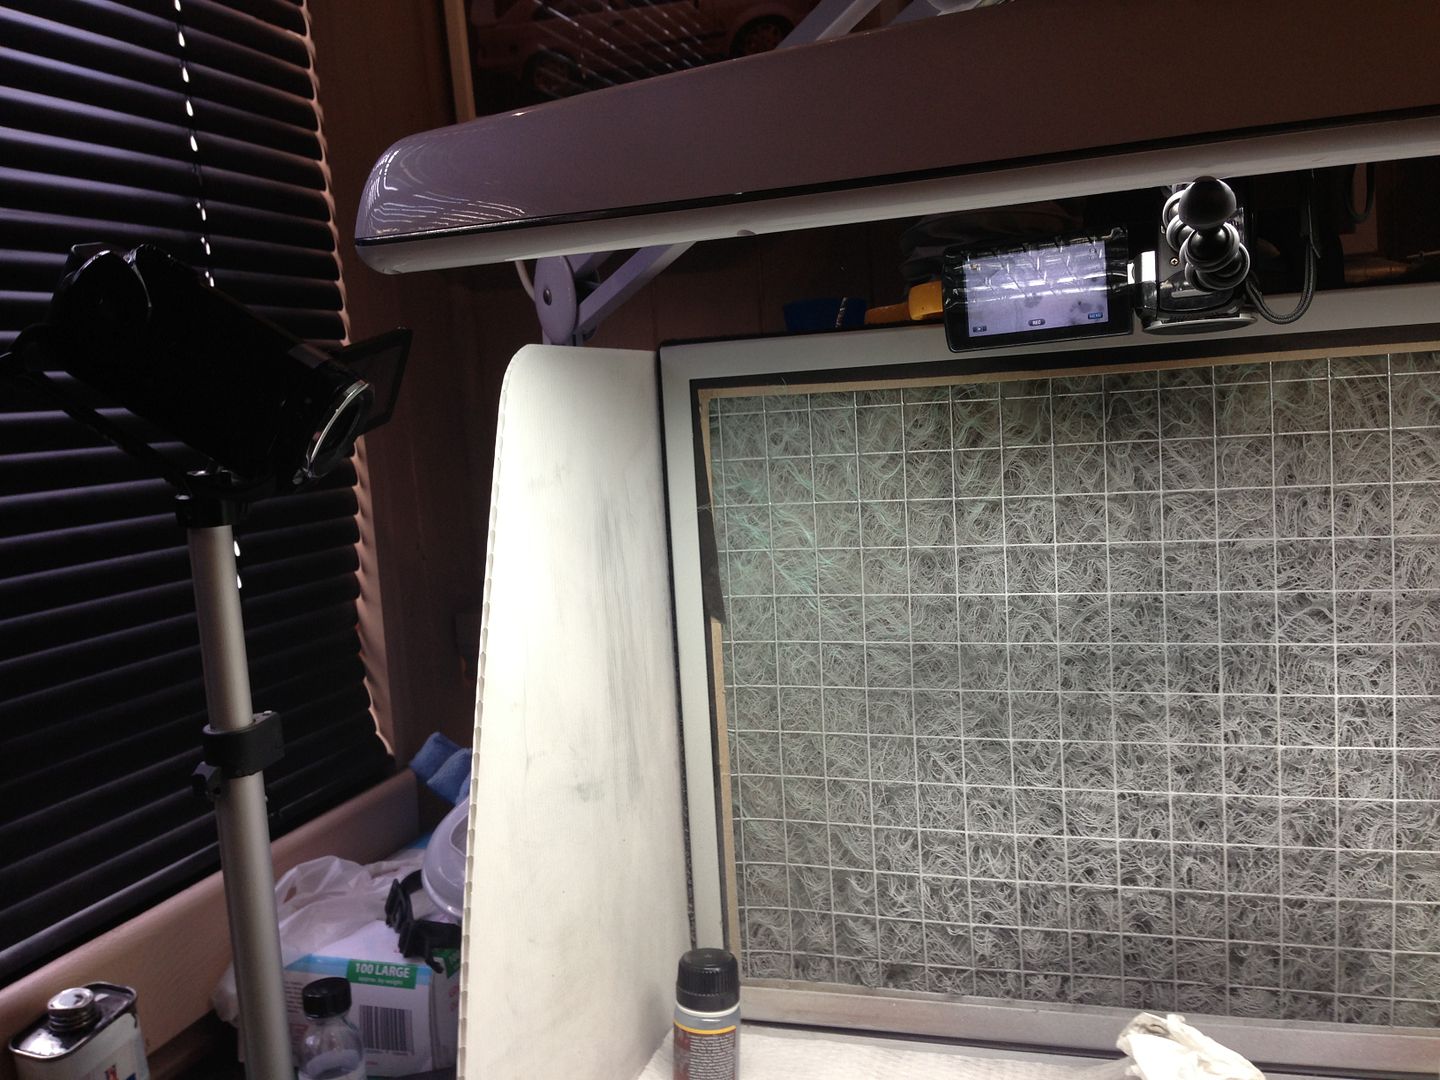
I can look at the screen directly in front of me as a reference too
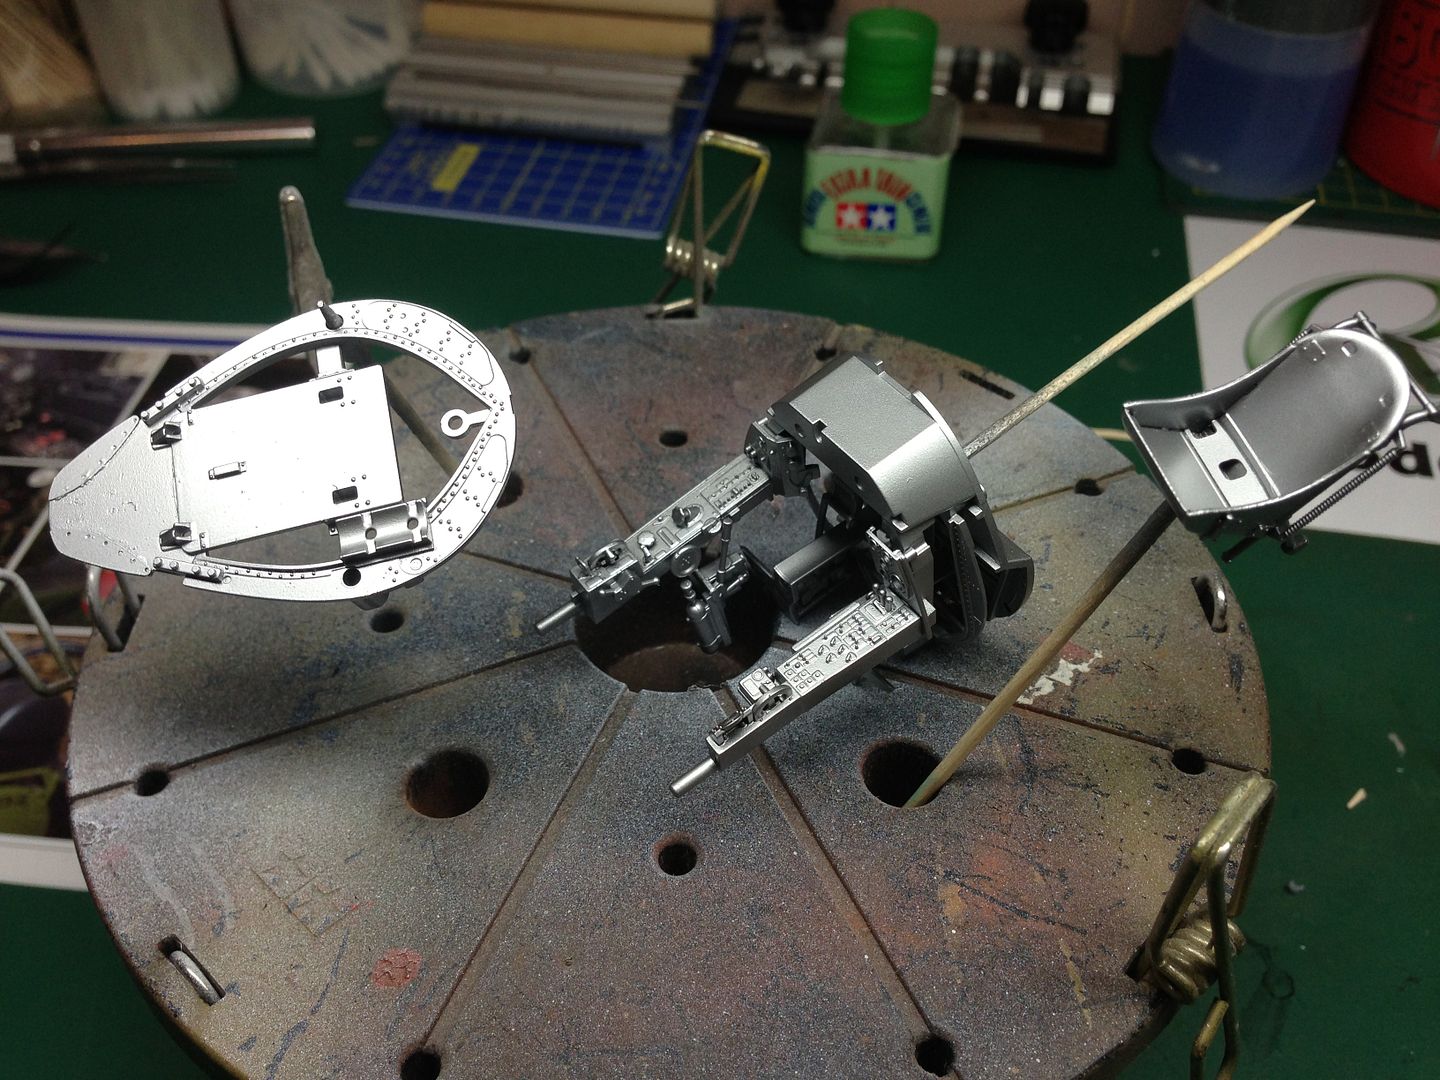
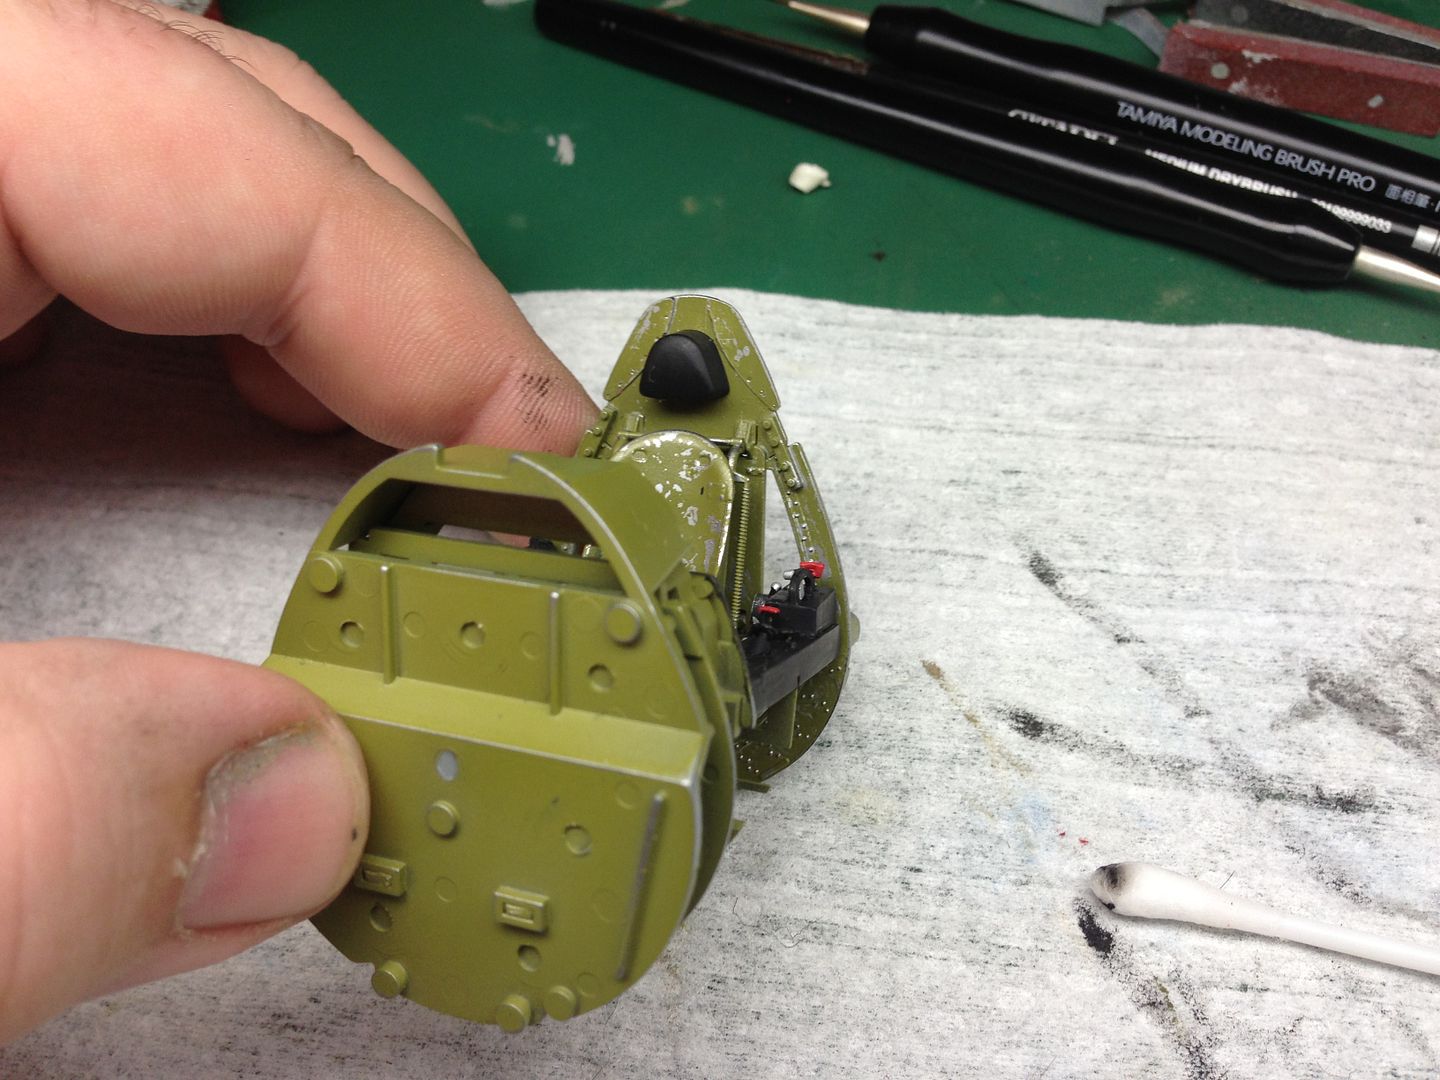
So I assembled the seat and rear bulkhead with the PE bullet proof plates.
These were then primed in alclad gloss black base

I was planning to use dull aluminium but it was actually too dull so I used alclad aluminium In the end.
Next,up chipping and then the interior green
Part 2 is underway today, I've just stopped to let paint dry before adding chipping fluid.
For anyone interested this is my camera set up now, it's in my spray booth at the moment but its similar when over my workbench.
Wide shot to the left close up on my lamp held on by a gorilla tripod
I can look at the screen directly in front of me as a reference too
So I assembled the seat and rear bulkhead with the PE bullet proof plates.
These were then primed in alclad gloss black base
I was planning to use dull aluminium but it was actually too dull so I used alclad aluminium In the end.
Next,up chipping and then the interior green


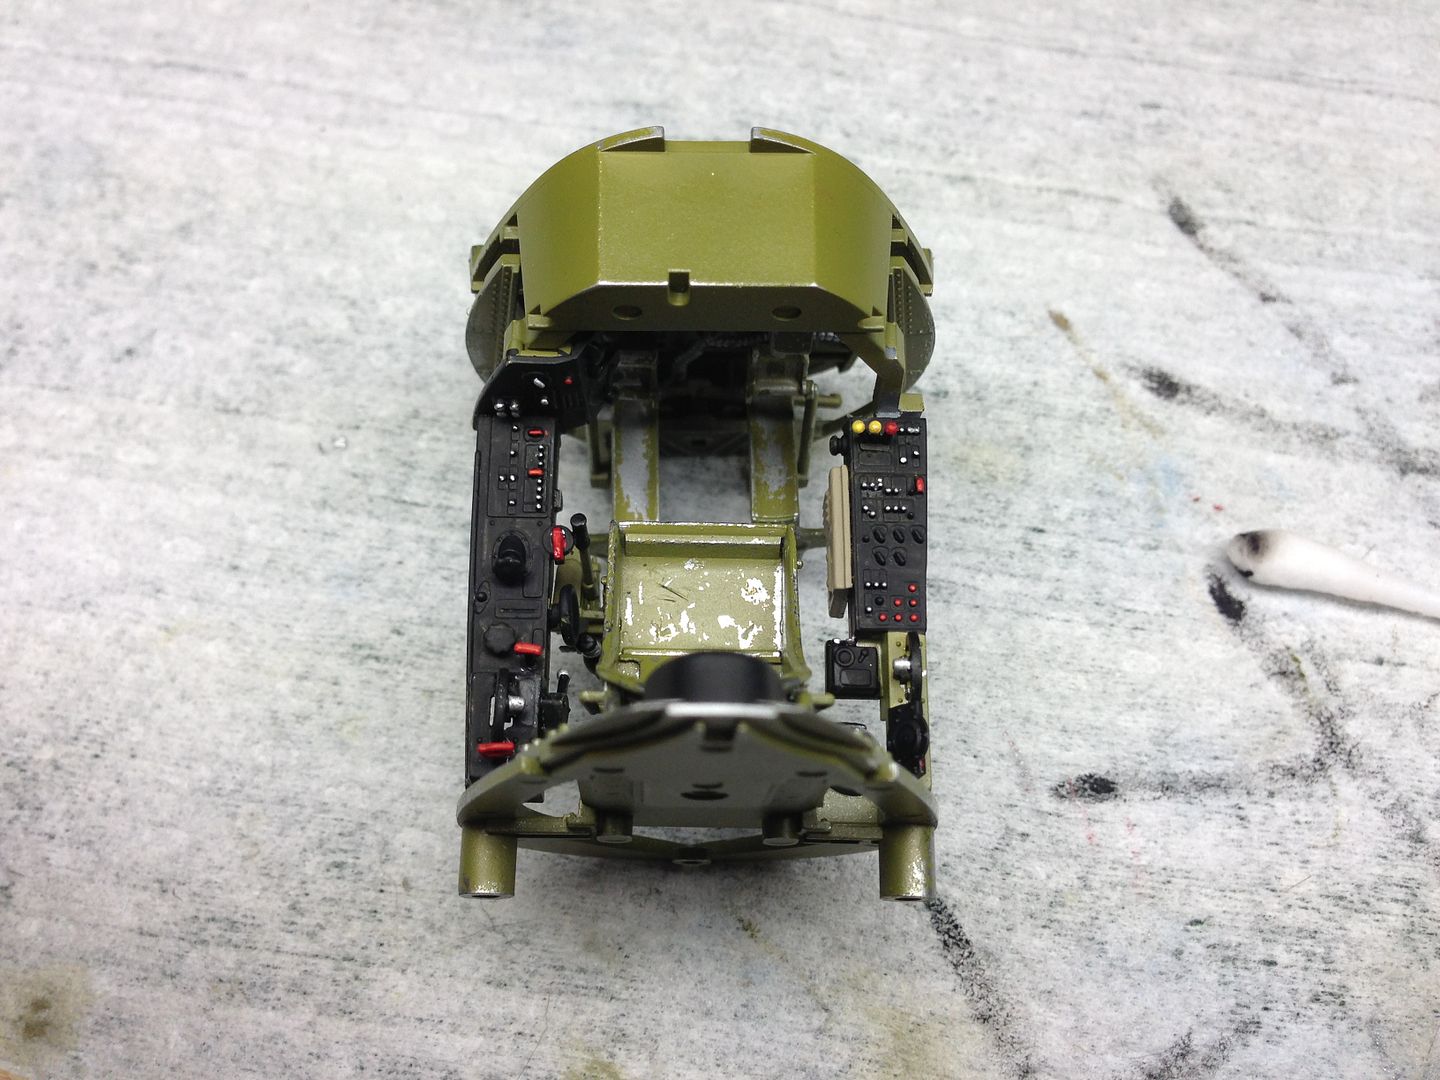
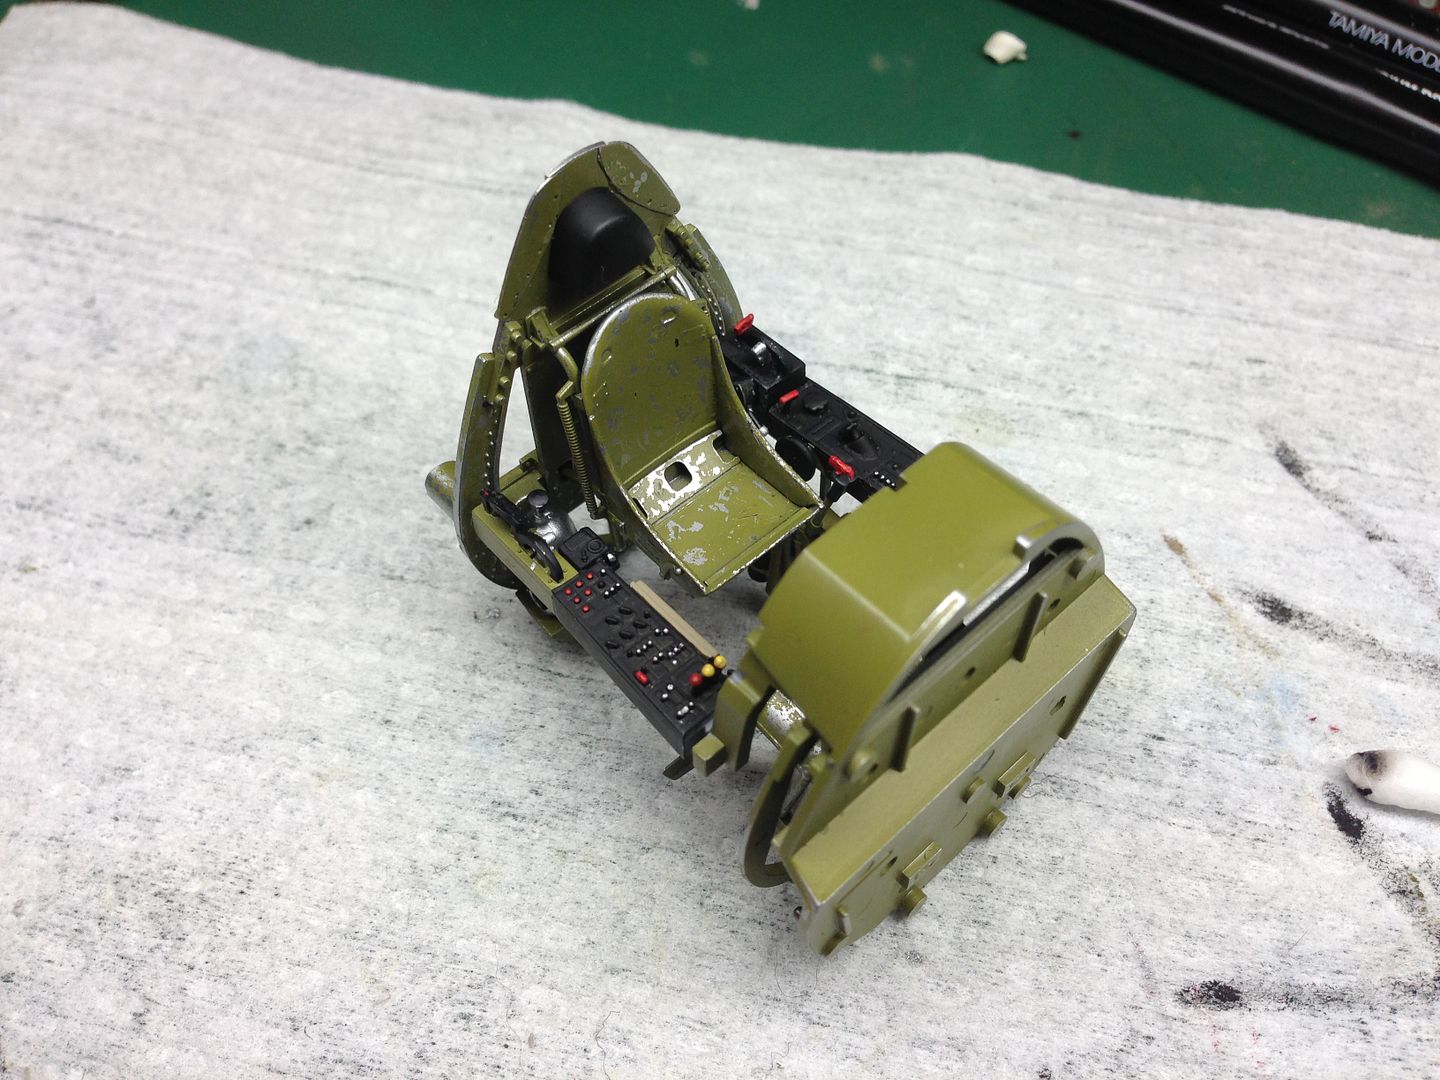
So i spent the afternoon detaailing up the cockpit, i painted the side panels vallejo semi gloss black, as well as the two instrument panels in preparation of the glass/decal (these have been left of the cockpit for now. Ive been around the switch gear picking out buttons, the instruction and reference book helping immensely. Ive also painted and attached the headrest, as well as the rear tank too. Ive chipped away the footcontrol pedals, foot rest and behind the seat top in the same way i did it yesterday and thats about it. i havent filmed any of this as its too fiddly and boring watching me hand paint everything. Filming of part 3 starts on thursday.
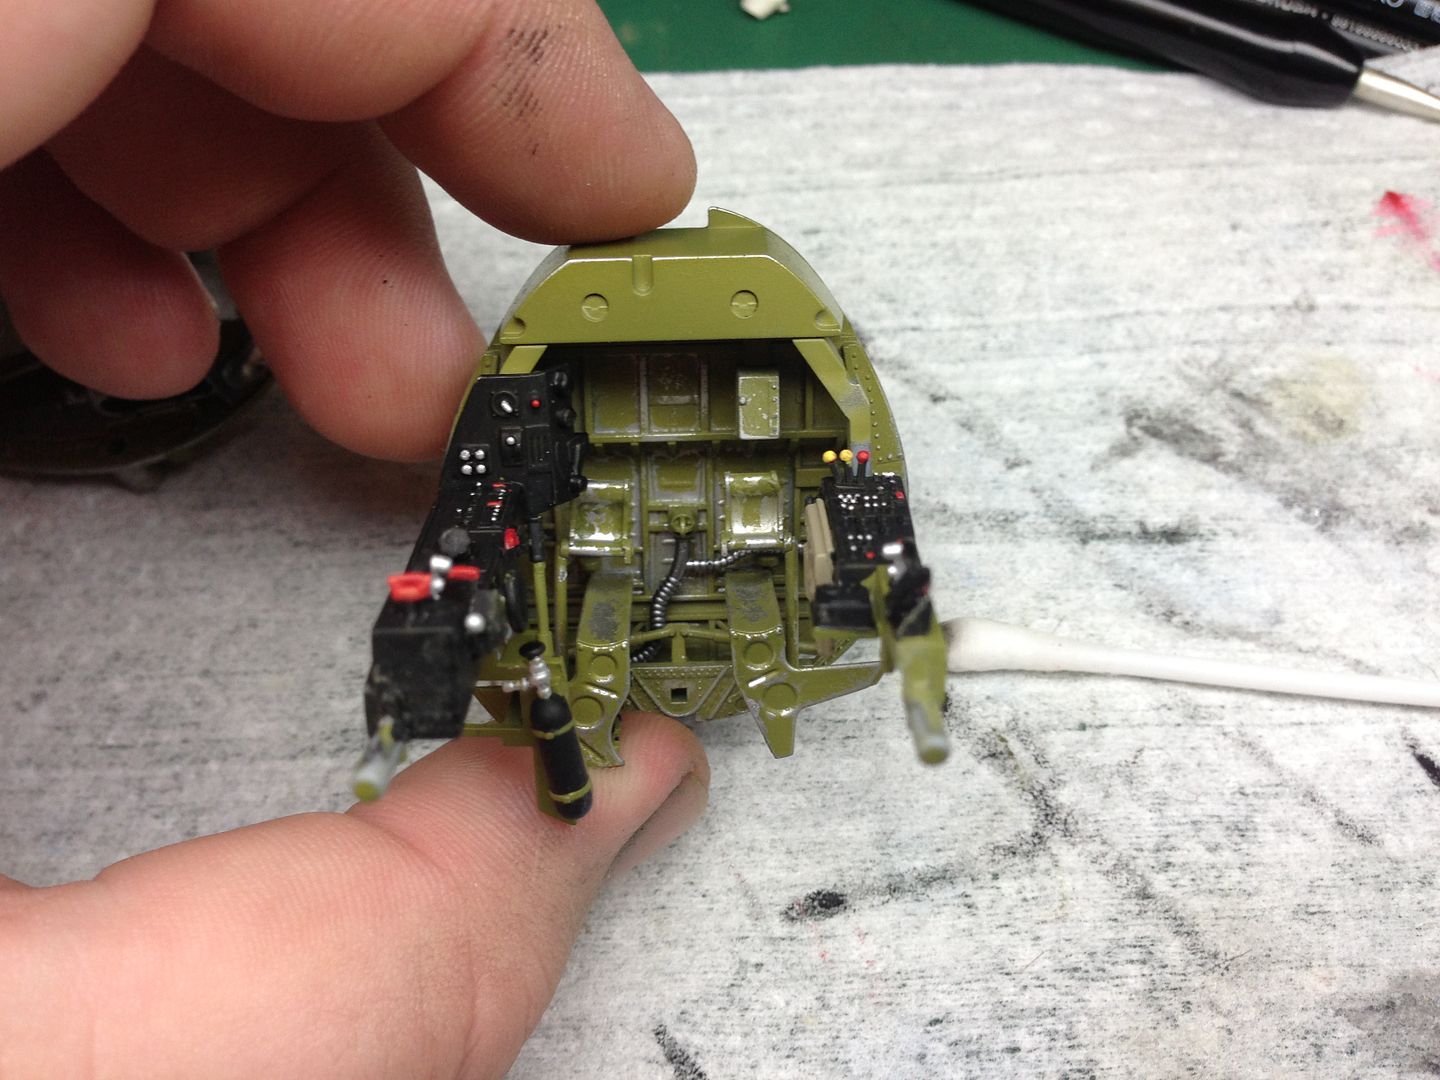
Im gonna add a little more green to the footrest as too much has come off
Cockpit dry brushing, gloss coat, panel wash, matt coat and PE seatbelts in part 3, which will see the cockpit complete.


Im gonna add a little more green to the footrest as too much has come off


Cockpit dry brushing, gloss coat, panel wash, matt coat and PE seatbelts in part 3, which will see the cockpit complete.
So today i decalled the two instrument panels, which was a complete nightmare, i lost one dial as they are a pig to do and such a fiddly small part.
I then Drybrushed the cockpit (with tamiya chrome silver) which brought out more of the cockpit detail, and then assembled the PE seat belts, they needed annealing to conform to the seat. Little tip, if using a chipping fluid, CA glue kicker takes the paint right off, i nearly ruined the paintwork on the seat.
The seatbelts were then painted in vallejo model colour Stone grey and chocolate brown and the metal work picked out with tamiya chrome silver.
The entire cockpit was given a wash using highly thinned tamiya xf1 and once dry, i dry brushed again returning any lost detail.
The instrument panels and seat where glued in position and then the front binnacle cover and gun sight were masked and sprayed Mr Hobby flat black.
Ive got at least 10 hours of my time in this cockpit, im happy with how it looks, looking forward to cracking on :banana:
Ok so ive touched up those areas i wasnt happy with as well as added a touch more chipping in places.


Stunning work. I love this plane and i think it dates back to the TV series Baa Baa Black Sheep....not sure. Excellent work on the cockpit details, i do like your shipping work.
ReplyDeleteCheers Buddy, it really is a great kit, well worth buying. I got both tamiya 1/32 mustang and 1/32 f16 to build for myself next so plenty of larger scale builds coming up
DeleteYour modelling is wonderful. I viewed all four parts on YouTube and waiting for more.
DeletePaul, you are the most organized modeler that's I've ever seen. I have a complete workshop, but it's always in a state of continuous upheaval. Just looking at how you store things inspires. Me.
Also, I'm in desperate need of a spray booth. Not having one is limiting my spraying to only water-based paints which precludes using any of the metalizers. Does you booth exhaust to the outside? I'm also a bit envious that you have more than one airbrush. I have a 40-year old Badger that's served well. They have a life-time guarantee that I exercised several years ago. For the price of shipping, they completely rebuilt the gun to new specs. I'd like to have another gun so I could have a fine line and larger pattern at my disposal.
HI Myles
ReplyDeleteThankyou for you kind comments, i do like an organised and tidy workshop, i always clean up after a days modelling so its almost always in tidy (ish) state. yes the spray booth vents outside via a self closing vent which opens when the fan is on. Not a cheap piece of kit at £280 but the spray booth works very well and even if using alclads, nothing can be smelt in the room afterwards. Have a look at out forum www.intscalemodeller.com its full of very friendly modellers, you would be made to feel most welcome.
Paul
Did you know there is a 12 word sentence you can tell your partner... that will trigger deep feelings of love and impulsive attractiveness for you deep within his chest?
ReplyDeleteBecause deep inside these 12 words is a "secret signal" that triggers a man's instinct to love, worship and guard you with his entire heart...
12 Words That Trigger A Man's Love Impulse
This instinct is so built-in to a man's mind that it will drive him to work better than ever before to to be the best lover he can be.
As a matter of fact, triggering this dominant instinct is absolutely essential to having the best ever relationship with your man that the second you send your man a "Secret Signal"...
...You will soon find him open his heart and soul for you in a way he never experienced before and he'll perceive you as the only woman in the world who has ever truly attracted him.